
Packed with crunchy Oreos, gooey condensed milk, a sprinkle of chocolate fudge cake mix, and—you guessed it—melted butter magic, this oreo dump cake turns your kitchen into a warm, chocolate-scented haven in about 40 minutes. It’s buttery, rich, and unapologetically messy in the best way.
If you’ve ever wanted to eat something that feels like a bear hug but tastes like a birthday party… yeah, that’s this cake. It’s the kind of dessert you scoop out warm, slap some ice cream on top, and don’t even pretend to share. Great for chill nights, impromptu cravings, or when you just want a no-fuss sweet treat that still gets whispered compliments from across the couch.


Why You’ll Love this Oreo Dump Cake
No drama here, friend—this is just one of those oddly satisfying desserts that comes together with pantry stuff you probably already have and tastes like you spent way more effort than you did. Minimal prep, high reward. My kind of math.
- Ridiculously simple to make: You literally dump and layer, then toss it in the oven. The name tells no lies.
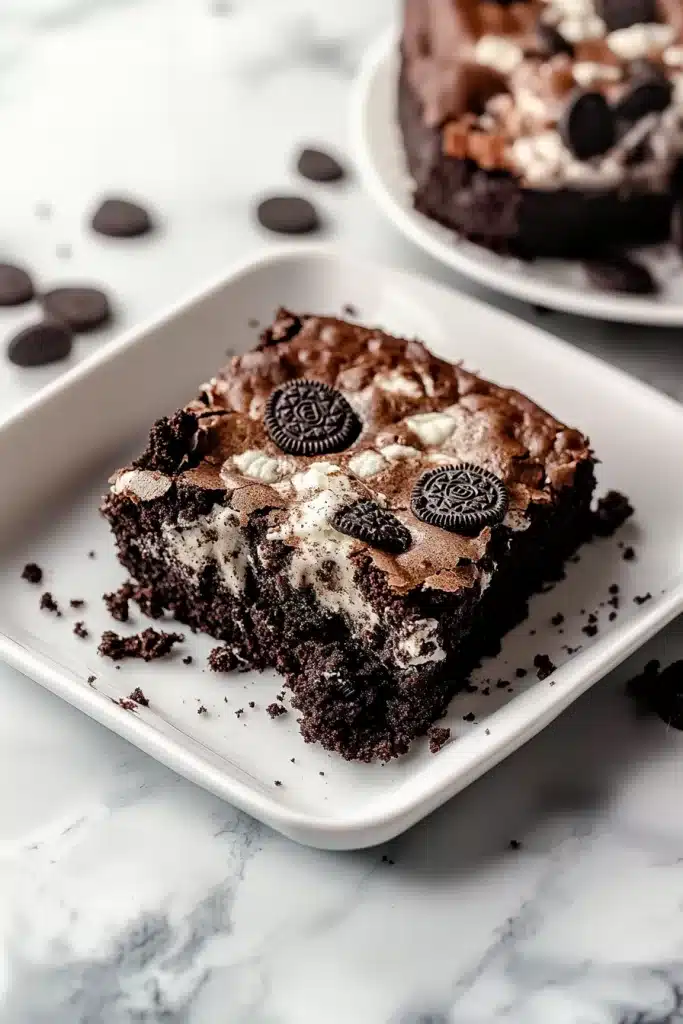
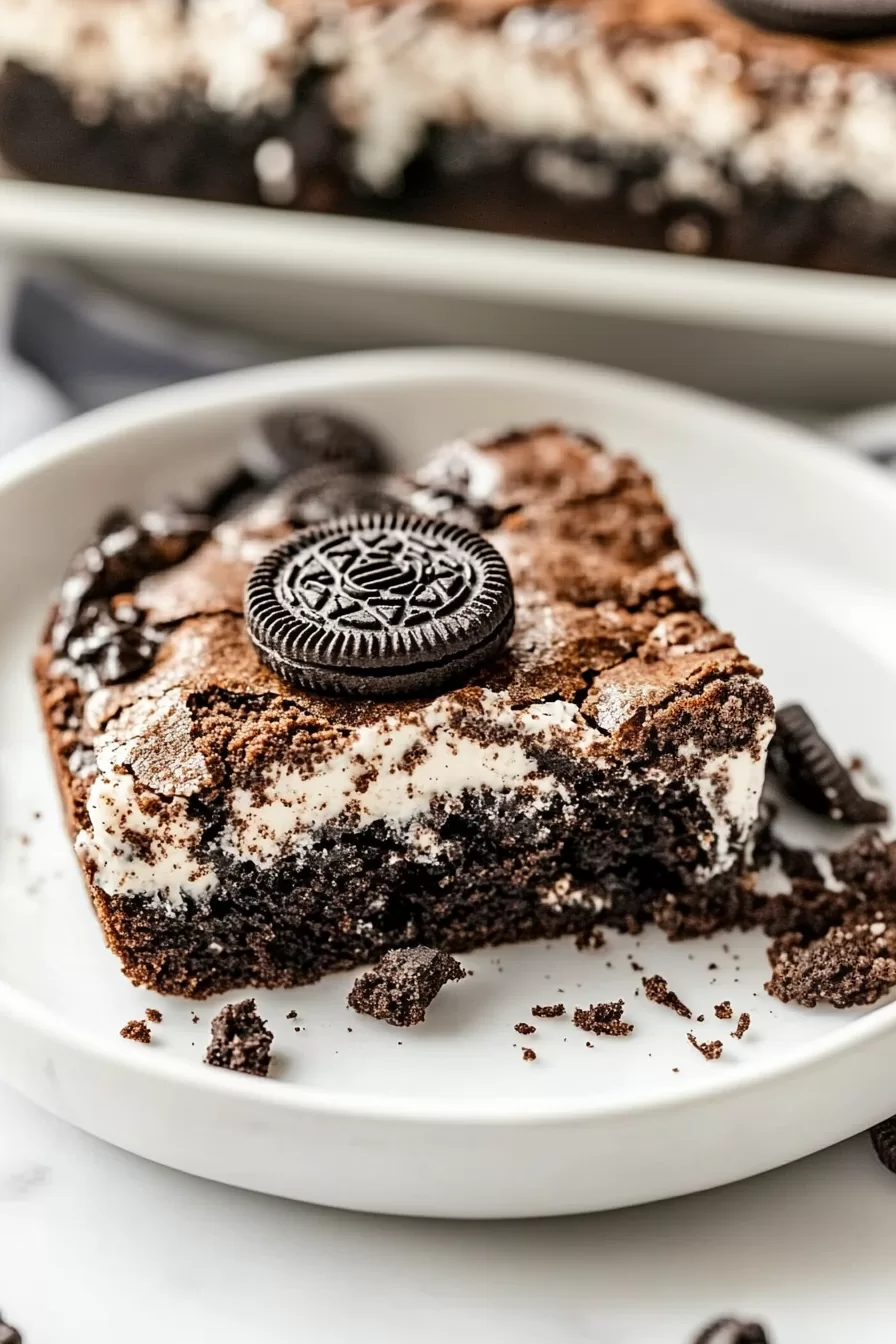
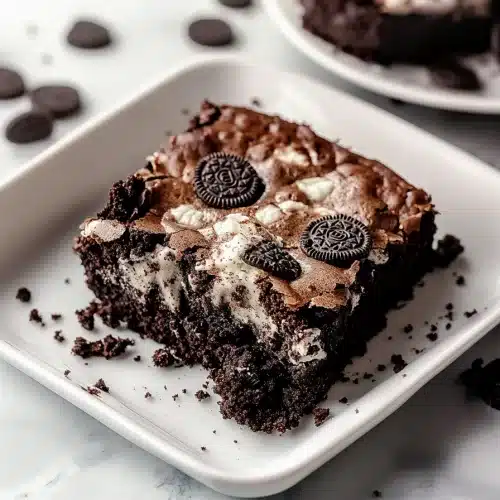
- Crackly and gooey at the same time: You get pockets of slightly crisp, buttery cake top with warm fudgey centers and melty Oreos.
- Zero mixing bowls required: Everything happens right in the baking dish. Fewer dishes, more cake.
- Customizable in sneaky ways: Want to use Golden Oreos or a different cake mix flavor? Live your dream.
- Great for last-minute sugar moods: You can throw it together in 10 minutes, tops. Maybe less if you don’t get distracted mid-layering.
Ingredient Notes
We’re working with a small, mighty crew of ingredients here, and each one pulls its weight.
- Oreo cookies: The star. The icon. The base layer gets all soft and mystical, and the topping ones give a surprise crunch.
- Sweetened condensed milk: The magic glue of the whole thing. It caramelizes slightly as it bakes and adds the goo-factor.
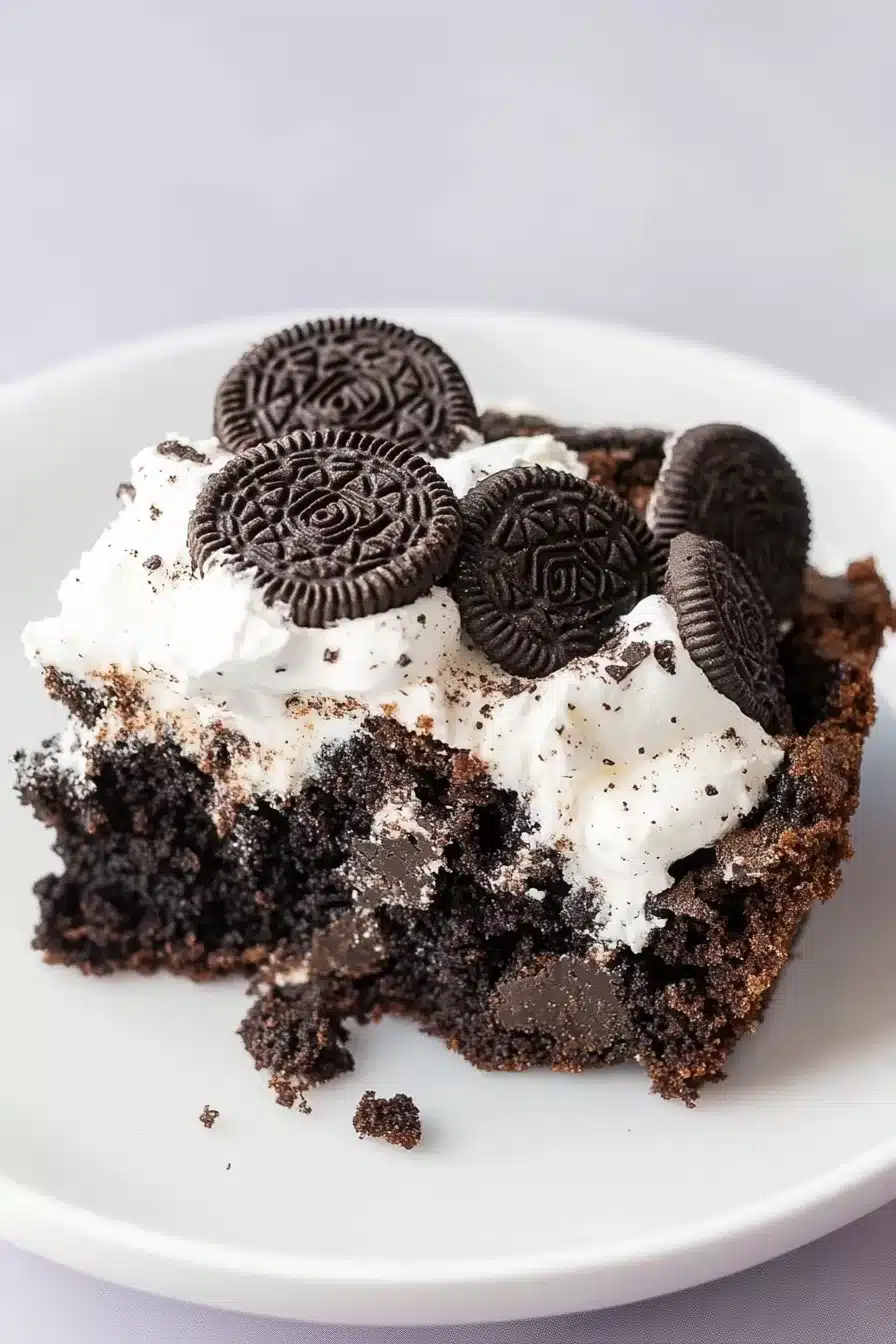
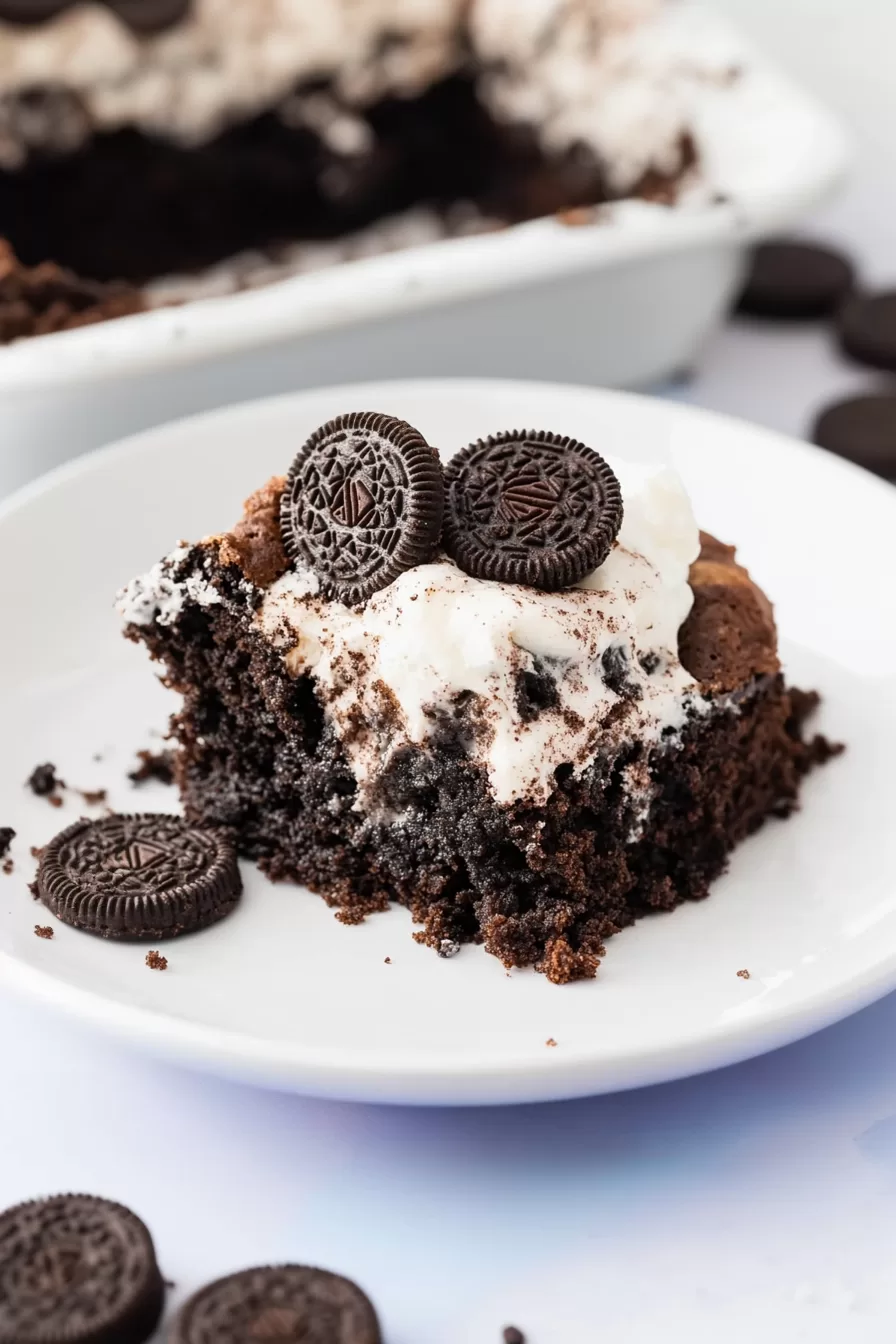
- Whipped topping (Cool Whip): This adds a creamy fluffiness between the layers that helps balance out the richness. Yes, it really works.
- Chocolate fudge cake mix: Don’t bother mixing it—sprinkling it dry is the whole trick. It absorbs the butter as it bakes, turning into a soft, chocolatey crust on top.
- Salted butter: Sliced and scattered to melt into the cake mix. Salted gives it that tiny edge of balance, so don’t swap for unsalted unless you’re really into chaos.
How To Make This Oreo Dump Cake
This is one of those “don’t overthink it” kind of recipes, which makes the whole process kind of joyful, honestly. The oven does most of the work while your place starts to smell like a chocolate-scented candle had a bake sale.
-
Preheat oven and prep your pan: 350°F is your temperature. Give a 9×13 dish a light coat of non-stick spray. Parchment is optional, but helps if you’re going for easy cleanup—as in, eating it straight from the dish without judgment.
-
Lay down the Oreos: Grab about 18 to 20 cookies and cover the bottom of your dish. No need to crush them—just line them up in a comfy single layer, gaps and all.
-
Pour condensed milk: Spread it out as evenly as you can. It’ll sink into all the right places as it bakes. Bonus tip: warm the can for 10 seconds if it’s too thick to pour nicely.
-
Add whipped topping: This part feels a little like you’re frosting a lasagna, and I love that for us. Use a spatula and gently spread the Cool Whip over the condensed milk.
-
Sprinkle that cake mix: All dry, straight from the box. Distribute it evenly, and use a fork to break up any obtrusive lumps. Be generous. No dry zones allowed.
-
Top with butter slices: Just scatter the butter like you’re laying out chocolatey crop circles. It doesn’t have to fully cover every inch—it’ll melt and travel.
-
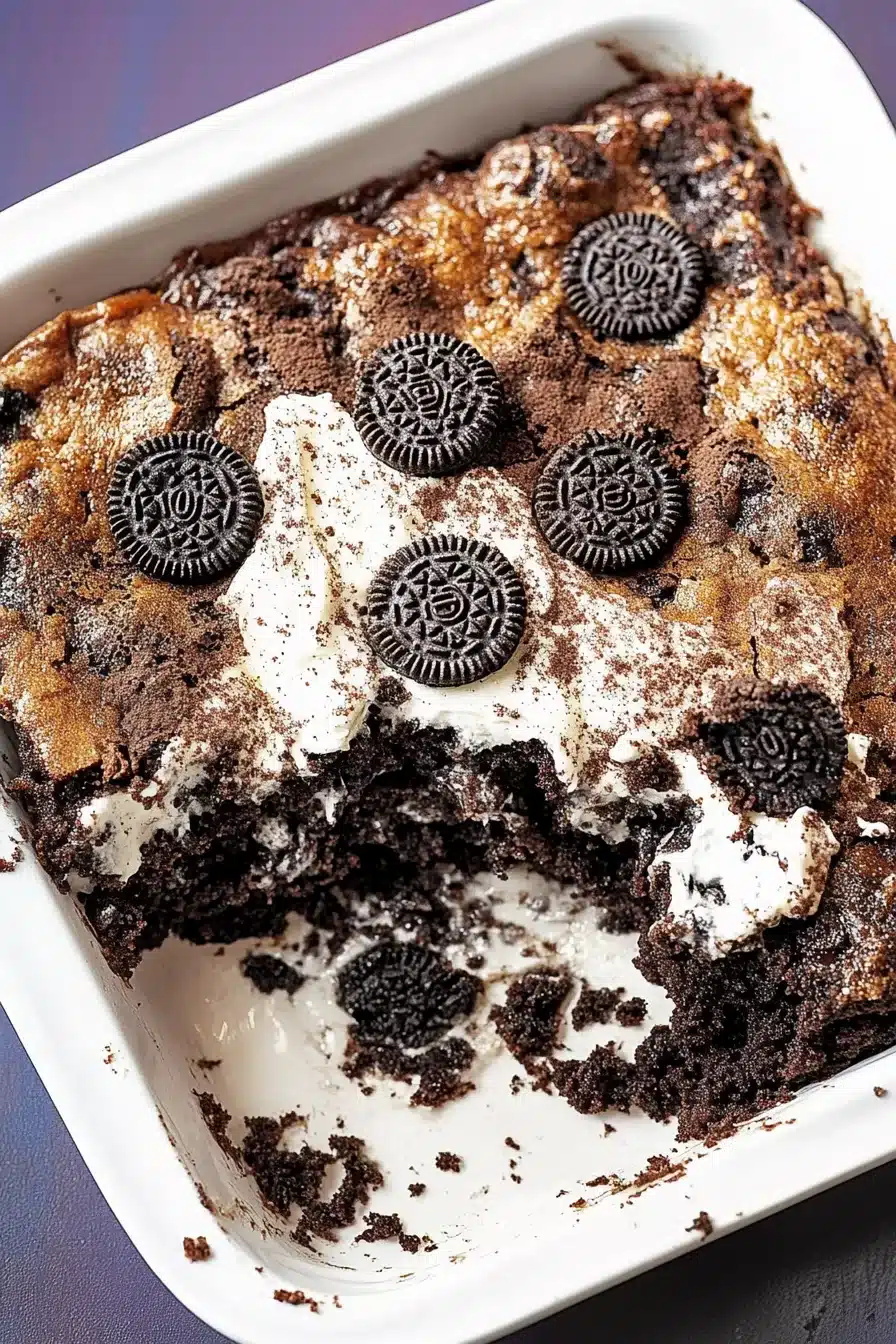
Finish with chopped Oreos: Take the 4 to 6 remaining cookies and give them a rough chop. Sprinkle them all over the top, letting some crumbs fall in reckless abandon.
-
Bake until bubbly and golden at the edges: 35 to 40 minutes is your window. You want to see the top set and the corners looking just the tiniest bit crispy.
-
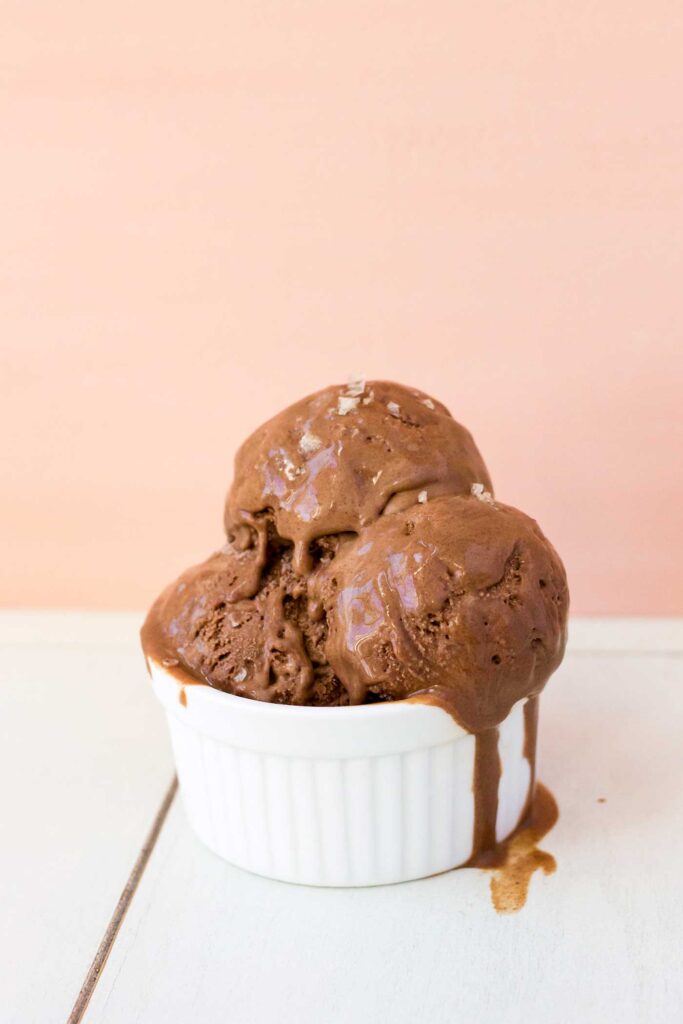
Cool slightly, then serve warm: Let it sit for 5 to 10 minutes if you can wait. Scoop into bowls and top with ice cream if you’re feeling generous (with yourself, obviously).
Storage Options
Let’s pretend you didn’t inhale all of it in one sitting. You’ve got leftovers—cool. This stuff keeps just fine.
Once totally cooled, cover the pan with foil or plastic wrap. Pop it into the fridge and it’ll stay dreamy for about 3 to 4 days. Just know the texture softens over time—but in a cozy, pudding-meets-brownie kind of way.
Thinking ahead? Yes, you can freeze it. Transfer portions to airtight containers or wrap them tight in foil and plastic. It’ll stay good for up to 2 months. To reheat, thaw in the fridge overnight (or use the microwave if you’re impatient like me).
Microwave reheating is your quickest fix: about 30 to 45 seconds per slice, depending on your microwave’s sass level. If you’re warming a bigger batch, a 300°F oven for 10 to 15 minutes does the trick.
Variations and Substitutions
This is a “use what ya have” dessert situation. Don’t be afraid to play a little.
- Golden Oreos: Swap the classic chocolate for vanilla if you’re into more of a cookies-and-cream latte vibe.
- Different cake mix flavors: Try devil’s food, red velvet, or even spice cake if you’re feeling bold (or forgot what box you grabbed).
- Add-ins like peanut butter cups or chopped nuts: Toss them in before baking for crunch or bursts of richness.
- Use homemade whipped cream instead of Cool Whip: Just be sure it’s stabilized with a little powdered sugar if you’re making ahead.
- Drizzle with caramel or Nutella: After baking, go wild with your drizzle game. This is your dessert runway.
What to Serve with Oreo Dump Cake
This cake doesn’t beg for sides, but if you want to get fancy (or just need a bit of contrast), here are some ideas.
-
If you spoon this warm into a bowl and top it with vanilla ice cream, it melts into those buttery crevices and becomes an out-of-body experience. Think lava cake energy—but easier.
-
This also hits different after something salty-savory. I love it after homemade pepperoni crescent rolls. That salty-fatty combo followed by chocolate? Magic.
-
For a cozy twist, try pairing with a creamy latte or chai. Something warm and spiced to balance out the sweetness like a good mood blanket.
-
Sprinkle crushed peppermint candy over the top and serve with hot cocoa for a winter-y dessert moment. It transforms into a holiday special with zero added stress.

Frequently Asked Questions
Can I make Oreo dump cake ahead of time?
Yep, you totally can. It actually gets more gooey and fudgy as it sits. Bake it, cool it completely, and store it in the fridge until you’re ready. Just reheat individual portions in the microwave or pop the whole dish in a low oven to warm through when the dessert bell rings.
Do I need to crush the Oreos first?
Not at all! For the bottom layer, you’ll want to leave them whole. That’s what gives the cake its unique cheesecake-bar-meets-trifle vibe. Just press them into place like edible tiles. Feel free to crush the top layer slightly if you’re going for extra texture.
Can I use homemade whipped cream instead of Cool Whip?
You sure can, but make sure it’s stabilized with a little powdered sugar or cornstarch if you’re planning to bake it ahead. Regular whipped cream might melt too much during baking and lose that fluffy layer we love. It’ll still be tasty, just a bit messier (which, honestly, still works).
Can I halve the recipe?
Absolutely. Just use an 8×8-inch pan and cut all the ingredients in half. Watch the bake time—it may be ready a few minutes earlier, so start checking around the 30-minute mark. Smaller pan also means more edge pieces, which is a win in my book.
Oreo Dump Cake
Ingredients
Main Ingredients
- 22 Oreo cookies divided (18-20 for bottom, 4-6 for topping)
- 1 can (396 g) sweetened condensed milk 14 ounces (396g)
- 1 container (226 g) whipped topping (Cool Whip) 8 ounces (226g), thawed
- 1 box (432 g) chocolate fudge cake mix about 15.25 ounces (432g)
- 1/2 cup (113 g) salted butter sliced, 1 stick (113g)
Equipment
- 9x13 inch Baking Dish
- Oven
- Spatula
Instructions
- Preheat oven to 350°F (175°C). Lightly grease a 9x13-inch baking dish with non-stick spray. Parchment is optional for easy cleanup.
- Arrange about 18–20 Oreo cookies in a single layer to cover the bottom of the dish. No need to crush—just line them up.
- Pour the sweetened condensed milk evenly over the Oreos. Warm the can slightly if needed to make pouring easier.
- Gently spread the whipped topping (Cool Whip) over the condensed milk layer with a spatula.
- Sprinkle the dry chocolate fudge cake mix evenly over the whipped topping. Use a fork to break up any lumps and ensure full coverage.
- Distribute the butter slices over the cake mix, making sure they are evenly scattered. It’s okay if not every spot is covered—melting butter will spread as it bakes.
- Roughly chop the remaining 4–6 Oreo cookies and sprinkle them over the top, letting some crumbs fall naturally.
- Bake for 35–40 minutes, or until the edges are bubbly and the top is set and golden. The center will be soft and gooey.
- Remove from oven and let cool for 5–10 minutes. Scoop out servings while warm. Top with ice cream for maximum joy.