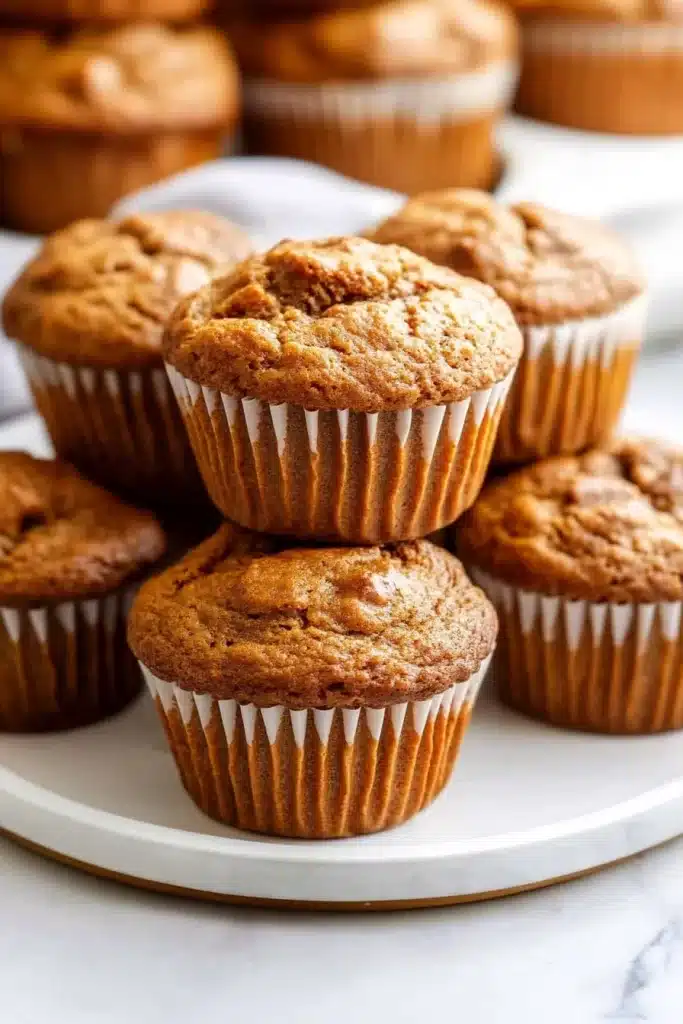
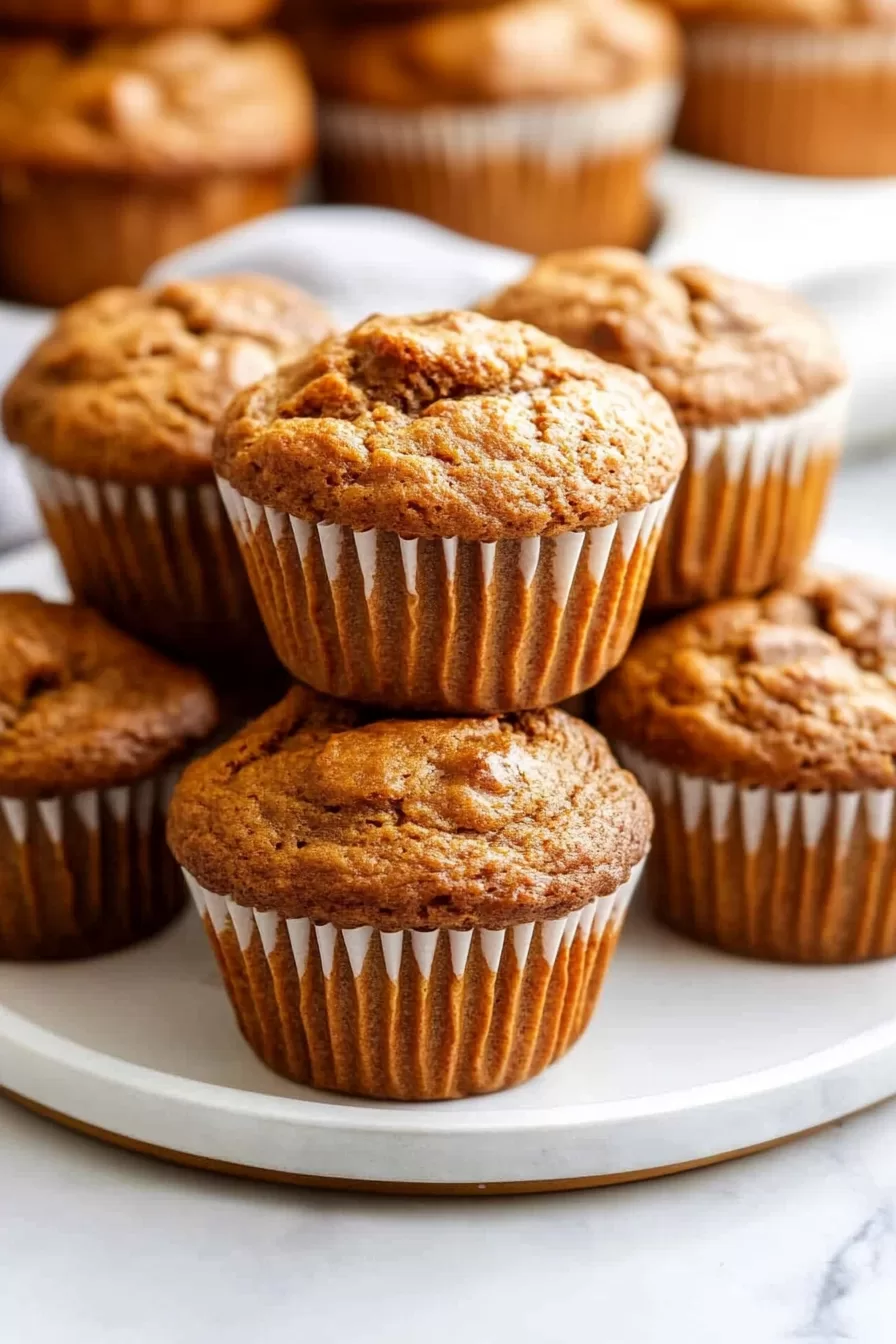
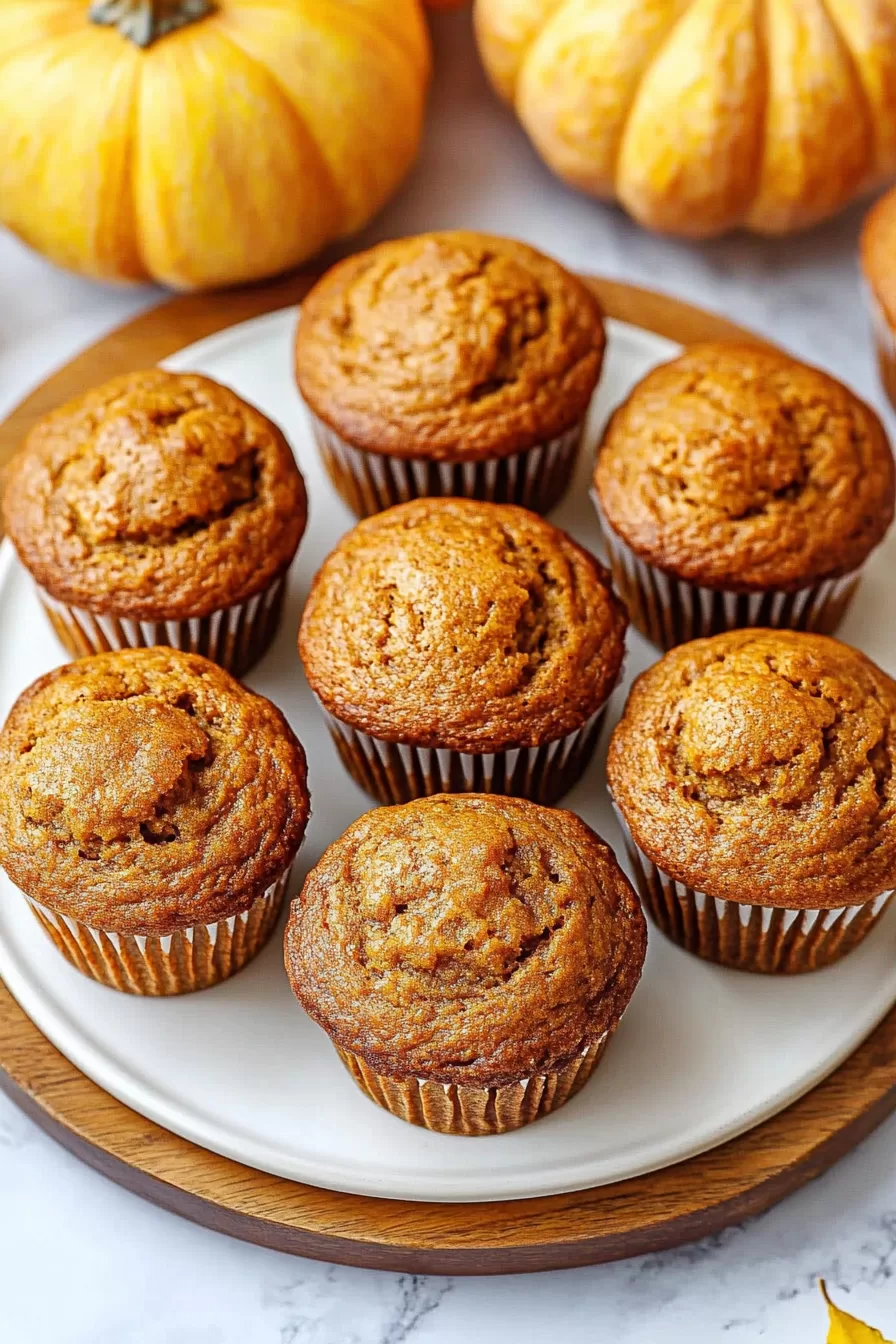
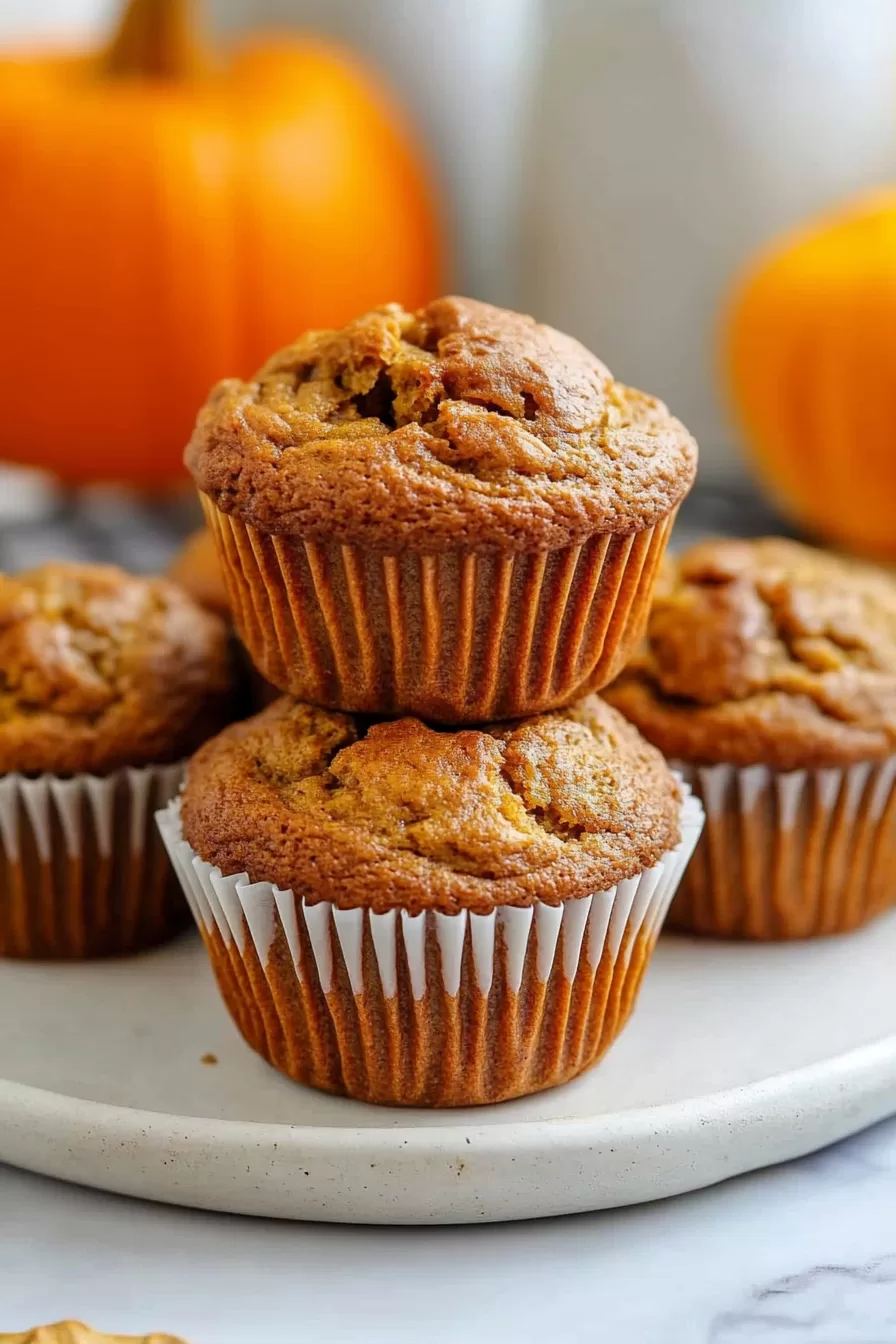
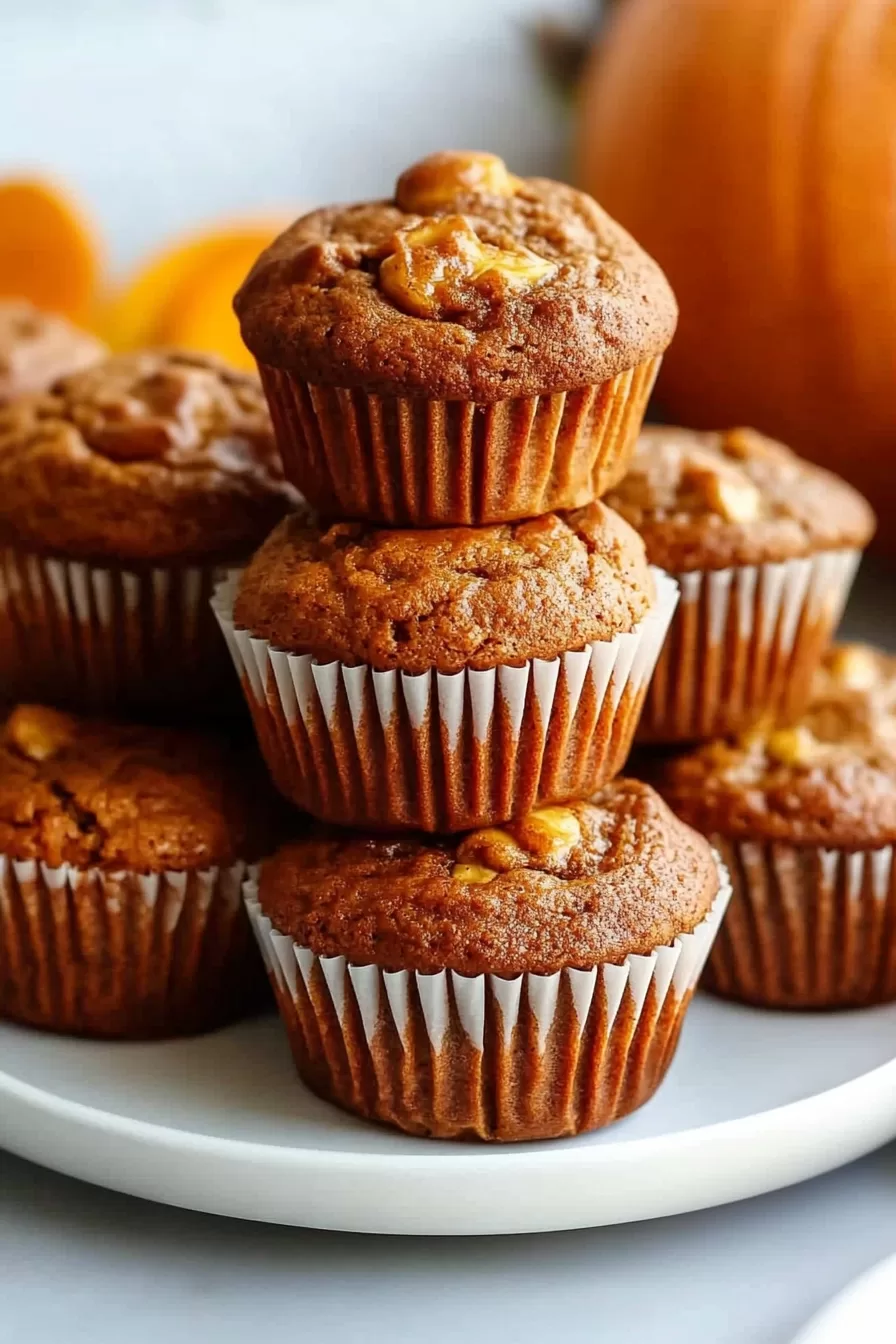
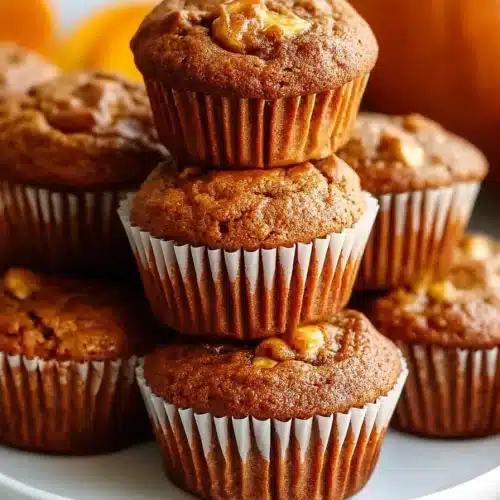
Pumpkin meets banana in these cozy, warmly spiced pumpkin banana muffins, made with pumpkin purée, mashed ripe bananas, cinnamon, and just enough sugar. Moist, golden, and full of fall-ish aroma, they’re begging to be eaten with coffee.
Grab a whisk, maybe a fuzzy sock or two, and let’s talk muffins. These are soft and cakey with just the right balance of sweetness and spice. I love how the banana gives them that smooth, mellow sweetness, while pumpkin adds moisture and a little earthiness (in the best way). You don’t need a mixer—just some well-loved bowls and a spatula that’s seen a thing or two. They’re the sort of thing you’d bake on a chilly Sunday then end up reaching for come Tuesday breakfast. And yes, they smell like someone bottled “cozy” and put it in your oven.
Why You’ll Love this Pumpkin Banana Muffins Recipe
No fuss here—just a batch of muffins that feel like a warm hug. Let’s look at why they’re worth baking this week.
- Ridiculously simple to make: You mix two bowls, pour into a muffin tin, and somehow end up with bakery-adjacent goodness.
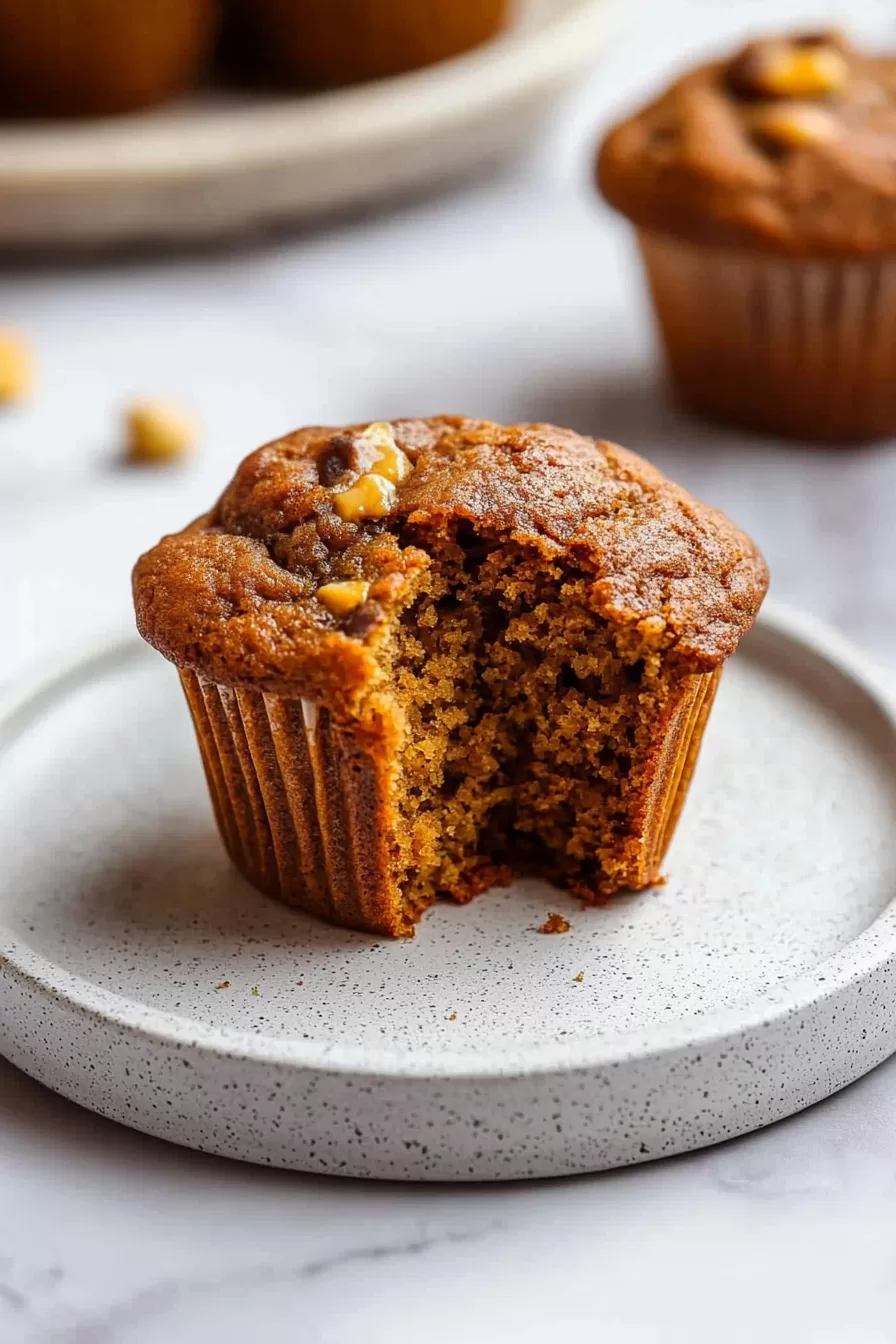
- Super moist without being soggy: That banana-pumpkin duo works magic. Seriously, no dry muffins on my watch.
- Smells absurdly good while baking: Think warm spice, toasty sugar, and a hint of caramelized banana wafting through your house.
- Can handle all your tweaks: Add nuts, chocolate chips, or a crumble top if you’re feeling extra. They’re very forgiving.
- Not too sweet (in a good way): These aren’t sugar bombs. They’re cozy, slightly spiced, and perfect alongside your morning brew.
Ingredient Notes
Let’s break down what goes into these cozy little muffin pals. Nothing fancy, just pantry staples doing the most.
- All-purpose flour: This is your base, your trusty sidekick. You could use a mix of white and whole wheat if you’re feeling wholesome.
- Baking powder & baking soda: They team up to provide lift. Don’t skip either or your muffins might get shy in the oven.
- Ground cinnamon: Adds that soft, warm spice that makes these feel like autumn in muffin form.
- Salt: Just a pinch keeps the sweetness in check and brightens the flavor. Yes, even in baked goods—don’t leave it out.
- Granulated sugar & brown sugar: A mix keeps the flavor balanced. The brown sugar gives depth and a light molasses vibe.
- Oil: Keeps the muffins moist and tender. I use neutral vegetable oil, but melted coconut oil works too—just make sure it’s not too hot before mixing.
- Vanilla extract: Adds a warm, fragrant background note. Optional, but recommended.
- Eggs: Helps bind everything and adds structure. Room temperature is ideal (but let’s be honest, I don’t always remember either).
- Pumpkin puree: Not pumpkin pie filling! Just the plain orange stuff. It brings moisture and that unmistakable earthy sweetness.
- Mashed bananas: Use overripe ones, the spotty kind you forgot about on the counter. The riper they are, the better they bake.
How To Make This Pumpkin Banana Muffins Recipe
Alright, tie on an apron and let’s do this together. No stand mixer, no stress. I’ll guide you like we’re baking shoulder to shoulder.
-
Preheat and prep the pan: Preheat your oven to 425°F (that’s not a typo, we’ll turn it down later). Line a 12-cup muffin pan with paper liners or grease it lightly.
-
Whisk up those dry ingredients: In a big bowl, combine flour, baking powder, baking soda, cinnamon, and salt. Give it a good whisk so everything’s evenly distributed. Set it aside like a little treasure.
-
Mix the sweet stuff and oil: In another bowl (yes, you’ll need two), mix both sugars with the oil and vanilla. Stir until smooth and glossy—should look like something between cake batter and caramel dreams.
-
Add in the eggs and fruit purées: Crack in your eggs one at a time, mixing well after each. Then stir in the mashed banana and pumpkin puree. At this point, it smells amazing and looks a bit like pumpkin pudding.
-
Combine the dry with the wet: Gently stir your dry ingredients into the pumpkin-banana mix. Go slow, don’t overmix. A few lumps are totally fine and no white flour streaks is your stopping point.
-
Fill your muffin tin: Divide the batter evenly. Fill each cup until full—they rise but not dramatically, so don’t hold back.
-
Bake high, then drop the temp: Slide the pan in, bake at 425°F for 5 minutes. Then lower the heat to 375°F and bake for 10–15 more minutes. This trick gives you that nice domed top without overbaking the inside.
-
Cool a little before diving in: Let them cool in the pan for 5 minutes, then transfer to a wire rack. Warm is perfect, but not lava-hot please.
Storage Options
These muffins store like a dream, which is good because you’ll likely make the full dozen.
Once they’ve cooled fully (resist the urge to put them in a container while they’re still warm—they’ll steam and get weirdly damp), pop them into an airtight container. You can leave them on the counter for two to three days. After that, they start to lose their charm.
Want to keep them longer? Into the fridge they go. They’ll last about a week there, though you might want to give them a quick zap in the microwave or toast them with a bit of butter (which is never a bad idea).
And yes, friend, you can totally freeze them. Once cooled, wrap them individually or freeze in a single layer before transferring to a freezer bag. They’ll keep for about 2 months. Thaw at room temperature or nuke them for 30 seconds. Freezer muffins are my favorite lazy weekday breakfast.
Variations and Substitutions
This muffin recipe is super chill—there’s room to play if you feel like mixing it up a bit.
-
Add-ins like chocolate chips or walnuts: Fold in ¾ cup of whatever strikes your fancy before baking. Chocolate and banana never disappoint, but a sprinkle of chopped pecans gives great texture too.
-
Swap the oil: Use melted butter for extra richness or coconut oil for a slight tropical twist. Just be sure it’s cooled before mixing with eggs.
-
Make it gluten-free: Use a 1:1 gluten-free all-purpose flour blend. Double-check that it includes xanthan gum for the best structure.
-
Go slightly healthier: Sub half the flour with whole wheat or white whole wheat. It’ll make them a little more rustic and hearty.
-
Add a streusel or crumb topping: Mix a little brown sugar, flour, and butter to sprinkle on top before baking if you’re craving a bakery-style muffin moment.
What to Serve with Pumpkin Banana Muffins
These muffins are great all on their own, but sometimes a little muffin party plate is what you need. Here are a few pairing ideas I swear by.
-
You know what sings with these muffins? Coffee, of course. But if you want something iced and refreshing, try your favorite cold brew with a splash of oat milk and cinnamon. The combo is basically fall in a cup.
-
For a snacking situation, pair these with a swipe of peanut butter or cream cheese. Better yet, turn them into mini muffin sandwiches with a schmear in the middle. Kinda like a nod to a certain frozen peanut-banana treat I may have made once or twice.
-
Add a savory side! If you’re having these muffins for brunch, a little protein never hurts. Pair them with some Buffalo chicken meatballs for a sweet-spicy balance that’ll wake up your mouth.
-
On the cozier side, serve these up warm with a mug of cinnamon chai or steamed milk with maple syrup. Muffins and hygge vibes—say less.
Frequently Asked Questions
Can I use fresh pumpkin instead of canned puree?
Yes, absolutely! Just be sure your homemade pumpkin purée is well-drained—canned tends to be thicker and less watery. Roast, mash, and strain it through cheesecloth or a fine sieve if it feels too loose. Your muffins will thank you for it.
Can I make these muffins vegan?
Yep, with a few tweaks. Replace the eggs with flax eggs (1 tablespoon ground flax + 3 tablespoons water per egg) and use non-dairy milk or water in place of the eggs’ moisture. Swap the oil with coconut oil or a vegan butter, and you’re in business.
Why do I bake at a high temperature first, then lower it?
That little temperature trick helps your muffins rise quickly at the start, giving you that tall, rounded bakery-style muffin top. Then lowering the heat lets them bake through without burning or drying out. It’s the best of both muffin worlds.
How do I know when my muffins are done?
When a toothpick poked into the center comes out clean or with just a few moist crumbs, they’re done. If it comes out gooey, give it a few more minutes. And if you see the tops spring back when gently pressed, that’s a good sign too. Trust the muffin vibes.
Pumpkin Banana Muffins
Ingredients
- 1.75 cups (218 g) all-purpose flour
- 1 tsp baking powder
- 0.5 tsp baking soda
- 1.5 tsp ground cinnamon
- 0.5 tsp salt
- 0.5 cup (100 g) granulated sugar
- 0.5 cup (100 g) brown sugar light or dark, packed
- 0.5 cup (120 ml) neutral vegetable oil or melted coconut oil, cooled
- 1 tsp vanilla extract (optional but recommended)
- 2 large eggs room temperature preferred
- 0.75 cup (180 g) pumpkin puree not pumpkin pie filling
- 1 cup (250 g) mashed ripe banana roughly 2-3 medium, very ripe bananas
Equipment
- 12-cup muffin pan
- Two Mixing Bowls
- Whisk
- Spatula
Instructions
- Preheat your oven to 425°F (220°C). Line a 12-cup muffin pan with paper liners or lightly grease.
- In a large bowl, whisk together the flour, baking powder, baking soda, cinnamon, and salt. Set aside.
- In another bowl, mix the granulated sugar, brown sugar, oil, and vanilla extract until smooth.
- Add the eggs one at a time to the sugar/oil mixture, mixing well after each. Stir in pumpkin puree and mashed banana until combined.
- Gently fold the dry ingredients into the wet mixture. Stir until almost combined—do not over-mix. A few lumps are fine.
- Divide the batter evenly among the prepared muffin cups, filling them to the top.
- Bake at 425°F (220°C) for 5 minutes, then (without opening the oven) reduce temperature to 375°F (190°C) and bake for 10-15 more minutes. Muffins are done when a toothpick comes out clean or with a few moist crumbs.
- Let muffins cool in the pan for 5 minutes, then transfer to a wire rack to finish cooling.
Notes
Storage: Store completely cooled muffins in an airtight container at room temperature for up to 3 days. Refrigerate to keep fresh for up to 1 week, or freeze for up to 2 months. To make vegan: Replace eggs with flax eggs (1 tbsp flaxseed meal + 3 tbsp water per egg), and use a plant-based oil.
Make it gluten-free: Use a 1:1 gluten-free flour blend with xanthan gum.