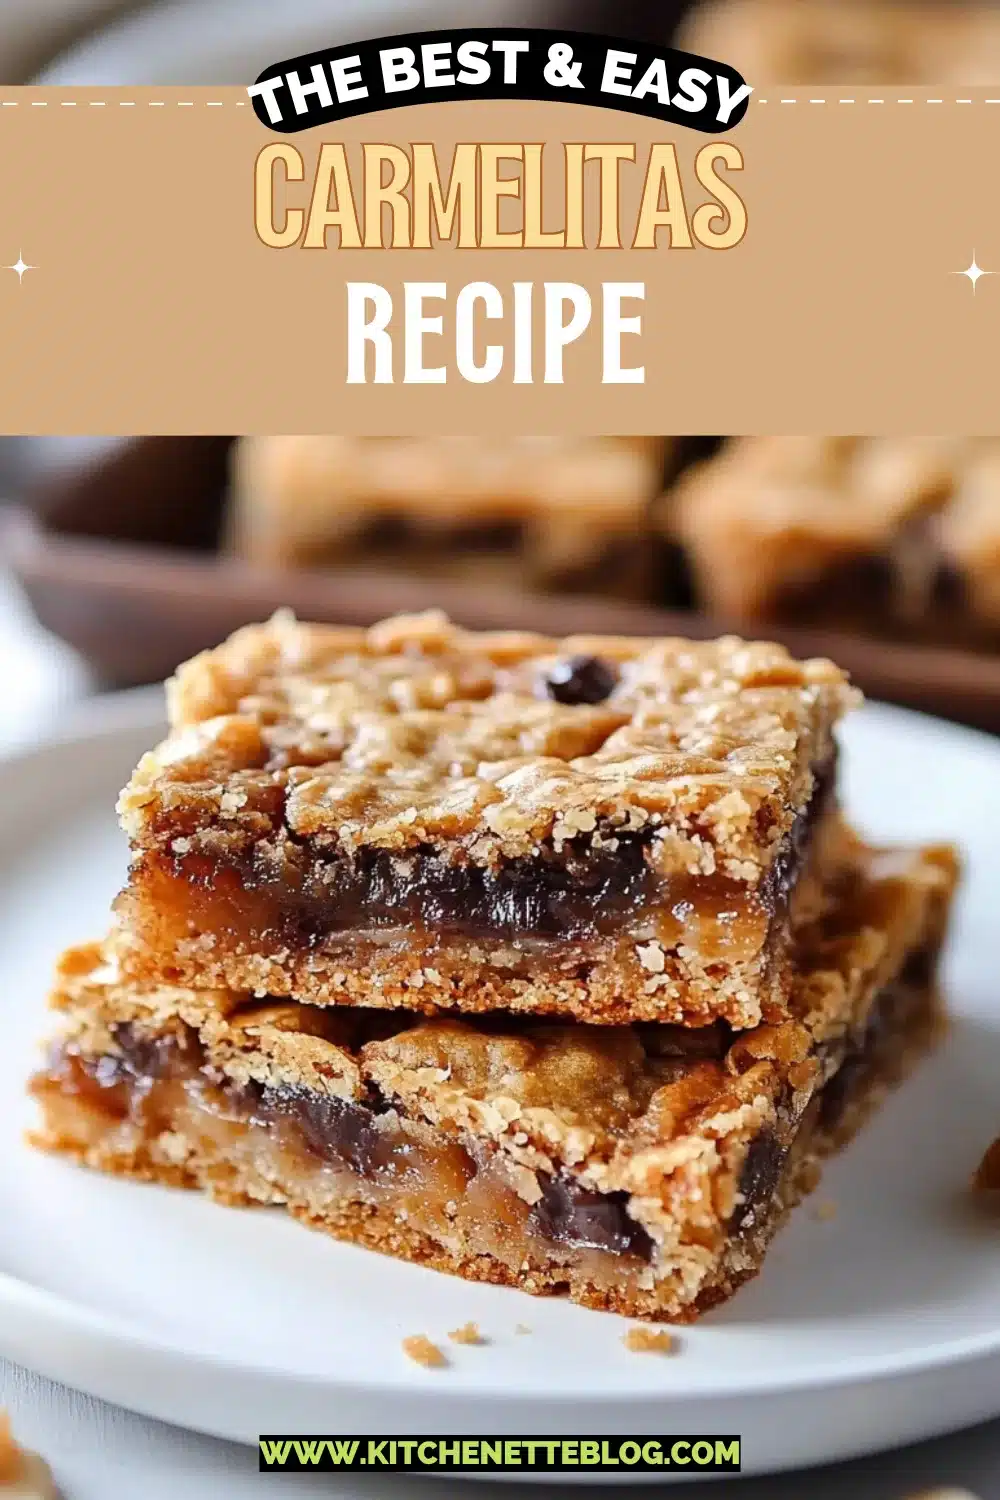
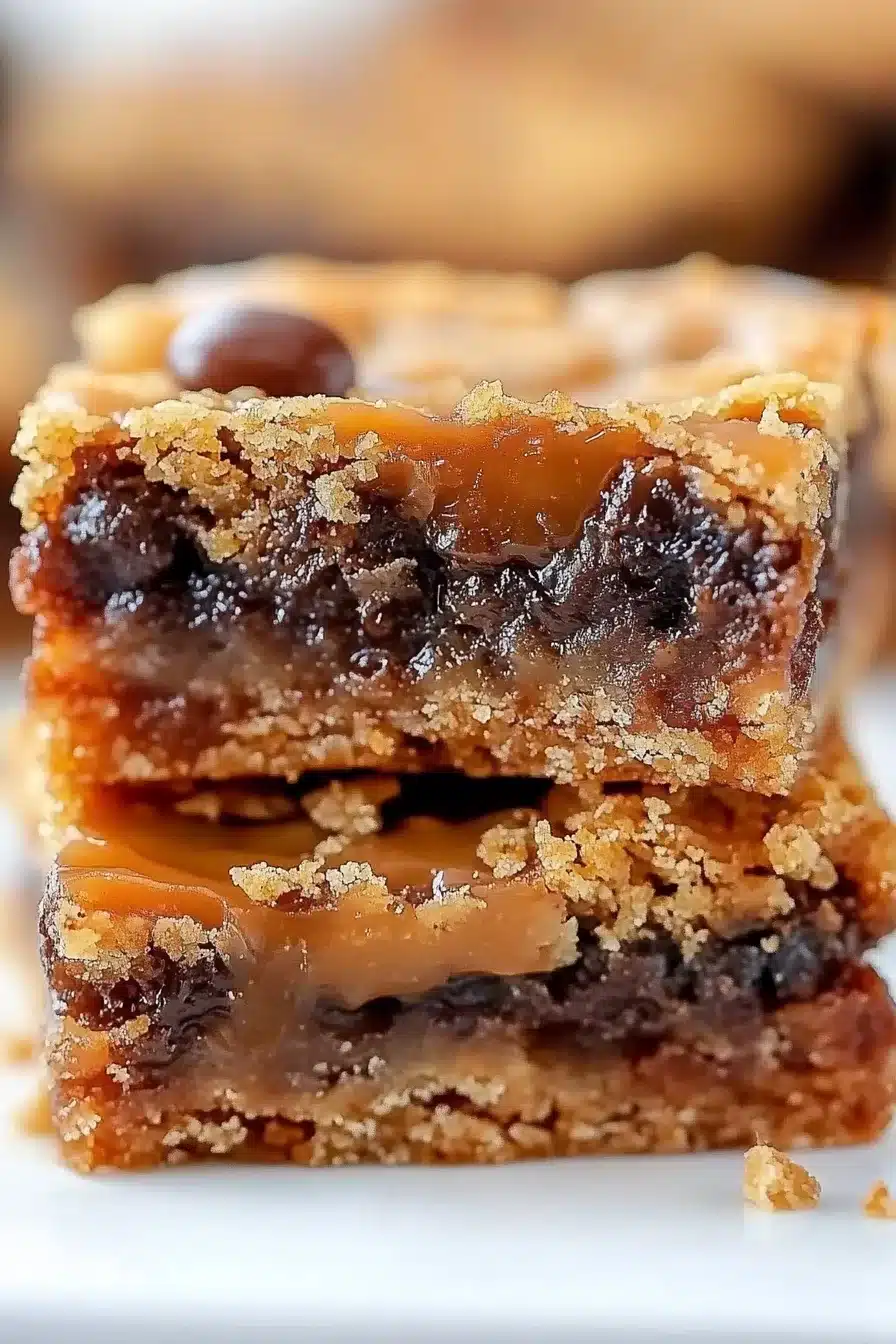
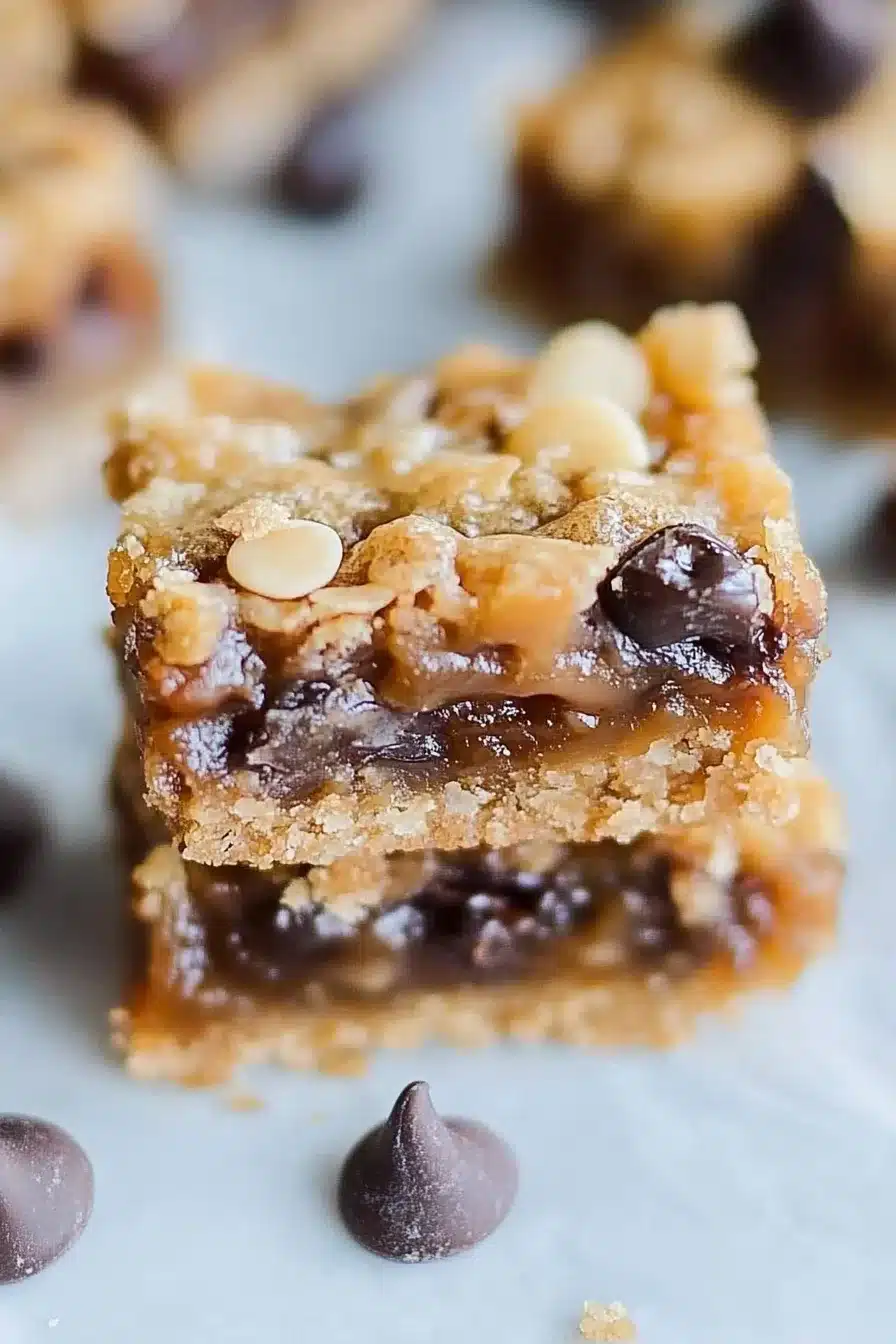
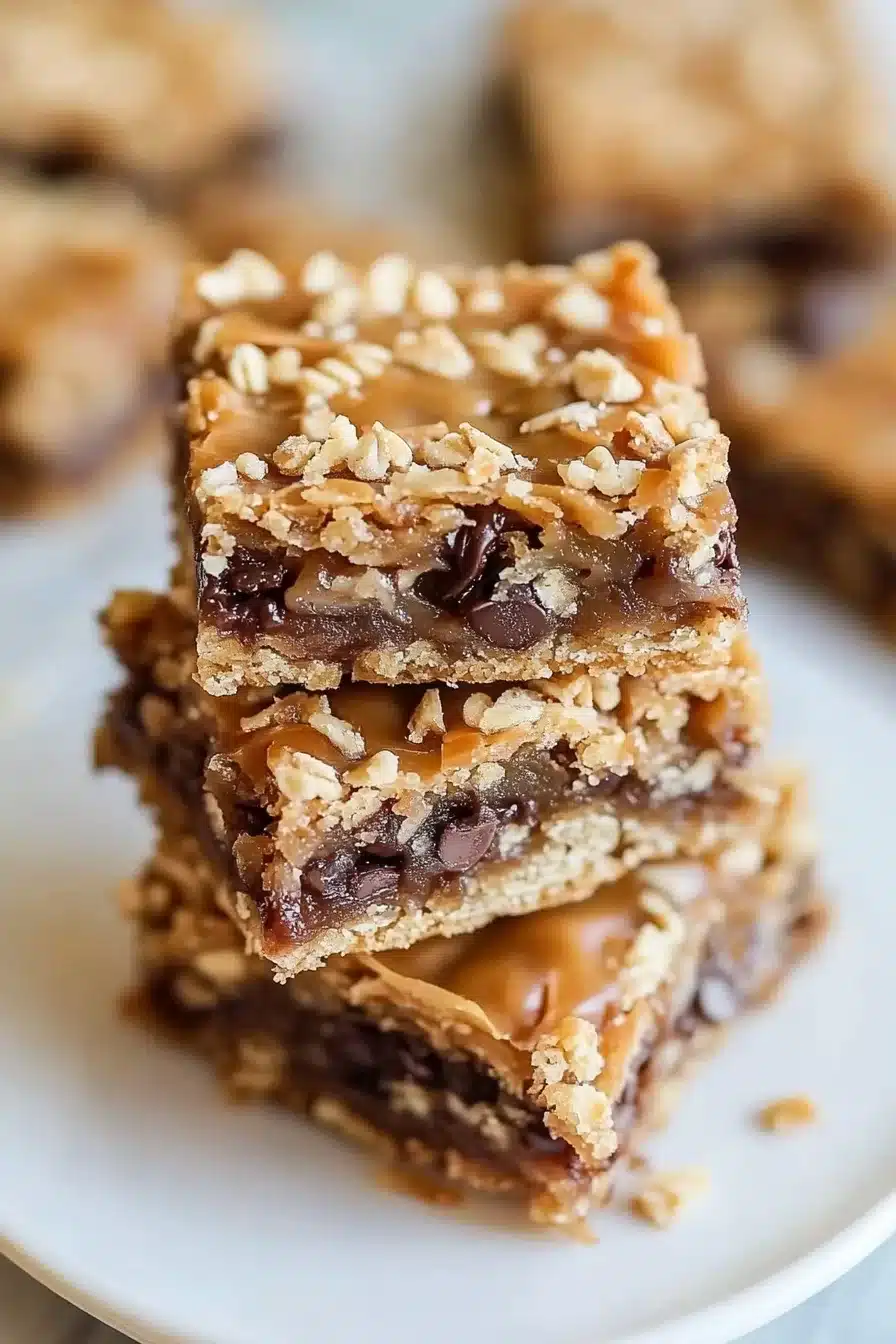
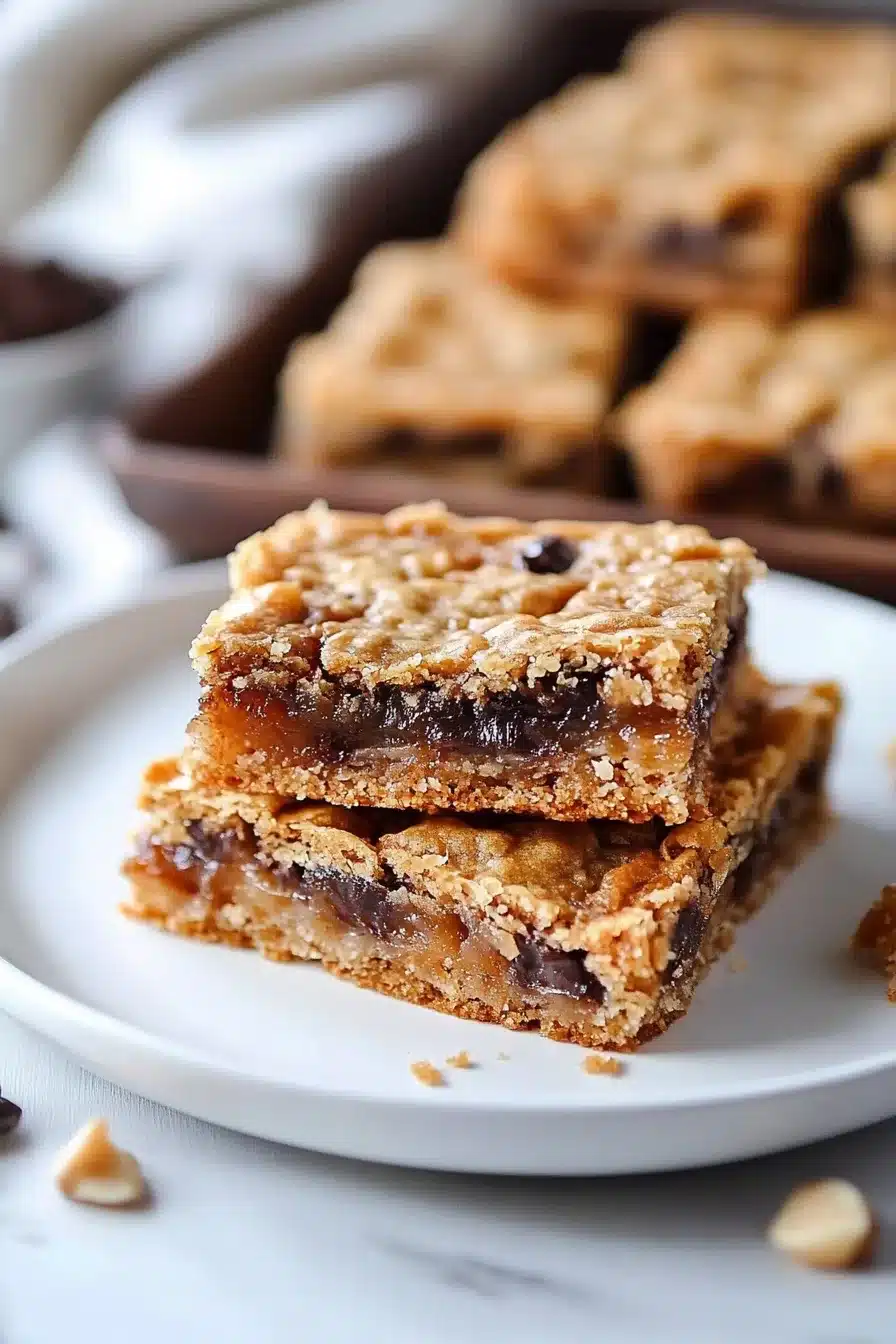
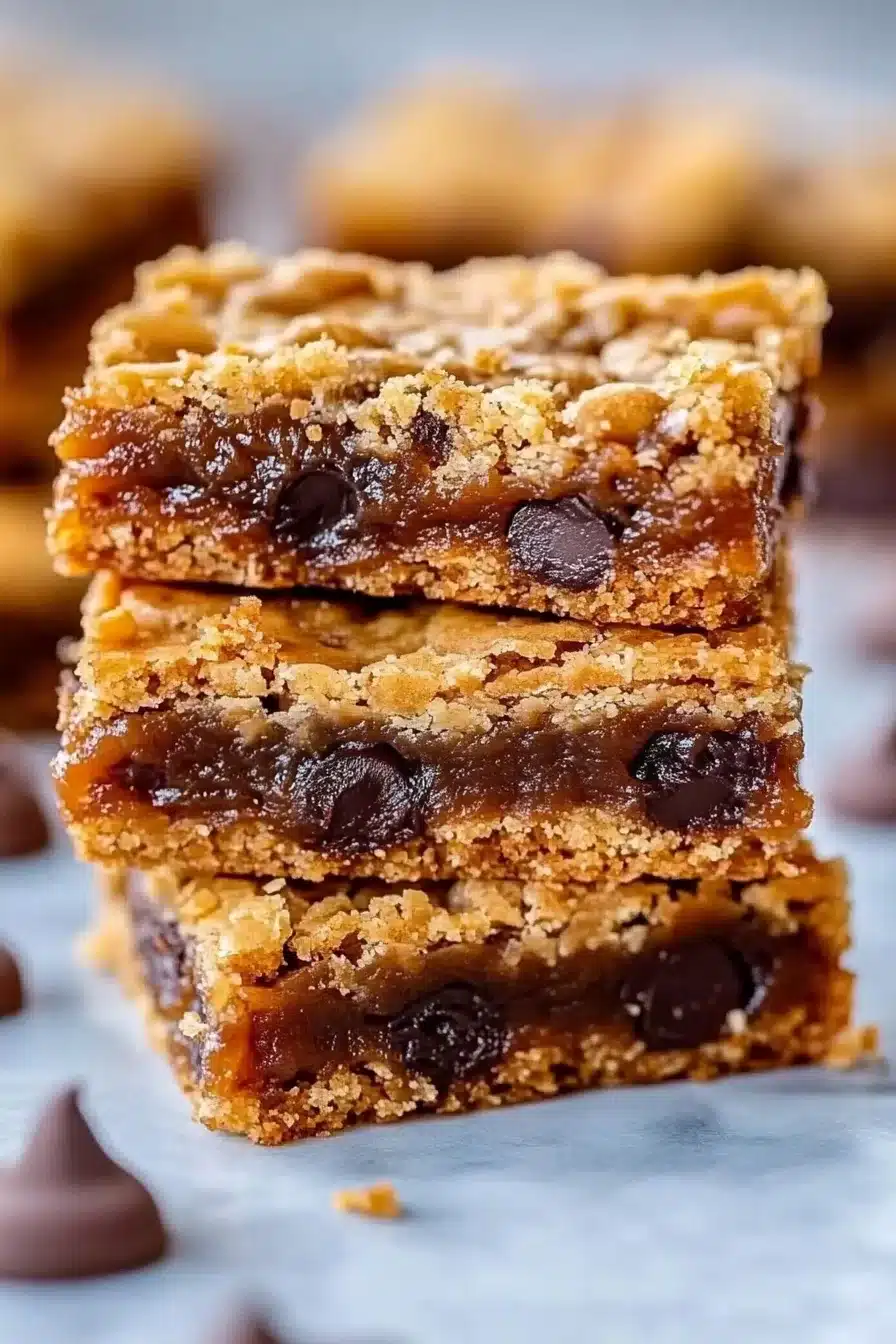
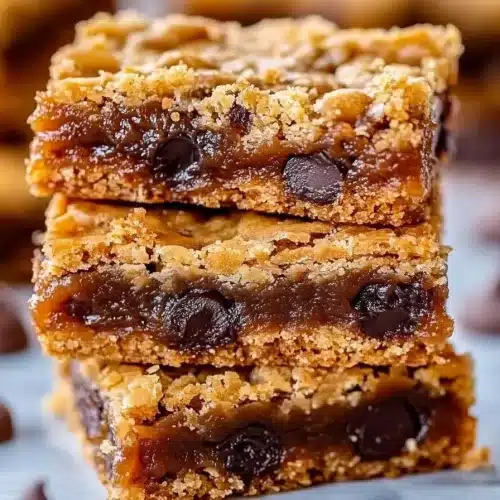
Buttery oat layers, gooey melted caramel, and those melty little pools of chocolate—these carmelitas are a chewy, sweet-toasty dream. Made with rolled oats, brown sugar, caramel candies, and chocolate chips, they fill the kitchen with a nutty, caramel-sweet aroma that’ll stop you mid-scroll (or mid-snack).
If my oven had a “cozy vibes only” button, this is what would come out. Carmelitas are one of those desserts that feel like a warm hug—ooey-gooey centers, crisp-edged oat layers, and that irresistible caramel-chocolate waterfall in the middle. Also, they’re wildly easy. Mix, layer, melt, bake. Ta-da! Whether it’s a casual Thursday treat or a “let’s impress the bake sale parents” moment, this pan of goodness hits the mark every time.


Why You’ll Love this Carmelitas Recipe
No need to oversell these bars—they kind of speak for themselves. But allow me a few enthusiastic bullet points anyway.
- Ridiculously simple to make: You just squish, smear, melt, and drizzle. Okay, technically you layer, but it’s all very low-stress.
- Golden oat crust magic: That base gets just crunchy enough to hold the whole thing together while still smelling like baked cookie dreams.
- Caramel + chocolate combo bliss: It’s rich but not overkill, thanks to the salty-sweet balance that keeps you coming back for “just one more bite.”
- Perfectly messy in the best way: These are not sterile, symmetrical dessert bars. They’re rustic, gooey squares of pure joy.
- No mixer needed: You’ll only need a bowl, a saucepan, and an oven that behaves. (Mine has trust issues… but that’s another story.)
- Make-ahead friendly: They slice even better the next day, once they’ve had time to chill and compose themselves.
Ingredient Notes
You don’t need anything fancy here, just pantry stuff with personality. Each ingredient has its role.
- Butter, melted: This is your flavor base and the glue that holds the crust together. Salted or unsalted both work here—just adjust the salt accordingly.
- Light brown sugar: Brings a deep, caramel-butterscotch note. Dark brown sugar is okay if that’s what you’ve got, but it’ll be a touch richer.
- Vanilla extract: The background player that makes everything taste, well, like dessert.
- All-purpose flour: Keeps the oat layer from falling apart and gives structure without drying things out.
- Old fashioned rolled oats: These give the bars a chewy texture and nutty flavor. Skip the quick oats—they turn to mush here.
- Baking soda: Lifts things just a little. No dramatic rise needed, just enough oomph to keep the crust from being dense.
- Salt: Half goes into the crust, and half gets stirred into that gloriously gooey caramel for balance. Don’t skip this—it matters.
- Soft caramel candies + heavy cream: Melt into a silky lake of joy. You can use Kraft or Werther’s, but make sure they’re soft and not the rock-hard kind.
- Semi-sweet chocolate chips: These melt quickly and stay gooey even after cooling. You can use dark chocolate if you want to nudge the richness up a notch.
How To Make This Carmelitas Recipe
Let’s make some caramel magic. This one’s more of a layering-and-melting kind of recipe than a bake-and-frost situation—just how I like it.
-
Preheat and set up your pan: Get that oven heated to 350°F. Line an 8×8 pan with parchment so the bars come out with minimal drama later. Lightly grease for good measure. Trust me, parchment + spray = happy baker.
-
Make the oat crust and topping: Melt your butter in the microwave, 20 seconds at a time. Stir in the brown sugar and vanilla until it all looks glossy and golden. Then mix in the flour, oats, baking soda, and half the salt until it forms a thick dough situation. It’ll look chunky but smell awesome.
-
Press and pre-bake: Take half the dough and press it into the bottom of your pan. Don’t overthink it—just make it even-ish. Bake for 10 minutes to get a bit of structure going before the caramel party.
-
Prepare the caramel sauce: While the crust bakes, toss those soft caramel candies and cream into a saucepan on low heat. Stir constantly (seriously, keep it moving) until smooth and completely melted. Then stir in the second half of the salt. Resist the urge to dip your spoon in. Or don’t. Just don’t burn your mouth like I did.
-
Assemble the layers: Pull out the hot crust. Scatter the chocolate chips evenly across (they’ll start melting beautifully), then pour the warm caramel all over. Try to get edge-to-edge caramel action. Crumble the rest of your oat mix on top—don’t press it. Craggy bits = better texture.
-
Bake again until golden and bubbly: Slide it back into the oven for 15–18 minutes. When the edges look toasty and the top has some golden bits poking through, it’s done.
-
Cool like a grown-up: This is the hard part. Let it cool completely on the counter for at least four hours (yes, four). If you want cleaner slices, pop it in the fridge before cutting.
Storage Options
OK, let’s talk leftovers—if you somehow manage to not eat the whole pan.
Once cooled and sliced, these carmelitas do really well at room temp for a couple of days. Keep them in an airtight container and they’ll stay chewy and fabulous. If it’s summer or your kitchen tends to become a sauna, store them in the fridge instead. Just let them sit out for a few minutes before biting in so you don’t chip a tooth on cold caramel. (Voice of experience.)
Now, yes, you can totally freeze them. Layer parchment between the bars and use a tightly sealed container, then stash them for up to 3 months. When cravings hit, thaw at room temperature or microwave in short bursts for that just-baked warmth.
Need to revive a chilled bar? Quick zap in the microwave does the trick. Ten-ish seconds. Dinner party leftovers or snack stash—these bars are ready for anything.
Variations and Substitutions
There’s a lot of wiggle room here, depending on what you’re craving or what’s in your pantry.
- Dark chocolate chips: Want a more intense bite? Swap semi-sweet for dark or even chopped bittersweet chocolate. Totally changes the vibe—in a good way.
- Salted caramel candies: They add an extra edge of saltiness that’s just chef’s kiss level. If you go this route, maybe dial back the added salt a touch.
- Gluten-free oats + flour: It works! Just make sure your oats are certified gluten-free, and use a good 1:1 GF flour blend for baking.
- Add chopped pecans or walnuts: Mix a handful into the oat dough or sprinkle on top before baking for extra crunch and a touch of fancy.
- Swap oats for crushed pretzels: Okay, hear me out. It makes a more crumbly top, but the salty crunch with caramel is outrageously good.
What to Serve with Carmelitas
These bars are rich, indulgent, and kind of the whole dessert situation on their own—but a little supporting cast is never a bad idea.
-
If you like shortcuts to happiness, serve one warm with a scoop of vanilla ice cream. The caramel melts slightly, the chocolate gets glossy again, and you’ve essentially created a caramel-cookie sundae. It’s… a moment.
-
For coffee lovers, a strong cup of black coffee or even a latte balances out the richness. The bitterness from the coffee cuts through the sweetness and makes you feel like a grown-up while eating a glorified cookie bar.
-
These bars actually pair wonderfully with salty snacks. Try a small plate of mixed nuts or even those tiny pretzel knots for contrast and crunch. Plus, it’s a great excuse to go back for seconds.
-
If you’re itching for a bigger dessert table, try pairing these with something totally opposite in flavor. Maybe these peanut butter cheesecake bars. Creamy meets chewy, and everyone wins—especially your sweet tooth.
-
And yes, they’re dreamy alongside a glass of cold milk. Or almond milk. Or oat milk. Whatever creamy chilled thing you like to sip while sneaking dessert straight from the pan.
Frequently Asked Questions
Can I use store-bought caramel sauce instead of melting caramel candies?
Short answer: yes, but with a little caution. Store-bought sauces tend to be thinner and sometimes sweeter, so they won’t firm up the same way once baked. If you’re using jarred caramel, try to find a thicker variety and reduce the cream in the recipe a bit—or skip the cream altogether and just pour the sauce directly over the chocolate chips.
Why do my carmelitas fall apart when I cut them?
Ah, yes. The ol’ crumbly crime scene. Usually, it’s because they were cut too soon. Let them cool completely—preferably chill them in the fridge for cleaner slicing. If the bars are too warm, the caramel and chocolate layers are still soft and sticky, which leads to delicious but messy cuts.
Can I double this recipe for a 9×13 pan?
Absolutely! Just double every ingredient and extend the bake times slightly—maybe 5 more minutes on each bake cycle. Keep an eye on the edges turning golden brown, and you’ll be golden too. Great for parties or, you know, Tuesdays.
What are the best caramels to use?
Look for soft, chewy caramels like Kraft or Werther’s soft caramels. The key is to avoid hard or brittle varieties, which won’t melt smoothly and might burn. Bonus tip: unwrap them beforehand while watching TV because unwrapping 35 caramels always takes longer than expected.
Carmelitas (Oatmeal Caramel Chocolate Bars)
Ingredients
Oat Crust and Topping
- 1 cup (226 g) unsalted or salted butter melted
- 1 cup (220 g) light brown sugar packed
- 2 tsp (10 ml) vanilla extract
- 1 1/4 cups (155 g) all-purpose flour
- 1 cup (100 g) old-fashioned rolled oats not quick oats
- 1 tsp (5 ml) baking soda
- 1 tsp (6 g) salt divided, 1/2 for crust, 1/2 for caramel
Caramel Layer & Chocolate
- 11 oz (310 g) soft caramel candies such as Kraft or Werther’s (about 35 candies), unwrapped
- 1/3 cup (80 ml) heavy cream
- 1 cup (170 g) semi-sweet chocolate chips
Equipment
- 8x8-inch pan
- Parchment paper
- Mixing bowl
- Saucepan
- Spatula
Instructions
- Preheat your oven to 350°F (175°C). Line an 8x8-inch pan with parchment paper, leaving a little overhang for easy removal. Lightly grease the parchment and sides.
- Make the oat crust: In a large bowl, melt the butter. Stir in the brown sugar and vanilla extract until glossy. Add flour, rolled oats, baking soda, and half the salt (1/2 tsp). Mix into a thick, crumbly dough.
- Press half of the oat dough firmly into the bottom of your prepared pan to create an even base. Bake for 10 minutes.
- Prepare caramel: While the base bakes, combine caramel candies and heavy cream in a small saucepan. Cook on low heat, stirring constantly until the mixture is melted and smooth. Stir in the remaining 1/2 tsp salt and remove from the heat.
- Assembly: Remove the hot crust from the oven. Scatter chocolate chips evenly over the base. Pour the melted caramel over the chocolate chips, spreading gently to the edges.
- Crumble the remaining oat dough evenly across the caramel layer. Do not press down; leave some craggy bits for texture.
- Bake again for 15–18 minutes, or until the top is golden and edges look set and toasty.
- Cool COMPLETELY in the pan on a wire rack, at least 4 hours (or refrigerate for cleaner cuts). Cut into bars and enjoy!