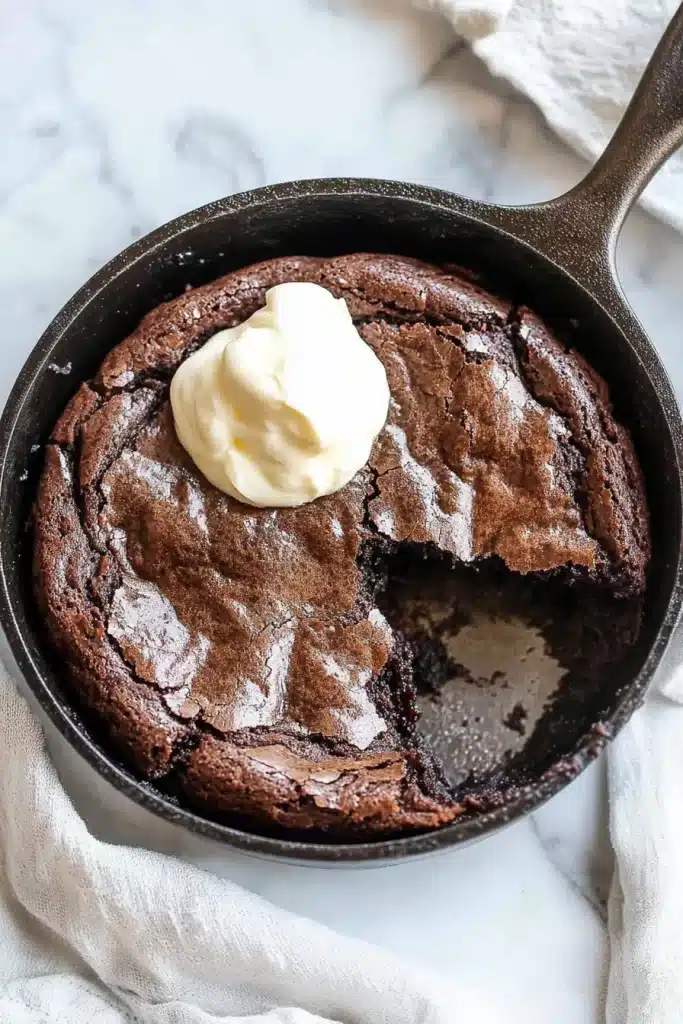
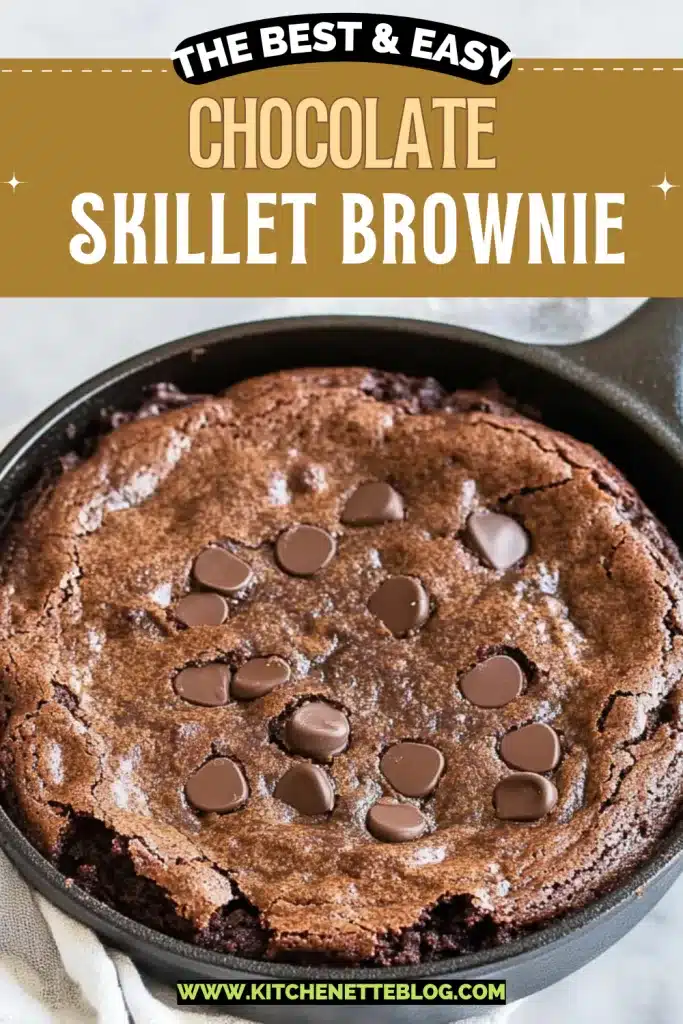
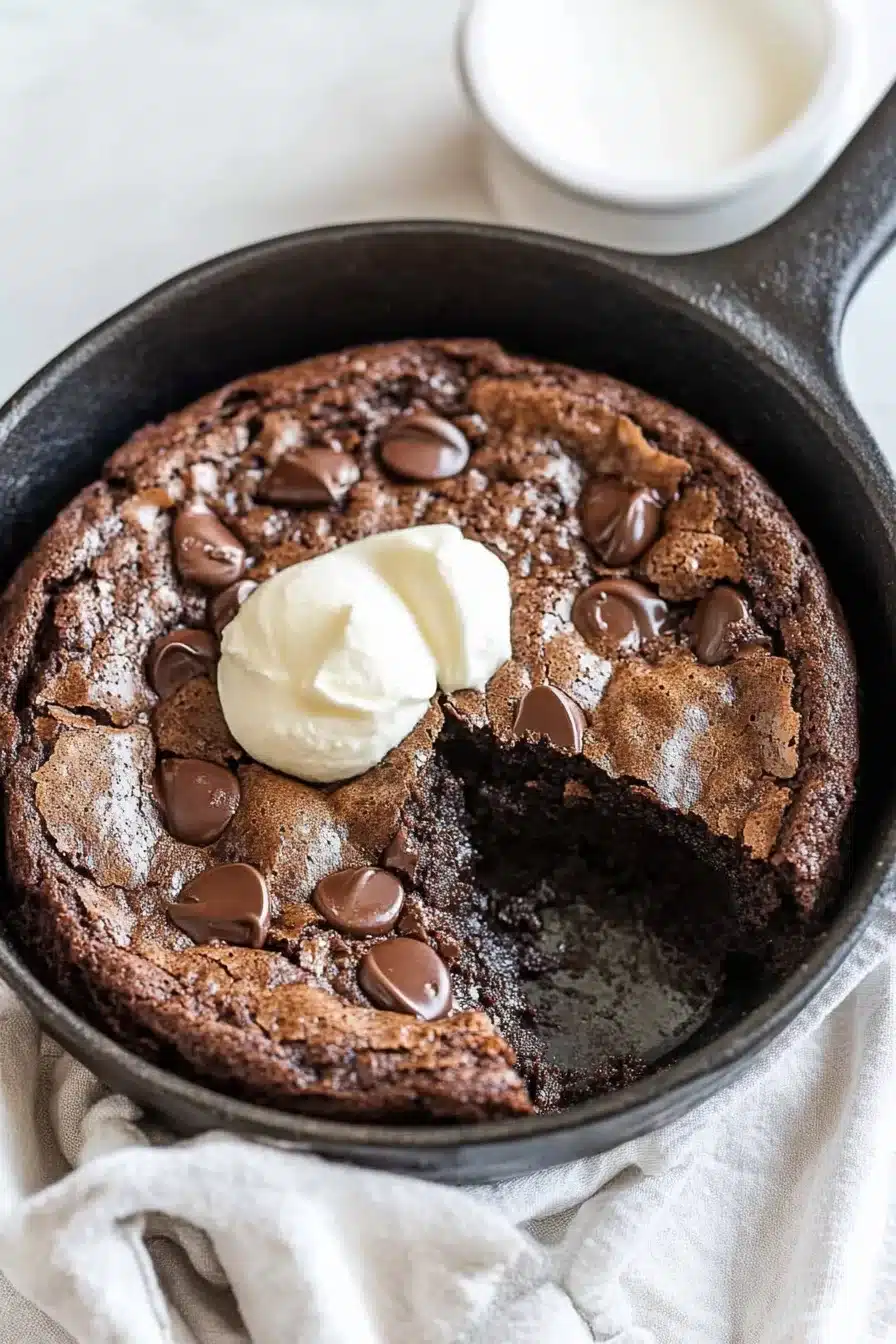
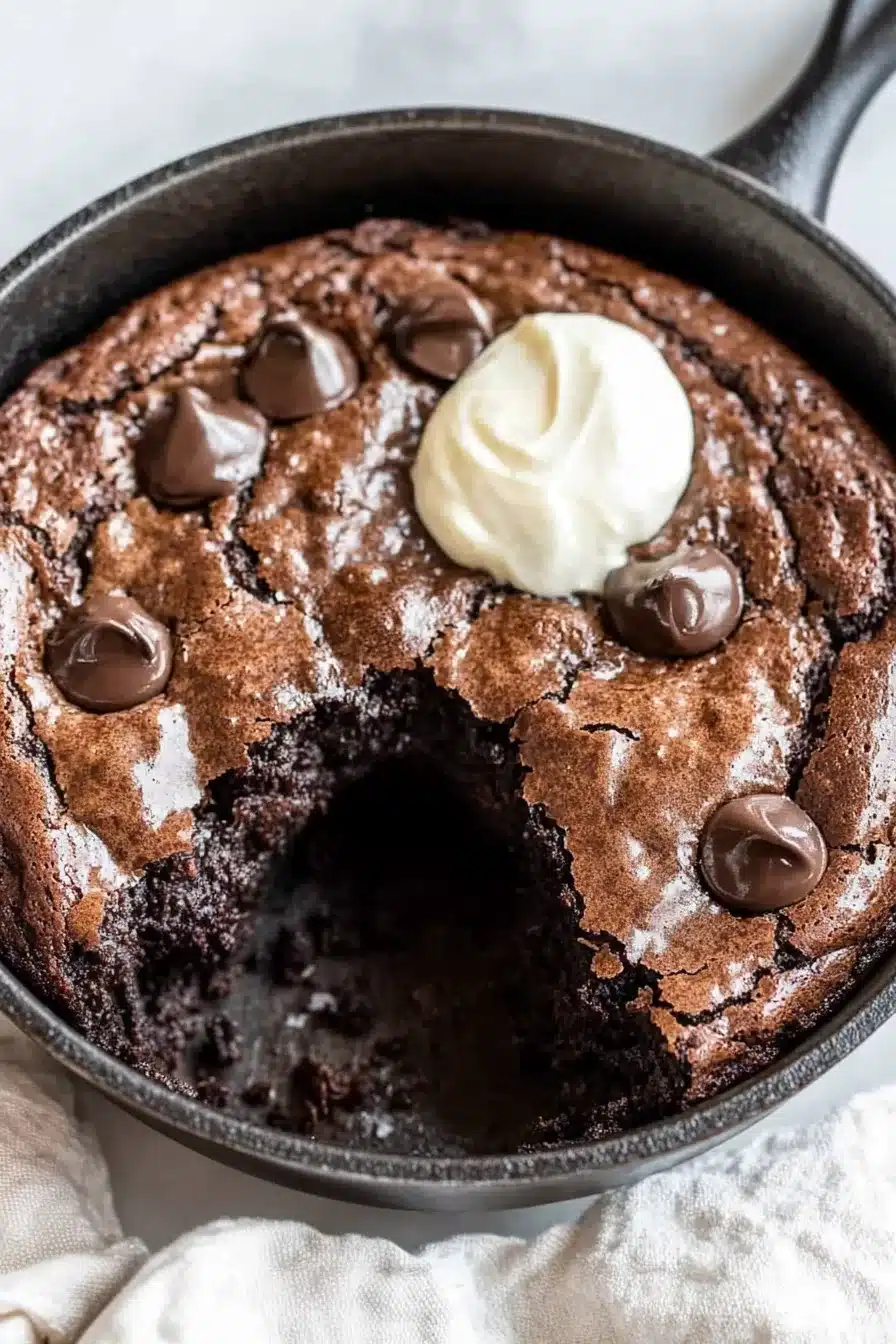
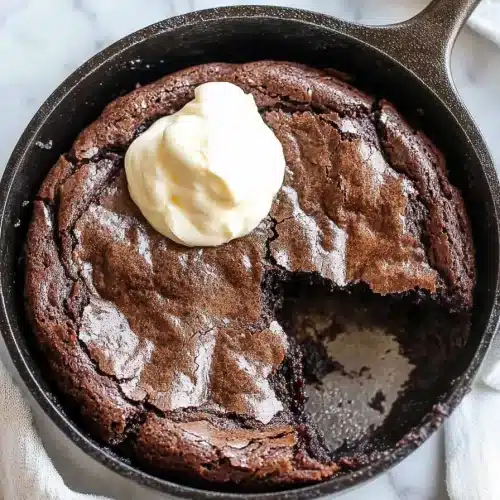
Ooey-gooey and rich, this warm-from-the-oven chocolate skillet brownie packs brown sugar, cocoa, and melty chocolate chips into one no-fuss treat.
This is the kind of dessert you bake when you’re craving something indulgent but refuse to deal with multiple bowls, pans, or anything resembling a “fancy” technique. The chocolate skillet brownie is undeniably simple, but don’t let that fool you. It comes out crackly-edged and fudgy-centered, all cozy and warm with whiffs of cocoa wrapping around your kitchen like a weighted blanket. Honestly, it’s a one-pan wonder. You get brownie bliss without needing to frost it, cut it, or share it equally (I won’t tell). Great for date night, solo night, or “I’m just gonna stand here with a spoon and zero regrets” night.


Why You’ll Love this Chocolate Skillet Brownie
Let’s not overthink things. This is chocolate and butter doing what they do best together: melting into happy gooeyness.
- Ridiculously simple to make: You just stir, pour into a skillet, and let the oven magic do its thing. Like baking without any adulting.
- Small batch size: Perfect for when you want dessert but don’t want a tray of temptation staring you down all week.
- No fancy tools needed: Just a bowl, a spoon, and a 6.5-inch skillet (or anything oven-safe and vaguely round).
- Deep cocoa flavor: Thanks to both cocoa powder and melty chocolate chips. Layers, folks. We’ve got layers.
- Crusty edges, gooey middle: It’s like getting the best of a corner piece and a middle square in every bite.
- Customizable toppings: Ice cream, whipped cream, salty pretzels, or nothing at all… your skillet, your rules.

Ingredient Notes
The beauty of a chocolate skillet brownie is how pantry-friendly it is. But just to hit that sweet spot of flavor and texture, here’s the rundown:
- Unsalted butter: Melts into the base for richness and that signature brownie chew. Salted can work if that’s all you’ve got—just reduce the added salt a bit.
- Brown sugar: Gives it a deeper, caramel-y sweetness compared to white sugar, plus it keeps things fudgy and moist.
- Large egg: Helps bind it all together and adds just enough lift so we’re not eating chocolate sludge (although… not the worst idea).
- Vanilla extract: Enhances the cocoa flavor and rounds things out. Real vanilla’s best, but use what you’ve got.
- All-purpose flour: Just enough to hold things together. Don’t overmix or you’ll lose that tender bite.
- Cocoa powder: Good-quality unsweetened cocoa goes a long way. It’s where the chocolate punch really starts.
- Salt: Half a teaspoon wakes it all up. Never skip it unless you want your brownie to taste flat.
- Chocolate chips: Folded in like edible treasure. Use semi-sweet, dark, or even a broken bar you forgot about at the back of the cupboard.
How To Make This Chocolate Skillet Brownie
Okay, apron on (or not), oven preheating. The steps are easy, and you barely have to think. Just stir, fold, and bake your way to brownie heaven.
-
Prep your skillet: Spray a 6.5-inch cast iron skillet or coat it with butter. You want it nice and non-stick unless you plan to chisel brownie off later (I’ve done that… not recommended).
-
Mix the wet stuff: In a medium bowl, stir together the melted butter and packed brown sugar. It’ll look like thick caramel lava. Then add the egg and vanilla and beat until it smooths out and the color lightens slightly. You want it glossy and dreamy.
-
Make the dry mix: In a separate little bowl (yes, technically two bowls but they both wash quickly), whisk together flour, cocoa powder, and salt. This helps avoid flour bombs and cocoa lumps that never fully mix in.
-
Combine ’em: Dump the dry mix into the wet, then stir gently until everything’s just barely mixed. A streak here and there is fine. Over-mixing can make brownies tough, and we don’t do tough brownies here.
-
Add chocolate chips: Fold in the chips like you’re tucking them into bed. Don’t be shy. They’ll melt into fudgy puddles as it bakes.
-
Bake it off: Pour that glorious batter into your prepared skillet and smooth it out. Pop it in the oven for 30 to 35 minutes. When a toothpick comes out with only a few moist crumbs, it’s ready. You want the center gooey but not raw.
-
Cool slightly, then dig in: Let it sit a few minutes (I know, patience) so it firms up a bit. Then go at it with a spoon or slice it if you’re feeling generous.
Storage Options
So, let’s say—hypothetically—you didn’t eat the whole skillet in one sitting. First off, impressive. Second, yes, you can absolutely store it.
Once the skillet brownie has cooled to room temp, you can cover the pan with foil or transfer leftovers to an airtight container. It’ll stay fine on the counter for up to two days, though it might start to dry out a bit after that.
Want to stash it longer? Yep, you can freeze it. Cut it into wedges or squares, wrap each in parchment or plastic, then drop them in a freezer bag. They’ll hang out in there for up to three months. Just thaw on the counter or zap briefly in the microwave.
And speaking of reheating, pop slices in the microwave for 10–15 seconds if you want melty chocolate chips again. Or scoop a chunk into a bowl, warm it up, and slap some ice cream on top for instant dessert glory.
Variations and Substitutions
Part of the fun here is that skillet brownies aren’t picky. You can tweak them depending on your mood or what’s lurking in the pantry.
-
Different chips or chunks: Not a semi-sweet fan? Try white chocolate, peanut butter chips, or dark chocolate chunks for moodier vibes.
-
Add-ins like nuts: Walnuts, pecans, or even crushed pretzels bring some crunch and balance the sweetness. Just fold in a handful with the chips.
-
Espresso powder: Add half a teaspoon to the dry ingredients for deeper chocolate flavor that’s just a little moodier (in the best way).
-
Gluten-free flour: A 1:1 GF blend works well here because it’s such a simple mix. Just don’t forget to check your chips if you’re strict about it.
-
Dairy-free options: Use melted coconut oil instead of butter and swap in dairy-free choco chips. It still tastes rich and deeply chocolatey, promise.

What to Serve with Chocolate Skillet Brownie
Sure, this brownie can fly solo, but if you want to zhuzh it up a bit, here’s what pairs beautifully:
-
Vanilla ice cream: Classic for a reason. That hot brownie and cold melty swirl combo really hits in the best way. Bonus points if your ice cream is extra creamy or has flecks of vanilla bean.
-
Salted caramel sauce: Drizzle (or pour with abandon) a little caramel on top right before serving. Or maybe try this caramel fudge recipe and melt a piece or two over your warm slice. Totally legal, very satisfying.
-
Whipped cream + berries: A little airy cushion plus tart fruit balance out the richness. Strawberries, raspberries, even macerated cherries if you’re feeling fancy.
-
A strong cup of coffee: That bitter roast cuts the sweetness and warms you from the inside. Especially perfect if you’re having brownie brunch (a thing, trust me).
-
A glass of milk or non-dairy milk: The obvious move, especially if you’re going full nostalgia. Cold, creamy, and makes you slightly less guilty when you’re on bite number six.

Frequently Asked Questions
Can I double this recipe for a larger skillet?
Yes, totally! If you have a 10-inch skillet, just double all the ingredients and keep a close eye on bake time. It may need closer to 40–45 minutes, depending on your oven and the pan. Just look for that toothpick test to guide you—moist crumbs, but no wet batter. The edges should pull slightly away from the pan and crackle a little on top.
Can I make it ahead of time?
Yes, you can definitely bake it in advance. It’s best the day it’s made, but you can warm it up the next day and it’ll still hit the spot. If making ahead, don’t underbake it too much since cooling tends to firm things up. Store it covered at room temp, then give it a quick microwave heat-up or rewarm in a 300°F oven for 10 minutes.
Do I need to use a cast iron skillet?
Not at all. Any oven-safe baking dish of a similar size will work. Small ceramic casserole, Pyrex, even a cake tin. As long as the pan is about 6.5 to 7 inches and you grease it well, you’re golden. Just be aware that cast iron gets those crispy-chewy edges you might miss a little.
Can I freeze leftovers?
Yep, and it works surprisingly well. Cut the brownie into pieces once fully cooled, wrap in parchment or plastic wrap, then slide into a freezer-safe bag or container. When you’re ready to eat, let a piece thaw on the counter or microwave it (on a microwave-safe plate, please) for 15–20 seconds. Still rich, fudgy, and banana-pudding-level comforting.
Chocolate Skillet Brownie
Ingredients
Wet Ingredients
- 4 tablespoons (56 grams) unsalted butter melted (or use coconut oil for dairy-free)
- 1/2 cup (100 grams) brown sugar packed
- 1 large egg
- 1 teaspoon (5 ml) vanilla extract
Dry Ingredients
- 1/3 cup (44 grams) all-purpose flour
- 1/4 cup (21 grams) unsweetened cocoa powder
- 1/2 teaspoon (2.5 ml) salt reduce to 1/4 tsp if using salted butter
- 1/3 cup (60 grams) chocolate chips semi-sweet or dark, plus extra for topping
Optional Toppings
- vanilla ice cream
- whipped cream
- salted caramel sauce
- berries, coffee, or crushed pretzels for serving
Equipment
- 6.5-inch cast iron skillet (or oven-safe baking dish)
- Mixing bowl
- Spoon or spatula
- Small bowl (for dry ingredients)
Instructions
- Preheat your oven to 350°F (177°C). Grease a 6.5-inch cast iron skillet or small oven-safe dish with butter or nonstick spray.
- In a medium mixing bowl, stir together melted butter and packed brown sugar until combined and shiny. Add the egg and vanilla extract and beat until mixture is glossy and slightly lightened in color.
- In a separate small bowl, whisk together flour, cocoa powder, and salt until well blended.
- Add the dry ingredients to the wet ingredients and gently stir until just combined. Don’t overmix; streaks are OK.
- Fold in chocolate chips. Pour the batter into the prepared skillet and smooth the top. Sprinkle a few extra chips on top if desired.
- Bake for 30–35 minutes, or until the edges are set and a toothpick inserted in the center comes out with just a few moist crumbs.
- Let cool for 5–10 minutes before digging in with a spoon or slicing. Top with ice cream, caramel, or whatever sounds delicious!