

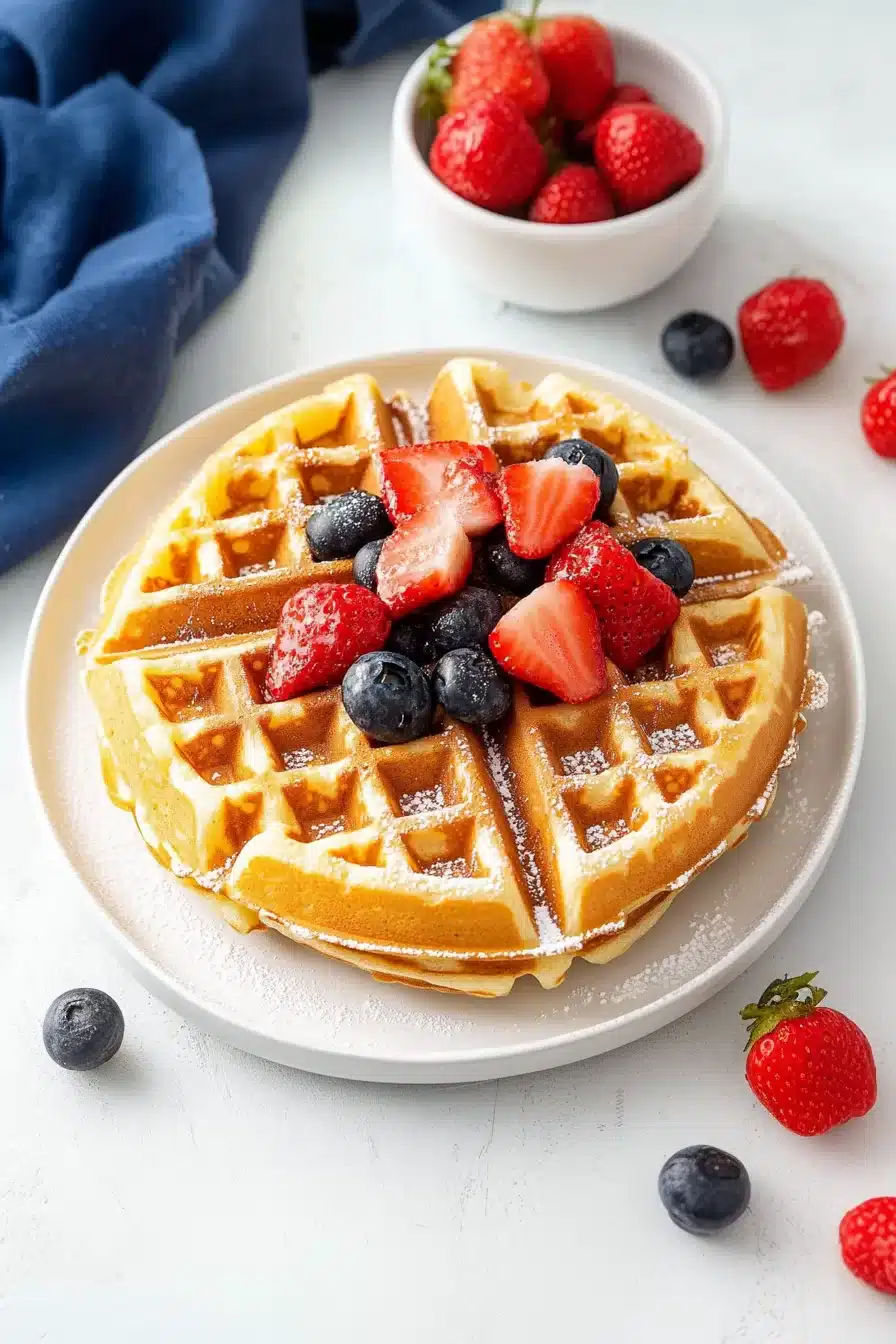
Golden, crispy, and oh-so-light, these Bisquick waffles come together in minutes with pantry basics like milk, eggs, and a splash of vanilla. Your kitchen will smell like a diner—an excellent one—with buttery batter sizzling on a hot waffle iron and just a hint of sweetness in the air.
This is your “ahh yes” breakfast. The kind you actually have time to make on busy mornings, but still feels like a treat. The batter whips up in one bowl (no sink full of dishes, thank you very much) and goes straight from mixing bowl to waffle iron, maybe with a little pause to sip coffee while it rests. And let’s not forget the crispy edges and warm, fluffy centers—this is where the magic happens.


Why You’ll Love this Bisquick Waffles Recipe
No complicated steps here, promise. Just cozy waffle goodness with barely any effort. Honestly, the most “technical” part is waiting the 5 minutes for the batter to rest—and that’s just enough time to make coffee or locate the syrup.
- Ridiculously simple to make: You toss a few ingredients in a bowl, stir like you mean it, and voilà—batter.
- Perfect texture balance: Crisp on the outside, fluffy on the inside. Basically waffle goals, no yeast or whipping eggs required.
- Endlessly customizable: Mix-ins, toppings, fancy butters? Go wild. Or don’t. Plain is lovely too.
- Quick cleanup: One bowl, one spoon, one waffle iron. Minimal mess, maximum reward.
- Kiddo-approved and weekday-friendly: Because even a zombie toddler will perk up for warm waffles on a Wednesday.

Ingredient Notes
Just a few ingredients, but they each bring something to the party. Let’s peek in the bowl, shall we?
- Bisquick Mix: This is your shortcut base—flour, leavening agents, a bit of salt and fat, all ready to go. No need to measure five other things.
- Milk: Whole or 2% both work beautifully. Whole milk gives a hint more richness, but use what’s in your fridge.
- Eggs: Bind everything together and add structure. Plus, they help get that tender inside we love.
- Baking powder: Optional but encouraged—it gives your waffles just a touch more puff.
- Vegetable oil (or melted butter): Oil keeps things easy, butter adds flavor. Pick your player. Both keep waffles extra crisp.
- Vanilla extract: Just a teaspoon, but it goes a long way in dialing up that warm, sweet waffle aroma.
- Sugar: Only two tablespoons, just enough to lightly sweeten and help the waffles golden up on the iron.

How To Make This Bisquick Waffles Recipe
Alright, let’s get to the good part: waffles magically appearing in your kitchen.
-
Mix the batter: In a big bowl, toss in your Bisquick mix, milk, eggs, baking powder, oil (or butter), vanilla, and sugar. Whisk until just combined—don’t over-think it. A few lumps are fine. You’re not making meringue here.
-
Let it rest: This is the secret step nobody talks about. Five minutes is all it takes for the flour to hydrate and the batter to mellow a bit. Trust me, it’s worth the wait.
-
Heat your waffle iron: While the batter chills, fire up your waffle iron. Every machine is a little different, so use the settings your iron loves best. (Mine likes medium-high for a crispy edge.)
-
Spray and pour: Lightly oil the iron with nonstick spray, then pour about ½ cup of batter into the center. It’ll depend a bit on your waffle maker’s size—adjust as needed.
-
Close and cook: Shut the lid and let it do its sizzling magic. Mine takes 3-5 minutes for that golden, steamy finish. You’ll know it’s done when steam is barely escaping.
-
Remove and repeat: Gently pry that glorious waffle out (tongs = less risk to fingers), give the iron a little spritz between waffles, and keep going until the bowl’s empty.
Storage Options
Got leftovers? First of all, congrats on your self-control. To keep waffles fresh, let them cool completely before storing.
Pop them in an airtight container or zip-top baggie and stash in the fridge for up to 3 days. I like to layer a little parchment between them so they don’t mush together. For longer-term planning (a.k.a. future-you will thank present-you), lay them flat on a baking sheet and freeze until solid, then toss in a freezer bag. They’ll keep well for a few months.
Reheating is easy: toaster or toaster oven all the way. It brings the crisp back better than a microwave, though a quick zap followed by a toast works in a pinch. Honestly, they taste pretty great even cold with peanut butter… but maybe don’t tell brunch guests that.
Variations and Substitutions
Once you’ve nailed the classic waffle, the playground opens up. Get creative, or adapt based on what’s in your pantry.
- Melted butter instead of oil: For a richer, more buttery flavor (especially nice with maple syrup). Just let it cool slightly before mixing.
- Buttermilk instead of regular milk: Adds a lovely tang and helps waffles stay fluffy. Reduce baking powder a smidge if you do this.
- Chocolate chips or berries: Stir into the batter just before cooking. Blueberries are dreamy. And hey, if you want a chocolate version, try this chocolate chip waffle spin.
- Cinnamon or nutmeg: Just a pinch adds cozy depth. Especially good for cold mornings when you want something warm and comforting.
- Pumpkin purée + pie spice: Sub in about ¼ cup pumpkin and adjust sugar slightly. Very fall, very good.

What to Serve with Bisquick Waffles
Whether you’re going all-in on sweet or keeping things savory and brunch-y, here are some favorite waffle companions.
-
Fresh fruit and whipped cream: Strawberries, bananas, blueberries—anything juicy and bright plays beautifully with hot waffles. Pile it high, then finish with a fluffy dollop (or three) of whipped cream.
-
Maple syrup and butter: Let’s pay homage to the classics. A pat of butter melting into a hot waffle square, syrup slowly soaking in… Yeah. No notes.
-
Yogurt and honey: For a breakfast-y twist, especially if you’re keeping sugar light. Thick Greek yogurt with a swirl of honey and a few crushed walnuts is chef’s kiss.
-
Bacon or sausage on the side: Salty, crispy meat with sweet waffles is always a good idea. Might I also suggest a soft fried egg on top?
-
Something different and creamy for dessert: Waffles make a surprisingly dreamy base for something like these ice cream sandwiches… just putting it out there.

Frequently Asked Questions
Can I make Bisquick waffles ahead of time?
You sure can! These waffles hold up surprisingly well. You can mix the batter the night before (though I’d wait to stir in the baking powder until right before cooking, for more lift). Or, just cook the waffles and refrigerate or freeze. Pop ‘em in the toaster in the morning and no one will know they’re not fresh from the iron.
Why are my waffles soggy instead of crisp?
It’s all about steam and timing. If you open the iron too soon, the waffle won’t have had time to crisp properly. Wait until the steam mostly disappears—that’s usually the sign they’re ready. Also, don’t stack hot waffles—they steam each other into floppiness. Lay them in a single layer to keep that crunch alive.
Can I use water instead of milk?
Technically? Yes. Would I recommend it? Only if you’re deeply committed or out of options. Milk adds fat, richness, and helps browning. Water will make a flatter, paler waffle. Better than nothing, but maybe add a little melted butter to make up for moisture and flavor.
Are Bisquick waffles the same as pancakes?
Close cousins, not twins. While the ingredients are very similar, waffle batter usually has more fat (which helps crisp up those edges) and sometimes a touch more sugar. The real magic, though, is in how they’re cooked—waffle irons distribute heat differently, so you’ll get that glorious golden texture waffles are famous for.

Easy Bisquick Waffles
Ingredients
Waffles
- 2 cups (250 g) Bisquick mix
- 1 cup (240 ml) milk whole or 2%
- 2 large eggs
- 1 tsp (5 ml) baking powder optional but recommended for extra fluff
- 2 tbsp (25 g) granulated sugar
- 2 tbsp (30 ml) vegetable oil or melted butter
- 1 tsp (5 ml) vanilla extract
Equipment
- Waffle Iron
- Mixing bowl
- Whisk
- Measuring cups
- Nonstick Spray
- Tongs
Instructions
- Mix the batter: In a large mixing bowl, combine Bisquick mix, milk, eggs, baking powder, sugar, oil (or melted butter), and vanilla extract. Whisk until just combined. A few lumps are fine—do not overmix.
- Let it rest: Allow the batter to rest for 5 minutes for extra light, tender waffles.
- Heat your waffle iron: As the batter rests, preheat your waffle iron according to the manufacturer’s instructions. Lightly spray with nonstick spray or brush with oil.
- Pour and cook: Pour about 1/2 cup of batter into the center of the hot iron (amount may vary by waffle iron). Close the lid and cook for 3–5 minutes, or until golden with crispy edges. Waffles are done when steam nearly stops escaping.
- Remove and repeat: Use tongs to carefully remove the waffle. Repeat with remaining batter, re-spraying the iron as needed between batches.
- Serve hot with your favorite toppings.
Notes
Reheat: Use a toaster or toaster oven to restore crispness.
Variations: Try buttermilk, add chocolate chips or berries for mix-ins, or use cinnamon for extra warmth. For dairy-free, sub a favorite plant milk.
Serving Ideas: Classic maple syrup, whipped cream, fresh berries, yogurt, or even as a base for ice cream sandwiches.