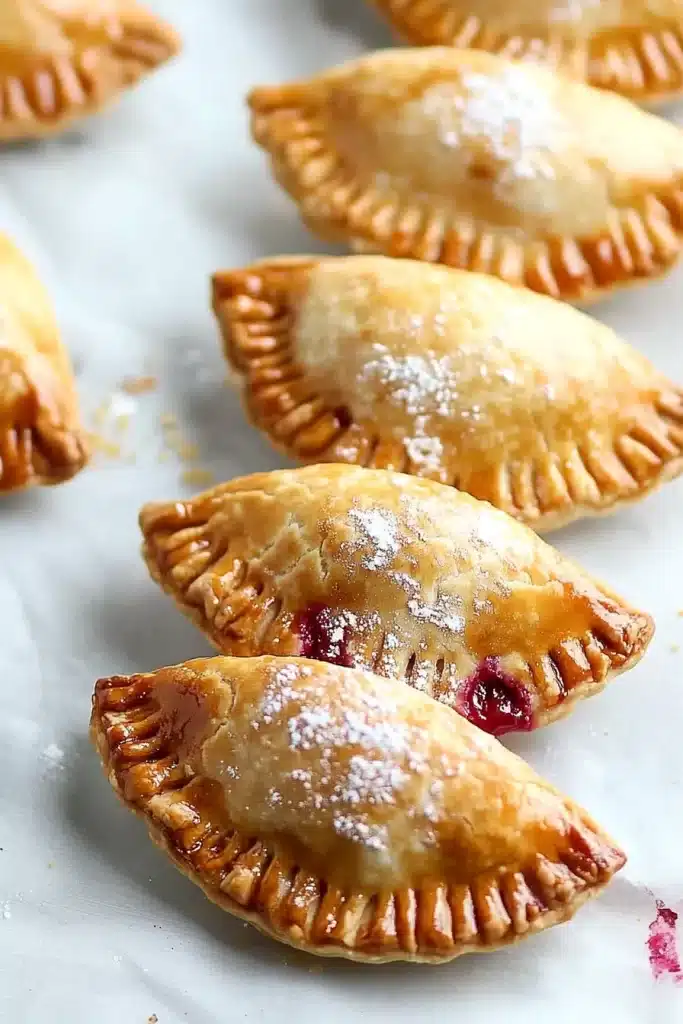

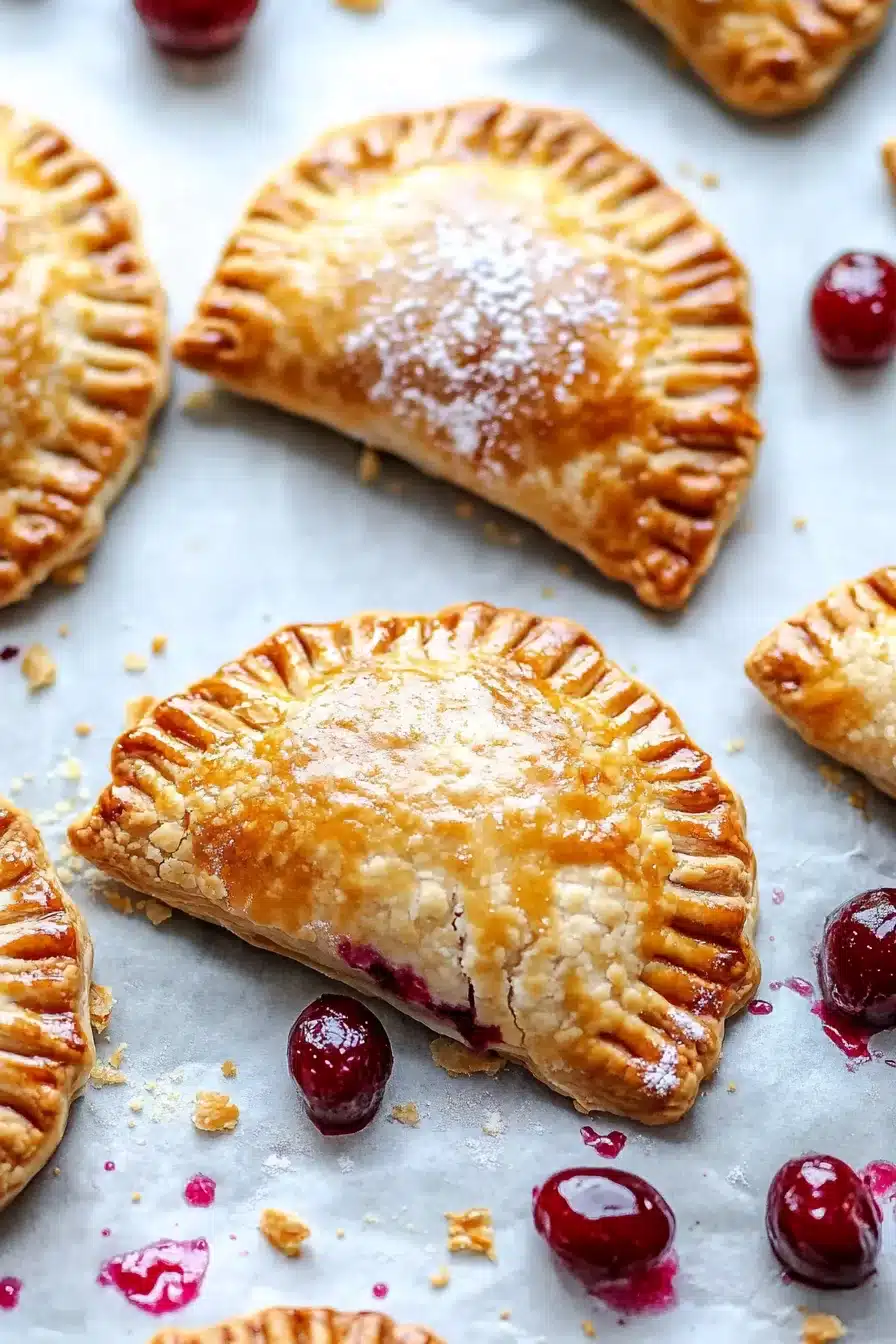
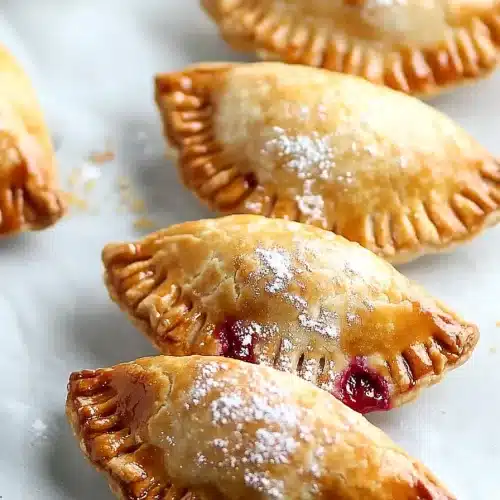
Rich cherry filling wrapped in golden, flaky pie crust. These cherry hand pies with refrigerated crust, canned filling, and a kiss of coarse sugar are pure joy.
Alright, yes, yes, these are technically “mini pies” and not “actual dessert therapy,” but tell that to your kitchen when it smells like warm cherries and buttery pastry. There’s nothing fussy here—just cozy, everyday goodness in a few tidy bites.
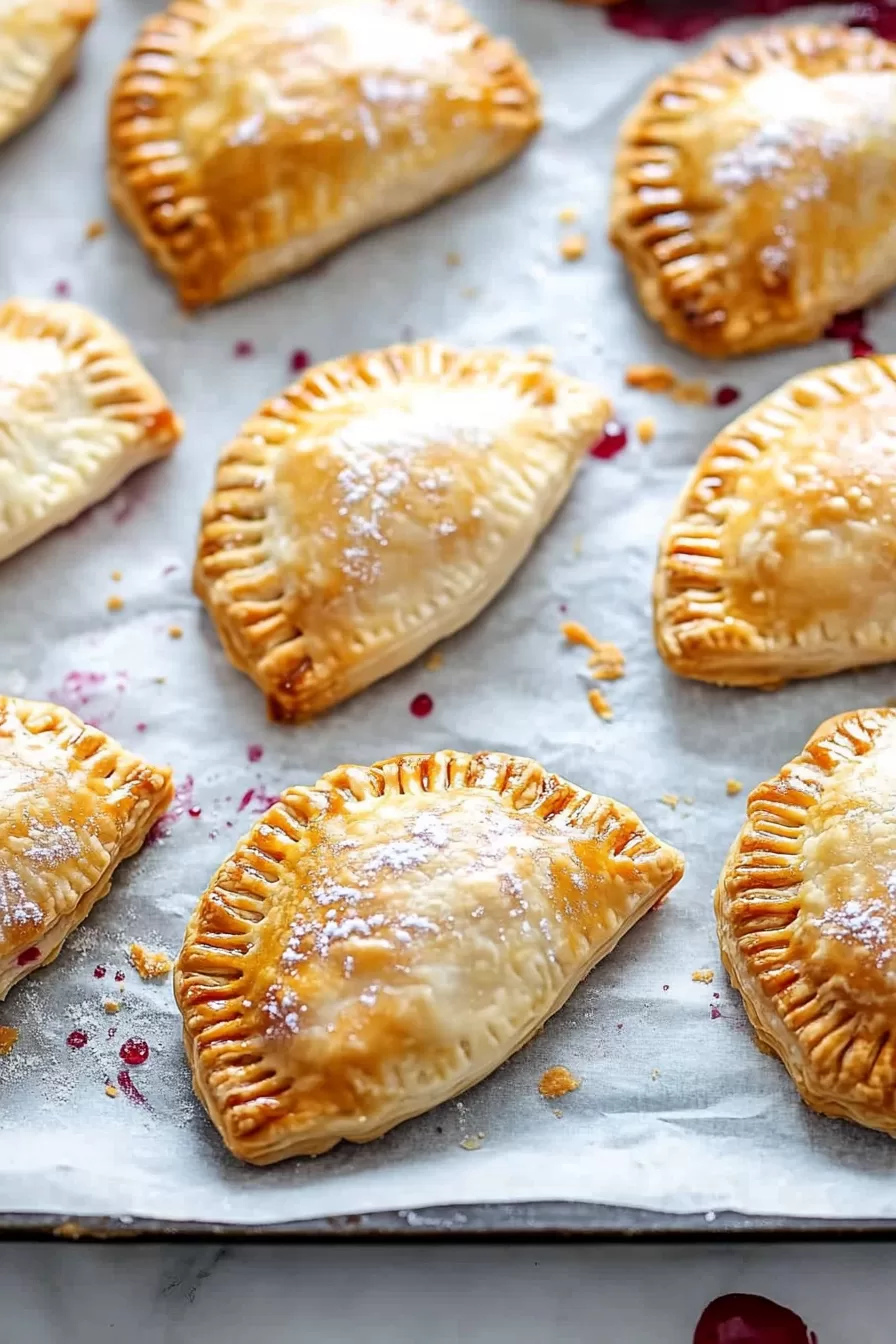
Sometimes your soul (and Tuesday afternoon?) needs something low-effort but fully snackable. These cherry hand pies walk that magical line between rustic and charming, with a little sparkle thanks to coarse sugar and a glossy egg wash situation. I’d take one of these while sipping tea, tucking into a cozy show, or handing it to a friend with zero explanation needed. You just know. Bonus: they’re portable, which means you can be a pie fairy for your neighbor, should the mood strike.


Why You’ll Love this Cherry Hand Pies Recipe
No complicated fillings, no wrestle with pastry dough from scratch (unless you’re into that, in which case, I salute you). Just a few store-bought staples transformed into snackable, shiny, bite-sized pockets of cherry joy.
- Ridiculously simple to make: Unroll, cut, spoon, fold, bake. That’s the rhythm. You could hum a tune while you do it and still not mess these up.
- Golden and flaky goodness: Refrigerated pie crusts bake up beautifully with just enough crunch and warmth. That buttery snap when you bite in? Peak satisfaction.
- Perfect for sharing (or hoarding): These are hand pies, so, yes, your hands are involved. But it’s also dangerously easy to eat three in one sitting. You’ve been warned.
- Make-ahead friendly: You can stash unbaked ones in the freezer or keep leftovers in the fridge. They totally hold their charm.
- A canvas for riffing: Sure, it’s cherry now. But that pie filling aisle? It’s full of daydreams. Peach, blueberry, even apple cinnamon if you’re feeling autumnal.
Ingredient Notes
There are really only a few ingredients here, which means each one counts. But thankfully, they’re all super chill.
- Refrigerated pie crusts: These are the shortcut MVPs. You get consistent flake and zero stress. Let them come to room temp for a bit so they unroll more easily.
- Egg + water (for egg wash): This gives your hand pies that glossy, golden finish. Don’t skip it. It also helps seal the edges.
- Cherry pie filling: We’re using canned here, which is more than fine. It’s sweet, perfectly gooey, and ready to plop into each circle. If you’ve got leftover filling, spoon it over ice cream later. No regrets.
- Coarse sugar: Just a sprinkle before baking adds crunch and a sparkly finish. Turbinado or demerara sugars work beautifully.
How To Make This Cherry Hand Pies Recipe
Okay, grab a baking sheet (make it two if you’re feeling ambitious), your ingredients, and let’s make things happen in under an hour. You got this.
- Prep your setup: Preheat the oven to 400°F and lay down parchment on two baking sheets. Trust me, parchment is your best friend here—those cherry drips caramelize fast.
- Unroll and cut the dough: On a lightly floured counter, unroll your pie crust and get cutting with a 4-inch round cutter. Think biscuit cutter, big cookie cutter, or even the lid of a container if you’re improvising. After cutting, stack them (with a little flour between if you need to), and pop them in the fridge while you gather more from the scraps.
- Fill those circles: Whisk the egg and water in a small bowl. Now, brush the edges of your dough circles—back away from your phone for this, it’s a delicate moment. Then plop a modest spoonful (about 1 tablespoon) of cherry pie filling into the center.
- Fold and seal: Fold each circle in half like a taco, gently tamp down the edges, and then go to town with a fork to crimp the edges shut. It’s both cute and vital for keeping those cherries locked in.
- Let the steam escape: Use a sharp knife to slice a little vent or two in the top of each one. Not too deep, just enough so your pies don’t puff up like balloons or explode dramatically. Been there.
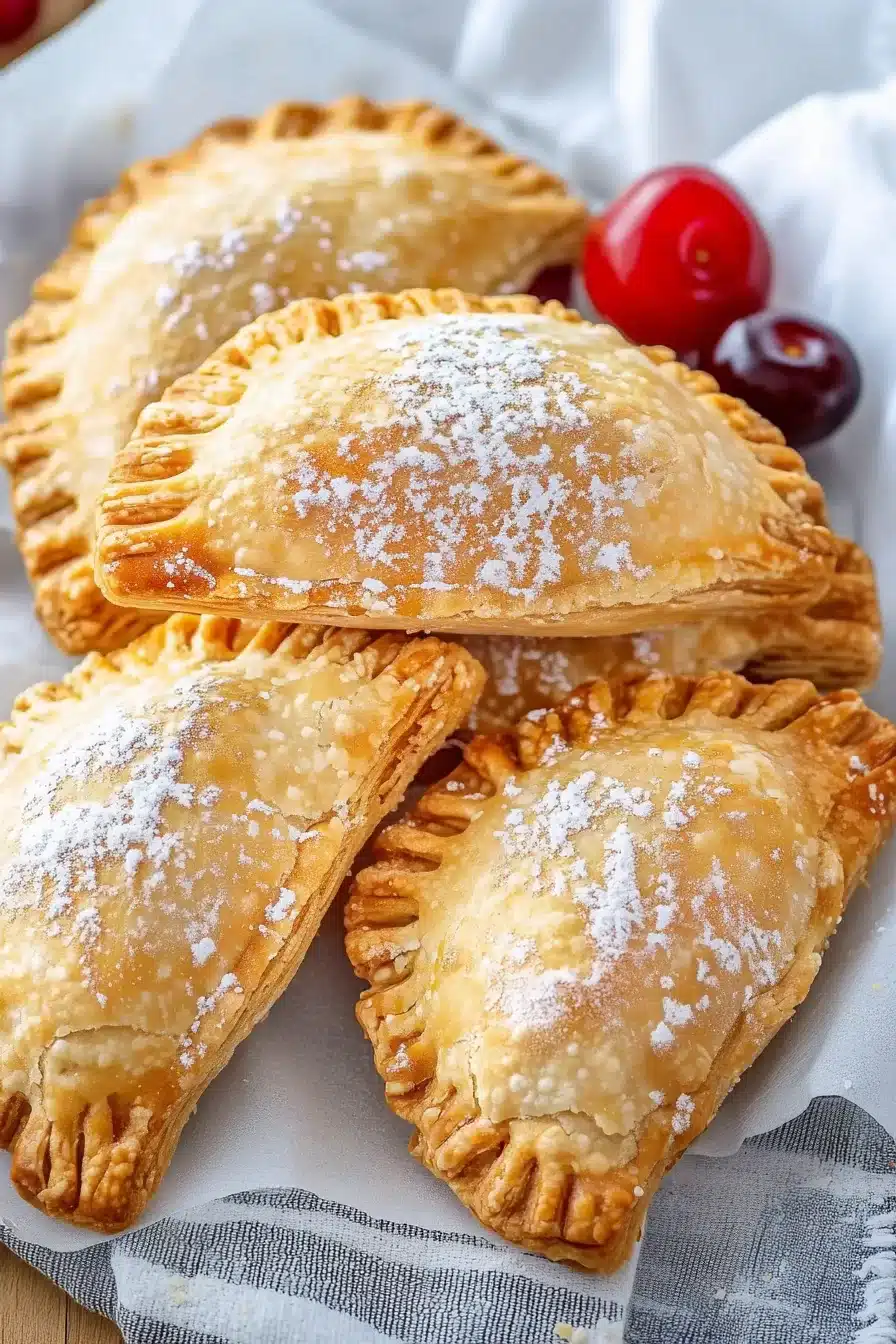
- Add shine + sugar: Brush the tops with the rest of your egg wash and sprinkle on coarse sugar. Don’t skip this step, it’s what gives that just-baked sparkle and sweet crunch we love.
- Bake and cool: Slide the trays into the oven and bake for 18 to 20 minutes. You’ll know they’re ready when they’re golden and your kitchen smells like a tiny bakery. Let them cool for 5 minutes on the pan, then move them to a wire rack.

Storage Options
So, you’ve got leftover pies (or maybe you just made a double batch on purpose—I see you). Here’s how to keep them happy.
Let your cherry hand pies cool completely before storing. If they’re even slightly warm when you seal them up, things get soggy fast. Once cool, pop them in an airtight container and keep them on the counter for up to two days. If your kitchen runs warm, the fridge is safer. There, they’ll chill happily for 4 to 5 days.
Want to freeze them? Totally doable! Place the unbaked, sealed hand pies on a baking sheet and freeze until firm. Then toss them into a freezer bag. Bake straight from frozen—just add 3 to 5 extra minutes in the oven.
Already baked and want to freeze? Still okay. Wrap them individually in plastic wrap, then freeze. Reheat in a 300°F oven until crispy again—microwave if you must, but prepare for slight sogginess.
Variations and Substitutions
Once you’ve made your first batch, the fun begins. This cherry hand pies recipe is very open to interpretation (and pantry digging).
- Different fillings: Apple pie filling is a classic swap. Add a little cinnamon if you want even more cozy vibes. Or go rogue and try blueberry or lemon curd.
- Homemade crust: If you have the energy and a rolling pin, make your own dough. It’s flakier and gives slightly rustic edges that look legit artisan bakery.
- Add-ins to the cherry filling: Toss in mini chocolate chips, a splash of almond extract, or even a few dashes of cardamom for a twist.
- Savory version: Skip the sugar and use a mix of cooked onions and cheese or leftover roasted veggies. Brush with butter instead of egg wash.
- Different shapes: Don’t have a round cutter? Use a square of dough and fold it into a triangle. Imperfect shapes = maximum charm.
What to Serve with Cherry Hand Pies
You’ve got warm, gooey pies on the table… what now? Let’s round this thing out.
- A scoop of vanilla ice cream is classic. You don’t need a whole bowl—just a spoonful next to a warm hand pie becomes this melt-and-mingle moment that feels kind of fancy but takes zero effort.
- Coffee or tea plays really well here. These pies aren’t overly sweet, so a bold cold brew or cozy spiced tea makes a snappy contrast. Especially lovely for an afternoon break pretending you’re in a bakery.
- If you’re planning a brunch spread, these hand pies are the MVP of the dessert corner. Set them out next to crumbly muffins or even these bacon basil cornbread muffins for a little savory/sweet delight.
- For an easy dessert platter, try pairing with peanut butter banana ice cream sandwiches. You’ll have a two-handed dessert situation… and nobody’s mad about that.

Frequently Asked Questions
Can I make these cherry hand pies ahead of time?
Yup! You can prep them right up to the baking step. Just assemble, seal, and stash them in the fridge for a day or two, or freeze them for longer storage. Bake when ready, adding a few extra minutes if coming straight from the freezer. If you’ve already baked them, they reheat nicely in the oven (350°F for 5–8 minutes) to get their crisp back.
What if I don’t have a round cookie cutter?
No big deal at all. Use any round household item with a roughly 4-inch opening—think large drinking glass, small bowl, a clean can lid. Or honestly, go freehand with a knife and make them square or rectangular. They’re pie pockets, not geometry tests.
Do I have to use cherry pie filling?
Nope. The whole pie filling section is your playground. From blueberry to apple to peach, each one works just fine here. You can also use homemade filling if you’re feeling fresh and fruity. Just try to keep the amounts similar so nothing leaks during baking.
Why is my filling leaking out?
Little cherry eruptions happen to the best of us. Usually it’s from overfilling or not crimping the edges well enough. Make sure your edges are brushed with egg wash and sealed with a firm fork press. And be gentle with the knife slits—too deep and they’ll make escape hatches for the filling.
Cherry Hand Pies
Ingredients
Main Ingredients
- 2 sheets refrigerated pie crusts let come to room temperature
- 1 can (595 g) cherry pie filling about 21 oz, canned
For the Egg Wash
- 1 large egg
- 1 tbsp (15 ml) water
Finishing
- coarse sugar for sprinkling (turbinado or demerara recommended)
- flour for dusting
Equipment
- Baking sheet
- Parchment paper
- 4-inch Round Cutter
- Small bowl
- Fork
- Wire rack
Instructions
- Preheat the oven to 400°F (200°C). Line two baking sheets with parchment paper.
- On a lightly floured surface, unroll the pie crusts. Using a 4-inch round cutter, cut out as many circles as possible. Stack the scraps, reroll, and cut more circles, aiming for about 12 in total. Chill the dough circles in the fridge while preparing the filling.
- Whisk the egg and water together in a small bowl to create the egg wash.
- Brush the edges of each dough circle lightly with egg wash. Spoon about 1 tablespoon of cherry pie filling into the center of each circle.
- Fold each circle in half to form a half-moon, gently pressing to seal, then crimp the edges with a fork.
- Cut 1-2 small slits in the top of each pie to vent steam.
- Brush the tops of the pies with remaining egg wash and sprinkle generously with coarse sugar.
- Arrange pies on the prepared baking sheets, leaving space between them. Bake for 18-20 minutes, or until golden brown and bubbling.
- Cool on the baking sheet for 5 minutes before transferring to a wire rack. Enjoy warm or at room temperature.