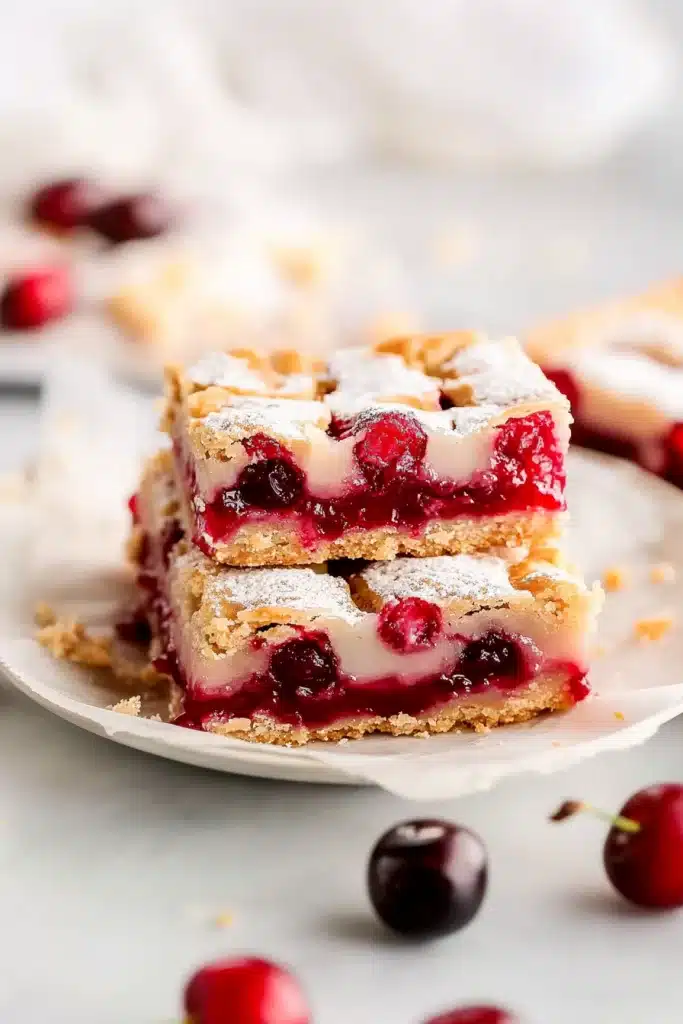

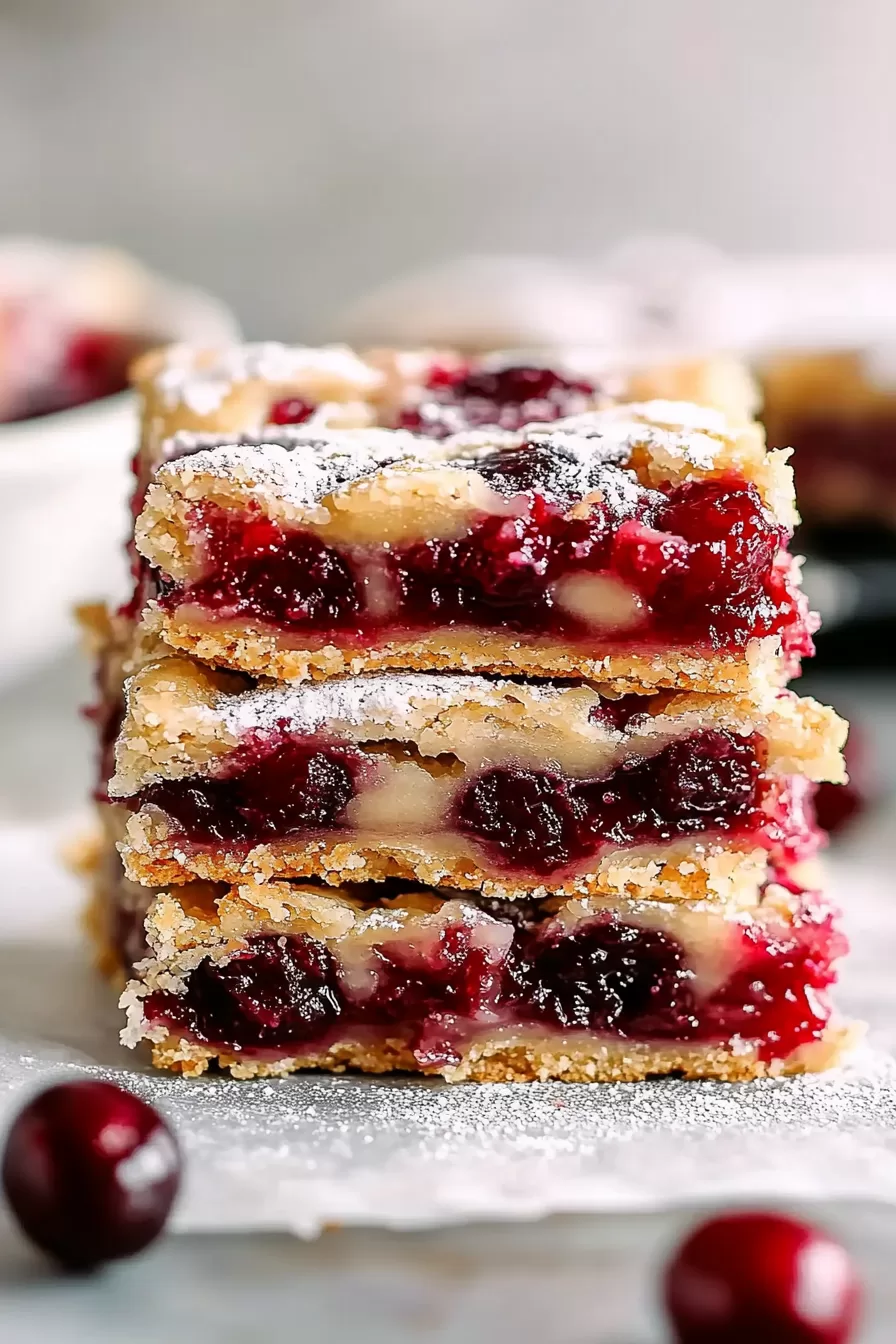
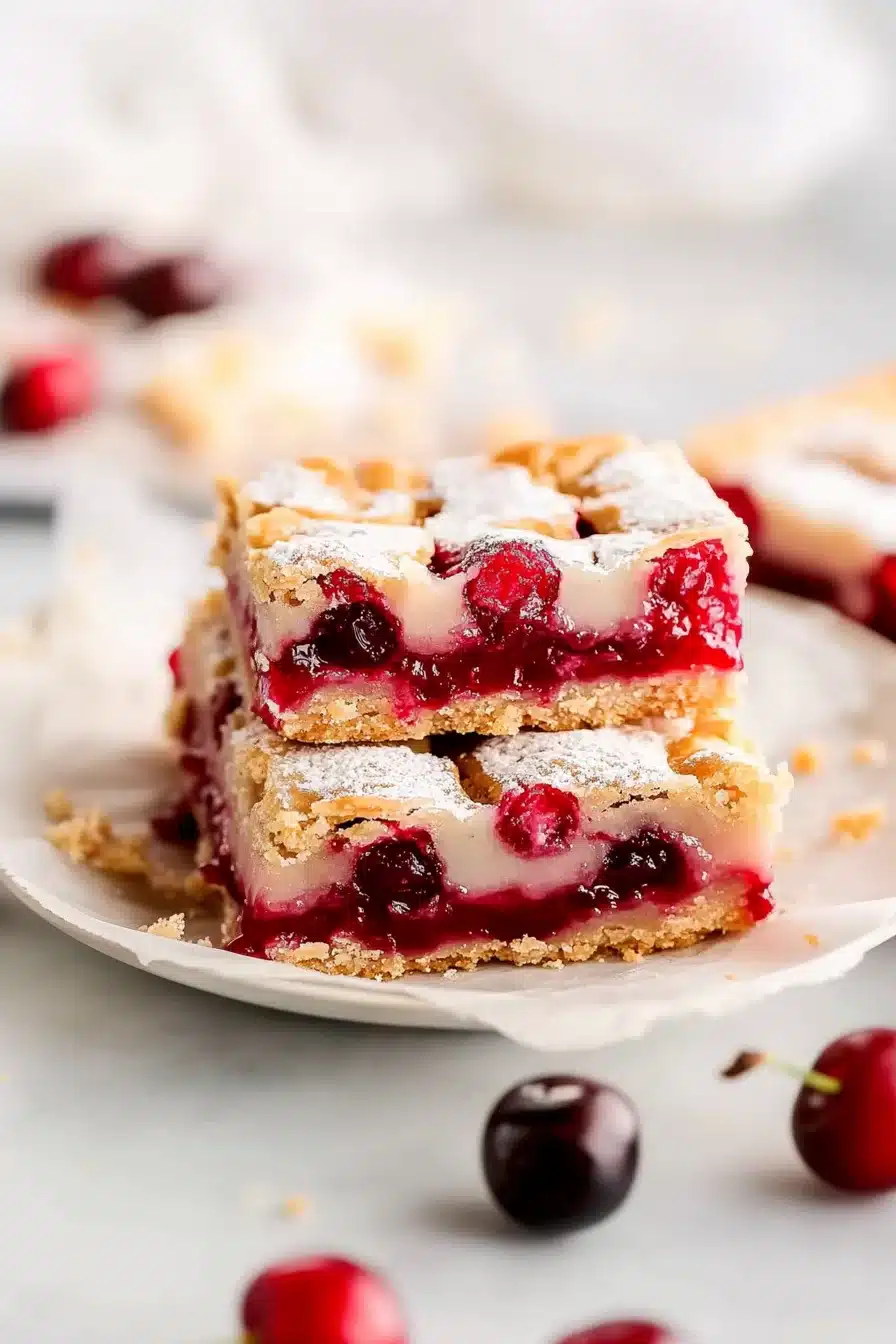
Buttery crust, sweet cherries, and a vanilla-almond glaze—these cherry pie bars come together with flour, sugar, butter, and a can of pie filling. Yes, it’s as good as it sounds.
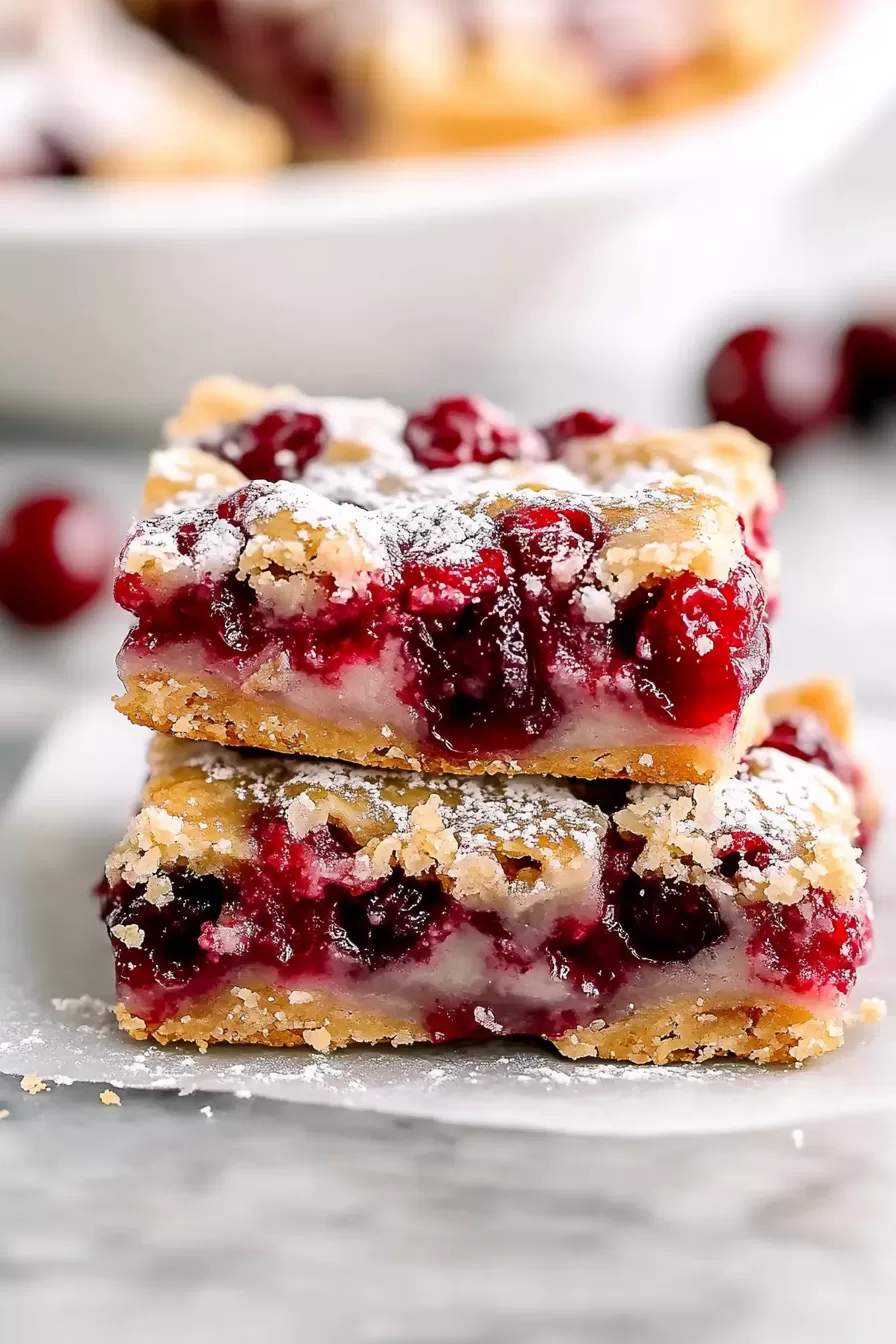
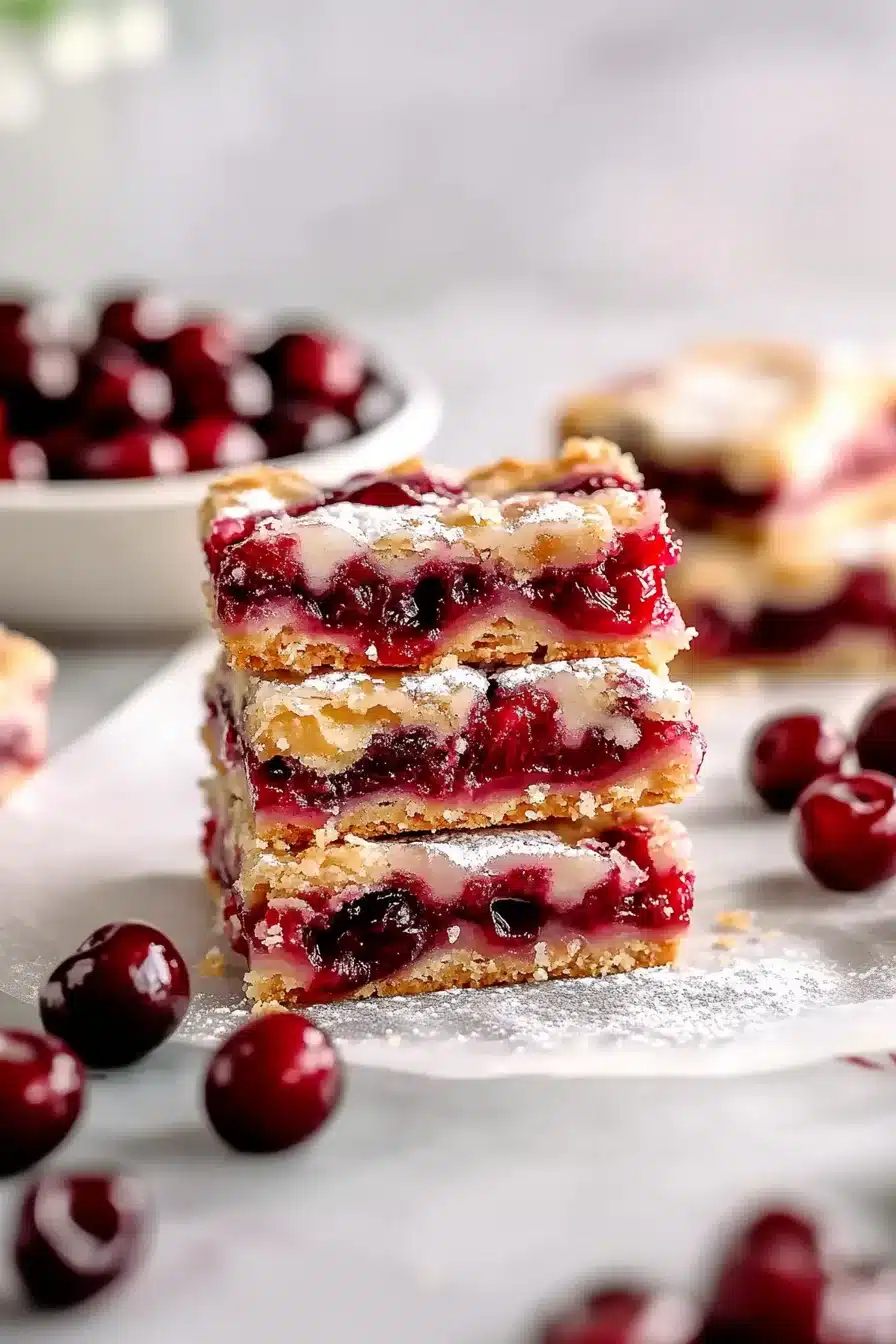
Imagine buttery dough that’s just crumbly enough, topped with gooey cherry filling, then baked until golden and finished with a glossy glaze. Enough said? These bars are simple but wildly satisfying. Think nostalgic dessert table vibes, only easier. No lattice crusts or fussy techniques.
Great for potlucks, after-dinner treats, or that random Tuesday when you need a sweet cheat code. Plus, they’re surprisingly forgiving (don’t overthink it). Just press, spoon, sprinkle, bake, drizzle. Alright, now we’re talking cozy kitchen smells and stained cherry fingertips. Let’s go.


Why You’ll Love this Cherry Pie Bars Recipe
No pie crust acrobatics required here. These cherry pie bars are easygoing, a little messy (in the best way), and consistently delicious.
- Ridiculously simple to make: You just squish, smear, melt, and drizzle, then somehow everyone thinks you baked for hours.
- That buttery, cookie-like crust: It’s tender at the bottom and golden on top, hugging all that jammy cherry goodness.
- Crowd friendly and pan-friendly: You can slice these into mighty squares or tiny bites, depending on your level of self-control.
- Use-everyday-ingredients: Promise you probably have most of these lying around, waiting for their cherry-glazed destiny.
- That pop of almond in the glaze: It’s subtle but kind of magical, like the cherry got dressed up for a party.
- Make-ahead magic: Bake today, drizzle tomorrow, eat all weekend.
Ingredient Notes
This is comfort baking with a short grocery list. Just a few things come together to make big flavor.
- All-purpose flour: The sturdy base of our crust. Don’t use bread flour here unless you enjoy regret and dry bars.
- Granulated sugar: Sweetens the crust and helps caramelize those crusty edges (you know the ones everyone fights over).
- Cornstarch: Just a smidge to make the crust a bit softer and hold its shape.
- Baking powder: A little lift keeps things from turning into dense cookie bricks.
- Salt: Balances everything. Without it, things taste oddly flat, like a sentence without punctuation.
- Cold butter: This is where that soft crumble comes from. Cut it in cold, like biscuit dough, for best results.
- Large egg: Just one, to bind the dough without making it overly cakey.
- Cherry pie filling: You can absolutely use homemade if you’re feeling extra, but canned gets the job done beautifully.
- Powdered sugar: For the glaze drizzle. It’s less of a frosting and more of a sweet accessory.
- Vanilla + almond extract: Together, they add that bakery-level charm. Almond especially is the secret wink in this recipe.
- Milk: Just enough to loosen the glaze to drizzle-friendly levels.
How To Make This Cherry Pie Bars Recipe
These bars are more “assembly” than anything. Like, if you can press dough and open a can, you’re basically 90% there.
-
Prep your pan and preheat: Grease a 9×13 pan, line it with parchment (hello easy lift out), and get that oven warming to 350°F. You want it hot when the dough hits the pan.
-
Combine the dry stuff: In a big bowl, whisk together flour, granulated sugar, cornstarch, baking powder, and salt. It’ll look sandy and smell like baked-good potential.
-
Cut in the butter: Dice your cold butter and toss it into the bowl. Use a pastry cutter or your fingers (just work fast) to create a crumbly mixture. Like coarse breadcrumbs.
-
Add the egg and mix: One egg goes in and everything gets gently stirred. Don’t overmix. Think clumpy, not smooth. It should hold together if you squeeze a bit in your hand.
-
Pre-bake the crust: Press two-thirds of this dough into the bottom of the prepared pan. Get it even, no need for perfection. Bake it for 8 minutes, just a short head start.
-
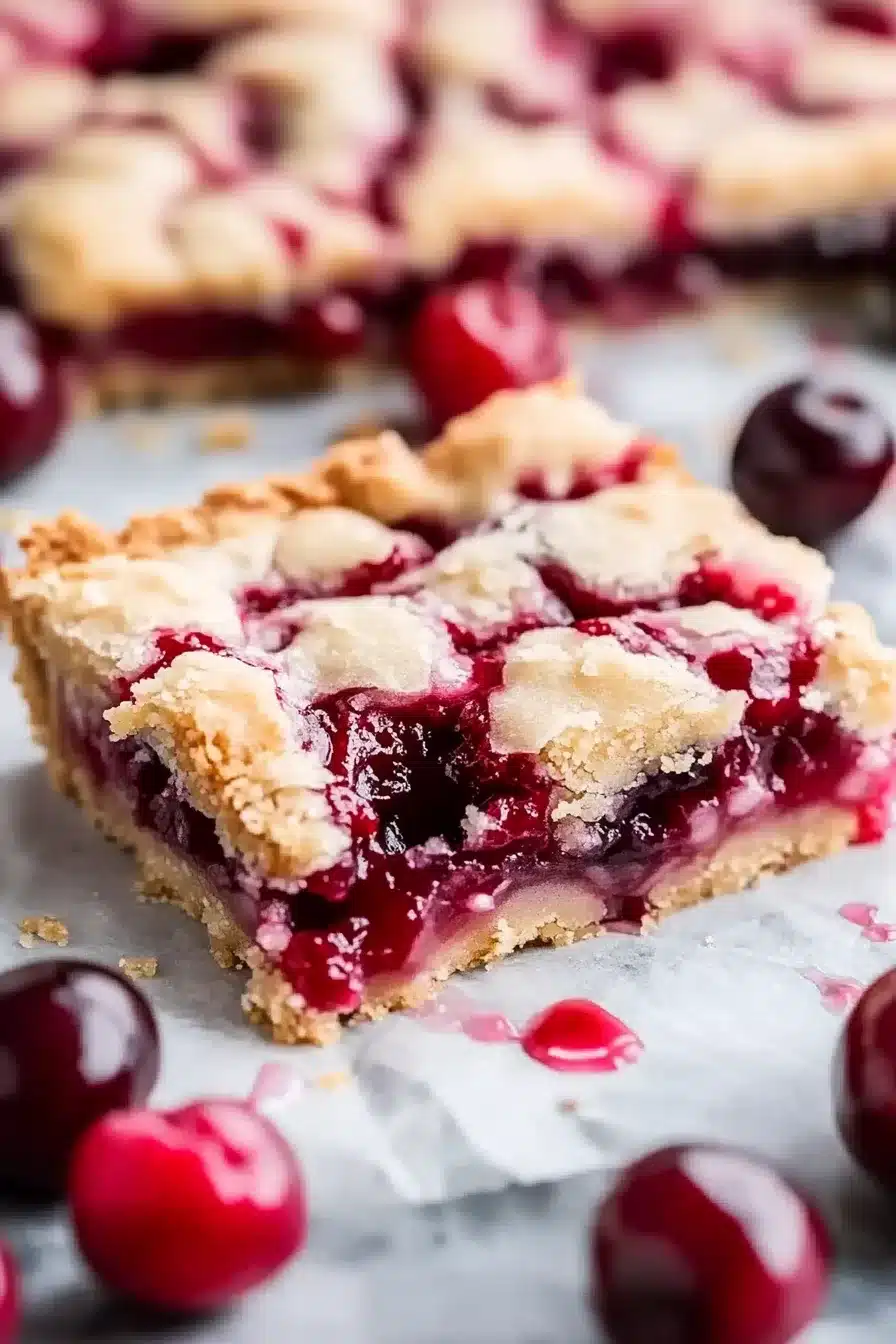
Layer with cherry filling: Dollop that cherry pie filling all over and gently spread it out. The crust is warm, so it’ll slide easily. Don’t press too hard.
-
Top with more crumbs: Take the remaining third of your dough and crumble it over the cherries like a little snowstorm of buttery goodness.
-
Bake again: Pop the whole thing back in the oven for 20 to 25 minutes. You’re aiming for golden edges and bubbling cherry spots.
-
Cool completely (seriously): Let them cool right in the pan. Warm bars = crumble city. Cool bars = clean, happy squares.
-
Glaze and serve: Whisk powdered sugar with vanilla and almond extracts, plus just enough milk to get it drizzly. Then zigzag it all over your cooled bars.
Storage Options
If you’re lucky enough to have leftovers (or, you know, managed self-restraint), cherry pie bars actually store like champs.
On the counter, they’ll stay decent for about 2 days in an airtight container. But if your kitchen’s warm or it’s summer, play it safe and stash them in the fridge. They’ll last up to 5 days chilled, and the chill also firms up that glaze beautifully.
Want to freeze them? You totally can. Let them cool fully, skip the glaze, and stack them with parchment between layers in a freezer-safe container. They’ll keep for about 2 months. Then just thaw in the fridge overnight and glaze before serving. Boom—”fresh” dessert with almost no effort.
You can also microwave one square for 10 seconds if you’re craving a warm bite with melty bits of cherry. Totally dreamy with a scoop of vanilla ice cream, by the way.
Variations and Substitutions
Once you’ve made these once, feel free to play a little. The bones are solid—now dress them up however you’d like.
- Different pie fillings: Swap the cherry for blueberry, peach, raspberry, or even apple. Just use the same canned pie filling format.
- Lemon glaze instead of almond: Skip the almond and use lemon juice and zest in your glaze for a zingy twist.
- Gluten-free swap: Use a 1:1 gluten-free blend with xanthan gum. It works, though the texture may be slightly less chewy.
- Brown butter option: If you’ve got an extra five minutes, brown the butter before cutting it into the flour. Adds major toasty depth.
- Cut-out bars: Feeling fancy? Once chilled, use cookie cutters (like hearts or stars) for a cute upgrade. Great for parties.
- Almond vibe boost: Add a handful of sliced almonds to the crumb topping before baking if you’re all in on almond.
What to Serve with Cherry Pie Bars
You can absolutely enjoy these solo, but if you want to round things out (or just make it a whole cozy dessert moment), here are some tasty pairings:
-
Pair them with a mug of hot coffee or chai. The warm spices or roasty coffee cut through the sweetness beautifully. It’s very afternoon-pick-me-up-core.
-
Looking for something savory to balance the sweet? A bowl of Italian sausage soup is comforting, hearty, and makes dessert taste even sweeter by contrast.
-
If you’re doing a dessert spread, add something creamy like a small plate of Ho Ho cake slices or mini cheesecakes to vary things up in texture and richness.
-
Vanilla ice cream isn’t just a suggestion—it’s a lifestyle here. Especially if you warm up a bar and serve it a little melty. You’ll thank me.
-
Serve chilled bars with a drizzle of cherry syrup and fresh berries for a brunch-ready twist. Yes, dessert at brunch is a thing. Let it be a thing.
Frequently Asked Questions
Can I use homemade cherry pie filling instead of canned?
Absolutely. If you have a favorite homemade cherry filling recipe, use it. Just be sure it’s thick enough not to get too runny during baking. If it’s looking watery, simmer it down on the stove with a bit of cornstarch to thicken, then cool before using. Canned is convenient, but homemade gives you control over the sweetness and texture.
Do I need to refrigerate cherry pie bars?
They’re fine at room temp for about 2 days, but for longer storage or during warmer months, stash them in the fridge. Chilled bars keep their shape really well and the glaze sets up nice and firm. Plus, they’re pretty tasty cold if you’re into the contrast of cool cherry filling and that buttery crust.
Can these be made gluten-free?
Yes! A good 1:1 gluten-free baking flour (the kind with xanthan gum included) works well. The bars might be slightly more delicate, but still delicious. Watch your consistency when mixing the dough—it should still feel crumbly but pressable.
Can I make these cherry pie bars ahead of time?
You bet. Bake them fully, cool completely, and either glaze right before serving or go ahead and glaze them after they cool. Store in the fridge if you’re making them more than a day ahead. They’re practically designed to taste even better the next day after the flavors mingle.
Cherry Pie Bars
Ingredients
Crust and Topping
- 2 1/4 cups (280 g) all-purpose flour
- 3/4 cup (150 g) granulated sugar
- 1 tablespoon (8 g) cornstarch
- 1 teaspoon (4 g) baking powder
- 1/2 teaspoon (2 g) salt
- 3/4 cup (170 g) cold unsalted butter cut into cubes
- 1 large egg cold
Filling
- 1 21-ounce can (595 g) cherry pie filling
Glaze
- 3/4 cup (90 g) powdered sugar
- 1 teaspoon (5 ml) vanilla extract
- 1/4 teaspoon (1 ml) almond extract
- 1-2 tablespoons (15-30 ml) milk as needed, for thinning the glaze
Equipment
- 9x13-inch Baking Pan
- Parchment paper
- Mixing bowls
- Pastry cutter or forks
- Whisk
Instructions
- Preheat oven to 350°F (175°C). Grease a 9x13-inch pan and line with parchment paper for easy removal.
- In a large bowl, whisk together the flour, granulated sugar, cornstarch, baking powder, and salt until evenly combined.
- Add the cold, cubed butter to the flour mixture. Cut in with a pastry cutter, fork, or fingers until the mixture resembles coarse crumbs.
- Add the egg and stir gently until crumbly but cohesive. It should hold together if pressed.
- Press about two-thirds of the dough evenly into the bottom of the prepared pan to form the base. Bake for 8 minutes.
- Spoon the cherry pie filling evenly over the warm crust.
- Crumble the remaining dough over the top of the cherry layer.
- Bake for 20-25 minutes, until the edges are golden and the filling bubbles in spots.
- Let the bars cool completely in the pan—don’t rush this step or the bars may fall apart when slicing.
- For the glaze: Mix powdered sugar, vanilla extract, almond extract, and 1 tablespoon milk. Whisk until smooth, adding more milk as needed to reach a drizzling consistency. Drizzle generously over cooled bars before slicing.