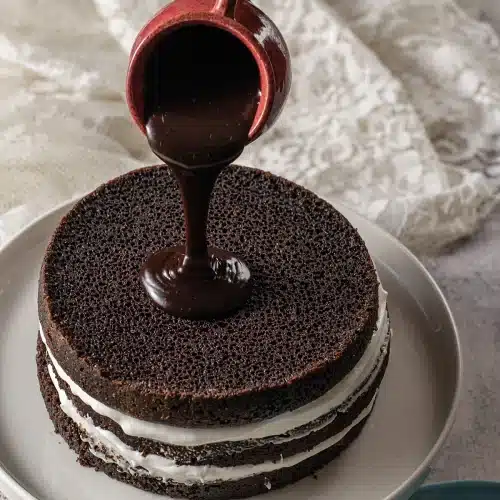
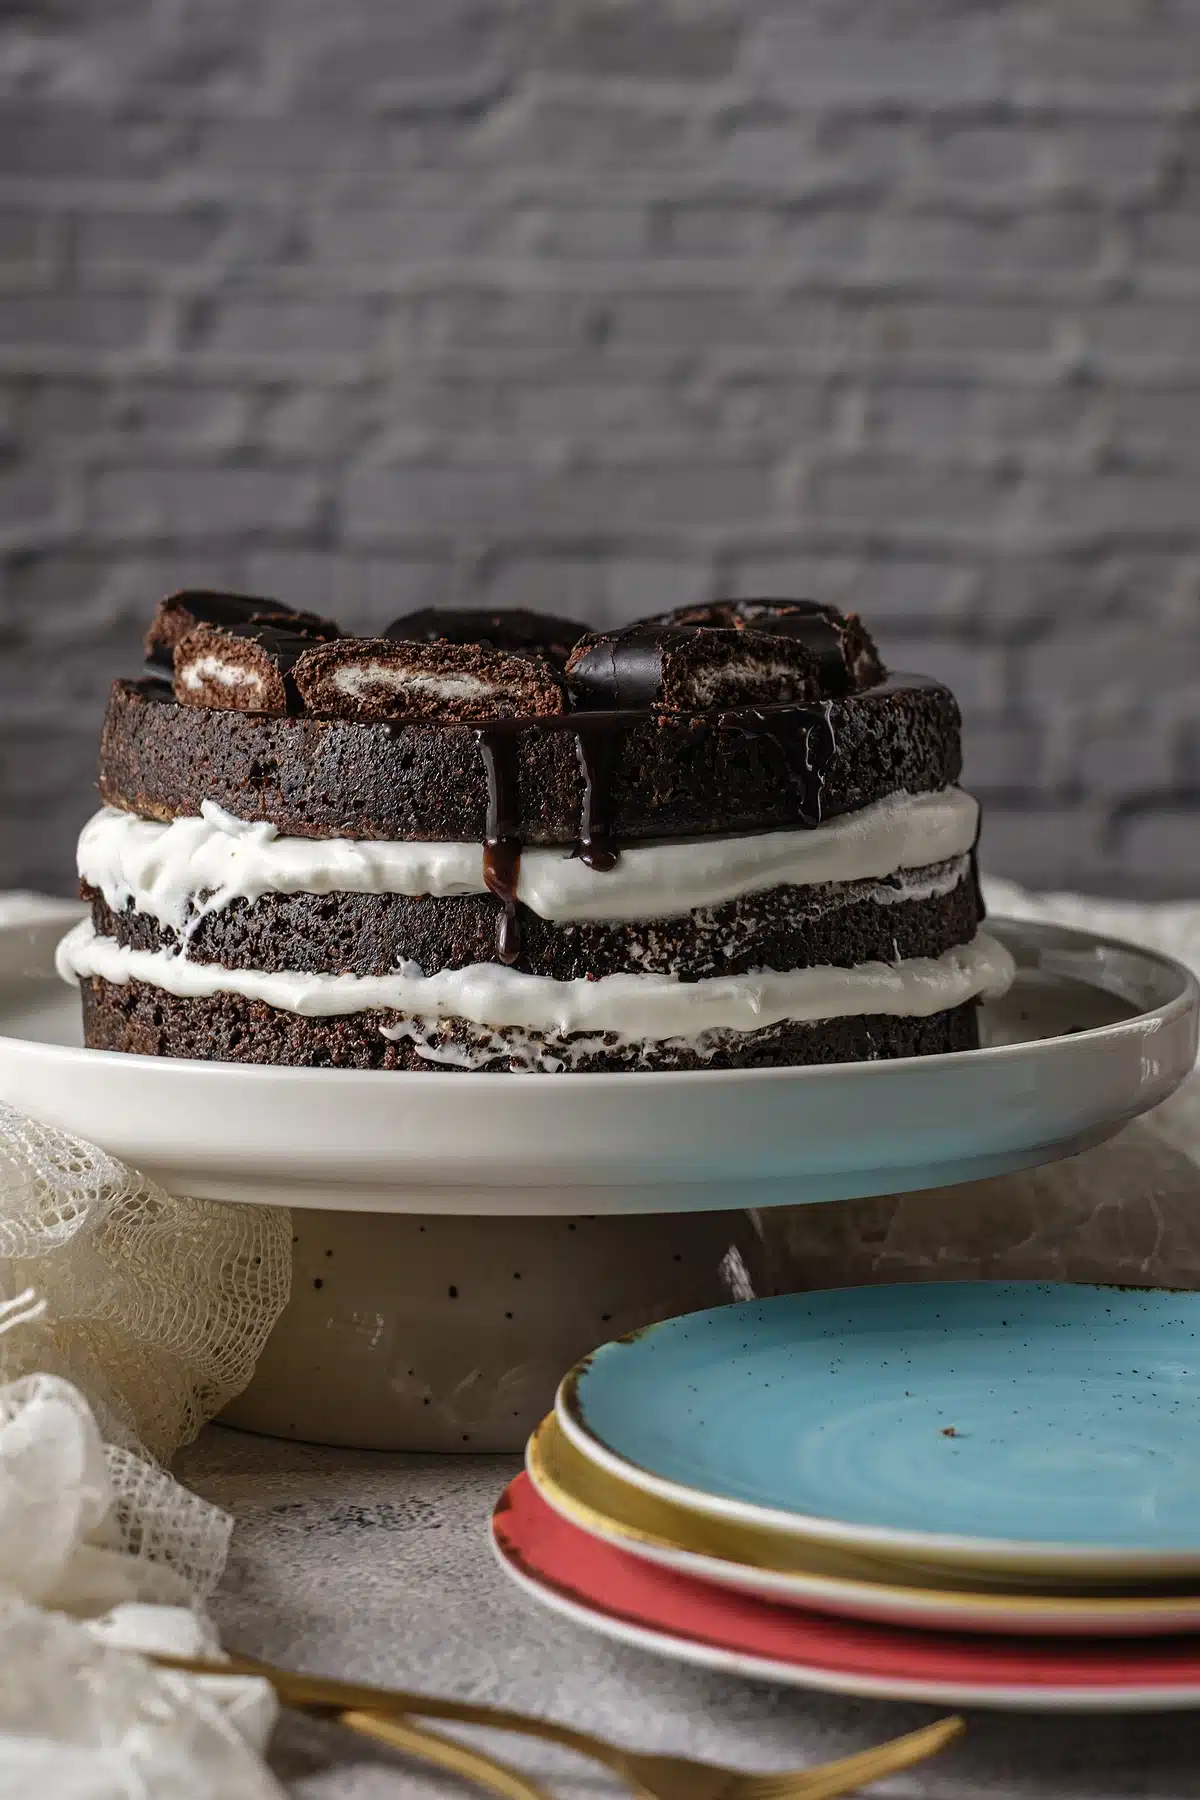
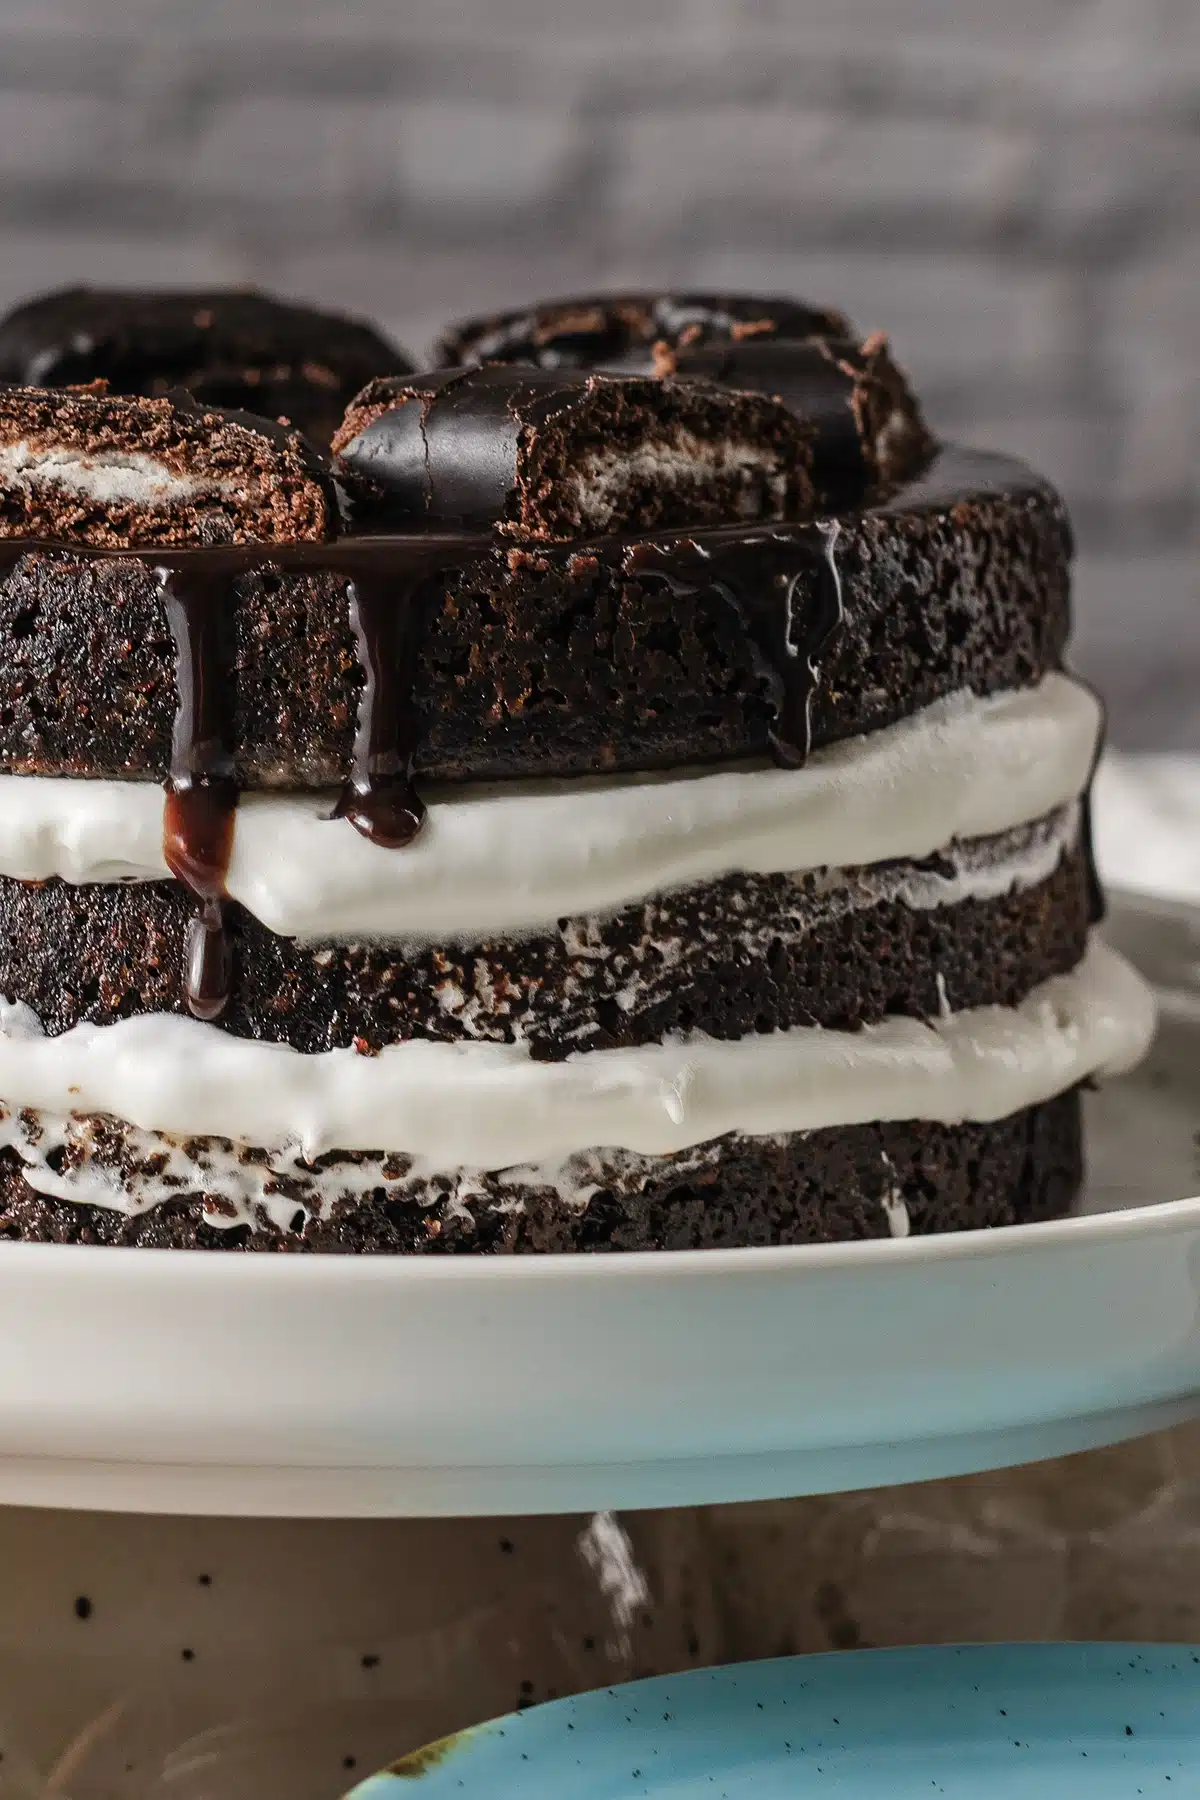
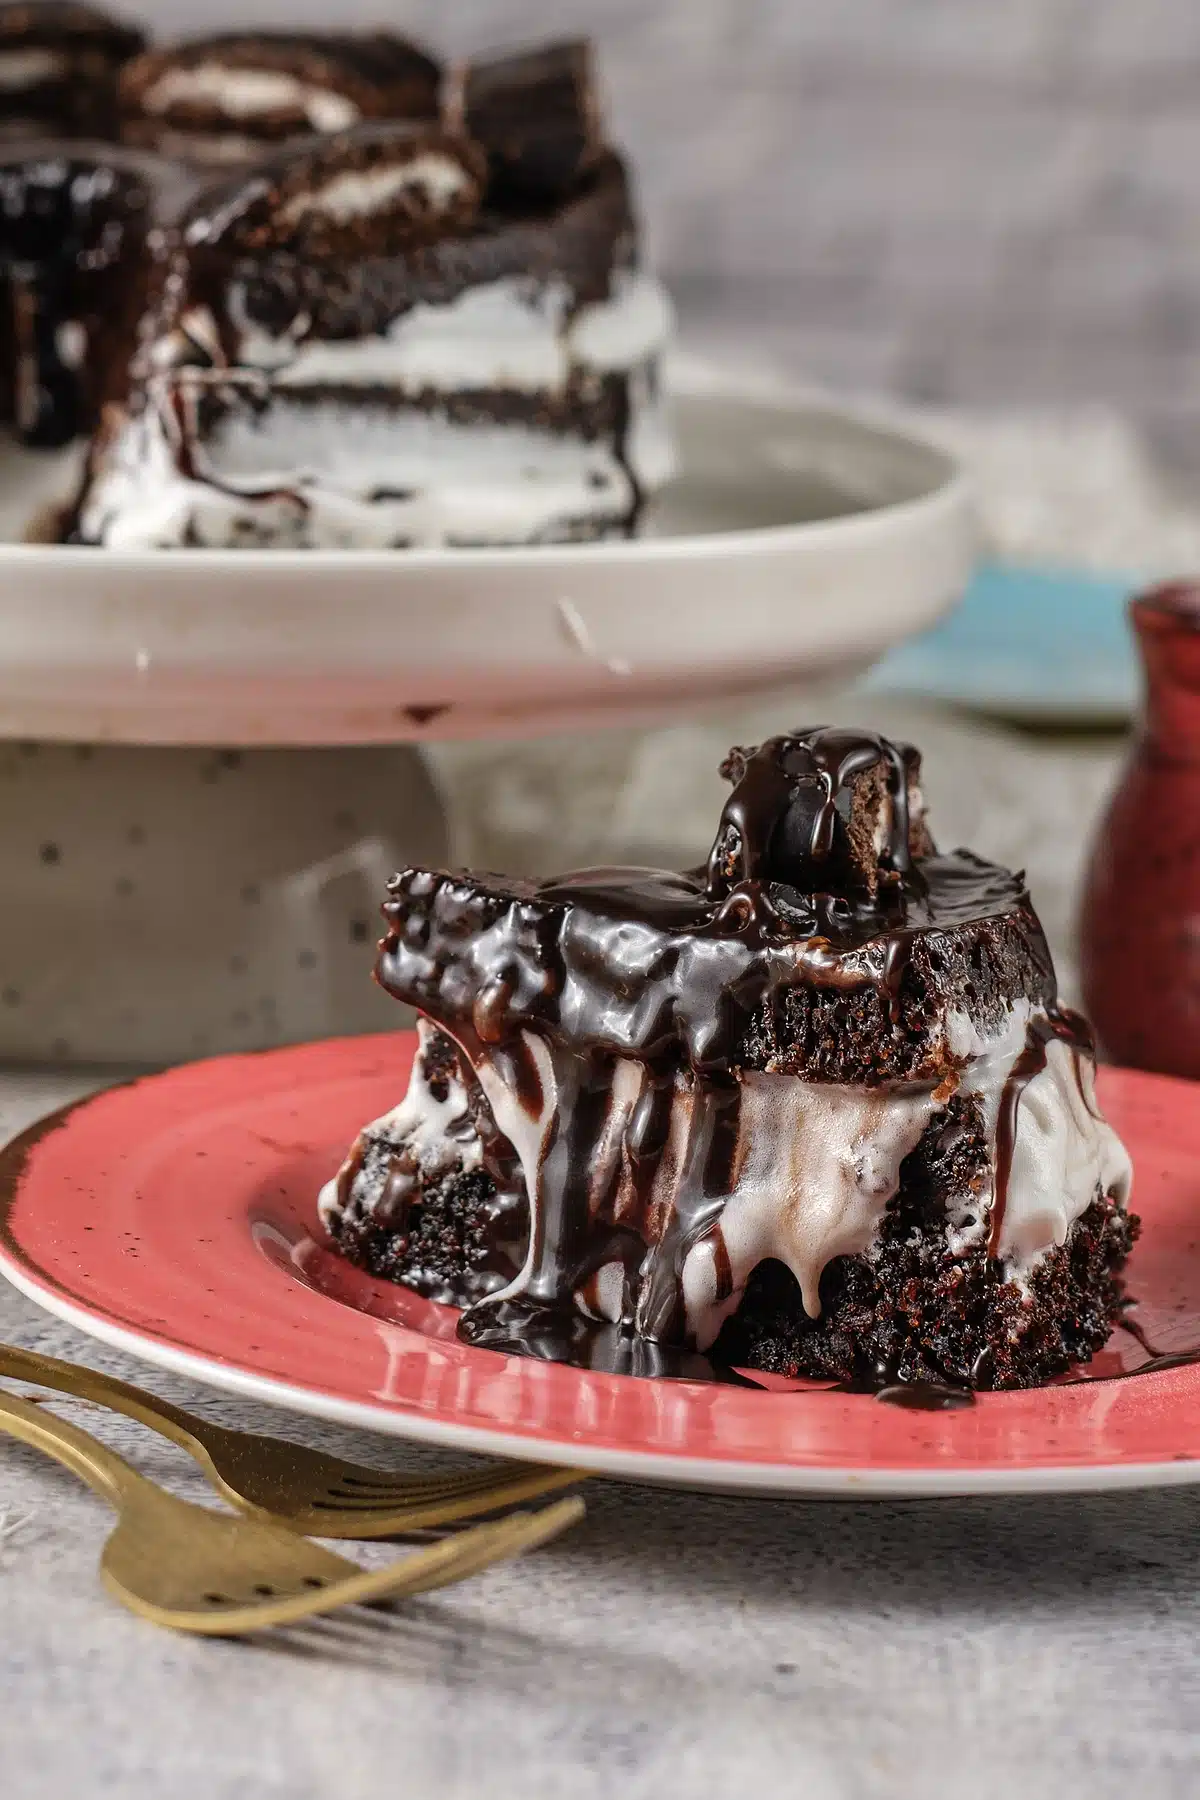
Ho ho cake is the layer cake built to taste like the foil-wrapped chocolate roll from a school lunchbox, scaled up to something you would set on a cake stand for guests. Four thin layers of dark cocoa sponge, three bands of white cooked-flour filling, and a chocolate ganache poured over the top so it runs down the sides.
The filling is the part that matters and the part most ho ho cake recipes get wrong. The snack it imitates does not use buttercream. It uses a cooked-flour cream, sometimes called ermine or boiled-milk frosting, which is barely sweet and closer to whipped cream than to icing. Swap in buttercream and you have made a nice chocolate cake that tastes nothing like the thing you were aiming at.
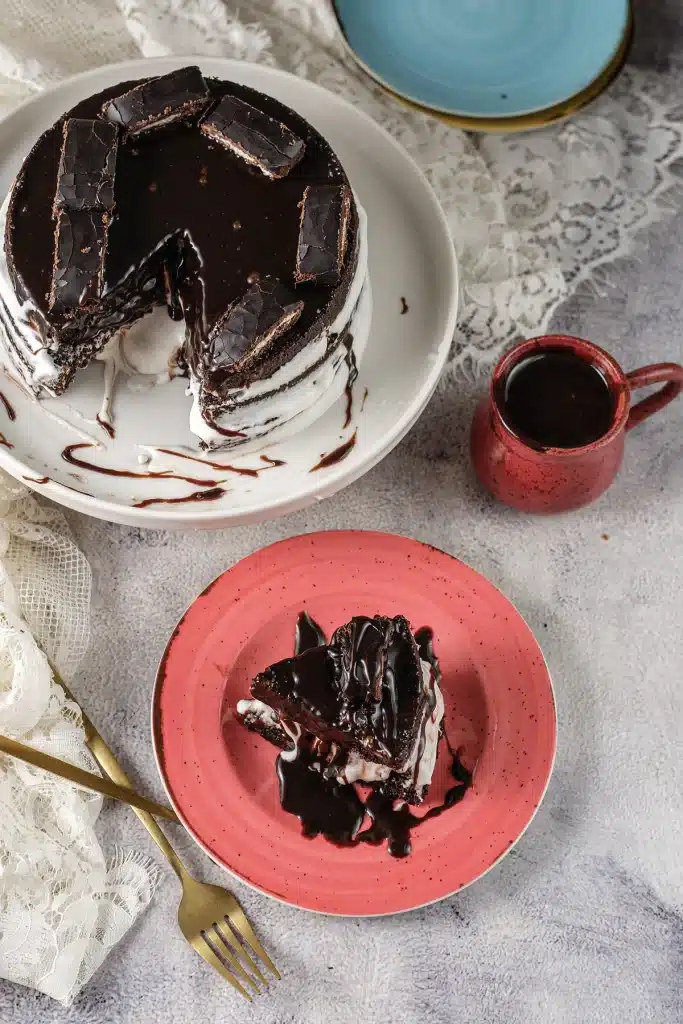
- Four thin layers from two pans, no special equipment beyond a serrated knife
- A cooked-flour filling that is genuinely not too sweet
- Hot coffee in the batter, which deepens the cocoa without tasting of coffee
- Better on day two, so the whole thing can be built the night before
- Slices cleanest straight from the fridge, which is unusual and useful

What Is a Ho Ho Cake?
It is a homemade tribute to the Hostess snack roll: chocolate sponge, white cream, chocolate coating. Rather than rolling a thin sheet around a spiral of filling, a ho ho cake stacks the same three components flat, which is far easier and gives you a much better ratio of cream to sponge.
The sponge in a ho ho cake is a buttermilk and oil cake rather than a creamed butter cake. Oil stays liquid at fridge temperature, and this is a cake that lives in the fridge, so an oil-based crumb keeps a soft bite where a butter cake would set hard and dry.
Hot coffee goes into the batter at the end. It does not make the cake taste of coffee. Cocoa solids are full of bitter alkaloids, chiefly theobromine, the compound catalogued in PubChem as the defining stimulant of cacao, and hot liquid blooms those aromatic compounds in a way cold liquid does not. The result reads as more chocolate, not as mocha.
The ganache on a ho ho cake is two ingredients and no thermometer: chocolate and hot cream, whisked smooth. Poured while it is still just pourable, it sets into a shell thin enough to cut through cleanly.
Save this recipe
Enter your email and I’ll send this recipe straight to your inbox.
Ingredient Notes
- Cocoa powder. Three-quarters of a cup of unsweetened natural cocoa. This is where the flavor lives, so a good brand is worth it. Dutch-process cocoa also works and gives a darker, rounder result, though the crumb rises slightly less because it does not react with the baking soda.
- Buttermilk. One cup, at room temperature. The acid tenderizes the crumb and activates the soda. If you have none, stir a tablespoon of lemon juice into a cup of milk and leave it ten minutes.
- Vegetable oil and sour cream. Half a cup each. The oil keeps the cake soft when cold and the sour cream adds richness and a faint tang that keeps a very sweet cake from cloying.
- Hot coffee. One cup, freshly brewed and genuinely hot. Hot water works and is a fine substitute; the coffee simply does the job better.
- Butter and shortening for the filling. Half a cup each. Shortening is what gives the filling its clean white color and its stable, slightly waxy set, which is exactly what the packaged snack tastes like. All butter is more delicious and noticeably softer.
- Semi-sweet chocolate chips. A cup and a half, or nine ounces of chopped bar chocolate. Chips contain stabilizers that keep them in shape, so bar chocolate melts smoother. Both work.
- Heavy cream. One cup for the ganache. It must be heavy or whipping cream; half-and-half does not carry enough fat to emulsify and the ganache splits.
About the Ermine Filling
Cook five tablespoons of flour with a cup of milk over low heat, whisking constantly, until it thickens into a soft paste. Scrape it into a bowl, press plastic wrap directly onto the surface so no skin forms, and cool it completely. Completely means room temperature, not warm.
Then beat the sugar, butter, shortening and salt until pale and fluffy, and add the cooled paste a spoonful at a time. It will look curdled and broken partway through. Keep beating. Five minutes on medium turns it smooth, white and light, and stopping early is why most people’s ermine fails.
Cooked-Flour Filling vs Buttercream
A ho ho cake made with American buttercream is a different dessert. Buttercream is butter and powdered sugar, which is roughly two parts sugar to one part fat. It is very sweet and slightly gritty. Against a sweet cake and a sweet ganache it makes the whole thing exhausting to eat past the first few bites.
The cooked-flour filling uses granulated sugar dissolved into a flour and milk paste, so nothing is grainy and there is far less sugar per spoonful. It tastes like sweetened whipped cream with body. That is what the snack cake tastes like, and it is why this filling is worth the extra twenty minutes.
If you want to substitute anyway, stabilized whipped cream is a much closer match than buttercream. Whip two cups of heavy cream with a third of a cup of powdered sugar and a teaspoon of unflavored gelatin bloomed in water. It will not hold as long, so assemble it the same day.
How To Make Ho Ho Cake
First, mix and bake the sponge for the ho ho cake. Heat the oven to 350 degrees and line two nine-inch round pans with parchment. Whisk the sugar, flour, cocoa, baking powder, baking soda and salt together. In a second bowl whisk the eggs, then the buttermilk, oil, sour cream and vanilla. Combine the two, then stir in the hot coffee last. The batter will be very thin, which is correct.
Next, bake and cool. Divide the batter between the pans and bake for 25 to 30 minutes, until a toothpick comes out with a few moist crumbs. Cool in the pans ten minutes, then turn out onto racks and cool completely. A warm layer will melt the filling on contact.
Then make the filling. Cook the flour and milk into a paste, cool it fully, and beat it into the whipped sugar, butter and shortening as described above. Beat until it is light and white with no graininess.
Assembling and Glazing
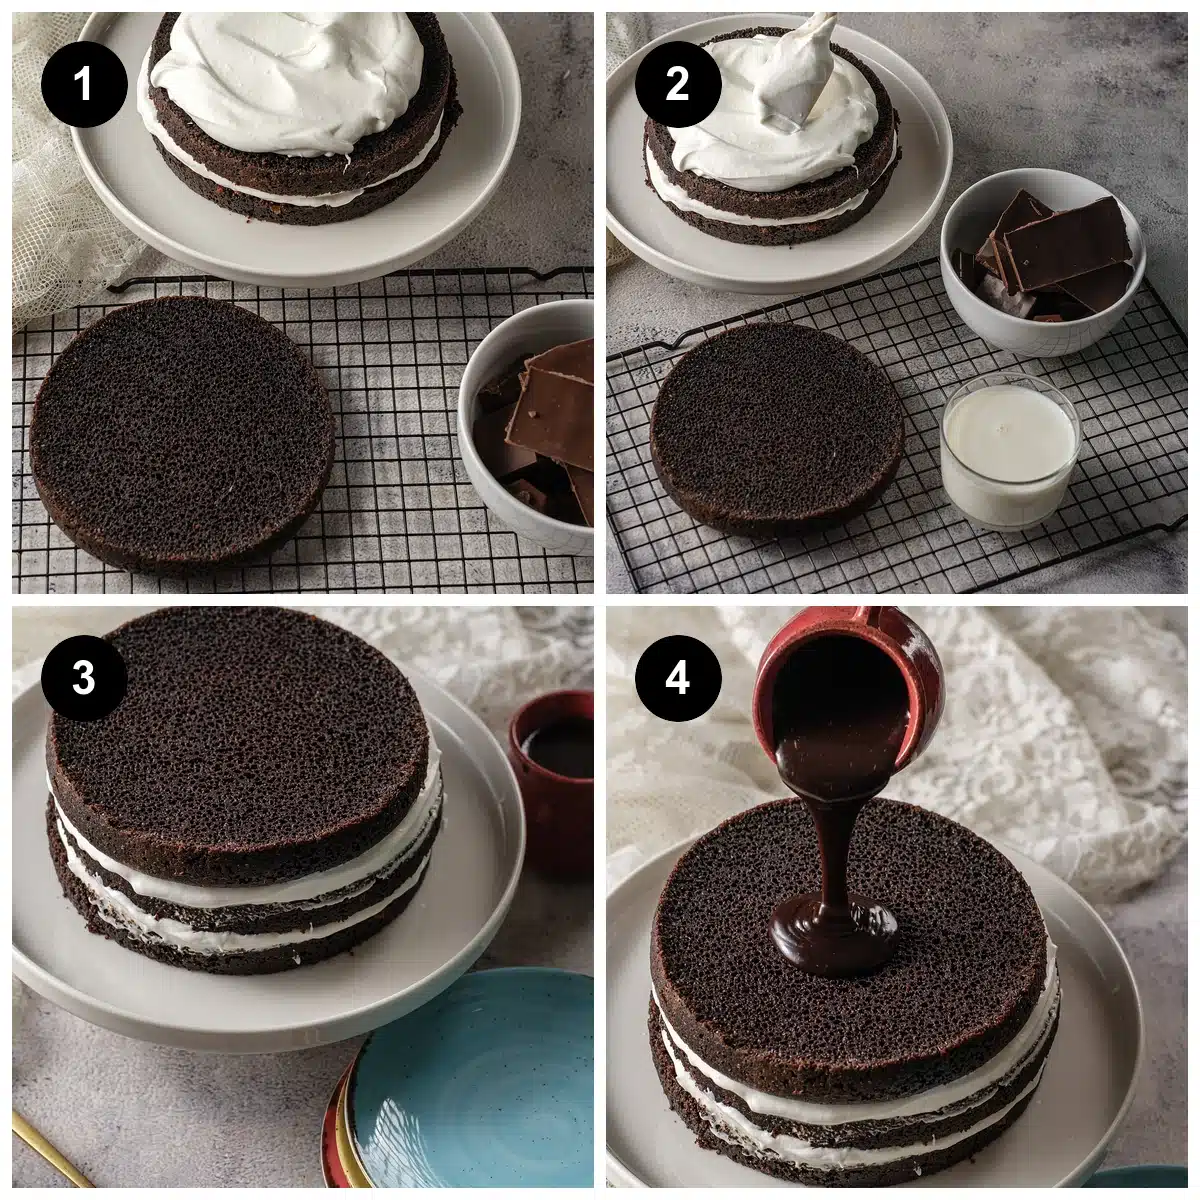
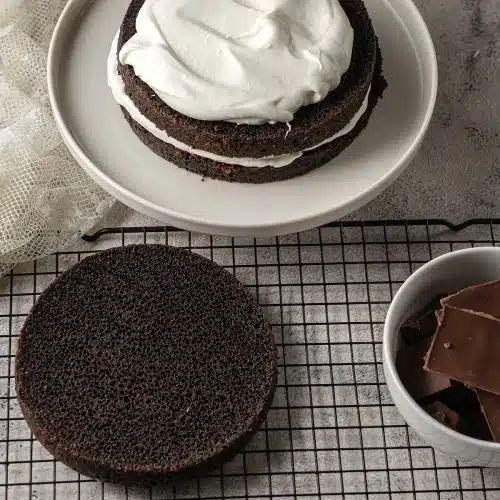
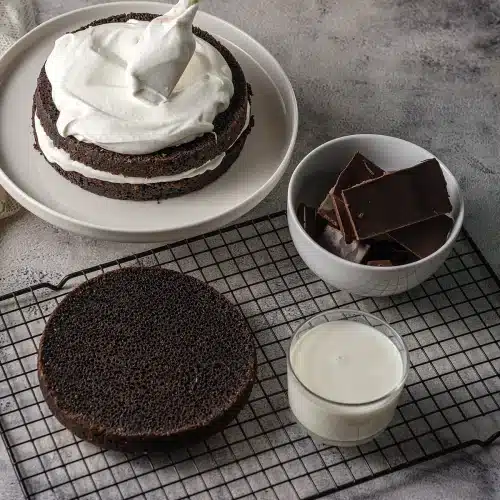
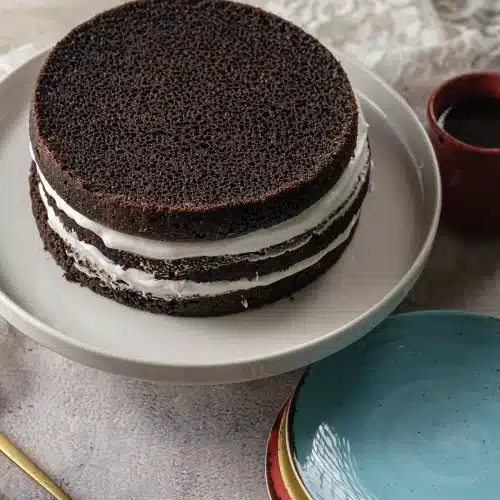
After that, split and stack. With a long serrated knife, slice each cooled layer horizontally in half so you have four thin rounds. Set one on a plate, spread a third of the filling to the edges, and repeat twice more, finishing with the fourth round on top. Refrigerate the stack for twenty minutes while you make the ganache.
Finally, glaze in two passes. Pour hot cream over the chocolate, let it sit three minutes, then whisk smooth and cool it until slightly thickened but still pourable. Pour a thin coat over the chilled stack and smooth it with an offset spatula. Chill twenty minutes, then pour the rest on for a thick, glossy finish and chill at least another thirty.
How To Tell When the Layers Are Baked
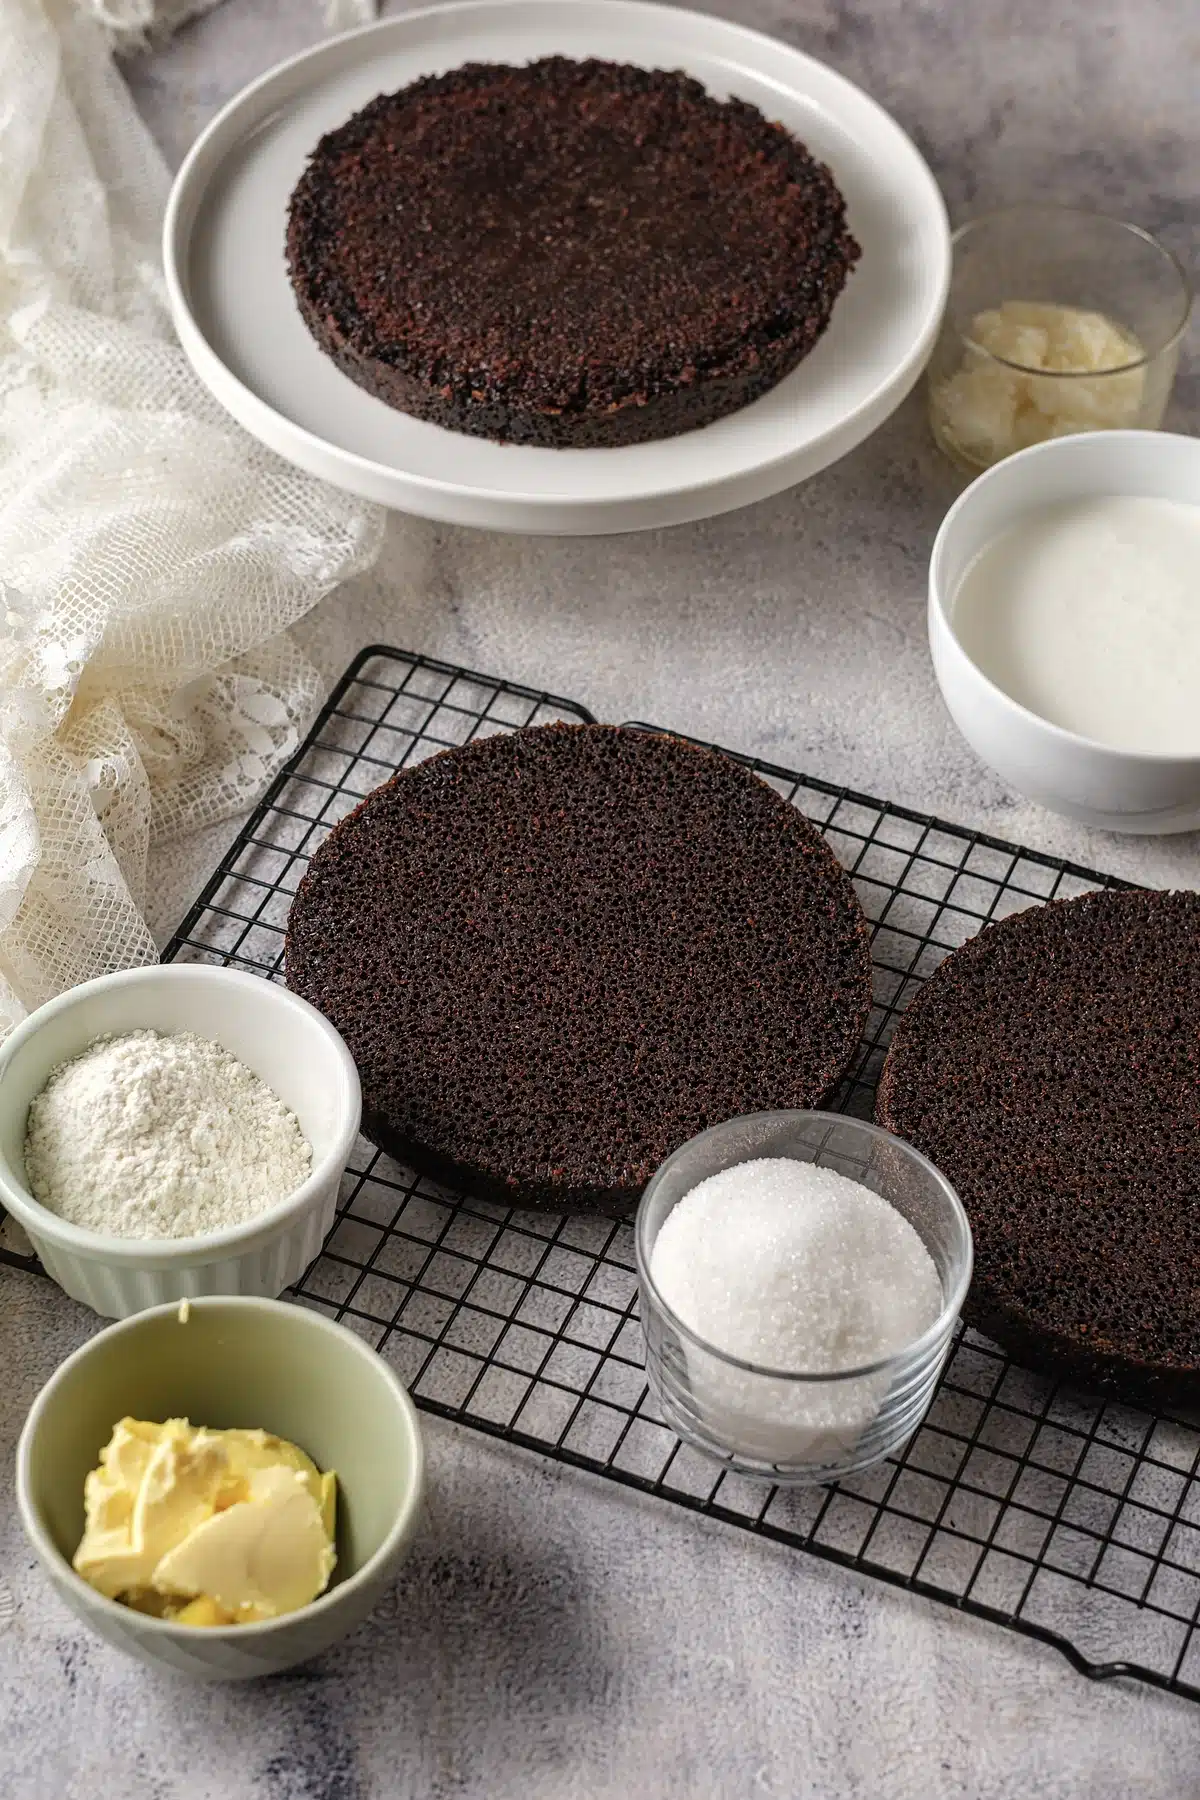
A toothpick pushed into the center of a ho ho cake layer should come out with a few moist crumbs clinging to it, not wet batter and not bone dry. Bone dry means you have gone about four minutes too far, and an oil cake that is overbaked goes from tender to crumbly quickly.
The other reliable sign is the edge. A finished layer has pulled very slightly away from the side of the pan all the way around, and the surface springs back rather than holding a fingerprint. Start checking at 25 minutes; thin layers in dark pans can be ready before that.
Then cool completely, and mean it. Ten minutes in the pan, then out onto a rack until the layers are cool to the touch on the bottom as well as the top. Splitting a warm layer tears it, and filling a warm layer melts the cream straight through the crumb.
Make It Ahead
A ho ho cake wants to be made in advance. Assembled and chilled overnight, the sponge absorbs a little moisture from the filling, the ganache firms up, and slices come out sharp instead of squashed.
You can split the work over three days without any loss. Bake the layers on day one, cool them, wrap each tightly in plastic and leave them at room temperature. Make the filling on day two and keep it covered in the fridge, then let it come back to room temperature and re-beat it briefly before using. Assemble and glaze on day three.
The baked layers also freeze well. Wrap them in plastic and then foil and freeze for up to three months. Thaw them wrapped, on the counter, so condensation forms on the plastic rather than on the cake.
Storing Ho Ho Cake
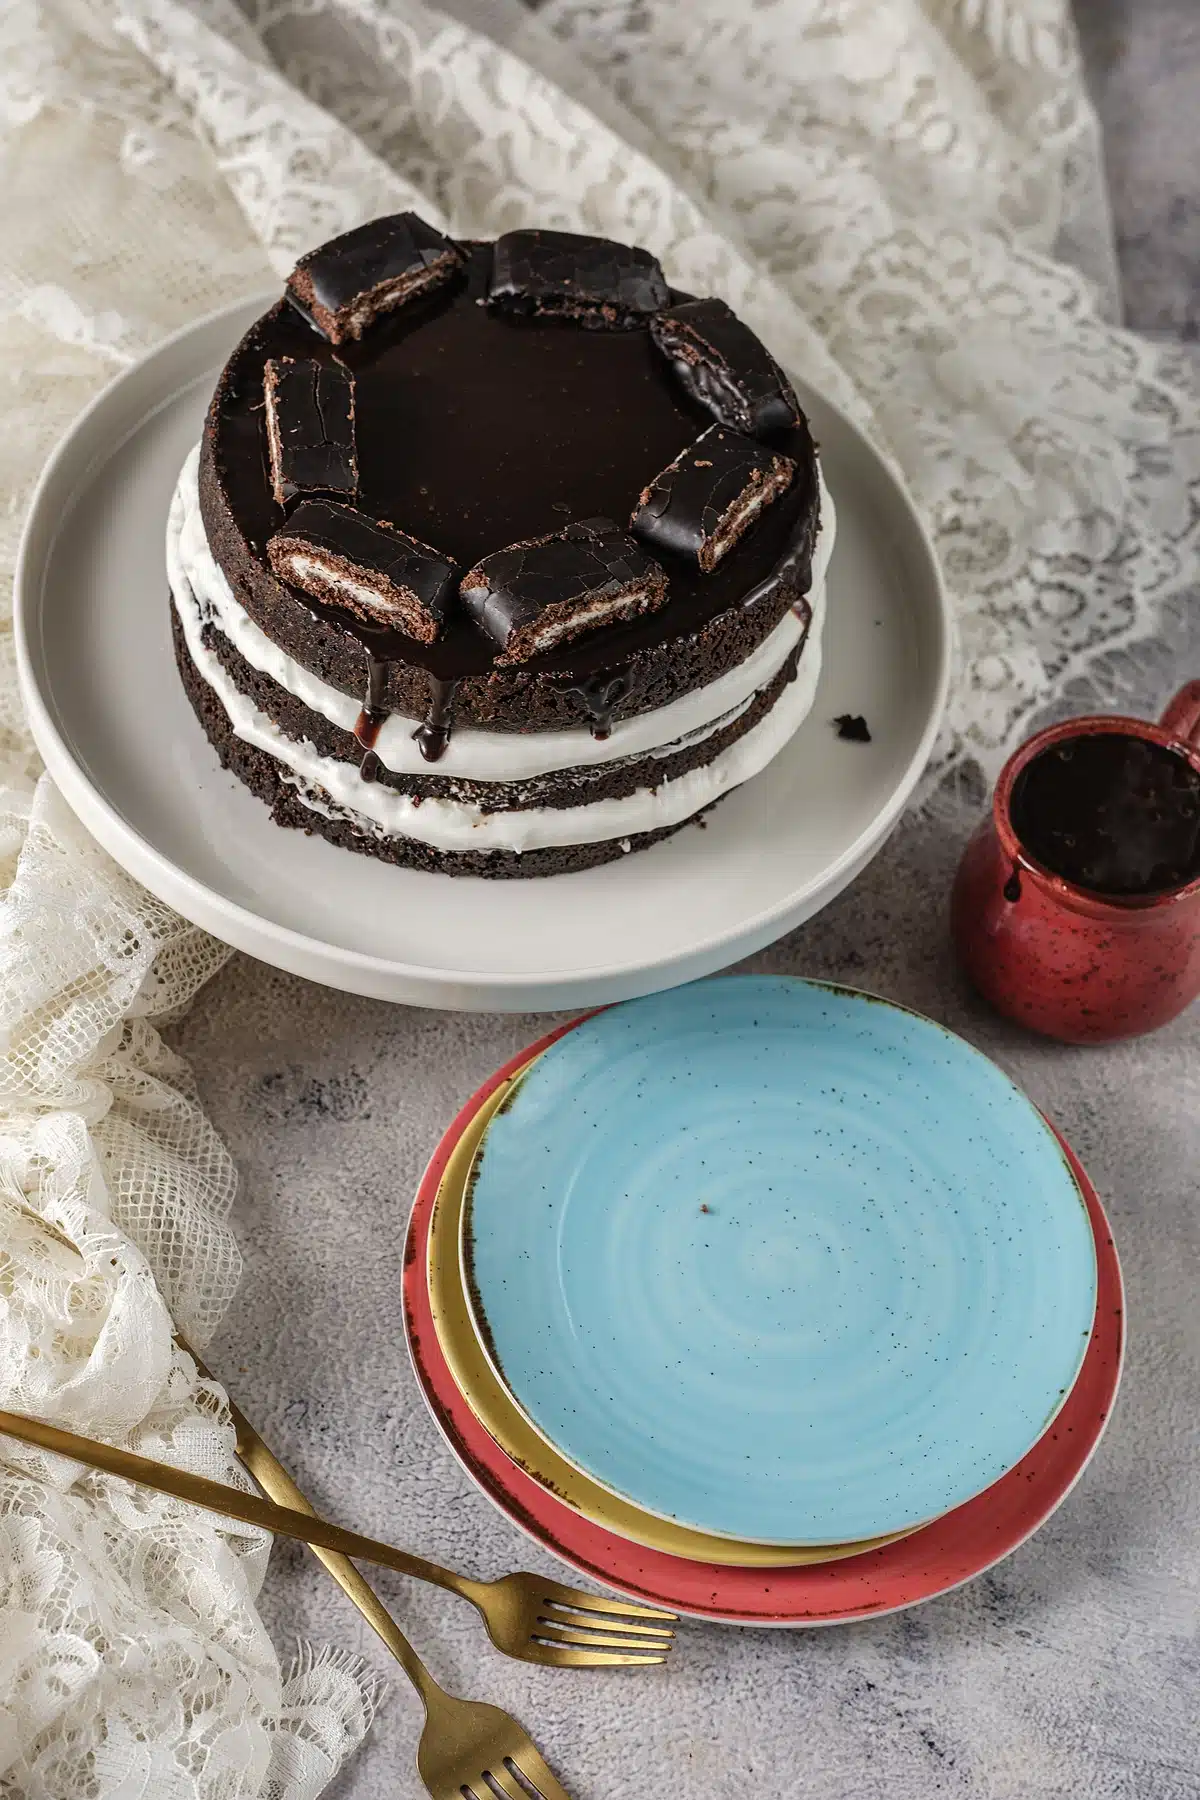
Refrigerate it, always. The filling contains milk and no preservative, so a ho ho cake is not a counter cake. Covered with a dome or loosely with foil, it keeps four days in the fridge, and the first two are the best.
Press plastic wrap against any cut faces of the ho ho cake rather than only over the top. An exposed crumb dries within hours and the difference between a covered cut face and an uncovered one is obvious by the next day.
Freeze whole slices on a tray until firm, then wrap them individually and bag them for up to a month. Thaw them overnight in the fridge. Take a slice out twenty minutes before eating, which softens the ganache just enough without loosening the filling.
Variations and Substitutions
Sheet cake version. Bake the batter in a nine-by-thirteen pan for 30 to 35 minutes, spread all the filling over the cooled cake, and pour the ganache over that. It is far quicker, and it is how most family versions are made.
All butter filling. Replace the shortening with more butter. Richer and better tasting, softer at room temperature, and slightly ivory rather than white.
Peppermint. A quarter teaspoon of peppermint extract in the filling turns it into a December cake. Do not add more; peppermint escalates fast.
Espresso ganache. Dissolve a teaspoon of instant espresso powder in the hot cream before pouring it over the chocolate. It sharpens the ganache without making it taste of coffee.
Cupcakes. Bake the batter into 24 cupcakes for 18 minutes, core them, pipe the filling in, and dip the tops in ganache. This is the closest you will get to the original shape.
Cake mix shortcut. A box of devil’s food mix prepared with the coffee swapped in for the water gets you most of the way. The filling is the part that cannot be shortcut.
What to Serve with Ho Ho Cake
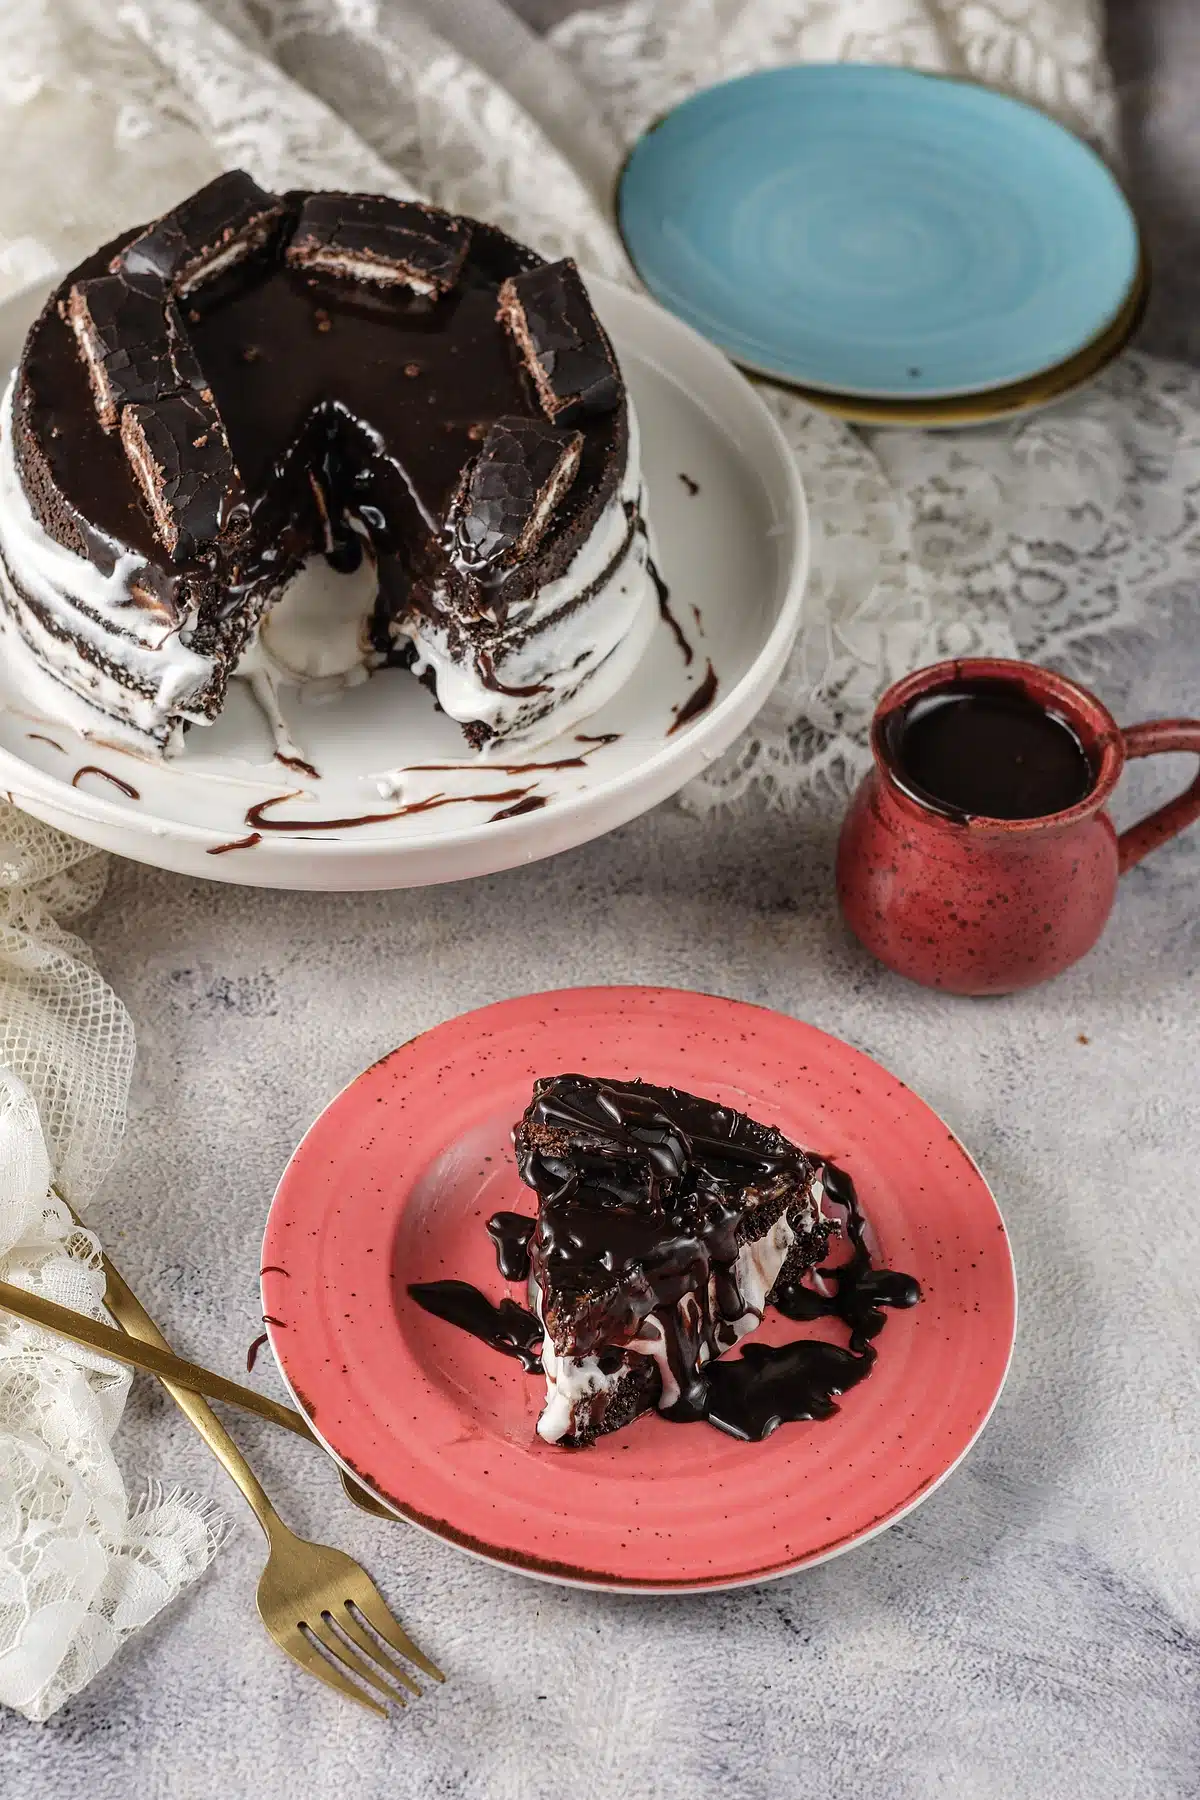
Cold milk is the correct answer for a ho ho cake and everything else is a variation on it. This is a nostalgic dessert and it does not want a sophisticated pairing.
For adults, black coffee or an espresso does the same job the milk does, which is to cut through the fat and reset the palate between bites. A tawny port or a glass of stout also works if you are ending a long dinner.
Raspberries on the plate are the one fruit worth adding. Their acidity lifts a heavy slice, and the color against dark ganache is worth the ten seconds. If you are building a dessert table, a chocolate chip sheet cake covers the crowd while this one covers the occasion, and a molten lava cake serves the same audience warm rather than cold.
Ho Ho Cake FAQ
Frequently Asked Questions
What makes a ho ho cake different from any chocolate cake?
The filling. A ho ho cake uses a cooked-flour cream, not buttercream, which is barely sweet and closer to whipped cream in texture. Combined with a thin poured ganache instead of a thick frosting, that is what makes it taste like the snack rather than like a birthday cake.
Why did my filling turn out grainy?
Either the granulated sugar never dissolved or the flour paste was still warm when it went in. Beat the sugar with the fats for a full three minutes before adding anything else, and make sure the paste is at room temperature, not lukewarm.
Do I have to use shortening?
No. All butter tastes better and gives a slightly softer, ivory-colored filling. Shortening is there for the bright white color and the firmer set, which is what makes it read as the packaged original.
Can I skip splitting the layers?
You can build a ho ho cake from two thick layers instead of four thin ones, but the cream-to-sponge ratio is the whole point. If splitting worries you, bake the batter in three thinner pans instead and skip the knife entirely.
More Questions About Layer Cakes
Good to Know
Do they still make the original snack?
Yes, Hostess still sells them, which is exactly why a homemade ho ho cake has to be better rather than merely similar. Four layers of real cocoa sponge and a fresh cream filling are not a fair fight.
Why is my ganache dull instead of glossy?
It was too cool when you poured it, or it was over-whisked and full of tiny air bubbles. Whisk from the center outward in small circles until it comes together, then pour while it still moves like thick cream.
Can I make it without coffee?
Use the same cup of very hot water. The heat is doing most of the work, and the cake will still be good, just slightly less deep in flavor.
If a cold, make-ahead chocolate dessert is what your table needs, this belongs next to a Baileys chocolate poke cake, and the plainer nine-inch chocolate cake is the sponge to start from if you want to build your own version.
Ho Ho Cake
Save this recipe
Enter your email and I’ll send this recipe straight to your inbox.
Ingredients
Chocolate Cake Layers
- 2 cups granulated sugar
- 1 3/4 cups all-purpose flour
- 3/4 cup unsweetened cocoa powder good quality
- 2 teaspoons baking powder
- 1 1/2 teaspoons baking soda
- 1 teaspoon salt
- 2 large eggs room temperature
- 1 cup buttermilk room temperature, or 1 cup milk plus 1 tablespoon lemon juice
- 1/2 cup vegetable oil
- 2 teaspoons vanilla extract
- 1/2 cup sour cream or plain Greek yogurt
- 1 cup hot coffee freshly brewed, or hot water
Cooked-Flour Cream Filling
- 5 tablespoons all-purpose flour
- 1 cup whole milk
- 1 cup granulated sugar
- 8 tablespoons unsalted butter room temperature
- 1/2 cup vegetable shortening or more butter
- 1/4 teaspoon salt
Poured Chocolate Ganache
- 1 1/2 cups semi-sweet chocolate chips or 9 ounces chopped bar chocolate
- 1 cup heavy cream
Equipment
- Two 9-inch round cake pans
- Parchment paper
- Electric mixer
- Wire rack
- Mixing bowls
- Saucepan
- Offset spatula
- Serrated Knife
Instructions
Bake the Chocolate Layers
- Prepare the pans: Preheat the oven to 350 degrees F (175 degrees C). Line two 9-inch round cake pans with parchment and grease them well.
- Whisk the dry ingredients: In a large bowl, whisk together the sugar, flour, cocoa, baking powder, baking soda and salt. Sift if the cocoa is lumpy.
- Combine and add the hot coffee last: In a second bowl, whisk the eggs until smooth, then stir in the buttermilk, oil, sour cream and vanilla. Pour the dry mixture into the wet and stir to combine, then slowly add the hot coffee and whisk until the batter is smooth and very thin. Thin is correct.
- Bake and cool completely: Divide the batter between the pans and bake 25 to 30 minutes, until a toothpick comes out with a few moist crumbs and the edges have pulled slightly from the sides. Cool in the pans 10 minutes, then turn out onto racks and cool completely.
Make the Cream Filling
- Cook the flour paste: In a small saucepan, whisk the flour and milk together over low heat. Cook, whisking constantly, until it thickens into a soft paste. Scrape it into a bowl, press plastic wrap directly onto the surface, and cool it to room temperature.
- Beat it light and white: Beat the sugar, butter, shortening and salt with a mixer until very light and fluffy, about 3 minutes. Add the cooled paste a spoonful at a time. It will look curdled partway through; keep beating for a full 5 minutes until it is smooth, white and light.
Split and Stack
- Split each layer: Using a long serrated knife, slice each cooled cake layer horizontally in half so you have four thin rounds.
- Fill and stack: Set one round on a serving plate and spread a third of the filling right to the edges. Repeat with two more rounds and the remaining filling, then top with the fourth round.

- Smooth and chill: Smooth the sides where the filling has squeezed out, then refrigerate the stack for 20 minutes while you make the ganache.
Pour the Ganache
- Make the ganache: Place the chocolate in a heatproof bowl. Heat the heavy cream until just simmering and pour it over the chocolate. Let it sit 3 minutes, then whisk from the center outward until smooth and shiny. Cool until slightly thickened but still pourable.
Glaze and Chill
- Glaze in two passes: Pour a thin coat over the chilled stack and smooth it with an offset spatula. Chill 20 minutes, then pour on the rest for a thick glossy finish.
- Chill before slicing: Refrigerate at least 30 to 60 minutes before cutting. Wipe the knife between slices for clean edges. Enjoy!