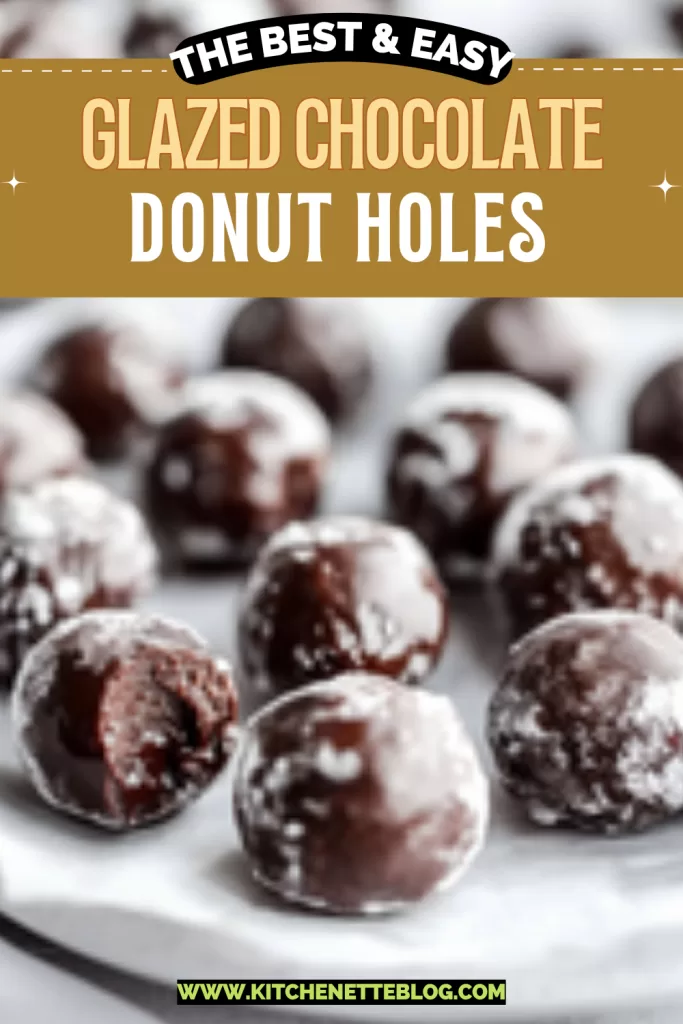
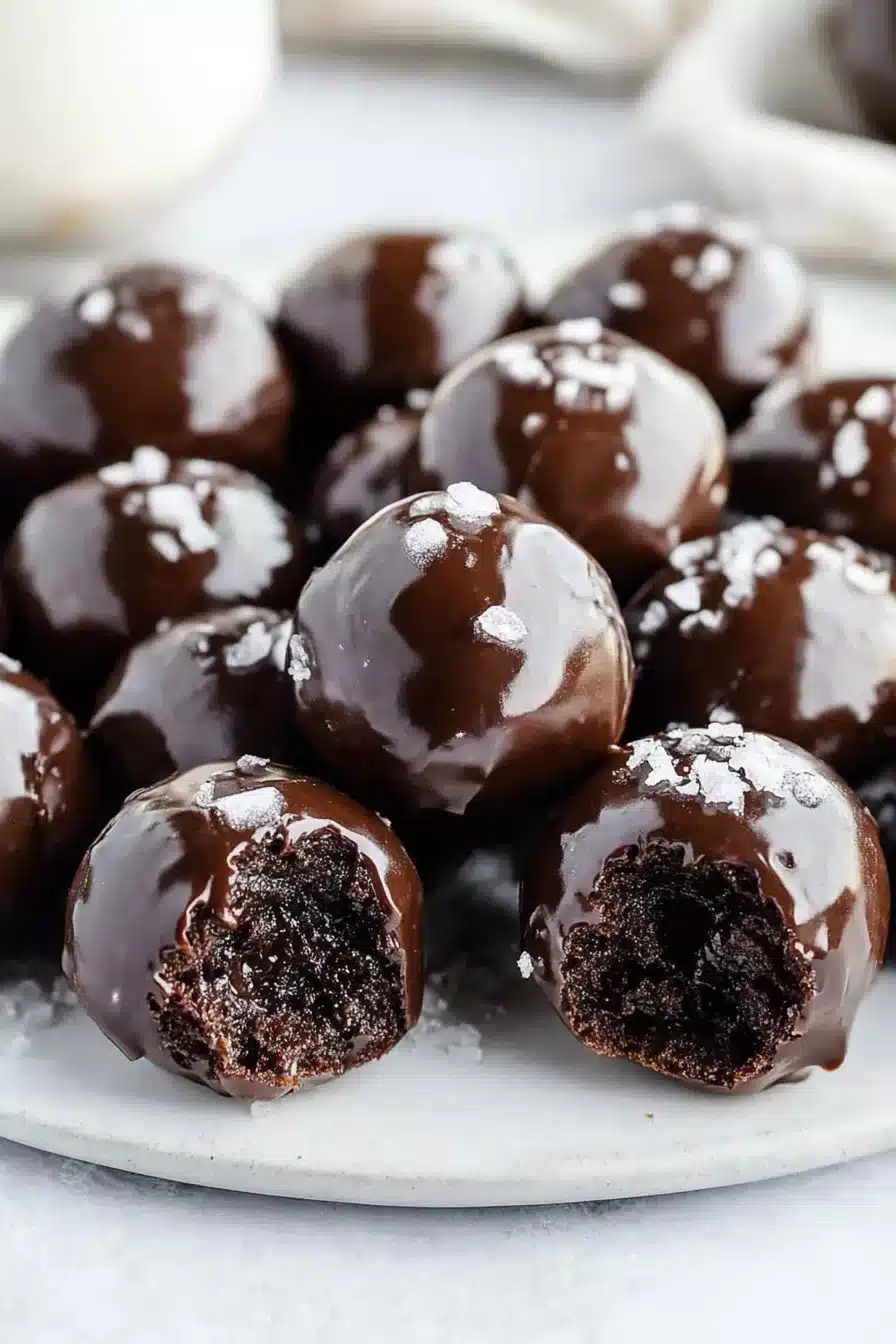
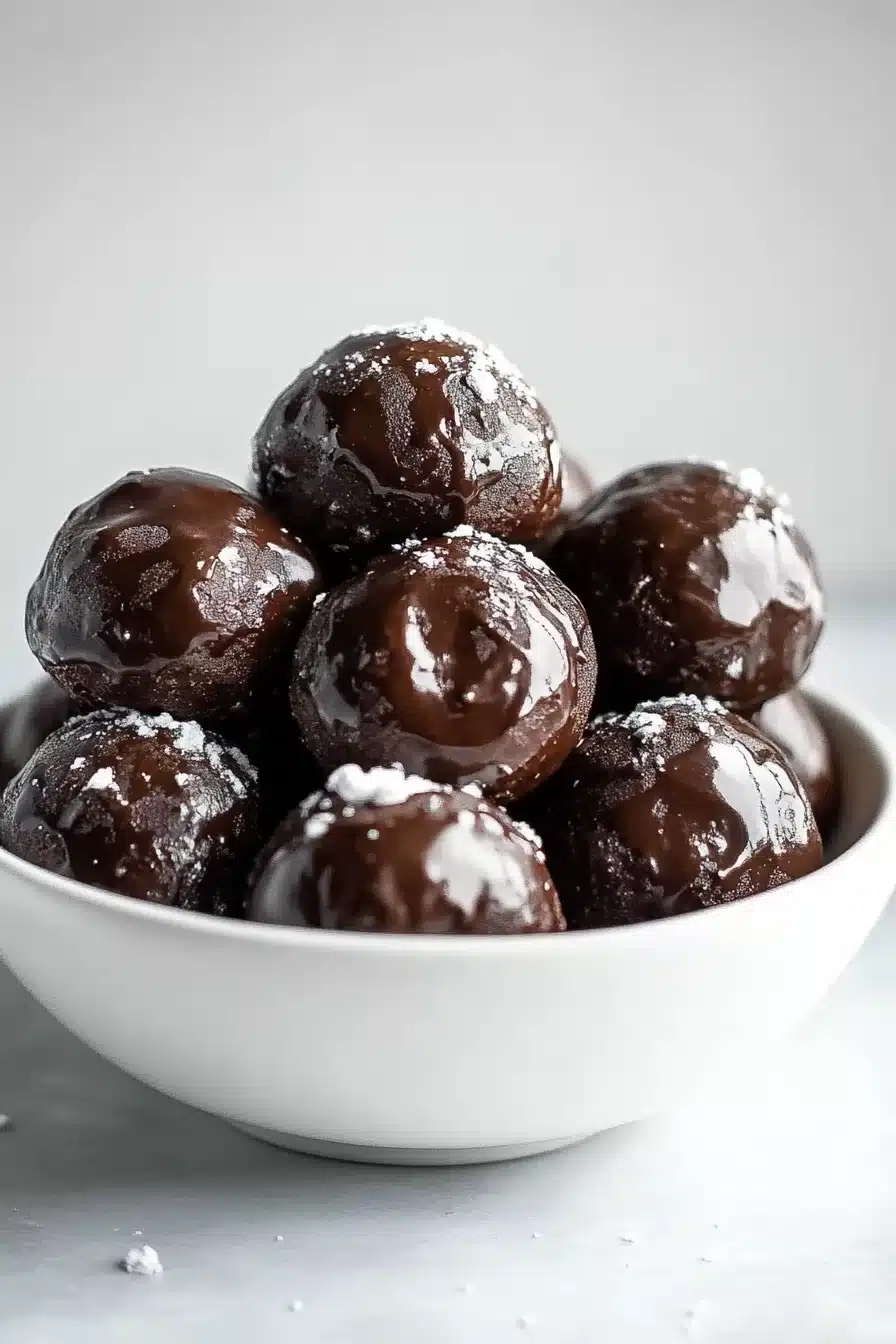
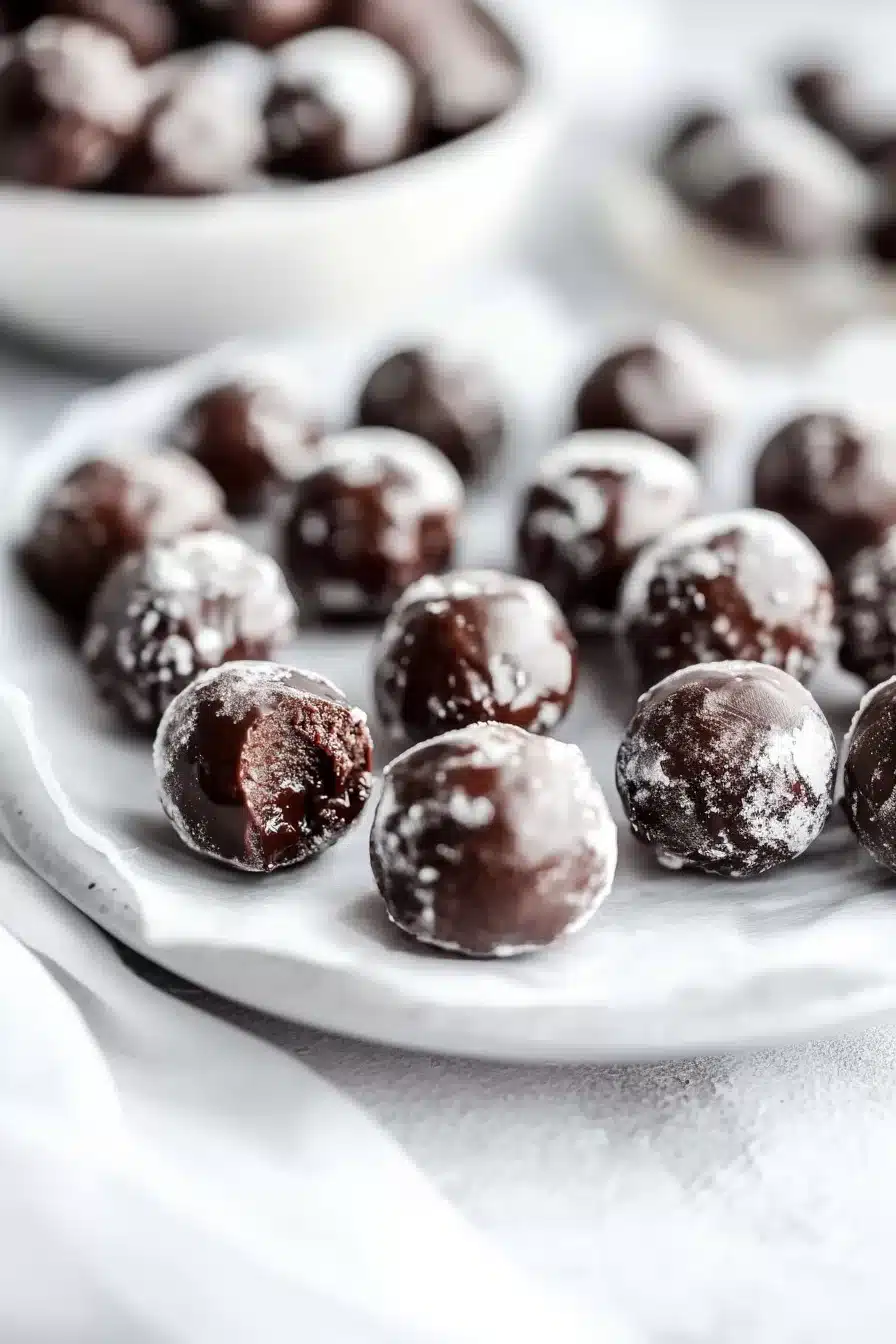
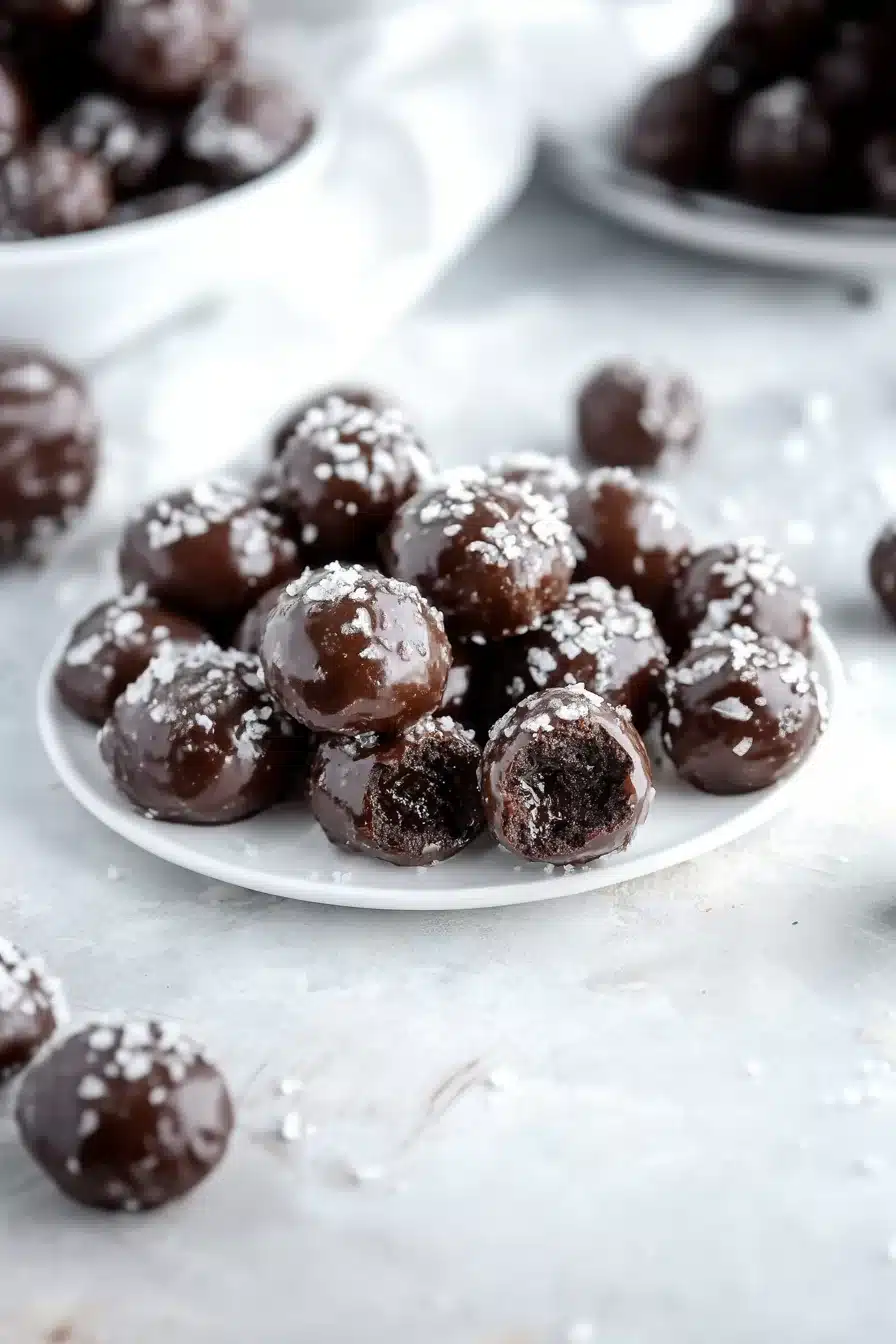
Rich cocoa, a whisper of vanilla, and a glossy glaze that sets just right—these glazed chocolate donut holes are a chocolate-on-chocolate love letter. Made with pantry-friendly basics like flour, cocoa powder, and sour cream, they come out tender with just the right chew.
Baked, not fried (so your kitchen won’t smell like a carnival) yet still indulgent enough to make your coffee jealous.
Donut holes are one of those snacky things that ride the line between breakfast indulgence and afternoon treat. These glazed chocolate donut holes do both with flair. They’re soft and moist with that cake-donut vibe, coated in a shiny vanilla glaze that cracks gently when you bite in. Bonus: they’re baked, which means less mess, no oil splatters, and you can pretend they’re healthy. I dunk mine in coffee and call it a balanced meal. Don’t judge.


Why You’ll Love this Glazed Chocolate Donut Holes
Let’s be honest, there’s something satisfying about baking up a batch of donut holes and not deep-frying a single thing. These babies check all the cozy-sweet boxes.
- Deep chocolate flavor without the fuss: Thanks to cocoa powder and brown sugar, they’re rich and deeply chocolaty without being bitter or dry.
- Soft, cakey, and just the right size: You get that slightly springy, muffin-meets-donut texture in one adorable mouthful.
- That glossy vanilla glaze: It clings beautifully and sets with a satisfying crackle. The secret is dipping twice…or three times. Who’s judging?
- No frying necessary: Just scoop, bake, glaze, and snack. Less mess, no oil smells, and extra credit for pretending they’re “lightened up.”
- Crowd-friendly and kid bait: They vanish at brunch tables and somehow disappear even faster on weeknights “just checking the batch” moments.
- Freezer-friendly magic: You can freeze them glazed or bare and nobody will know they weren’t fresh from the oven.
Ingredient Notes
All the usual suspects are here, but let’s chat about what they each bring to the donut table.
- All-purpose flour: This is the structure-bringer. If your flour’s been sitting in the back of the pantry since last year, give it a sniff and fluff before scooping.
- Unsweetened cocoa powder: Opt for natural, not Dutch-processed, to pair best with the baking soda here. It lends the classic chocolate cake profile.
- Baking powder + baking soda: These help give the donut holes a gentle lift. The two work together—don’t skip either.
- Salt: Just a pinch makes the cocoa and sugars shine instead of reading flat.
- Melted butter: Gives richness without overpowering the chocolate. Melt it and let it cool slightly so it doesn’t cook your eggs.
- Granulated sugar + brown sugar: Both sugars add sweetness, but brown sugar also brings a touch of moisture and caramel-warmth.
- Eggs + egg yolk: These bind everything together and give a little richness. The extra yolk keeps things especially tender.
- Whole milk + sour cream: This combo makes the batter velvety and plush. Sour cream especially gives that bakery-style, moist crumb.
- Vanilla extract: Don’t skip it. Even in chocolate recipes, it wakes everything up.
- Powdered sugar, milk, vanilla (for glaze): This glaze comes together fast, no cooking needed. It should be pourable but not watery.

How To Make This Glazed Chocolate Donut Holes
Once everything is out and ready, this recipe moves quickly. Pop on some tunes, grab a spatula, and let’s get mixing.
-
Prep the oven and pans: Preheat to 350°F (175°C) and lightly grease your donut hole or mini muffin pans. A pastry brush is your best friend here.
-
Whisk dry ingredients: In a big bowl, whisk together the flour, cocoa powder, baking powder, baking soda, and salt. Make sure the cocoa doesn’t clump. Cocoa loves to clump.
-
Mix wet ingredients: In another bowl, whisk the melted butter with both sugars. It should look thick and goopy, almost like wet sand. Then mix in your eggs, yolk, and vanilla.
-
Combine milk and sour cream: I like to stir these together in a measuring glass. It makes for easy pouring and fewer dirty dishes. Always a plus.
-
Alternate dry and wet into wet bowl: Start and end with dry, mixing gently after each addition. Stir just until there’s no dry flour hiding—no need to beat it into submission.
-
Scoop into pans: Use a mini cookie scoop to make life easier and keep portions equal. Fill each about ¾ of the way up.
-
Bake the donut holes: Around 10 minutes should do the trick. Toothpick test them: if it comes out clean, you’re golden. Try not to overbake; they can go dry quickly.
-
Cool completely: Let them hang out in the pan a few minutes, then transfer to a wire rack. They’ll firm up a bit and get ready for their glaze bath.
-
Make and apply glaze: In a bowl, mix powdered sugar, milk, and vanilla until smooth and glossy. Dip each donut hole, let the excess drip, and return to the rack. Want a thicker glaze? Let the first layer set, then repeat. Double-dip is encouraged.
Storage Options
Let’s say (miraculously) you don’t eat the whole batch in two days. Here’s how to keep those glazed chocolate donut holes going strong.
On the counter, these hold up well for two to three days if you store them in an airtight container. I like using wax paper between layers if they’re glazed; otherwise, things can get sticky in a not-cute way.
For longer storage, you’ll want the fridge or freezer. In the fridge, they’ll last about five days. But the glaze will soften a bit, especially if you stacked them. Still tastes great, just slightly more relaxed-looking.
Now, the freezer—yes, you absolutely can freeze them. Glazed or unglazed. Unglazed keeps their texture best, but glazed ones will work too if you freeze them in a single layer first, then transfer to a bag. Add parchment paper in between if you’re layering.
Defrost them in the fridge overnight or pop one in the microwave for 10–15 seconds. Just enough to re-warm and revive the softness. It’s like they were just baked. Almost.
Variations and Substitutions
You’ve got options if you’re feeling creative, or just need to work with what’s hanging out in your kitchen.
- Swap sour cream with Greek yogurt: It gives you the same richness and tang while upping the protein. A 1:1 swap works fine.
- Make them mocha: Add 1/2 teaspoon of instant espresso powder to the cocoa mixture for a mellow coffee note.
- Powdered sugar dust instead of glaze: Skip the glaze entirely and toss the cooled donut holes in a mix of powdered sugar and a pinch of cocoa.
- Add mini chocolate chips: Stir in a handful to the batter if you want chocolate-on-chocolate action (no one ever complained).
- Coconut milk glaze: For a dairy-free glaze, swap the whole milk in the glaze with full-fat coconut milk. It adds a fun twist.
- Sprinkles, crushed nuts, or sea salt: Once glazed, add a topping while they’re still wet for extra texture and visual pizzazz.
What to Serve with Glazed Chocolate Donut Holes
These donut holes shine solo, but they’re also team players. Here are a few ideas to create your own little snack spread.
-
A hot cup of coffee or espresso. The contrast of bitter coffee and the sweet glaze creates pure perfection. If you’re into dunking (don’t be shy), bonus points. The glaze softens juuust enough and melts a little into the coffee—yes, I’ve tested thoroughly.
-
A vanilla or espresso milkshake. Turn breakfast into dessert, or dessert into bliss. The cold and creamy balances the tender warmth of the donuts. Shoot, now I need a shake.
-
Cheesecake-y treats. If you want to go all-in on sweet, pair with something creamy like these gingerbread cheesecake cookies. The spice is such a fun contrast to the deep chocolate.
-
Fresh strawberries or sliced fruit. A little freshness cuts the richness and lets everyone pretend this counts as “balanced.” Bonus: pretty colors on a serving tray.
-
Ice cream sandwiches. Hear me out—slice one of these donut holes in half, fill with a spoon of vanilla bean ice cream, and freeze for 10 minutes. Seriously worth the small chaos. Or try these peanut butter & banana ice cream sandwiches too, for extra fun.
Frequently Asked Questions
Can I fry these instead of baking?
I wouldn’t recommend it. This batter is more of a cake-donut situation, which means it’s too loose to safely fry without disintegrating or turning into deep-fried blobs of confusion. If you want fried donut holes, look for a yeasted dough or denser choux-style dough.
Can I use a boxed cake mix instead?
You could, technically, but the texture will be completely different. Boxed mix is designed for moist and fluffy cakes, not sturdy baked donut holes. You won’t get the same glaze-hugging structure or rich cocoa bite. Sometimes shortcuts miss the magic.
Is there a dairy-free option?
Yes, with a few easy swaps! Use plant-based butter and your favorite unsweetened non-dairy milk (oat or almond both work nicely). Sub in vegan sour cream or full-fat coconut yogurt for the sour cream. For the glaze, opt for coconut or almond milk—it’ll be slightly altered but still wildly tasty.
How do I know when they’re done baking?
They’re done when the tops spring back lightly and a toothpick poked in comes out clean (no gooey batter clinging). Be sure not to overbake—10 minutes is usually enough, but keep an eye around the 8-minute mark. Every oven has its drama, so your results might vary by a minute or two.

Glazed Chocolate Donut Holes
Ingredients
Donut Holes
- 1 1/4 cups (160 g) all-purpose flour fluffed and leveled
- 1/2 cup (40 g) unsweetened cocoa powder natural, not Dutch-processed
- 1 tsp baking powder
- 1/2 tsp (0.5 tsp) baking soda
- 1/2 tsp (0.5 tsp) salt
- 6 tbsp (85 g) unsalted butter melted and cooled
- 1/2 cup (100 g) granulated sugar
- 1/4 cup (55 g) packed light brown sugar
- 2 large eggs room temperature
- 1 egg yolk room temperature
- 1/2 cup (120 ml) whole milk room temperature
- 1/4 cup (60 ml) sour cream room temperature
- 2 tsp vanilla extract
Glaze
- 1 1/2 cups (180 g) powdered sugar sifted if lumpy
- 2-3 tbsp (30–45 ml) whole milk plus more as needed
- 1 tsp vanilla extract
Equipment
- Mini muffin pan or donut hole pan
- Mixing bowls
- Whisk
- Wire rack
- Mini cookie scoop
Instructions
- Preheat oven to 350°F (175°C). Lightly grease a donut hole pan or mini muffin tin.
- In a large bowl, whisk together flour, cocoa powder, baking powder, baking soda, and salt until evenly combined and no cocoa clumps remain.
- In a separate bowl, whisk together melted butter, granulated sugar, and brown sugar until thick and blended. Add eggs, egg yolk, and vanilla; whisk until smooth and glossy.
- In a small bowl or measuring cup, whisk the whole milk and sour cream until combined.
- Add dry ingredients to wet in three additions, alternating with the milk/sour cream mixture. Begin and end with dry ingredients. Whisk or fold gently until just combined with no dry streaks.
- Using a mini cookie scoop or spoon, fill each well of the muffin/donut hole pan about 3/4 full with batter.
- Bake for 9-11 minutes or until a toothpick comes out clean. Do not overbake. Let cool in pan 5 minutes, then transfer to a wire rack to cool completely before glazing.
- For the glaze: In a bowl, mix powdered sugar, 2 tablespoons milk, and vanilla extract until smooth and glossy. Add more milk as needed for a pourable, but not watery, consistency.
- Dip each cooled donut hole into the glaze, let excess drip, then set onto a wire rack. For thicker glaze, let the first coat set, then dip again. Enjoy!