
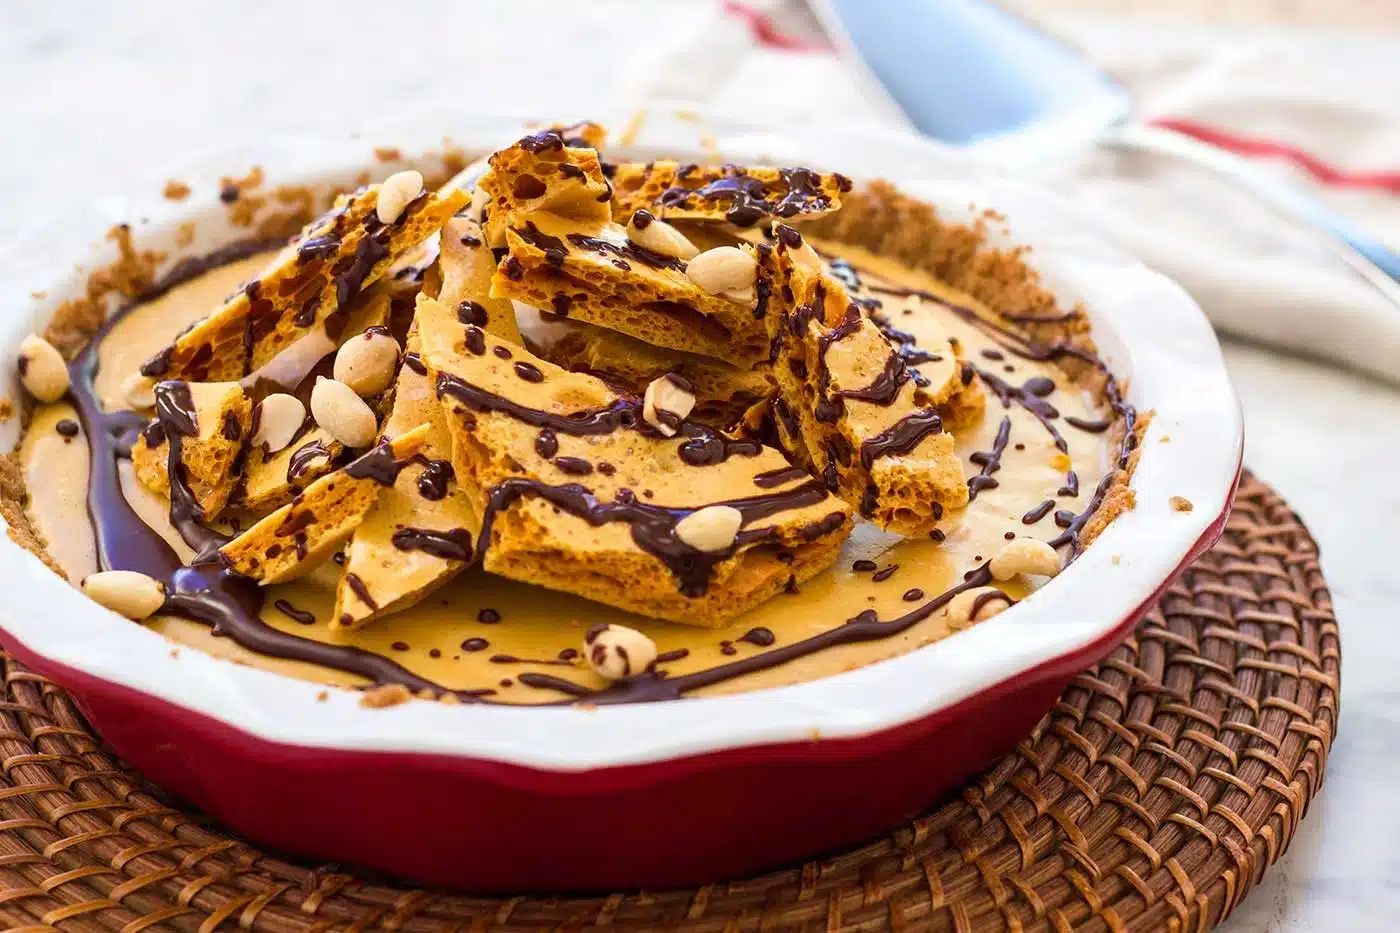
A peanut butter cream pie is a graham crust holding a set custard, and this one is finished with a pile of shattered honeycomb candy and a chocolate drizzle. It looks like a bakery window and it is built from four separate, straightforward components.
The filling is a proper pastry cream, thickened with cornstarch and yolks together, then beaten smooth with a full cup of peanut butter. That combination is what lets it slice into clean wedges instead of sagging, and it is the reason this stays a peanut butter cream pie rather than turning into a peanut butter mousse.
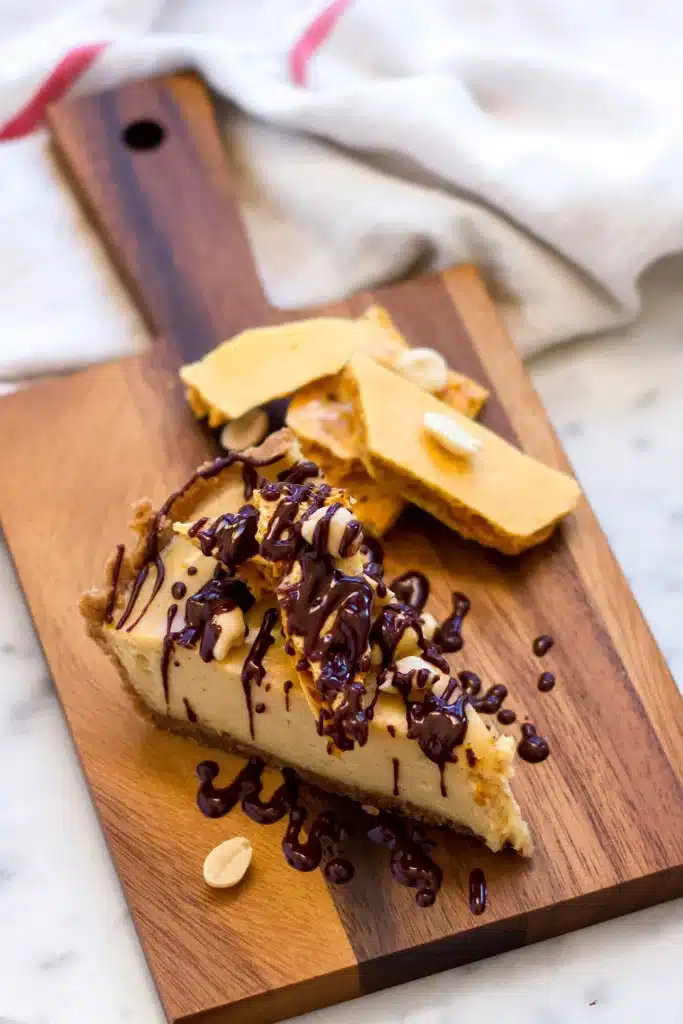
- A cornstarch pastry cream that cannot curdle, unlike a pure yolk custard
- Honeycomb cooked to a measured 300F, so it shatters instead of sticking
- Everything except the drizzle can be made a day or two ahead
- The crust bakes in ten minutes and needs no rolling
- Salted peanuts and flaky candy give a soft pie something to bite against
- Serves ten comfortably, which is more than the pan suggests


Everything below assumes a candy thermometer, a whisk and a 9-inch pie pan.
What a Peanut Butter Cream Pie Actually Is
The name gets used for three very different desserts, and knowing which one you are making decides the whole method.
The whipped kind. Cream cheese, peanut butter and whipped cream folded together and spooned into a crust. No cooking, very light, and it goes slack within a day.
The custard kind. Milk cooked with sugar, yolks and starch into a pastry cream, then flavored with peanut butter. Firmer, richer and sliceable, and that is what this peanut butter cream pie is.
The buttercream kind. A yolk custard beaten cool and then loaded with softened butter. Dense to the point of being a confection, and the version this recipe originally came from.
Why the custard version wins here. It holds a clean edge under a heavy topping, it tastes of peanut rather than of fat, and it does not need to be eaten within four hours.
Starch is the whole difference. A pure yolk custard curdles the moment it approaches a boil; a starch-set one has to boil to thicken properly, which makes it far harder to ruin.
Save this recipe
Enter your email and I’ll send this recipe straight to your inbox.
Ingredient Notes
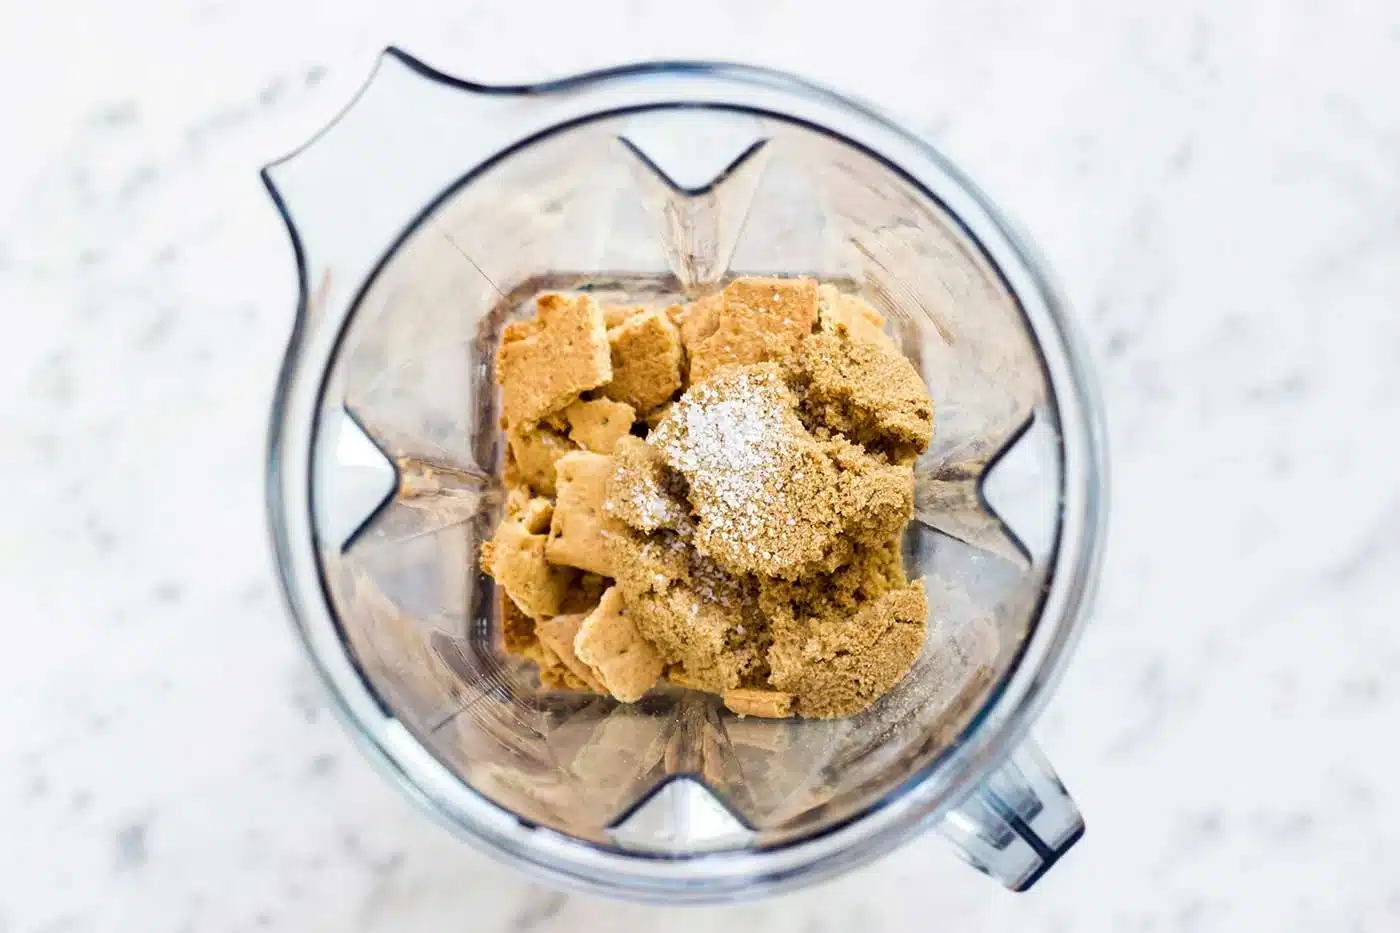
A peanut butter cream pie needs four short lists and nothing unusual on any of them. Exact amounts are on the recipe card.
- Creamy peanut butter: one cup of the conventional, stabilized kind. Natural peanut butter separates and its loose oil thins the set custard. The National Peanut Board notes that an open jar keeps about three months in the pantry and longer refrigerated, so buy the jar you will actually finish.
- Whole milk: two cups. Half-and-half makes the filling heavy enough to taste greasy against the honeycomb.
- Cornstarch: three tablespoons. This is the ingredient the original recipe did without, and it is why that one has to be handled so carefully.
- Egg yolks: four. Enough for color and richness without turning the filling into a buttercream.
- Graham crackers: nine full sheets, ground fine, with brown sugar and a little nutmeg. The nutmeg is barely detectable and the crust is noticeably flat without it.
- Honey and corn syrup: both, in the honeycomb. The corn syrup stops the sugar crystallizing, the honey is what it tastes of.
- Chocolate at 55 to 60 percent: anything darker has less sugar and more cocoa solids, so it sets hard and cracks off the pie in shards when you cut it.
- Roasted salted peanuts: a third of a cup, roughly chopped. Salt is doing structural work here, not decoration.
A peanut butter cream pie is generous by nature, so a slice can be narrower than you expect. Ten wedges out of a 9-inch pan is closer to right than eight, and nobody at the table has ever complained about it.
Making the Honeycomb
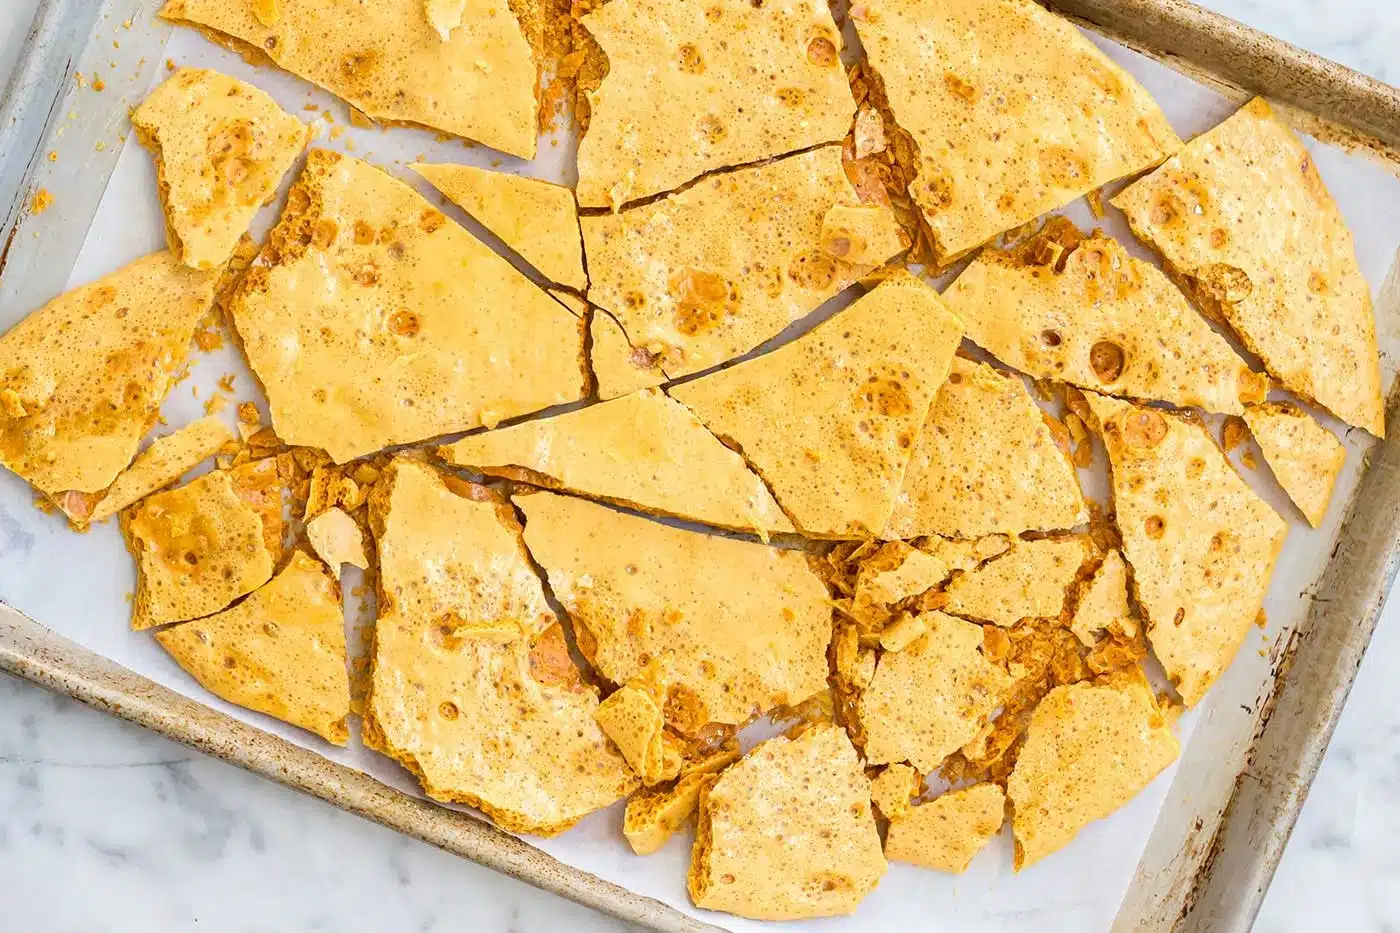
Honeycomb is thirty seconds of drama after eight quiet minutes, and it is the only part of a peanut butter cream pie that goes wrong in a single predictable place.
Cook it to 300F, on a thermometer. The original instruction was to go until the syrup turns pale amber, and pale amber arrives around 280F. Twenty degrees short and the candy stays chewy and sticks to your teeth instead of shattering.
Sift the baking soda. Lumps do not disperse, so you get bitter soapy pockets in a few pieces and no lift in the rest.
Whisk for three seconds, no more. The foam is the point. Beat it out and you have made toffee.
Pour, and do not spread it. Spreading collapses the bubbles you just created. Tip it onto the sheet and walk away.
Leave it undisturbed for twenty minutes, then crack it with the handle of a knife. Store it airtight the moment it is broken, because honeycomb goes tacky in humid air within an hour.
How To Make Peanut Butter Cream Pie
Four components, and only one of them needs your full attention at once.
- First, make the honeycomb and leave it to set, because it needs twenty minutes of stillness and everything else can happen around it.
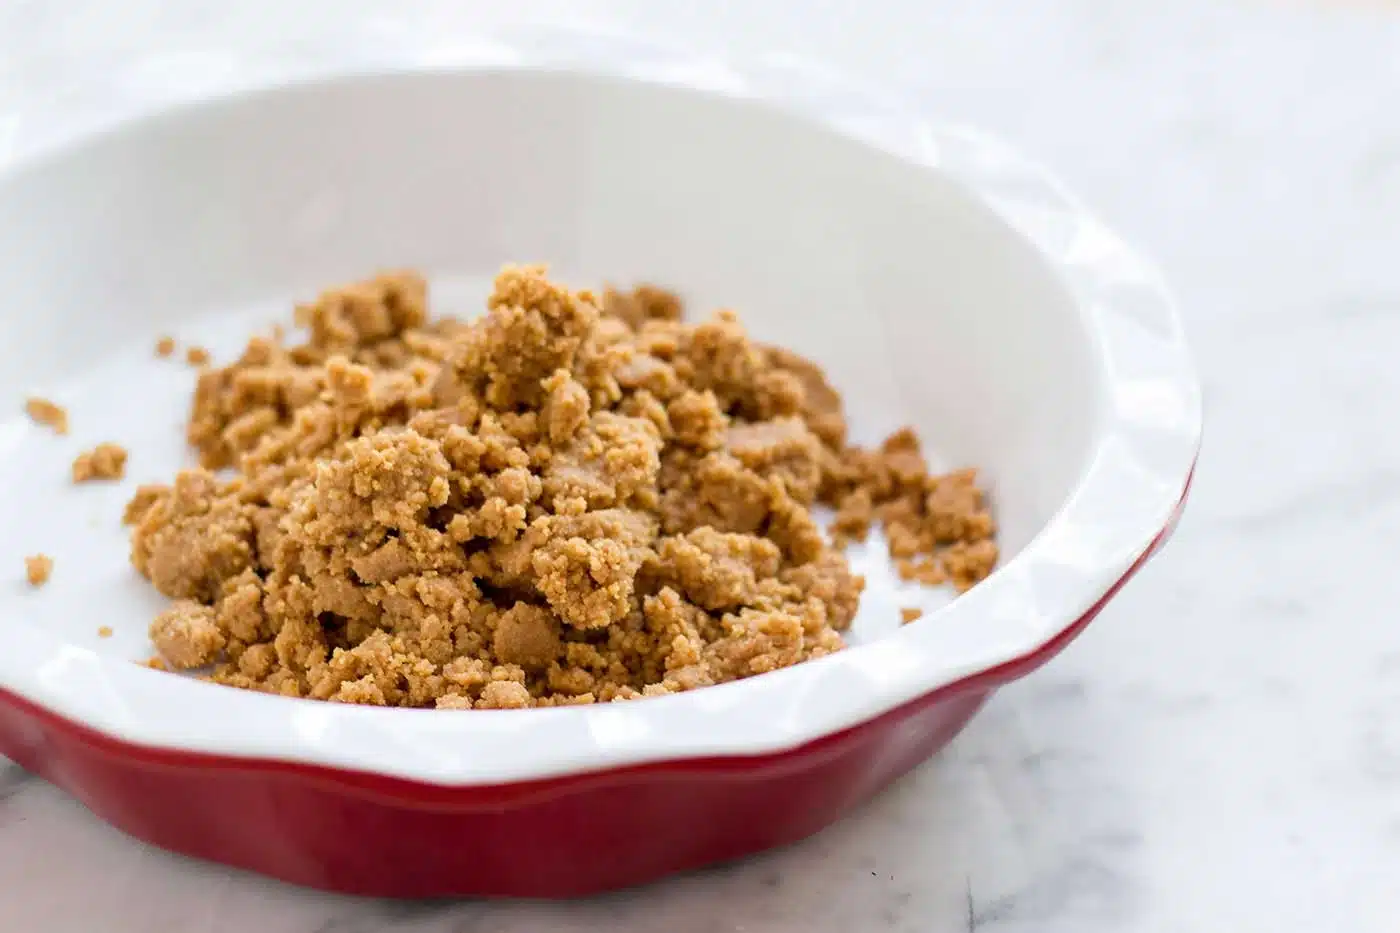
- Next, grind the graham crackers with the brown sugar, salt and nutmeg, stir in the melted butter, press the crumbs firmly up the sides of a 9-inch pan and bake at 350F for 10 minutes.
- Then whisk the milk, sugar, cornstarch, salt and yolks together in a cold saucepan, put it over medium heat and stir constantly until it comes to a full boil and thickens, about 6 to 8 minutes.
- After that, boil it hard for a full 60 seconds while whisking, then take it off the heat and beat in the peanut butter, the butter and the vanilla until it is completely smooth.
- Finally, scrape the filling into the cooled crust, press plastic wrap onto the surface, and chill for at least 3 hours before piling on the honeycomb, drizzling the chocolate and scattering the peanuts.
Getting the Pastry Cream Right
This is the only step in a peanut butter cream pie where anything can really go wrong, and it is easy once you know what you are watching for.
Start everything cold and together. Whisking the yolks, starch, sugar and milk in the pan off the heat means there is nothing to temper and nothing to scramble.
Stir into the corners. A flat whisk or a silicone spatula reaches where a balloon whisk does not, and the corners are where custard catches.
Wait for the bubbles to break the surface. It will thicken before it boils and you will be tempted to stop. Do not. Bubbles that burst slowly through the surface are the signal.
Add the peanut butter off the heat. Peanut butter over direct heat splits and goes grainy.
Press wrap onto the surface. A skin on a peanut butter cream pie never disappears; it stays as rubbery patches through the finished slice.
Strain it if you are nervous. One pass through a fine sieve on the way into the crust catches any stray thread of cooked yolk and costs you nothing but thirty seconds and a bowl to wash.
Judge it by the whisk, not the clock. Lift the whisk out and the cream should fall in a thick ribbon that sits on the surface for a second before sinking. If it runs off in a stream it needs another minute.
Make It Ahead
A peanut butter cream pie is built for being made in stages, which is most of its appeal for a holiday table.
The honeycomb: 1 week in an airtight tin with a sheet of parchment between layers. Humidity is its only enemy.
The crust: 2 days, baked, cooled and wrapped at room temperature.
The filled pie: 2 days, covered, with the topping left off.
Assemble within 2 hours of serving. Honeycomb sitting on a wet filling begins dissolving into it, and by the next day the shards have gone soft.
Chop the peanuts on the day. Cut nuts go stale faster than whole ones, and it is a two minute job.
Melt the chocolate last. Warm chocolate drizzled over cold filling sets in seconds and holds its lines; chocolate melted early and left to stiffen has to be reheated and goes dull.
Storing Peanut Butter Cream Pie
- Undressed pie: 3 days refrigerated with plastic wrap on the surface of the filling.
- Finished pie: 24 hours, loosely tented. The honeycomb will have softened by then but the pie is still good.
- Honeycomb on its own: 1 week airtight, and it will not survive a humid kitchen for much longer.
- Freezing: the filling freezes badly and weeps on thawing, so freeze nothing but the baked crust, for up to 1 month.
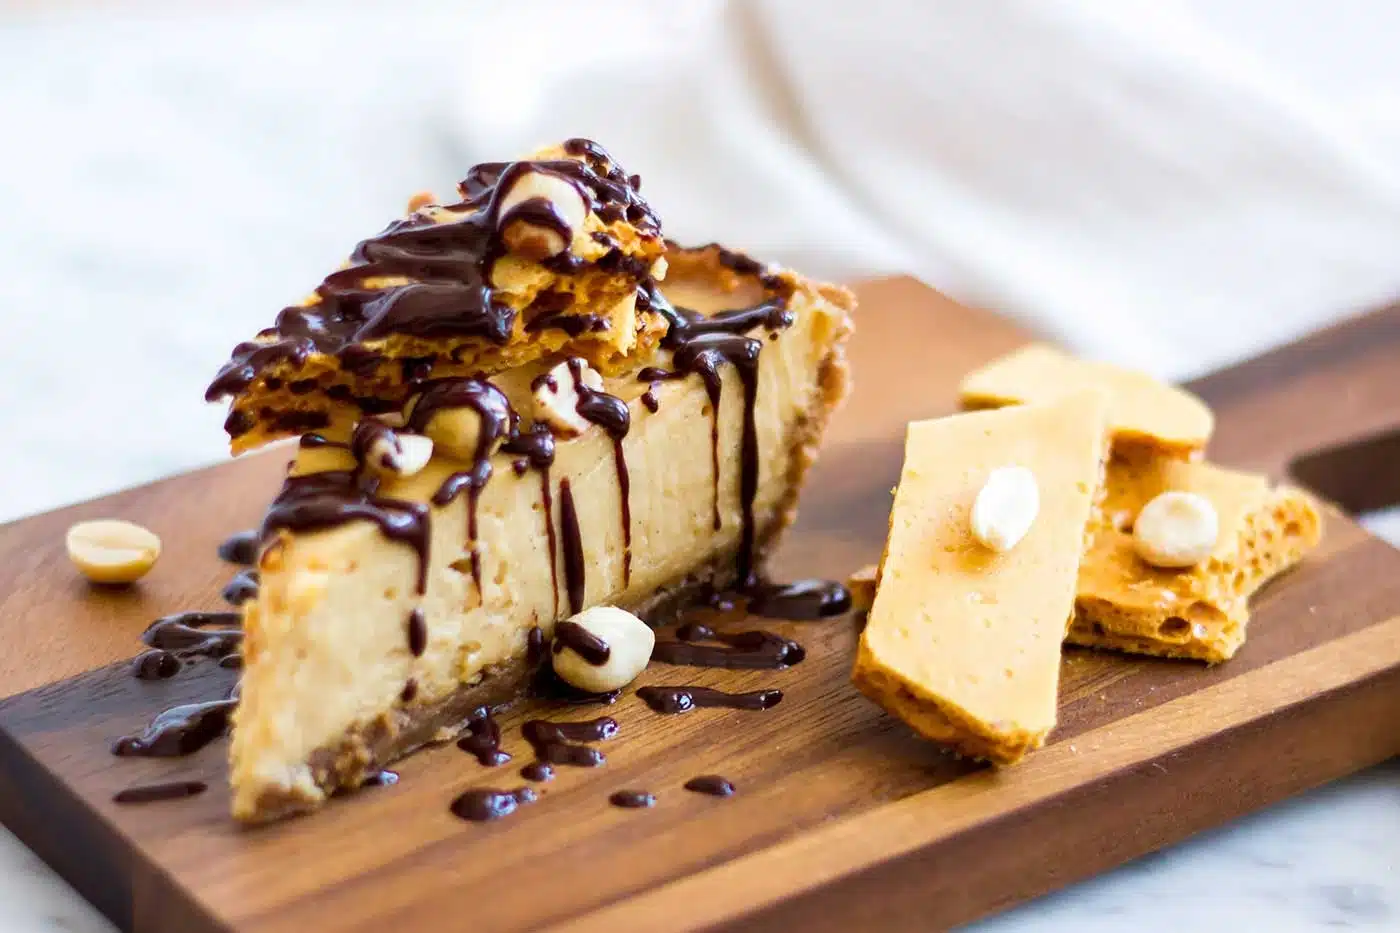
- Serving temperature: straight from the refrigerator. A peanut butter cream pie left out for an hour starts to slump at the cut edge.
Variations and Substitutions
The frame behind a peanut butter cream pie is a crumb crust, a starch-set filling and a crunchy topping, and every one of those moves.
- Chocolate cookie crust instead of graham, which pushes the whole thing toward a candy bar.
- Almond or cashew butter, using the same weight. Both are looser than peanut butter, so add an extra tablespoon of cornstarch.
- Toffee or crushed pretzels in place of the honeycomb if you would rather not make candy.
- A layer of banana sliced over the crust before the filling goes in, which is very good and very messy.
- Flaky salt on top rather than salted peanuts, for anyone who finds the nuts too much.
- Individual jars: skip the crust, layer the cream with crumbs and honeycomb, and refrigerate.
If you like the crumb-crust-and-cold-filling shape of this, my banoffee pie and my lemon icebox pie are the same idea in two other directions.
What to Serve with Peanut Butter Cream Pie
This is a rich slice, so what goes beside it should be sharp, bitter or simply nothing at all.
- Black coffee, which is the only thing I ever actually want with it.
- Unsweetened whipped cream, if the table expects cream on a pie.
- My chocolate pots de creme as the alternative pudding for anyone who does not eat peanuts.
- Small glasses of bourbon, which handles the sweetness better than a dessert wine does.
- Or a plate of bourbon caramel peanut butter cups alongside, if you are going all in on the theme.
Here is what comes up every time I put this on a table.
Peanut Butter Cream Pie FAQ
Frequently Asked Questions
Why is my filling runny?
It was not boiled hard enough. Cornstarch does not reach full thickening power until the mixture is at a rolling boil, and yolks carry an enzyme that thins starch-set custards overnight unless a full minute of boiling destroys it. Keep whisking and hold the boil for a genuine 60 seconds after the first big bubbles break the surface. It will look far too thick in the pan; it is not.
Can I use natural peanut butter?
Not for the filling. The loose oil in natural peanut butter separates out as the peanut butter cream pie chills and leaves a slick under the topping. If it is all you have, pour off the oil, use the stiff paste underneath, and add an extra tablespoon of cornstarch to the milk. Natural peanut butter is perfectly good in the variations that use jars rather than a pan.
Do I have to make the honeycomb?
No, though it is the thing everyone remembers. Crushed toffee, broken pretzels or chopped chocolate-covered peanuts all give you the same crunch against a soft filling. Honeycomb keeps a week in a tin, so if you want it without the pressure, make it on a quiet evening and assemble the pie later in the week.
More Questions About Honeycomb
Good to Know
Why did my honeycomb come out chewy?
The syrup did not get hot enough. Honeycomb needs 300F, which is well past the pale amber stage most recipes describe, and color is a poor guide because honey darkens early. Use a candy thermometer, ignore the shade, and pull the pan at 300F. Chewy honeycomb is also what you get if the finished slab is left out in a humid kitchen for an hour or two.
Why does my honeycomb collapse in the pan?
Almost always too much whisking after the baking soda goes in. Three seconds is enough to disperse it; anything more knocks out the foam you just created and you end up with a flat, dense slab. Pouring it out and then spreading it with a spatula does the same damage. Tip it onto the parchment and leave it exactly where it lands.
Can I halve the honeycomb batch?
You can, but a shallower depth of syrup is harder to read on a thermometer and it cooks faster than you expect. Make the full batch and keep what you do not use for ice cream, which is what happens to the leftovers here. A full batch also gives you room to reject the few pieces that always come out too pale.
Make the honeycomb one evening and the crust the next, and a peanut butter cream pie becomes a twenty minute job on the day you want it. It is the dessert I hand people when I want them to think I did something difficult.

Peanut Butter Cream Pie with Honeycomb Candy
Save this recipe
Enter your email and I’ll send this recipe straight to your inbox.
Ingredients
Graham Cracker Crust
- 9 sheets graham crackers about 5 ounces
- 1/4 cup light brown sugar packed
- 1/4 teaspoon kosher salt
- 1/8 teaspoon nutmeg freshly grated
- 6 tablespoons unsalted butter melted
Peanut Butter Pastry Cream
- 2 cups whole milk
- 1/2 cup granulated sugar
- 3 tablespoons cornstarch
- 1/4 teaspoon kosher salt
- 4 large egg yolks
- 1 cup creamy peanut butter conventional and stabilized, not natural
- 3 tablespoons unsalted butter cut into pieces
- 2 teaspoons vanilla extract
Honeycomb Candy
- 1 cup granulated sugar
- 1/4 cup honey
- 2 tablespoons light corn syrup
- 3 tablespoons water
- 1 1/2 teaspoons baking soda sifted
Chocolate Drizzle and Peanuts
- 2 ounces semisweet chocolate 55 to 60 percent, chopped
- 1 tablespoon neutral oil
- 1/3 cup roasted salted peanuts roughly chopped
Instructions
Make the Honeycomb First
- Line a rimmed baking sheet with parchment and set it somewhere you can reach in a hurry. Sift the baking soda into a small dish so there are no lumps waiting to catch you out.
- Stir the sugar, honey, corn syrup and water together in a deep, heavy saucepan over medium-low heat until the sugar has completely dissolved and the syrup is clear.
- Raise the heat and boil without stirring, swirling the pan occasionally, until a candy thermometer clipped to the side reads 300F. This takes about 8 minutes and the color is not a reliable guide, because honey darkens long before the syrup is hot enough.
- Whisk in the sifted baking soda for no more than 3 seconds, then pour the foaming mass onto the parchment without spreading it. Leave it undisturbed for 20 minutes, crack it with a knife handle, and store it airtight straight away.
Bake the Crust
- Heat the oven to 350F. Grind the graham crackers with the brown sugar, kosher salt and nutmeg in a food processor or blender until they are fine, even crumbs.
- Tip the crumbs into a bowl, pour in the melted butter and stir until the mixture holds together when you squeeze it.
- Press the crumbs firmly across the bottom and up the sides of a 9-inch pie pan, using the flat base of a measuring cup to compact them, then bake for 10 minutes and cool completely.
Cook the Peanut Butter Pastry Cream
- Whisk the milk, granulated sugar, cornstarch, kosher salt and egg yolks together in a cold saucepan until there is not a streak of yolk left. Starting everything together and cold means there is nothing to temper and nothing to scramble.
- Set the pan over medium heat and stir constantly with a flat whisk or a silicone spatula, working into the corners, until it thickens and large bubbles break the surface, 6 to 8 minutes.
- Boil hard for a full 60 seconds, still whisking. It will look far thicker than it should; that is correct, and the minute of boiling is what stops the filling thinning overnight.
- Take the pan off the heat and beat in the peanut butter, the butter and the vanilla until the cream is completely smooth. Pass it through a fine sieve if you want to be certain of the texture.
Fill, Chill and Finish
- Scrape the filling into the cooled crust and smooth the top, then press a sheet of plastic wrap directly onto the surface so no skin can form.
- Refrigerate for at least 3 hours, or overnight, until the filling is firm enough to hold a clean cut edge.
- Melt the chocolate with the neutral oil in a bowl set over barely simmering water, or in short bursts in the microwave, and stir until glossy.
- Pile the broken honeycomb into the center of the chilled pie, drizzle the warm chocolate over the top, scatter the chopped salted peanuts, and serve within 2 hours while the candy is still crisp.