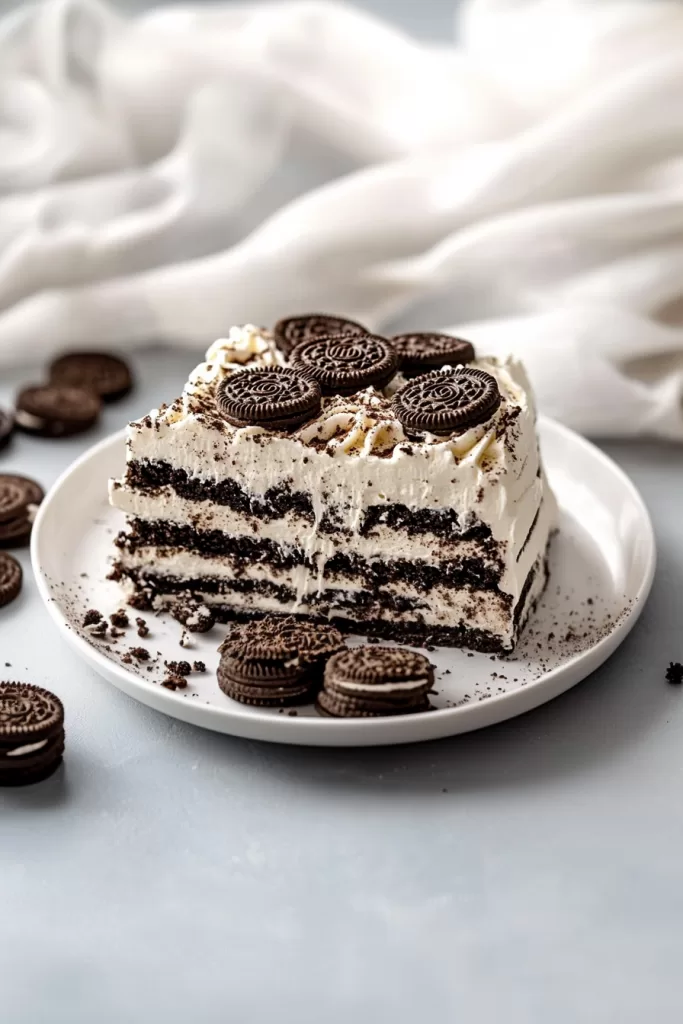
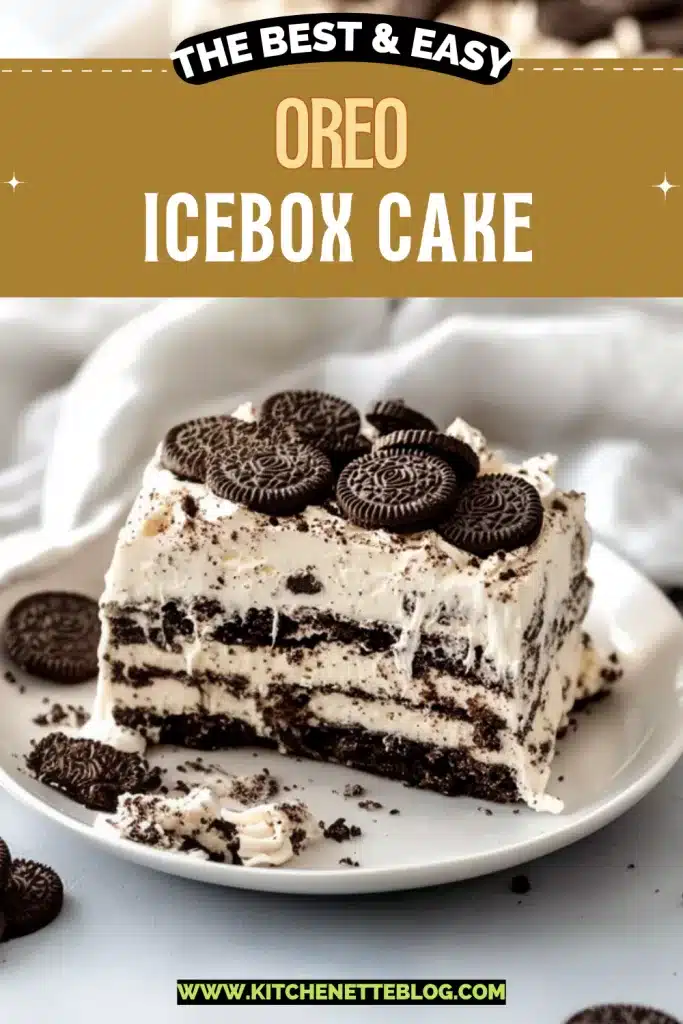
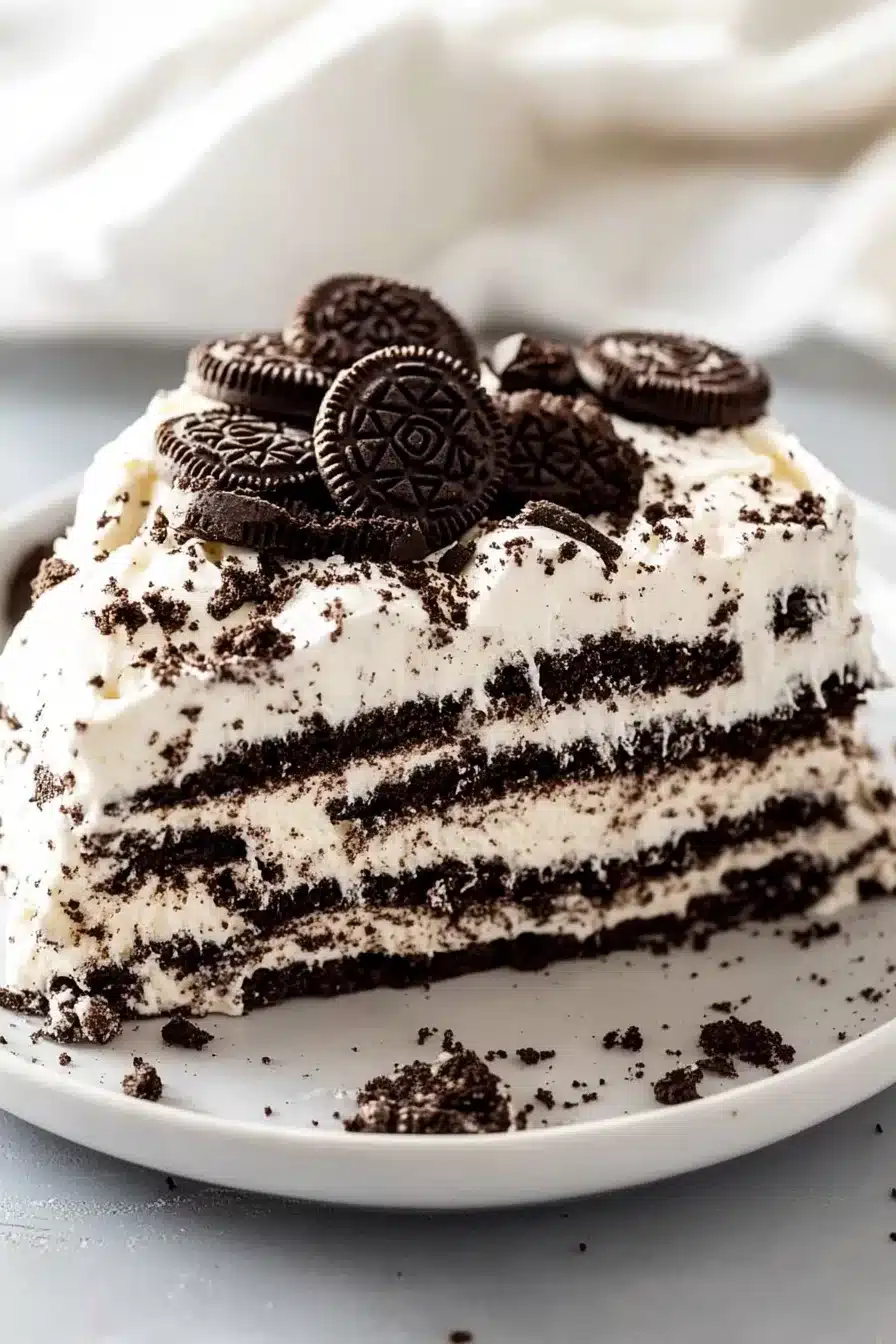
Cool, creamy layers of whipped cream and Oreos—what’s not to crave? This Oreo icebox cake recipe is made with heavy cream, powdered sugar, and of course, plenty of Oreos. No baking, all chill.
It’s one of those desserts that feels like a hug in cake form. It’s rich but not fussy, sweet with just the right hint of crunch, and comes together with basically zero effort unless you count whipping cream as cardio (I do).
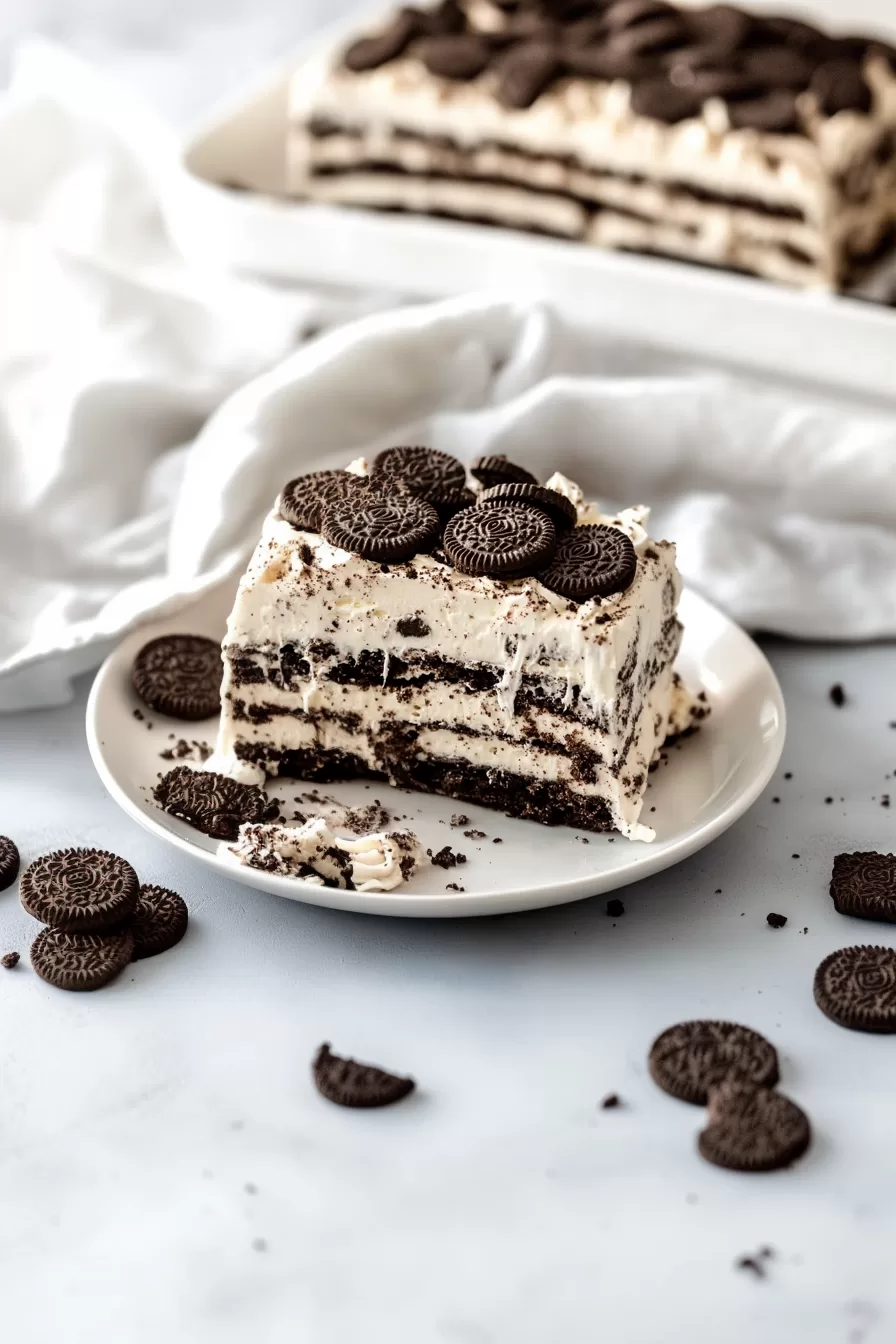
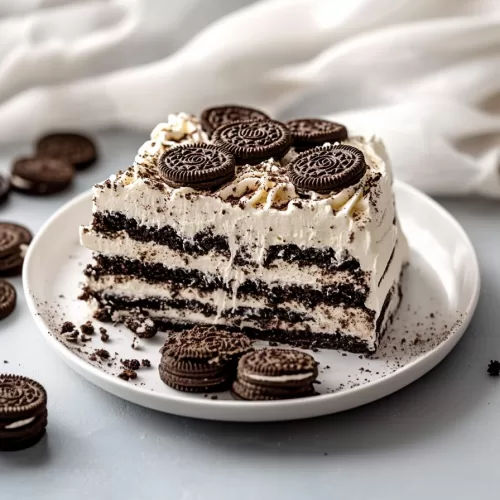
This Oreo icebox cake is what I call a low-lift, high-reward kind of treat. Think layers of softened cookies that turn cake-like from the cream, with just enough structure to slice beautifully. It’s cold, velvety, and just sweet enough to feel indulgent without being a total sugar bomb. Ideal for summer potlucks or, let’s be honest, weekday dessert emergencies when it’s hot and you’re morally opposed to turning on the oven.


Why You’ll Love this Oreo Icebox Cake
I mean, we’re layering Oreos and whipped cream. Do you really need convincing? But okay, let’s break it down.
- Ridiculously simple to make: You literally stack cookies and slather whipped cream. No baking, no cooking, no sweating (unless your arm tires from whipping).
- Perfect texture contrast: The Oreos soften overnight into this dreamy, cake-like consistency that still keeps a bit of bite. Like magic.
- Customizable for fun: You can sprinkle, swap, add fillings… this base is forgiving and game for your creativity.
- Make-ahead friendly: It actually gets better as it sits. Assemble it, forget it, then pull out a chilled masterpiece tomorrow.
- Kid and adult approved: Whether you’re 6 or 66, chocolate cookies plus cream tends to go over well.
- Budget-friendly treat: You get a big, satisfying dish without breaking the bank, and finding the broken Oreos in the bag is practically a snack tax.
Ingredient Notes
You don’t need a long shopping list here, which is part of the charm. But here’s what each player brings to the table.
- Oreo cookies: These are the star, obviously. Use regular, not double-stuffed! You want the thinner cream so they soften just right. Don’t stress about broken ones—they’re great for topping later.
- Heavy whipping cream: Whip this until it’s thick and pillowy. You want volume and structure so it doesn’t puddle later. Cold cream whips better, so straight from the fridge is best.
- Powdered sugar: It sweetens the cream just enough and helps it hold its shape. Don’t swap granulated—it’ll be gritty.
- Vanilla extract (optional): A little splash warms up the flavor. Totally fine to skip, but it adds this subtle roundness that I love.
How To Make This Oreo Icebox Cake
If you’ve got 15 minutes, some Oreos, and a little patience for chilling… you’re golden. Let’s make this thing.
-
Whip the cream: In a big cold bowl, beat the chilled heavy cream with powdered sugar and vanilla until you get stiff peaks. This means the soft mountains hold their shape when you lift your beaters. It should feel thick, glossy, and look ready for cloud naps.
-
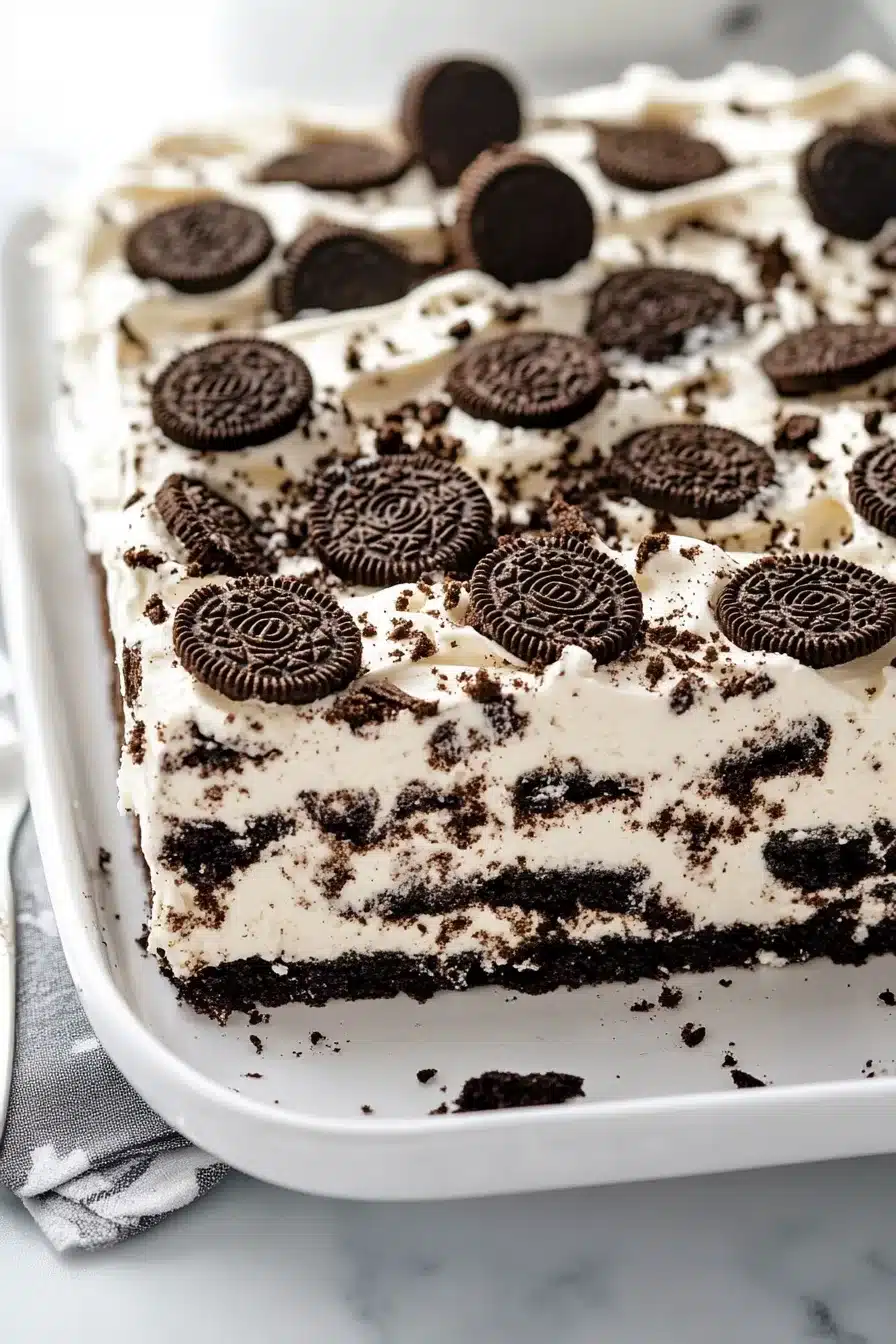
Layer the cookies: Grab a 9×13-inch dish and start with one full layer of Oreos. You’ll need about 30 per layer, give or take. Snap a few if you need patchwork pieces to cover the corners. Imperfections are charming.
-
Add cream: Dollop about a third of the whipped cream on top, then spread it gently to the edges. Try not to smush the cookies around too much—they’ll settle as the layers stack.
-
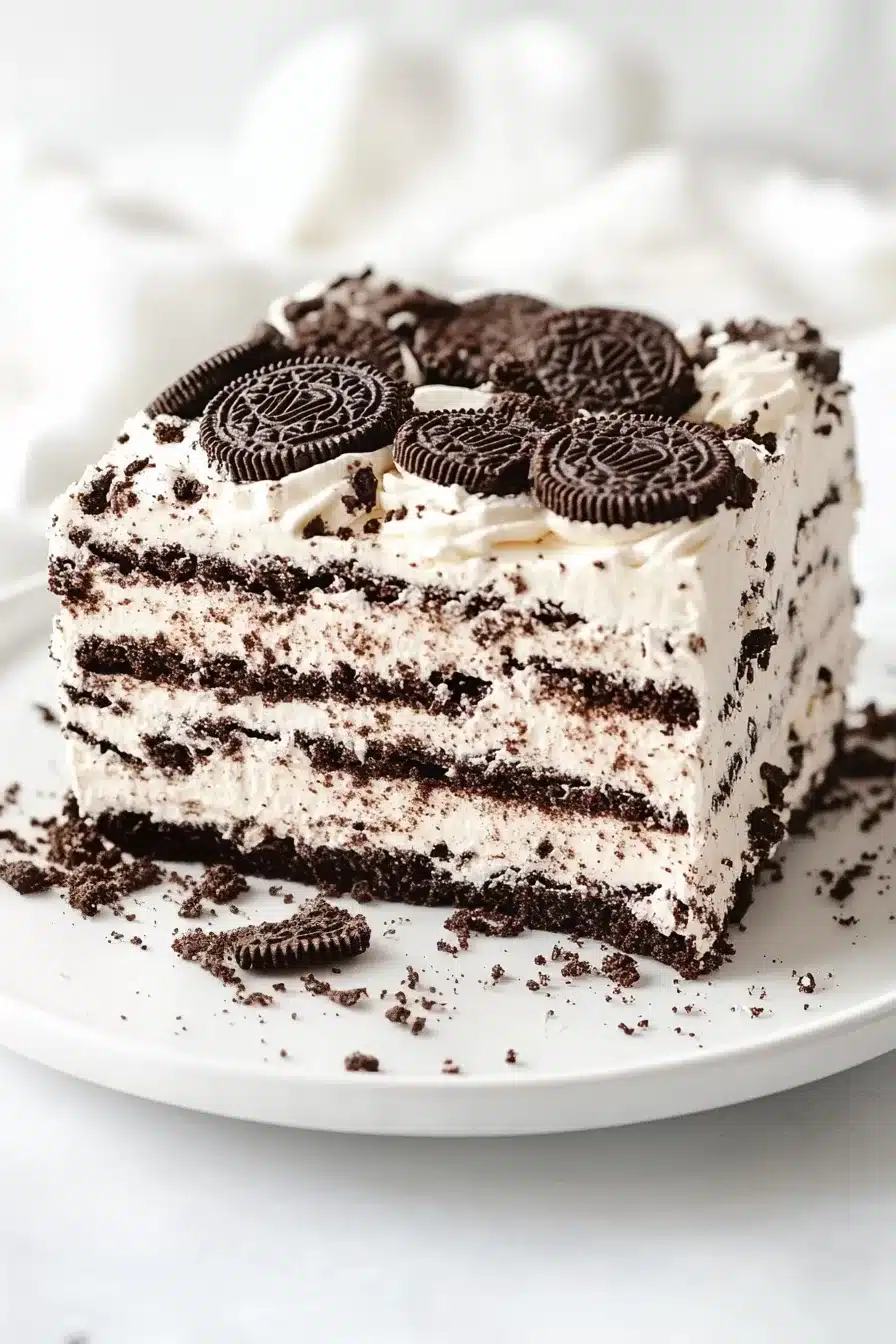
Repeat the layers: Go again with cookies, cream, more cookies, and finish with cream on top. That’s three cream layers total, with two Oreo layers tucked in between. You’ll have extra cookies for topping—don’t snack them all yet (speaking to myself here).
-
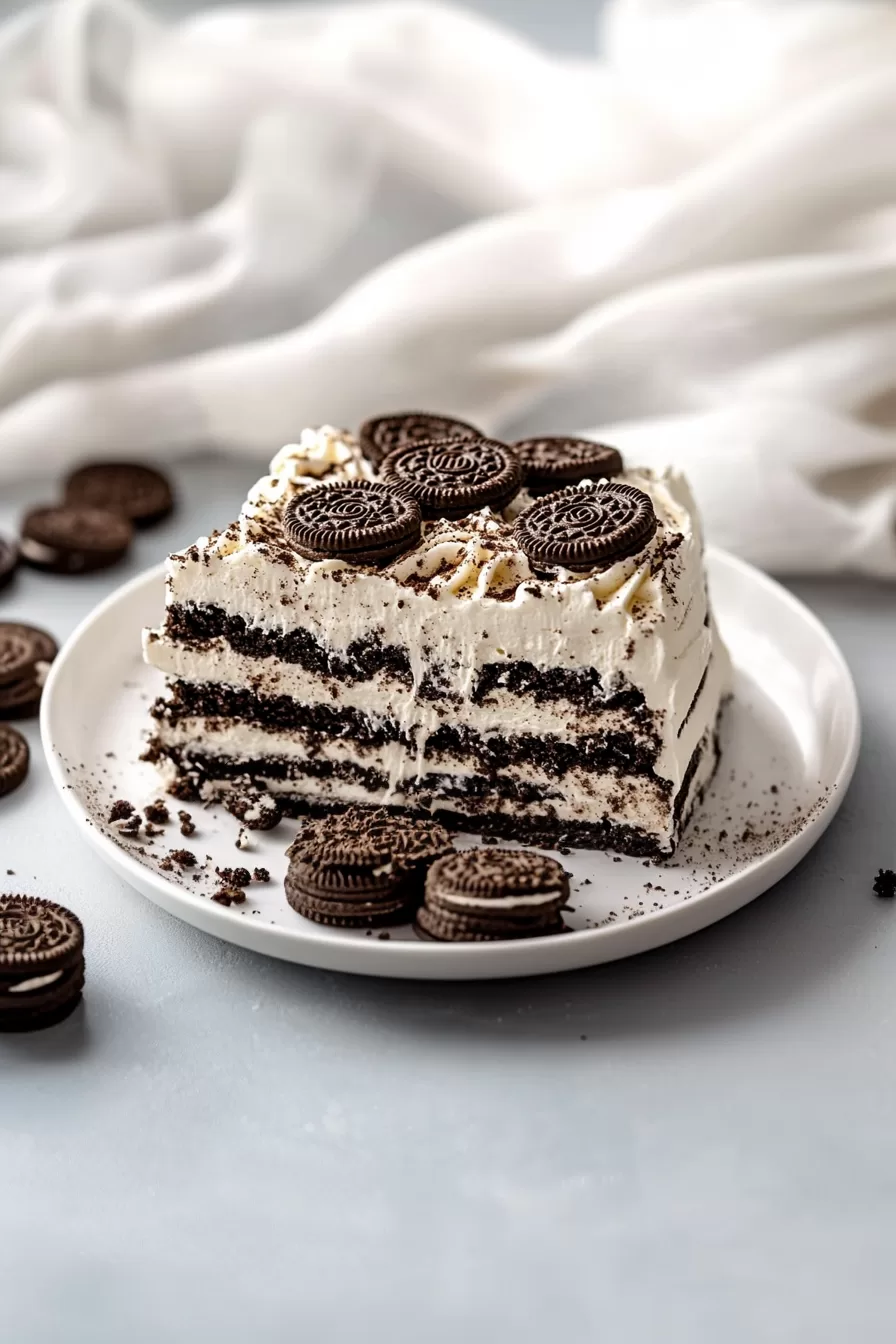
Chill, chill, chill: Wrap the dish tightly in plastic wrap and pop it in the fridge. Six hours is minimum, but overnight is the sweet spot. The cookies drink up the cream and get all soft and cakelike.
-
Finish with crumble: Just before serving, crush the remaining Oreos into chunks or crumbs and scatter them on top. Pretty, textural, and hides any swoopy imperfections. Slice with a clean knife (wipe between cuts!) for neat squares or serve rustically with a spoon—we’re not here for judgment.
Storage Options
This beautiful chilled situation holds up surprisingly well. In the fridge, you can keep it covered for about 4 to 5 days. The cookies continue to soften, sure, but the structure stays lovely if your whipped cream was whipped properly. If it starts to look a little weepy, just blot with a paper towel before serving. Still delightful.
Now, about the freezer. Technically you can freeze the whole thing if you want that firmer, frozen cake vibe. Wrap it tight with plastic and foil, then freeze for up to a month. Just thaw slightly in the fridge before slicing. It’ll be a bit more solid, so let it sit out for about 10–15 minutes to make cutting less of a wrestling match.
Reheating? Nope. Let’s not heat chilled whipped cream desserts, please. Just… cold. Always cold.
Variations and Substitutions
You can absolutely have a little fun with this one. Here’s where the mix-and-match magic happens.
- Flavored Oreos: Try Golden Oreos for a vanilla-forward vibe, or go wild with Mint Oreos or Birthday Cake for a twist.
- Add a chocolate layer: Melt some chocolate and swirl it between layers or on top. Or go no-fuss and just drizzle hot fudge before serving.
- Swap whipped cream for Cool Whip: Not my first pick, but if you’re pressed for time, it’ll still work. Slightly sweeter and more stable, though less airy.
- Boozy adult version: A splash of Baileys or Kahlua in the whipped cream? Yes and yes. Just don’t overdo it or it’ll mess with the texture.
- Add berries: Sliced strawberries or raspberries between layers add a fresh tart pop. It’s like strawberries and cream… with Oreos in the mix. A chaotic delight.
What to Serve with Oreo Icebox Cake
This cake is the rich, cool, creamy friend at the table—she doesn’t need much. But if you feel like playing wingman, here are some tasty pairings.
-
If you want something on the savory side before dessert, I love pairing this with a lighter main dish like pan-seared cod with rainbow chard. The salty balance makes the sweetness pop even more.
-
Add coffee. Iced or hot, bitter coffee + creamy Oreo cake = happy tastebuds. Espresso especially cuts through the richness in the best way.
-
Serve alongside fruit. A little bowl of fresh strawberries or raspberries is perfect. Adds color and bright tang to contrast the creamy, chocolatey goodness.
-
If you’re having people over, toss in a second no-bake dessert like these easy vanilla wafer cake squares. Set them out side-by-side for a nostalgic dessert buffet.
Frequently Asked Questions
Can I use store-bought whipped topping instead of homemade whipped cream?
Yep, you can! If you’re short on time or energy, a tub of whipped topping like Cool Whip works just fine here. It holds its texture longer and has a sweeter taste. Just know your dessert might lean a bit sweeter and the fluff’s a little different from homemade. Totally up to you!
How do I keep the whipped cream from deflating?
The key is starting with cold cream and a chilled bowl. Beat it until stiff peaks form—don’t under-whip or it’ll get gloopy. But also, don’t go too far or you’ll churn it into butter. Aim for peaks that stand tall when you lift the beater, and stop there. Keep everything chilled and you’re good.
Can I make this Oreo icebox cake ahead of time?
Absolutely. In fact, please do. It needs at least 6 hours in the fridge to soften the cookies properly, but overnight is even better. That dreamy, cakelike texture you’re craving only shows up after a good rest in the fridge. Bonus: no last-minute prep stress!
Do I need to dunk the Oreos in milk first?
Nope! The beauty of icebox cake is that the cream does the work for you. The Oreo layers absorb the moisture as it chills and turn wonderfully soft all on their own. Dunking might make them mushy too fast and mess up the structure. Trust the fridge process.
Oreo Icebox Cake
Ingredients
Main Ingredients
- 50 (50 cookies) Oreo cookies regular (not double-stuffed), plus more for topping
- 3 cups (710 ml) heavy whipping cream cold
- 3/4 cup (90 g) powdered sugar
- 1 tsp (5 ml) vanilla extract optional
Equipment
- Electric hand mixer or stand mixer
- Large mixing bowl
- 9x13 inch Baking Dish
- Rubber spatula
- Plastic Wrap
Instructions
- Whip the cream: In a large cold bowl, beat the heavy cream, powdered sugar, and vanilla extract (if using) with a mixer until stiff peaks form. The mixture should be thick, glossy, and able to hold shape.
- Layer the cookies: Arrange a single layer of Oreo cookies (about 30 cookies) at the bottom of a 9x13-inch dish. Break a few cookies as needed to fit and cover the whole base.
- Add cream: Dollop about one-third of the whipped cream over the Oreos and gently spread to cover them evenly.
- Repeat layers: Add a second layer of Oreos, another third of cream, a third (final) layer of Oreos, and top with the remaining cream. Smooth the top.
- Chill: Cover tightly with plastic wrap and refrigerate for at least 6 hours, or overnight for best results, until the Oreos have softened into a cake-like texture.
- Finish and serve: Just before serving, crush a few extra Oreos and sprinkle over the top. Slice with a clean knife or serve with a spoon.