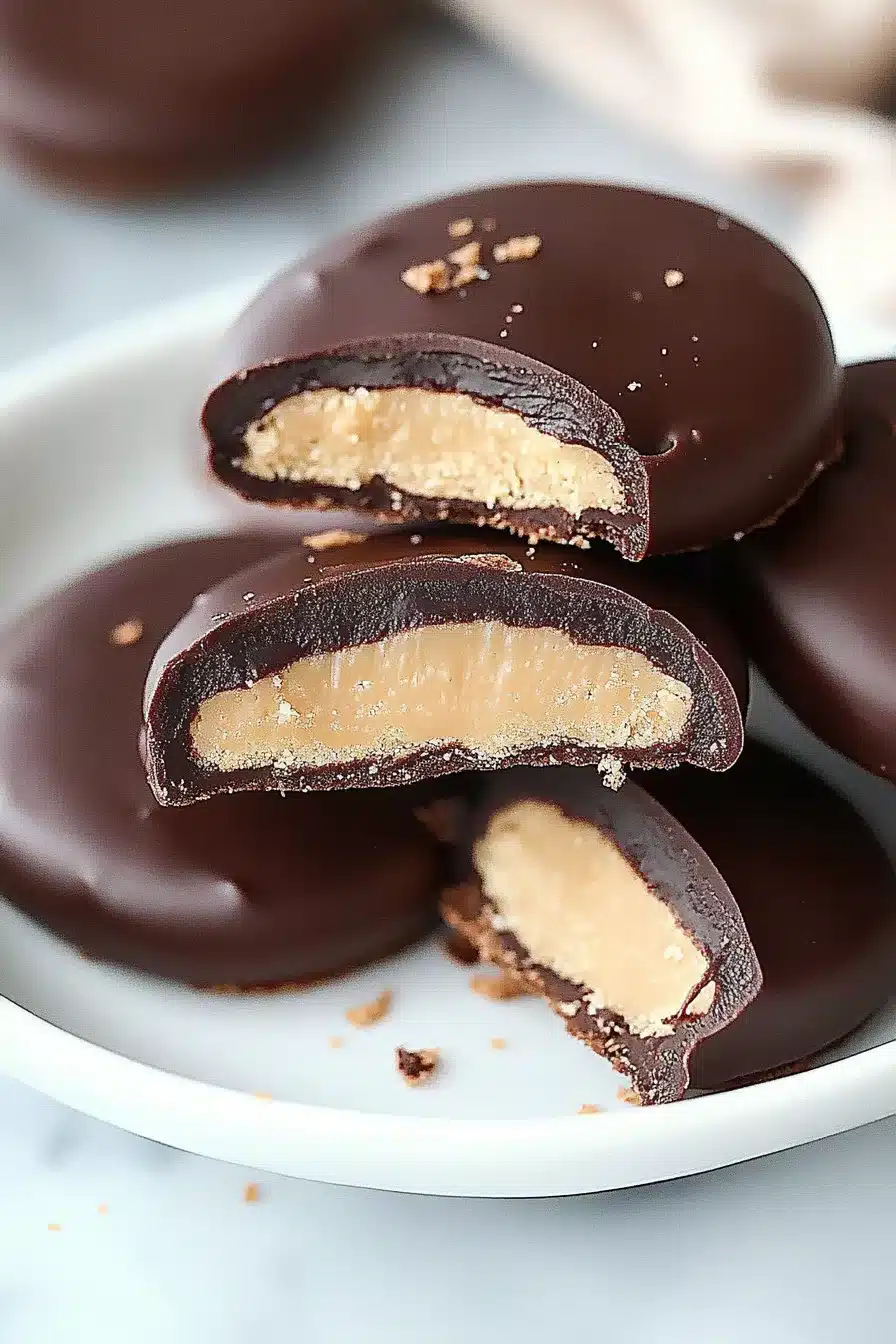
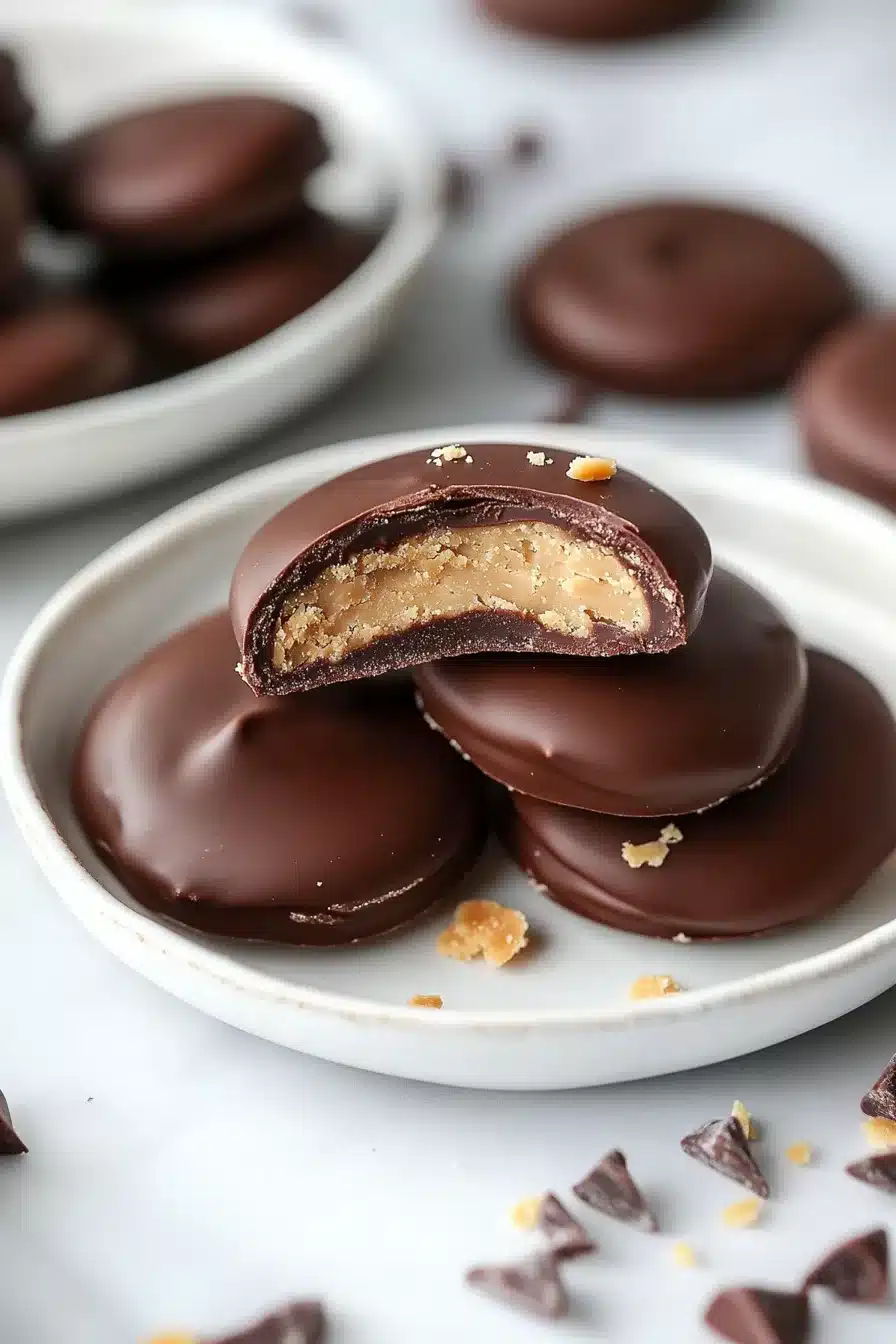
Buttery shortbread, creamy peanut butter, and silky chocolate come together in these homemade Tagalong cookies. Just six main ingredients, all cozy and crave-worthy.
They taste like your Girl Scout faves, but even fudgier and more peanut buttery (yes, that’s a word now). The kitchen will smell like a warm hug.
There’s something completely satisfying about recreating your favorite store-bought treats in your own kitchen. No fancy tricks. No food coloring. Just buttery shortbread, a generous swipe of peanut butter that’s secretly sweetened, and a dip in glossy, melty chocolate. And because you’re making them by hand, you get to decide how much peanut butter is “enough.” Spoiler: there is no such thing. These homemade Tagalong cookies are perfect for stashing in your fridge for casual weeknight cravings—or showing off to very impressed guests who think you bought them from a boutique bakery. (Let them believe it.)


Why You’ll Love this Homemade Tagalong Cookies
If you’ve ever eaten a Tagalong slowly to savor every layer, you’re in good company.
- You only need basic pantry players: Butter, flour, sugar, peanut butter, and chocolate. We respect a minimal grocery run.
- Ridiculously simple to make: You just squish, smear, melt, and drizzle—truly, the most satisfying verbs.
- Freezer stash approved: They keep beautifully, which means future-you will be grateful.
- Can flex casual or fancy: Stack them on a rustic plate, or line them in a pretty tin like you’re running a holiday cookie operation.
- They taste like childhood nostalgia: But richer, crispier, and with way more peanut butter swagger.
Ingredient Notes
These are breezy pantry ingredients, but here’s the breakdown so we don’t miss a beat.
- Unsalted butter: This is the base of our shortbread. Softened works best—you want it yielding, not melted. Salted is fine too if it’s all you’ve got; just skip the added salt later.
- Granulated sugar: This brings the sweetness and helps that butter cream up nice and fluffy. Don’t skimp on this part—it lays the foundation for shortbread’s texture.
- Vanilla extract: Just a splash, but it makes the shortbread taste a little warmer, a little cozier.
- All-purpose flour: Nothing too fancy here, just your standard flour doing all the structural heavy lifting.
- Salt: It’s just a pinch, but oh, it matters. Helps balance flavor and keeps things from leaning too sweet.
- Creamy peanut butter: Choose your fave brand, but aim for the sturdier kind (not natural or too oily). It holds its shape better.
- Powdered sugar: This gets stirred into the peanut butter for that soft, meltaway filling vibe.
- Chocolate melting wafers: Go for semisweet or milk chocolate! Melting wafers give that smooth dip without tempering fuss.

How To Make This Homemade Tagalong Cookies
Alright, deep breath. This is a three-part build—shortbread base, peanut butter layer, chocolate dip—but I promise it’s not fussy.
-
Make the shortbread dough: Start by creaming the softened butter and granulated sugar in a big mixing bowl. You’ll want it looking fluffy and pale. Once that’s cozy, add in the vanilla extract. Then slowly mix in the flour and salt just until it comes together. The dough may feel soft, almost like Play-Doh, which is exactly right.
-
Roll and cut the cookies: Sandwich your dough between two sheets of parchment (trust me, this keeps things clean), then roll it out to about 1/4 inch thick. Use a round cookie cutter—about 2 inches is ideal. Cut out circles and transfer them to a parchment-lined baking sheet. If the dough gets too soft, pop it in the fridge for 5-10 minutes before cutting more.
-
Bake and cool: Into a 350°F oven they go for 10 to 12 minutes, just until the edges turn golden. Don’t overbake. Let them cool completely on a wire rack before you even think about peanut butter.
-
Make the peanut butter filling: Stir together the creamy peanut butter and powdered sugar until smooth and happy. It should be pliable, like edible Play-Doh. Roll about a teaspoon of it into a little ball, flatten it gently, then press one onto each cooled cookie.
-
Chill the assembled cookies: This step is annoying but necessary. Pop them in the freezer for 8 to 10 minutes, or until the peanut butter layer is firm. This helps them stay intact during their chocolate bath.
-
Dip in melted chocolate: Melt those chocolate wafers in the microwave in short bursts until smooth and glossy. Dip each chilled cookie carefully—forks or dipping tools help!—and give them a gentle wiggle to drip off excess.
-
Let them set: Back on the parchment-lined tray they go. Let the chocolate harden at room temp or in the fridge for 15 minutes, depending on your patience levels. Try not to eat half while pretending to organize the fridge.

Storage Options
So, you’ve got a batch of shiny, peanut-buttery gems and you’re wondering: What now?
Start with letting them set at room temperature if they’re still glossy. Once they’re fully hardened, store the homemade Tagalong cookies in an airtight container. If your house runs warm or you (like me) prefer a snappy chocolate shell, go ahead and refrigerate them. They’ll be great for about 1 week in the fridge.
Want to save some for future cravings? Good thinking. Pop them in a freezer-safe container with parchment layers between each row to prevent sticking. They freeze beautifully for up to 2 months. No need to thaw—just let them sit at room temp for 5–10 minutes so they don’t feel like biting into a brick.
Microwaving is a no-go here. The chocolate can sweat or melt weirdly. If you’re after a gooey moment, maybe just make fresh ones and leave a few half-dipped…
Variations and Substitutions
You can totally play mix-and-match with this one. It’s a great base cookie for adapting to your cravings or pantry situation.
- Almond butter sub: Swap peanut butter for almond butter for a lighter, slightly floral twist. Macadamia butter also works, but now we’re just being fancy.
- Dark chocolate dip: Go bittersweet for that deep cocoa punch. It balances the peanut butter sweetness really nicely.
- Add crunch: Stir chopped roasted peanuts into the peanut butter layer for texture and a salty surprise.
- Gluten-free flour: A 1:1 baking blend will sub in nicely. Just chill your dough a bit longer—it’s usually a touch more delicate.
- Shape it differently: No round cutter? No problem. Use a knife and go rustic with squares. It’s not any less tasty.
What to Serve with Homemade Tagalong Cookies
Once these are ready, they honestly don’t need much—except maybe a cozy spot and a plate. But if you’re feeling extra, here’s how to elevate the moment.
-
If you’re hosting brunch and want to offer an unexpected treat, slide these next to your coffee bar. Yes, it’s a cookie dessert, but it pairs like magic with lattes and dark roast.
-
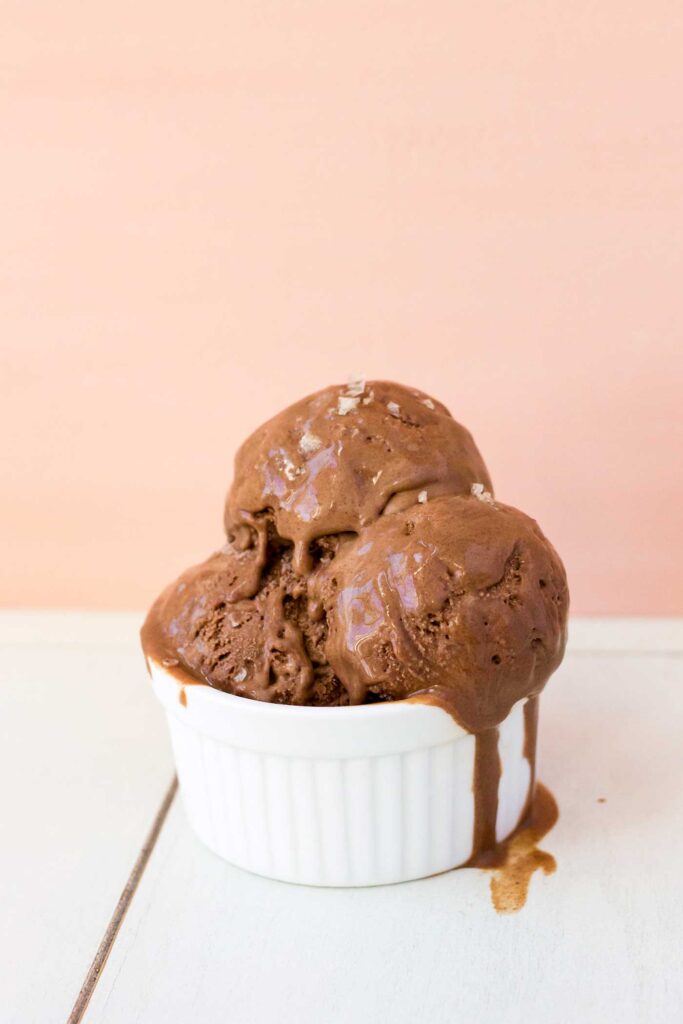
For something cold and creamy, sandwich a small scoop of vanilla bean or chocolate frozen yogurt between two cookies. Like these dreamy peanut butter & banana ice cream sandwiches, it’s a fork-optional experience.
-
Need a quick dessert platter? Pair them with other cozy throwback sweets like Seven Layer Bars. You’ll hit every nostalgic note from crunchy to gooey.
-
They also shine after a delicate dinner. If you’re going savory first, try something like pan seared cod with rainbow chard to keep the meal light and balanced before these rich beauties close the show.

Frequently Asked Questions
Can I use natural peanut butter for this recipe?
You technically can, but proceed with caution. Natural peanut butter tends to be oilier and looser, which means it might not firm up as well for sandwiching or dipping. Your cookies could end up messier, with sliding fillings and thinner layers. If it’s all you have, try mixing in extra powdered sugar to stiffen the filling a bit. But if you’re aiming for that classic bite, use a more conventional creamy style like Jif or Skippy.
How do I keep the chocolate coating smooth?
Melting wafers are your best friend here. Unlike chopped chocolate, they’re designed to melt without tempering and stay glossy. Be patient with your microwave—use 20 to 30 second bursts and stir in between each. Don’t let it overheat, or you’ll end up with sad, clumpy chocolate. If it’s too thick, add a tiny bit of coconut oil to loosen it. Smooth dips await.
Do I really need to chill the cookies before dipping?
Yes, yes, yes. Don’t skip this. Without that quick freezer blast, the peanut butter layer stays soft and gooey, and when you dip, it might slide right off into your chocolate like a little blob rebellion. Chilling firms things up so the coating goes on cleanly and sets beautifully. Trust the process—it only takes 10 minutes.
How long do homemade Tagalong cookies stay fresh?
Stored in an airtight container in the fridge, they’ll stay delicious for about a week. If you can’t eat them that fast (impressive restraint!), stash them in the freezer for up to 2 months. They honestly taste amazing cold, straight from the fridge, so you won’t even have to wait to thaw. Win-win.

Homemade Tagalong Cookies
Ingredients
Shortbread Base
- 1 cup (226 g) unsalted butter softened
- 2/3 cup (135 g) granulated sugar
- 1 tsp (5 ml) vanilla extract
- 2 1/4 cups (280 g) all-purpose flour
- 1/4 tsp (1.5 g) salt
Peanut Butter Filling
- 1 cup (250 g) creamy peanut butter not natural or oily style
- 1/2 cup (60 g) powdered sugar
Chocolate Coating
- 12 oz (340 g) chocolate melting wafers semisweet or milk chocolate
Equipment
- Electric Mixer or Mixing Bowl and Spoon
- Parchment paper
- Rolling Pin
- Round Cookie Cutter (2-inch)
- Baking sheet
- Microwave-safe bowl
- Wire rack
Instructions
- Make the shortbread dough: In a large bowl, cream together the softened butter and granulated sugar with an electric mixer until pale and fluffy. Mix in vanilla extract. Gradually add flour and salt and mix just until combined into a soft dough.
- Roll and cut the cookies: Place the dough between two sheets of parchment paper. Roll to 1/4 inch thickness. Use a 2-inch round cookie cutter to cut out circles. Transfer to a parchment-lined baking sheet. If dough softens too much, chill for 5–10 minutes before cutting more shapes as needed.
- Bake and cool: Bake at 350°F (180°C) for 10–12 minutes, until edges just begin to turn golden. Remove and let cool completely on a wire rack.
- Make the peanut butter filling: Stir together peanut butter and powdered sugar in a medium bowl until smooth and pliable. Roll a teaspoon of filling into a ball, flatten gently, and press one onto each cooled cookie.
- Chill the assembled cookies: Place tray of topped cookies in the freezer for 8–10 minutes, until peanut butter is firm.
- Dip in melted chocolate: Melt chocolate wafers in a microwave-safe bowl in 20–30 second bursts, stirring after each until smooth. Using a fork or dipping tool, dip each chilled cookie into the chocolate, letting excess drip off. Return to parchment-lined tray.
- Let them set: Allow chocolate to harden at room temperature or refrigerate for 15 minutes, until fully set.