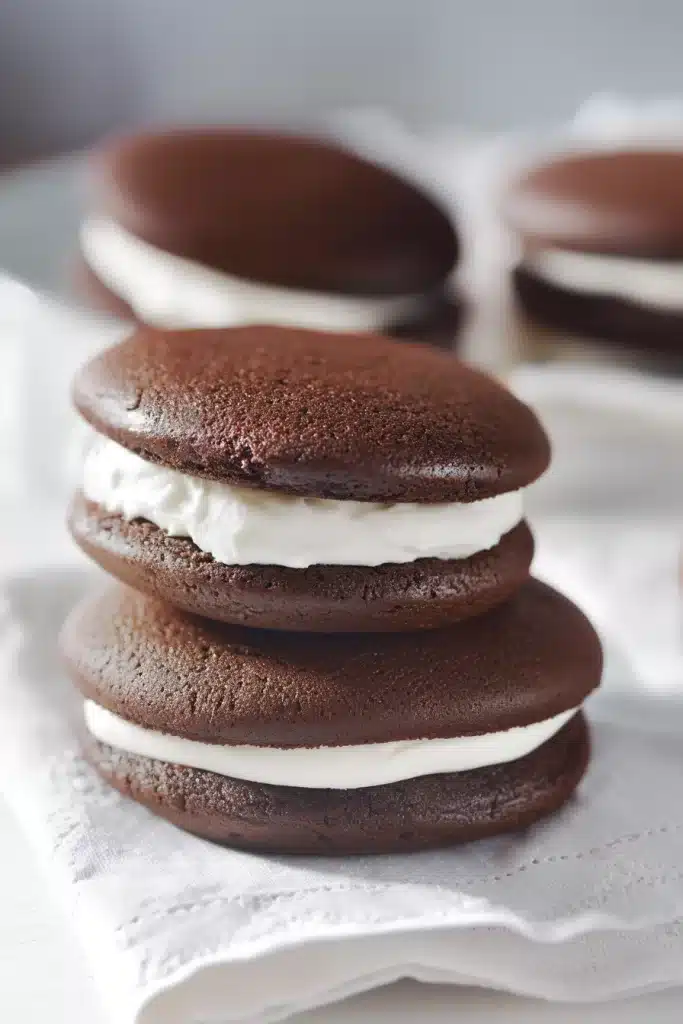
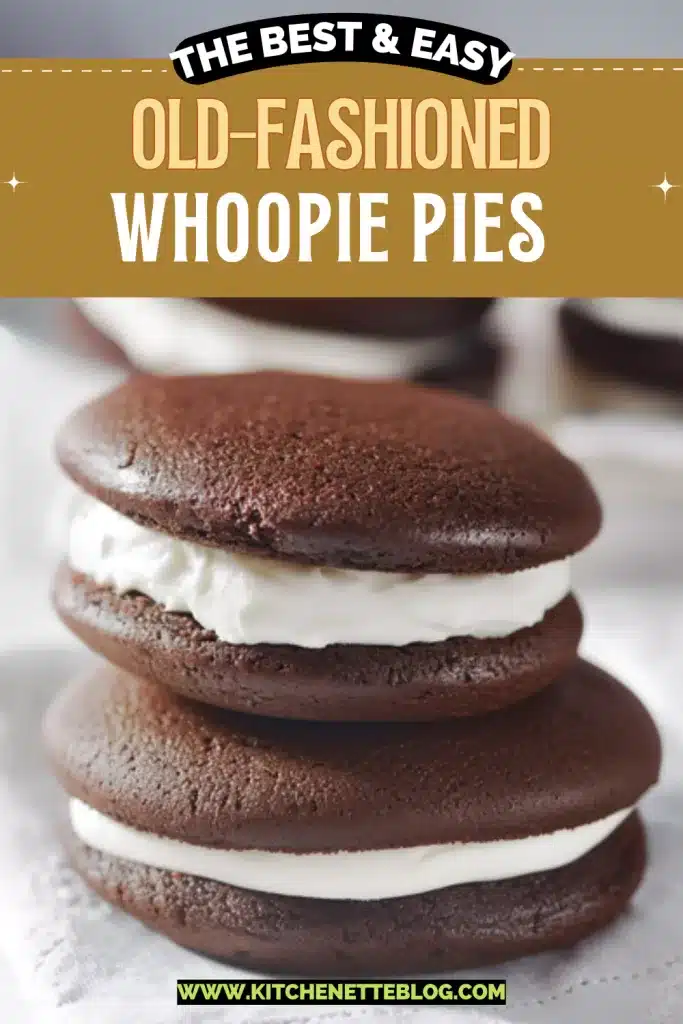
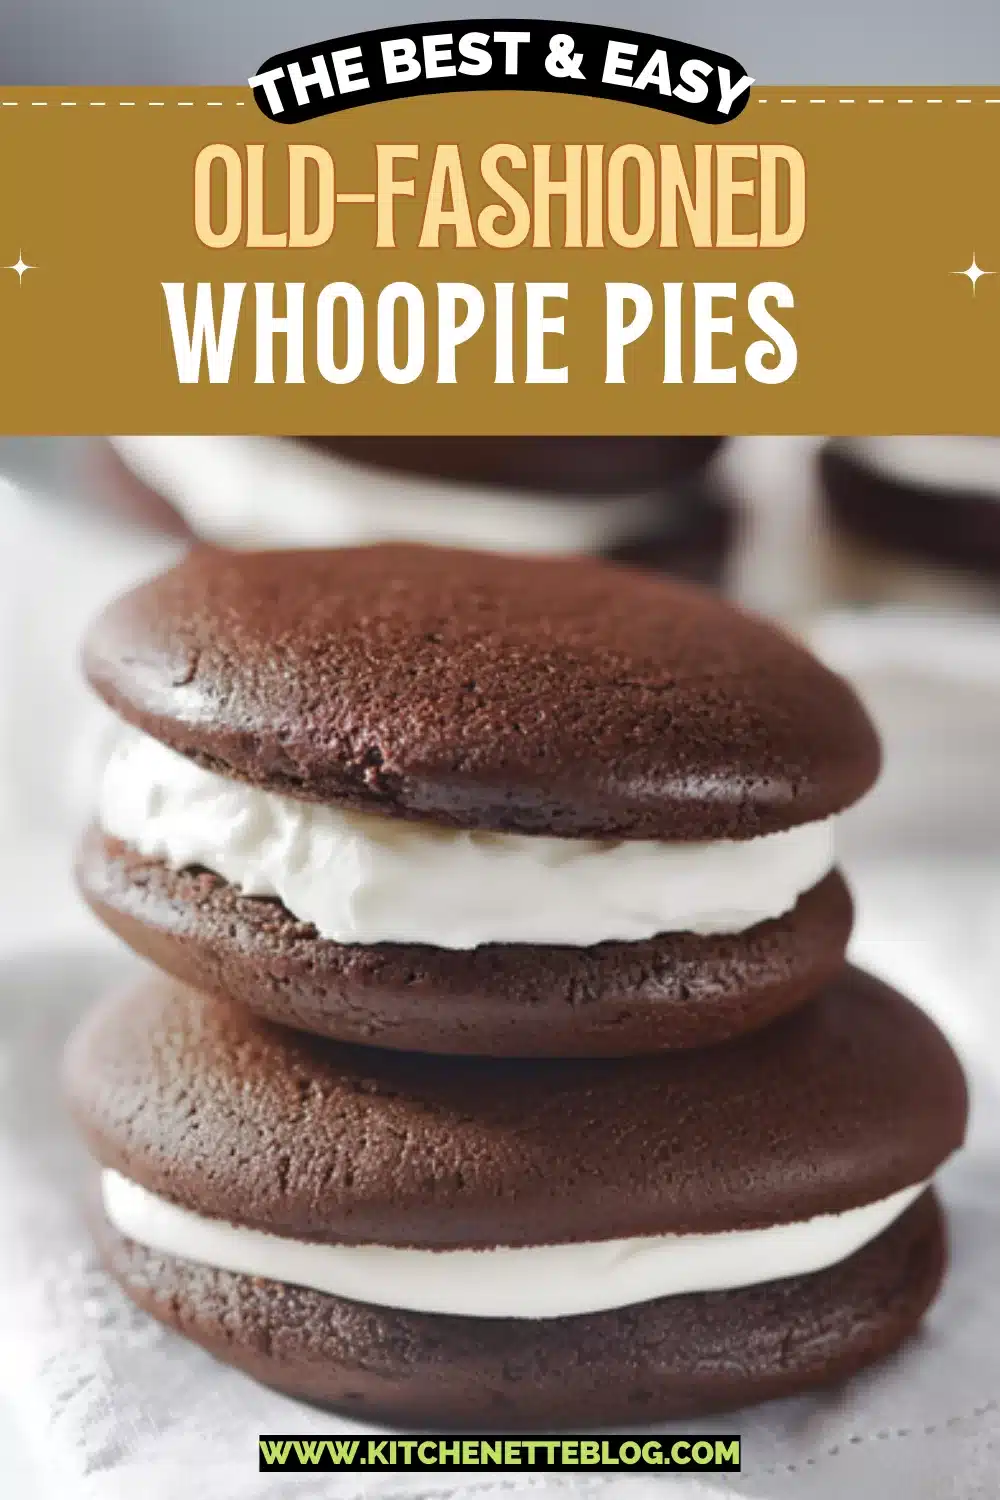
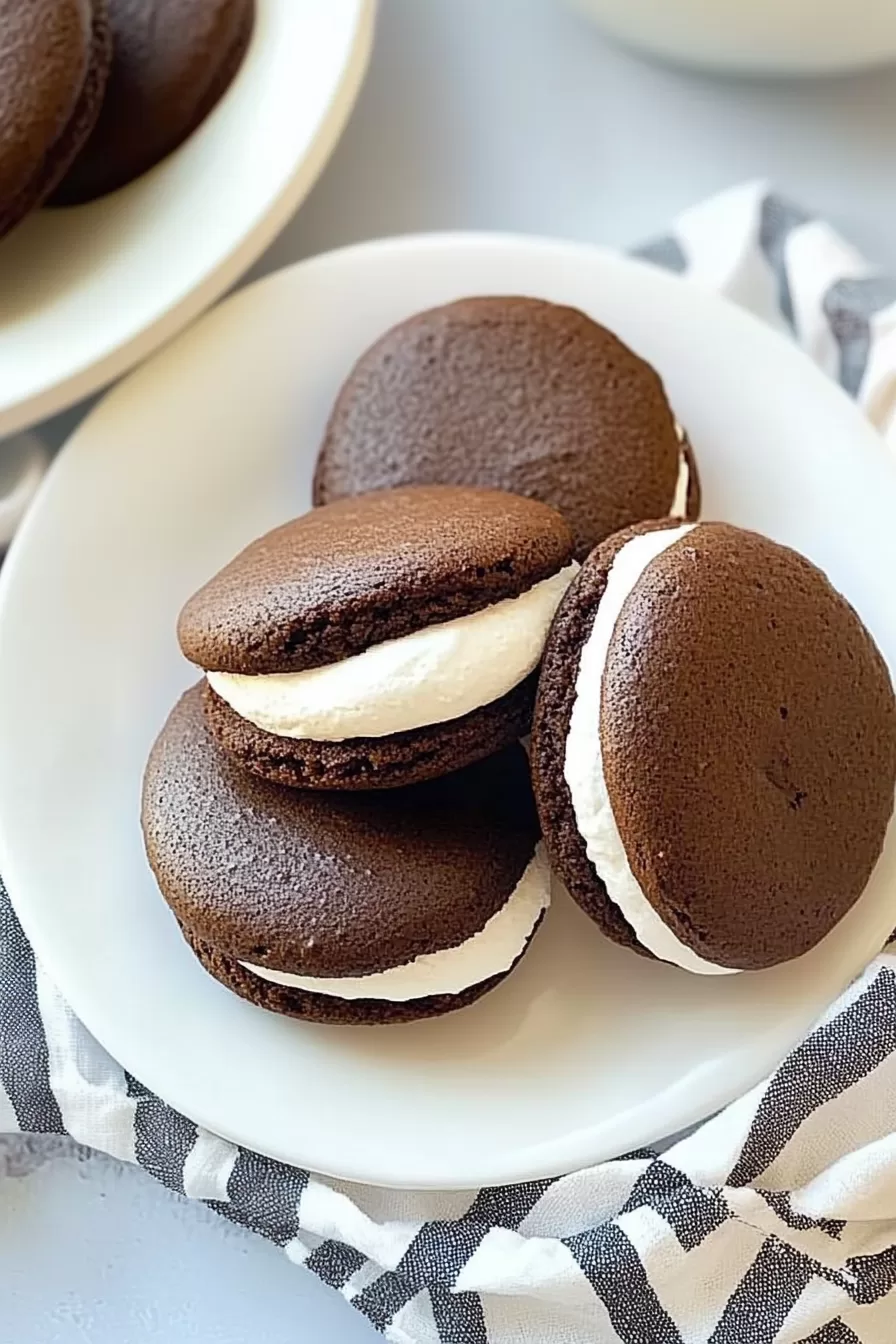
Old-fashioned whoopie pies with cocoa, buttermilk, sugar, and vanilla. Moist, fluffy chocolate cookies hugging a soft, creamy vanilla filling—pure joy.
There’s something kind of magical about biting into an old-fashioned whoopie pie. The chocolatey aroma hits first, then there’s that bittersweet cocoa note, soft pillowy cake giving way to a cool, velvety cream center. Not quite a cookie, not really a cake, and definitely not a sandwich in the traditional sense, these treats straddle all three with delightful defiance. They’re the sort of dessert I imagine appearing in lunchboxes, bake sales, or—more often than not—just disappearing from the counter five minutes after they’ve cooled. And hey, if you’re looking to give your inner kid a treat (or bribe your actual kid), this might be it.


Why You’ll Love this Old-Fashioned Whoopie Pies
These aren’t showy or fancy, which is exactly why they hit the sweet spot (literally). It’s the kind of thing you make once and then… well, you make it again next weekend.
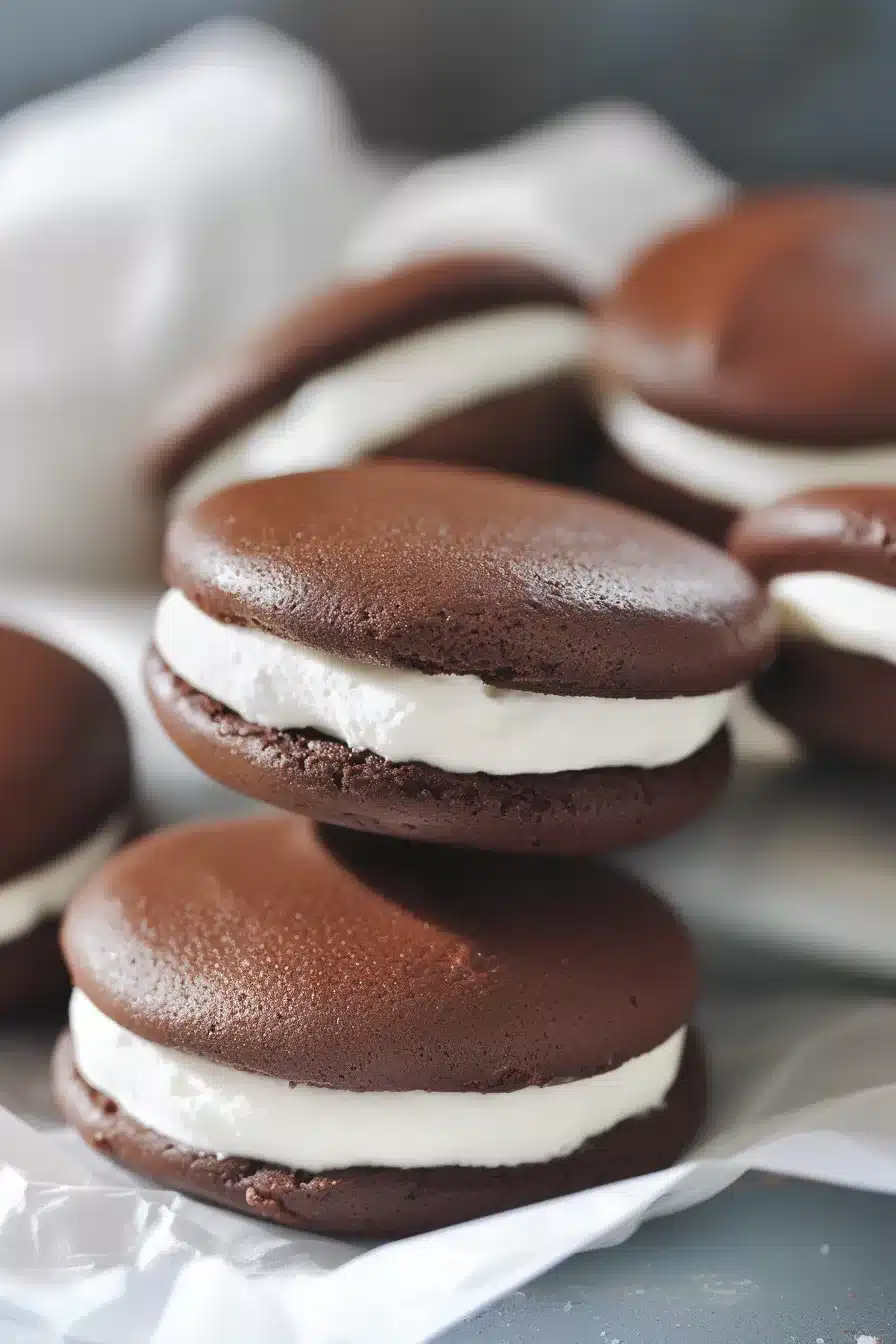
- Soft and cakey cookie shells: Think somewhere between a cupcake top and a chocolate pillow.
- Creamy vanilla filling: Thick, whipped, just sweet enough, and dreamy sandwiched between two chocolate domes.
- Simple throw-together ingredients: Nothing exotic here—just your pantry basics playing nice together.
- Fun to make with kids or friends: You can scoop, smear, smoosh, and maybe sneak a few bites during assembly. I won’t tell.
- Great for sharing—or hoarding: They store surprisingly well (but whether they last that long is another matter).
- Nostalgic and satisfying: Like flipping to the best part of a chapter book you already love.

Ingredient Notes
Everything in here pulls its weight, and while the list looks a tad long, most of it’s probably hanging out in your kitchen already.
- Shortening: This gives both the cookies and the filling their signature soft-but-structured texture. Butter works in theory, but it changes the flavor and spread.
- White sugar: Provides sweetness and helps those cookies bake up just tender enough. No brown sugar here—this one’s all about the smooth vanilla-chocolate contrast.
- Eggs: They bind everything and add that rich softness. The whites in the filling keep it light and fluffy.
- Buttermilk: Adds just the right tang and helps activate the baking soda. If you’re out, a splash of lemon juice in regular milk can work.
- Vanilla extract: Goes in both cookie and filling. Get the real stuff if you can—it really matters here.
- All-purpose flour: The base that brings it all together. No sifting drama necessary; just level your cups.
- Unsweetened cocoa powder: Gives the cookies their classic rich cocoa taste. Dutch-process or natural both work—whichever you’ve got.
- Salt: Just a pinch to balance that sweetness.
- Hot water + baking soda: Old-school trick to activate the soda and bloom the cocoa a bit. It’s science-y, but with delicious results.
- Powdered sugar: The key to that sweet, smooth filling. Don’t skimp on the sifting if it’s clumpy.
- Milk: Loosens the filling slightly so it spreads like a creamy dream.
- Flour in the filling: Yep, just a little. It helps hold the structure so it doesn’t ooze out like a frosting gone rogue.

How To Make This Old-Fashioned Whoopie Pies
This is one of those recipes that feels more impressive than it actually is. You’ll be surprised by how quickly they come together—and how quickly they vanish.
-
Preheat and prep your pans: Turn that oven to 400°F and give two cookie sheets a good grease. Cooking spray works great. Don’t skip this—these guys love to stick.
-
Cream the sugar and shortening: In your biggest bowl, beat them together until light and fluffy, like sweet little clouds. Pause and scrape the bowl with a spatula so no sugary blobs get left behind.
-
Add eggs, buttermilk, and vanilla: One at a time, slowly mix them in on low speed. It’ll look a little curdled at first—don’t panic. It comes together, promise.
-
Mix the dry goods: Sift in the flour, cocoa, and salt. Gently fold it all together. You’re aiming for a marbled look, not fully combined yet. We’re not making bricks here.
-
Activate the cocoa and leavening: Stir hot water with baking soda in a small bowl. When it fizzes slightly, you’re golden. Add that to your batter and gently finish mixing.
-
Scoop and bake: Drop tablespoon-sized scoops onto your trays with a couple inches between each (they spread a bit). Into the oven for 8 minutes; the tops should spring back when lightly pressed.
-
Cool ’em down: Let the cookies cool for a few minutes on the sheets, then use a spatula to move them to cooling racks. They’ll firm up a little more as they sit.
-
Make the filling: In a clean bowl, beat shortening, powdered sugar, and flour on low until things combine. Then add milk, egg whites, and vanilla. Crank the mixer to medium and beat until thick, smooth, and fluffy—you want soft peaks here.
-
Assemble your pies: Smear or pipe a generous spoonful of filling onto the flat side of half the cookies. Top with the rest, press gently to spread filling to the edges, admire your handiwork, and immediately eat one.
Storage Options
Alright, let’s talk storage because no one needs a melted whoopie pie mess in their lunchbox.
At room temperature, they’ll keep for a day or two—but only if your house isn’t a sauna. If it’s warmer than 70°F, you’ll want to move them into the fridge.
In the fridge, stack them in an airtight container with a sheet of wax or parchment paper between layers. They’ll hang out happily for 4 to 5 days, and actually taste even better the next day once the flavors have had their little mingle session.
Freezer? Absolutely. Wrap each pie individually in plastic wrap, then toss into a freezer bag. They’ll keep for up to 2 months. Thaw in the fridge or at room temp, depending on your patience level. No need to reheat—just unwrap and enjoy like a snack sent directly from a wintry bake shop fantasy.
Variations and Substitutions
Want to play around a bit? You’ve got options. Just don’t call it a whoopie pie if you’re swapping every ingredient (but if you do, I’ll support you anyway).
- Butter instead of shortening: It’ll give a richer flavor and more spread, but lose a bit of that classic whoopie texture. Soft, but not quite so springy.
- Flavored filling: Add a little peppermint extract, peanut butter, or citrus zest to the filling for a seasonal twist. Peppermint with cocoa? Oh yes.
- Gluten-free flour blend: Swapping in a 1:1 GF blend works surprisingly well here because the filling doesn’t depend on gluten structure anyway.
- Coffee in place of hot water: Adds a subtle mocha vibe that’s very grown-up and oddly comforting—especially next to a cup of real coffee.
- Mini version: Use a teaspoon instead of a tablespoon when scooping for tiny, bite-sized pies. Perfect for parties or food festivals (like the ones in the San Francisco street food roundup).
What to Serve with Old-Fashioned Whoopie Pies
They’re the kind of treat that doesn’t need much fanfare, but if you want to pair them up with something cozy or contrasty, I’ve got you.
-
A cold glass of milk: It’s cliché because it works. The richness of the whoopie pies practically begs for an ice-cold glass of dairy (or oat milk, let’s be real).
-
Coffee or espresso: That soft cocoa flavor + a good hot shot of espresso? Peak snack break territory. Something about the contrast just makes the filling sing.
-
After a light meal: Serve these after something like pan-seared cod with rainbow chard, and you set yourself up for the best kind of dinner finish—light meal, serious dessert.
-
With fruit: A bowl of berries or even a fruit salad balances the sweetness. Bonus: you can pretend it’s a healthier choice that way.
-
Alongside ice cream sandwiches: Feeling decadent? These pair weirdly well with frozen treats like peanut butter and banana ice cream sandwiches. Cocoa and banana? Oh yes.
Frequently Asked Questions
Can I freeze old-fashioned whoopie pies?
Totally! Wrap each pie individually in plastic wrap, then toss them in a freezer bag. They’ll keep for up to 2 months, maybe more if you’ve got a deep freezer. When you’re ready to eat, just let them thaw at room temp or stick them in the fridge overnight. No need to reheat—though they’re surprisingly nice with a warm drink.
Why is my filling runny?
Ah, yep—this one crops up. If the filling’s runny, it usually means the milk ratio was a little high or it didn’t get whipped long enough. Give it a solid beating (the filling, not your patience) and it should thicken. If you still need backup, a tablespoon more powdered sugar can help bring it to scoopable glory.
Do I need to sift the dry ingredients?
Technically, you can skip it. But if your cocoa tends to clump (ahem, most do), giving it all a quick sift really helps prevent weird dry pockets. Sifting also makes it easier to combine everything without overmixing, which keeps the cookies tender instead of tough.
Can I use butter instead of shortening?
Sure can, but it changes things. Butter adds flavor (yum), but also causes the cookies to spread more and be a little less pillowy. They’ll still be delicious, just slightly flatter and crispier on the edges. A half-and-half compromise works well if you’re torn.

Old-Fashioned Whoopie Pies
Ingredients
Chocolate Cookies
- 1/2 cup (115 g) shortening
- 1 cup (200 g) granulated sugar
- 2 large eggs
- 1 cup (240 ml) buttermilk
- 1 tsp (5 ml) vanilla extract
- 2 cups (250 g) all-purpose flour leveled, unsifted
- 1/2 cup (45 g) unsweetened cocoa powder
- 1/2 tsp (2.5 g) salt
- 1/2 cup (120 ml) hot water
- 1 1/2 tsp (7 g) baking soda
Classic Vanilla Filling
- 3/4 cup (170 g) shortening
- 2 cups (240 g) powdered sugar sifted if clumpy
- 2 tbsp (15 g) all-purpose flour
- 2-3 tbsp (30-45 ml) milk
- 2 large egg whites
- 1 tsp (5 ml) vanilla extract
Equipment
- Electric mixer
- Baking Sheets
- Mixing bowls
- Spatula
- Wire rack
- Sifter
Instructions
- Preheat and prep: Preheat oven to 400°F (200°C). Grease 2 large baking sheets or line with parchment paper.
- Cream: In a large mixing bowl, beat the shortening and sugar until light and fluffy. Scrape down sides as needed.
- Add wet ingredients: Beat in eggs, one at a time. Then add buttermilk and vanilla, mixing until mostly combined (the mixture might look curdled—that's okay).
- Mix dry ingredients: Sift flour, cocoa powder, and salt together. Add to the wet mixture and gently fold together, keeping the mixture a bit marbled for now.
- Activate leavening: In a small bowl, stir together hot water and baking soda until mostly dissolved and lightly foamy. Add this mixture to the batter and fold just until smooth and combined.
- Scoop and bake: Drop batter by rounded tablespoons onto prepared sheets, spacing 2 inches apart. Bake 8 minutes, or until tops spring back when touched.
- Cool: Let cookies cool on the baking sheet a few minutes before transferring to wire racks to finish cooling completely.
- Make filling: In a clean bowl, beat shortening, powdered sugar, and flour on low until blended. Add milk, egg whites, and vanilla; increase speed to medium and beat until thick, smooth, and fluffy (soft peaks).
- Assemble pies: Spread or pipe a heaping spoonful of filling onto the flat side of half the cookies. Top with the other halves and press gently to sandwich.
Notes
For best storage: Store at room temp (up to 2 days), fridge (4–5 days), or freeze tightly wrapped for up to 2 months. Bring to room temp to serve.
Play with flavors: Add extracts, swap in coffee for hot water, make minis, or use butter for a richer flavor.