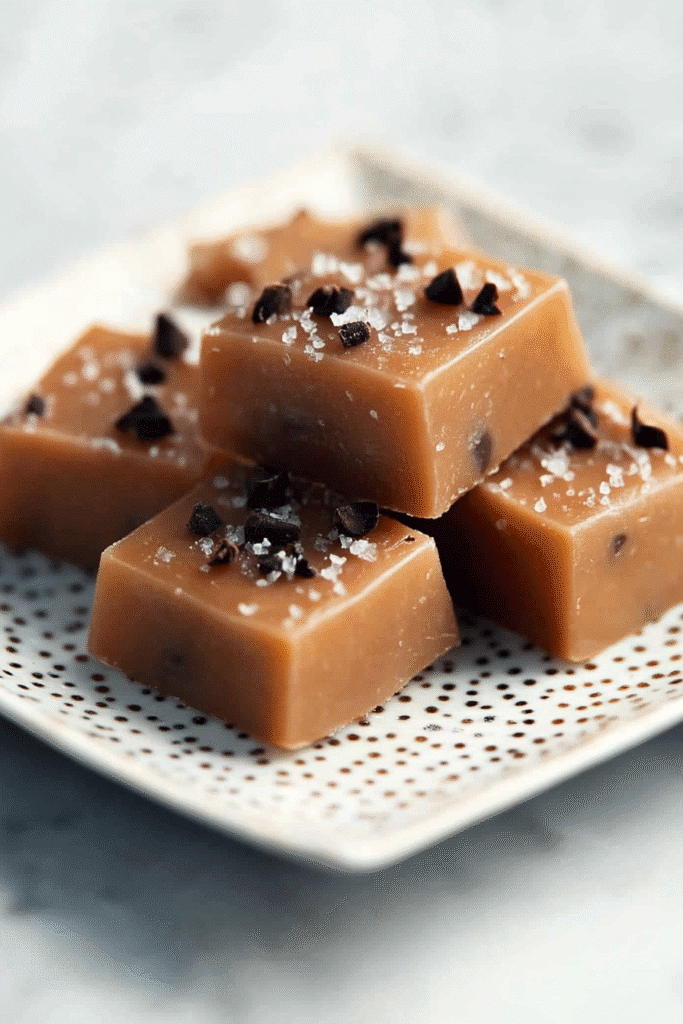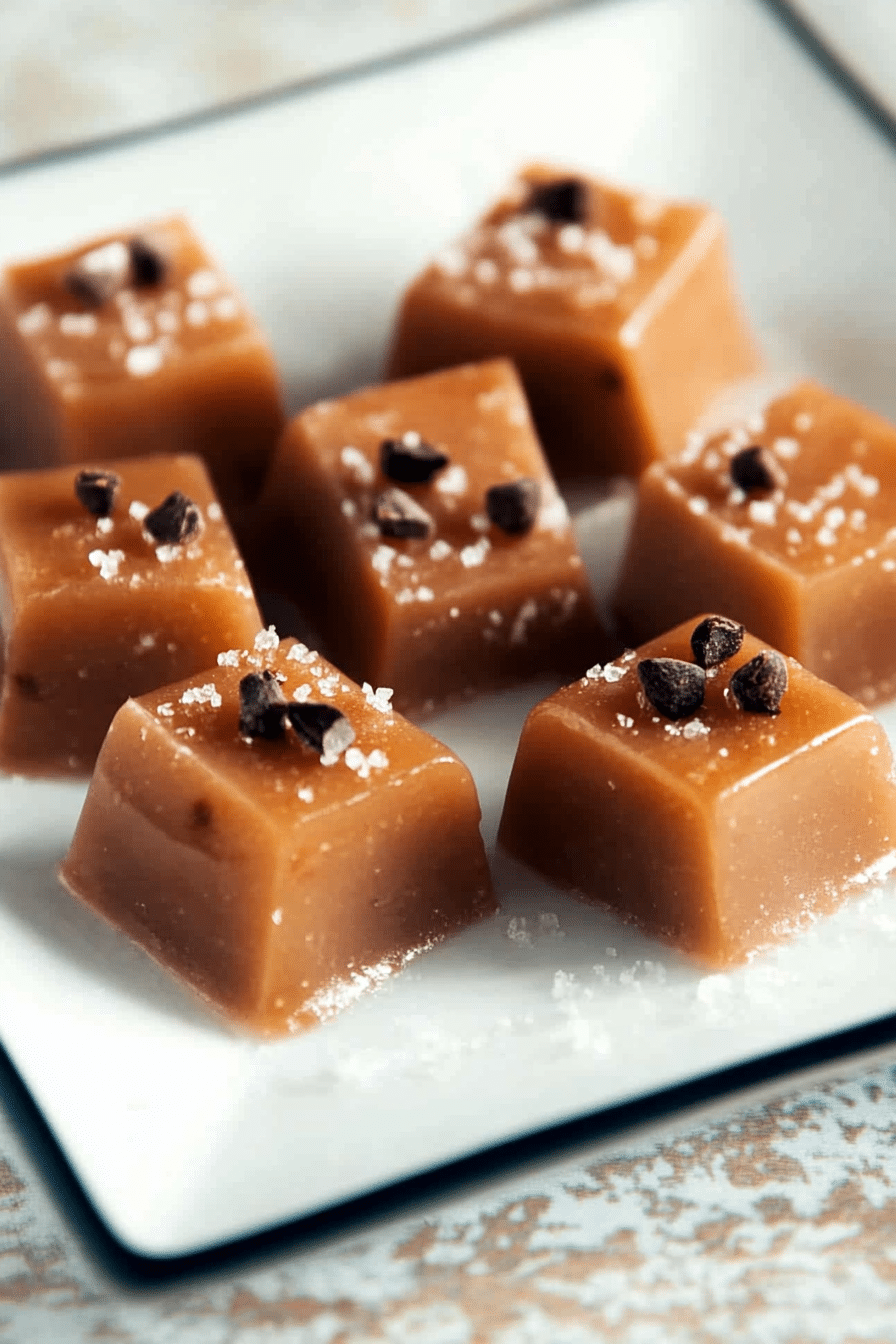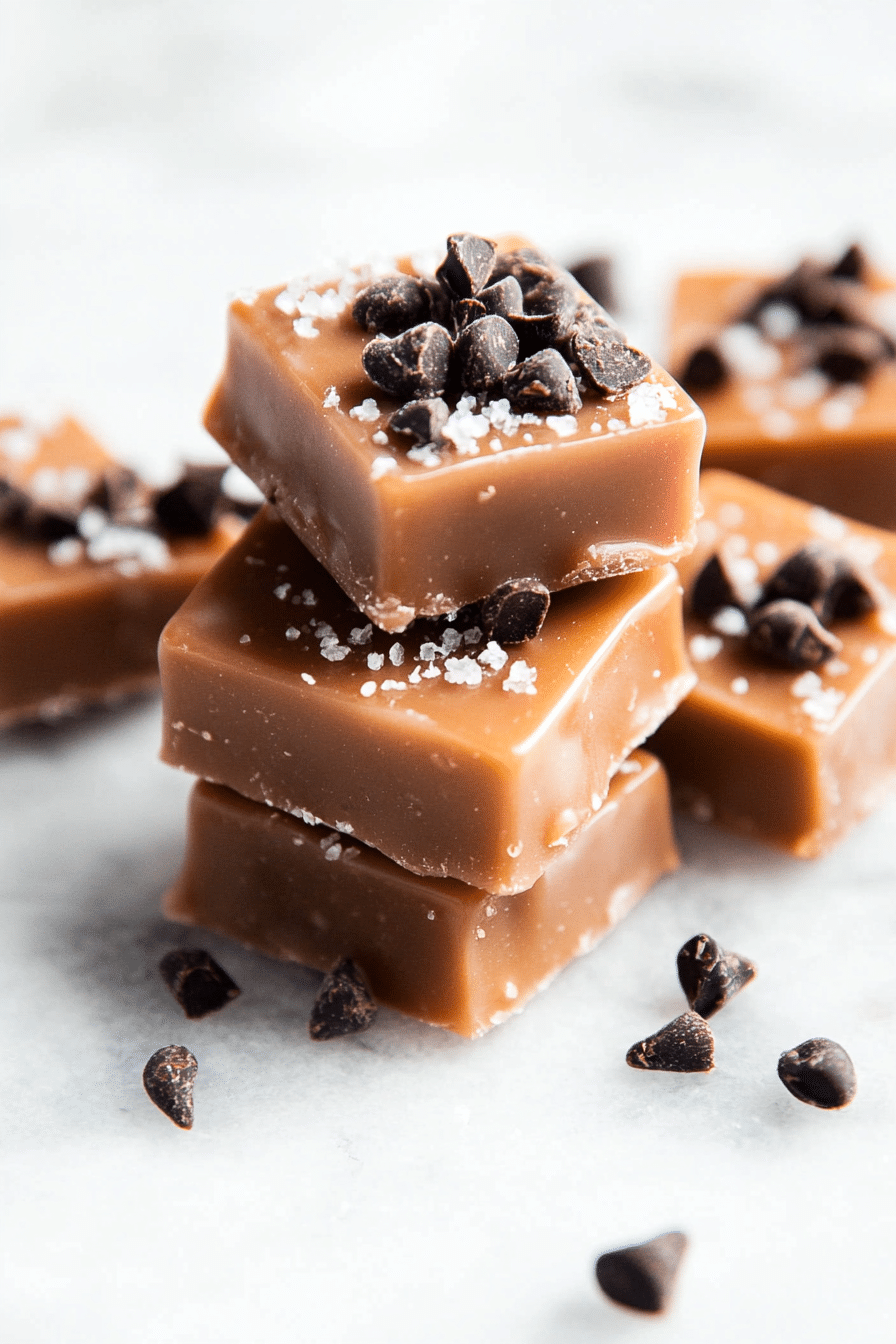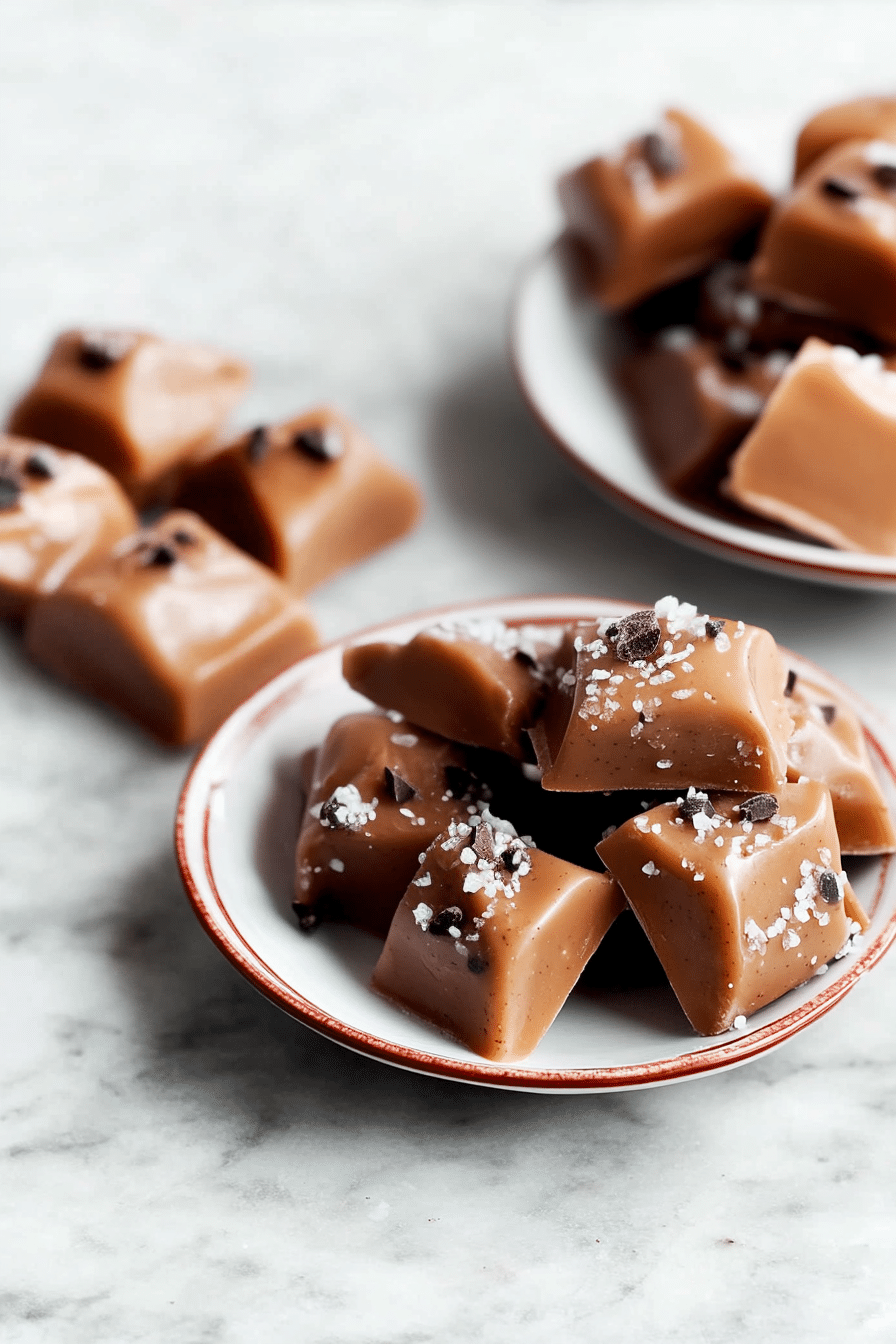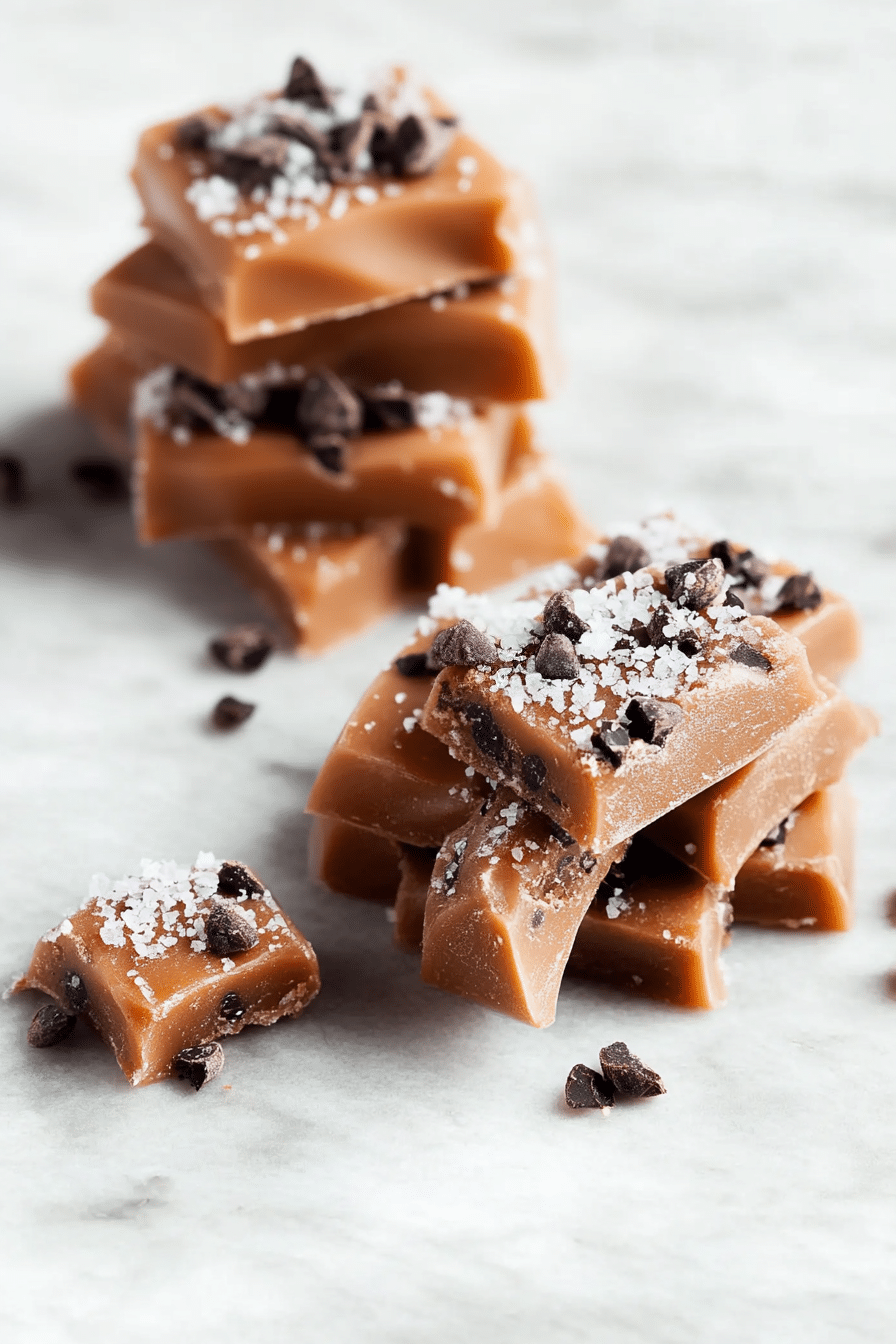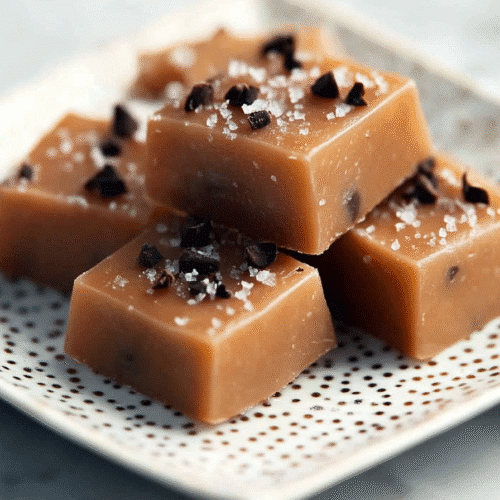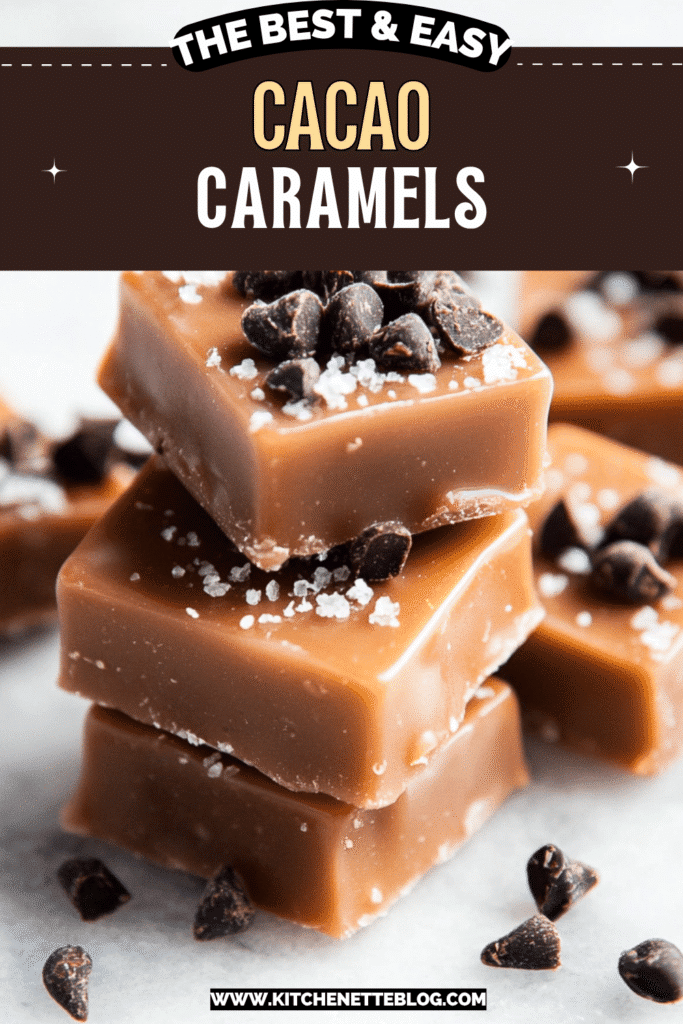
Cacao Nib Caramels – Cacao nibs, heavy cream, corn syrup, granulated sugar, butter, vanilla, and flaky sea salt come together in these luscious caramels with a chocolatey crunch.


Don’t let this one slip away — pin it now and thank yourself later!
Don’t let this one slip away — pin it now and thank yourself later!
The first time I made these Cacao Nib Caramels, I thought I was just doing a little innocent holiday candy prep. But the moment I tasted one of those chewy squares? Game over. I was officially that person hovering over the tray, muttering “just one more” while casually unwrapping the fifth… okay, sixth. There’s something a little dangerous about a batch of homemade caramels that don’t just taste amazing but feel like you went to a boutique candy shop. The cacao nibs? Crunchy, chocolatey, grown-up magic. The sea salt? Just enough to make you feel fancy. And yes, I wrapped them up with the intent to gift them. Let’s just say… a lot of friends got slightly smaller bundles than I planned.
Why You’ll Love This Cacao Nib Caramels Recipe
These caramels have a few tricks up their sleeve that make them seriously irresistible. First, that perfect chew — soft but not sticky, thanks to precise temperature control (248°F is the magic number). Second, the flavor balance: buttery sweetness with deep vanilla and a whisper of salt. Then boom — in comes the cacao nibs, adding crunch and subtle bitterness to balance everything out. They’re show-stopping, gift-worthy, and dangerously easy to devour. Plus, the recipe yields a huge batch, which is great because they disappear fast. You’ve been warned.
Ingredients Notes
This recipe keeps it classic with a few gourmet twists, and it’s important to have everything ready before you start. Caramel waits for no one!
-
Heavy Cream: This is what gives the caramels their rich, luscious texture. Don’t swap with milk — it just won’t cut it.
-
Granulated Sugar & Light Corn Syrup: The dream team of smooth caramel making. The syrup helps prevent crystallization, giving you that silky finish.
-
Unsalted Butter: Adds depth and richness. Cut it into pieces so it melts evenly.
-
Kosher Salt & Flaky Sea Salt: Kosher salt seasons the caramel, while the flaky sea salt on top finishes each bite with a punch of contrast.
-
Vanilla Extract: Use the real deal — it’s the background note that ties everything together.
-
Cacao Nibs: Don’t skip these! They give a toasty, almost nutty crunch and that faint chocolatey vibe without any sweetness.
How To Make This Cacao Nib Caramels
Caramel isn’t hard, but it demands your full attention. This is one of those “put your phone away” situations. Let’s walk through it:
Step 1: Prep your pan. Lightly coat a 9×13 rimmed baking sheet or dish with vegetable oil spray. Then line it with parchment paper, making sure you leave a 2-inch overhang on the long sides. Give the parchment a quick spray, too — this is sticky stuff!
Step 2: Combine and heat. In a large, heavy-bottomed saucepan, combine the cream, sugar, butter, and corn syrup. Bring everything to a rolling boil over high heat, stirring until the sugar dissolves. It’ll bubble up big-time, so make sure your pot is bigger than you think you need.
Step 3: Cook to temperature. Reduce the heat to medium-high and cook, stirring occasionally, until the mixture reaches exactly 248°F on a candy thermometer. This takes around 15 minutes. No more, no less — this is the sweet spot for chewy caramels.
Step 4: Finish the caramel. Remove the pot from heat and immediately stir in the kosher salt and vanilla. Be ready — it’ll bubble a little when the vanilla hits.
Step 5: Pour and top. Quickly pour the hot caramel into your prepared pan. Immediately sprinkle the top with your cacao nibs and flaky sea salt. This is your window — once it starts to set, toppings won’t stick.
Step 6: Let it rest. Leave the caramel uncovered at room temperature for at least 8 hours (or overnight). No fridge needed.
Step 7: Cut and wrap. Use the parchment overhang to lift the set caramel onto a cutting board. Cut into bite-sized squares (about 1″ x 1¼” is ideal). Wrap individually in wax paper, parchment, or cellophane.
Storage Options
Once wrapped, these caramels will keep at room temperature for about 2 weeks (if they last that long). Store in an airtight container in a cool, dry spot — no need to refrigerate. Want to make them ahead? Freeze wrapped caramels in a zip-top bag for up to 3 months. Let them come to room temp before eating to avoid cracking a molar.
Variations and Substitutions
This recipe is divine as-is, but here are a few fun twists if you’re feeling adventurous:
-
Add Toasted Nuts: A handful of chopped pecans or almonds mixed into the caramel or sprinkled on top adds crunch and extra richness.
-
Infuse the Cream: Simmer the cream with a cinnamon stick or Earl Grey tea bag for a unique flavor before starting the recipe.
-
Chocolate Drizzle: Once cut and wrapped, give each caramel a dip or drizzle in melted dark chocolate for that chocolate-caramel double hit.
-
Boozy Caramels: Stir in 1 tablespoon of bourbon or rum after removing from heat, right before pouring. Fancy AND fun.
What to Serve with These Cacao Nib Caramels


Don’t let this one slip away — pin it now and thank yourself later!
Don’t let this one slip away — pin it now and thank yourself later!
These caramels are a treat on their own, but they play surprisingly well with others:
-
A strong espresso: The bitter coffee cuts through the sweetness and makes each bite pop.
-
A glass of red wine: Go bold and fruity — the kind of wine that complements the caramel’s richness.
-
Crumbled over vanilla ice cream: Soft, chewy caramel bits plus cold, creamy vanilla? Yes please.
-
As part of a holiday cookie tray: Add them to a dessert platter for a chewy, unexpected delight.
-
With sharp cheddar: Yep, really. The salty-savory cheese pairs shockingly well with sweet, chewy caramel.
FAQ
Q: Can I make these without a candy thermometer?
A: Technically, yes, but it’s risky. The right texture depends on hitting 248°F exactly. Without a thermometer, it’s too easy to undercook (and get goo) or overcook (and break a tooth).
Q: Are cacao nibs the same as chocolate chips?
A: Nope! Cacao nibs are crushed bits of roasted cocoa beans — no sugar, just deep chocolatey flavor with a crunch. Chocolate chips will melt, which isn’t what we want here.
Q: How do I keep caramel from crystallizing?
A: The corn syrup helps with that, but also be gentle when stirring and don’t scrape the sides of the pot once it’s boiling — sugar crystals there can trigger grainy texture.
Ingredients
- Vegetable oil spray for baking sheet
- 2 cups heavy cream
- 2 1/4 cups granulated sugar
- 6 tablespoons unsalted butter cut into pieces
- 1 1/4 cups light corn syrup
- 1/2 teaspoon kosher salt
- 1 teaspoon pure vanilla extract
- 2 –3 tablespoons cacao nibs for topping
- Flaky sea salt for topping
Equipment
- Large saucepan
- Candy thermometer
- Measuring cups and spoons
- Wooden spoon or heatproof spatula
- 9×13-inch rimmed baking sheet or glass dish
- Parchment paper
- Vegetable oil spray
- Sharp knife
- Wax paper or cellophane for wrapping
Instructions
- Step 1: Lightly coat the bottom and sides of a 9×13-inch rimmed baking sheet or glass dish with vegetable oil spray. Line with parchment paper, ensuring a 2-inch overhang on the long sides. Lightly spray the parchment paper as well.
- Step 2: In a large saucepan, combine the heavy cream, granulated sugar, unsalted butter, and light corn syrup. Stir over high heat until the sugar has fully dissolved and the mixture begins to boil.
- Step 3: Reduce the heat to medium-high and continue cooking, stirring occasionally, until the mixture reaches 248°F (120°C) on a candy thermometer, approximately 15 minutes.
- Step 4: Immediately remove the saucepan from the heat. Stir in the kosher salt and pure vanilla extract until well combined.
- Step 5: Carefully pour the hot caramel into the prepared baking dish. Working quickly, evenly sprinkle the top with cacao nibs and flaky sea salt, according to taste.
- Step 6: Allow the caramel to set at room temperature, uncovered, for at least 8 hours or up to 24 hours.
- Step 7: Once set, lift the caramel out using the parchment paper overhang and place it onto a cutting board. Slice into desired sizes (approximately 1×1¼ inches).
- Step 8: Wrap each piece individually in wax paper, parchment, or cellophane for storage or gifting.
Notes
Have all toppings ready before the caramel reaches temperature, as the final steps require quick execution.
Yield may vary depending on size of cuts.
Nutrition

