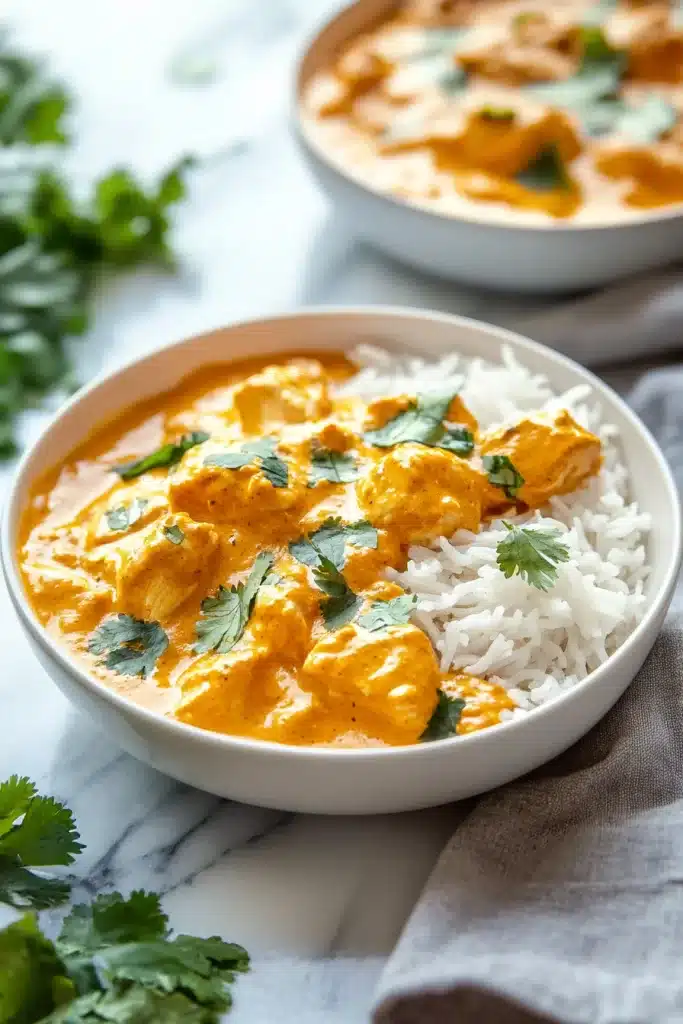

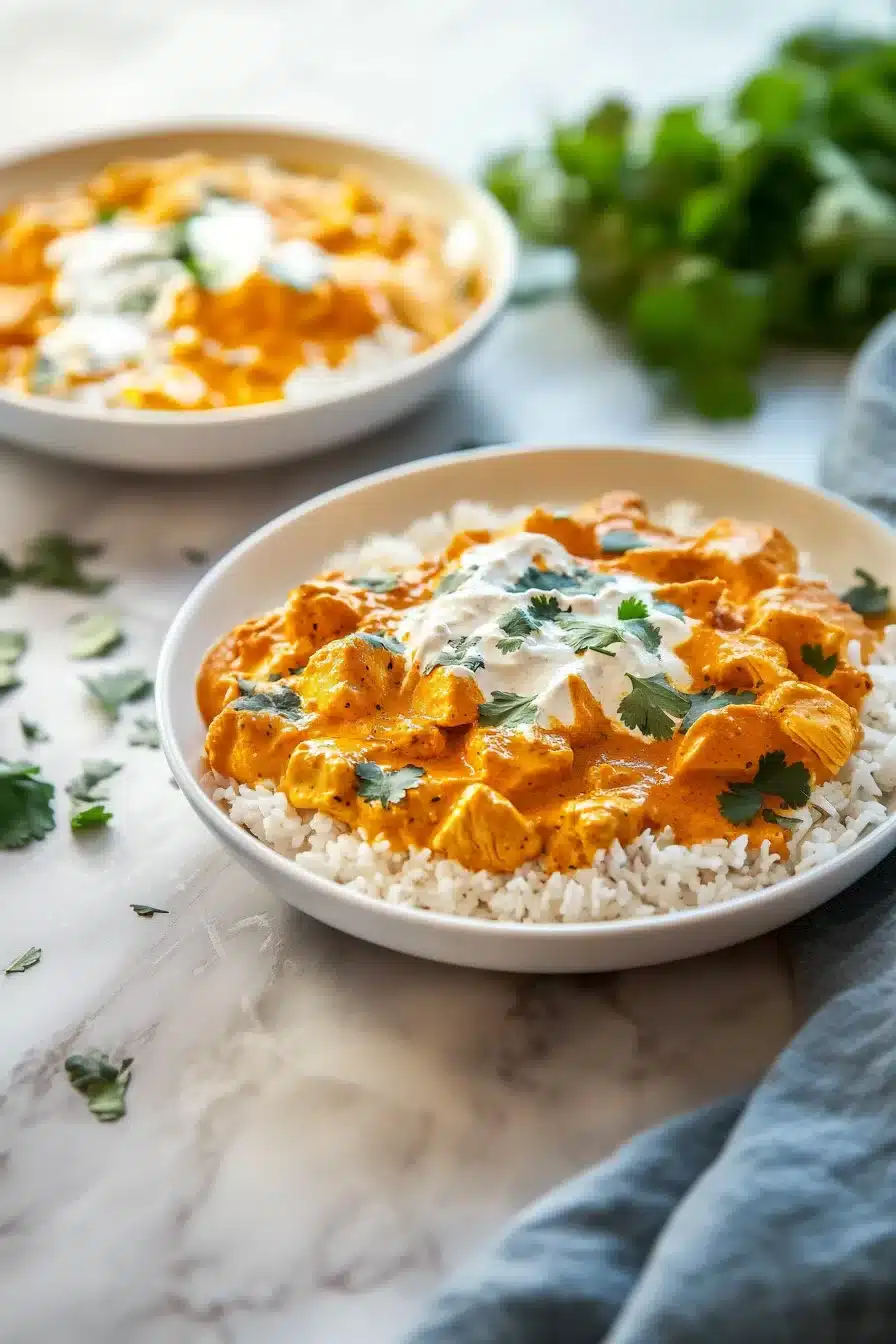
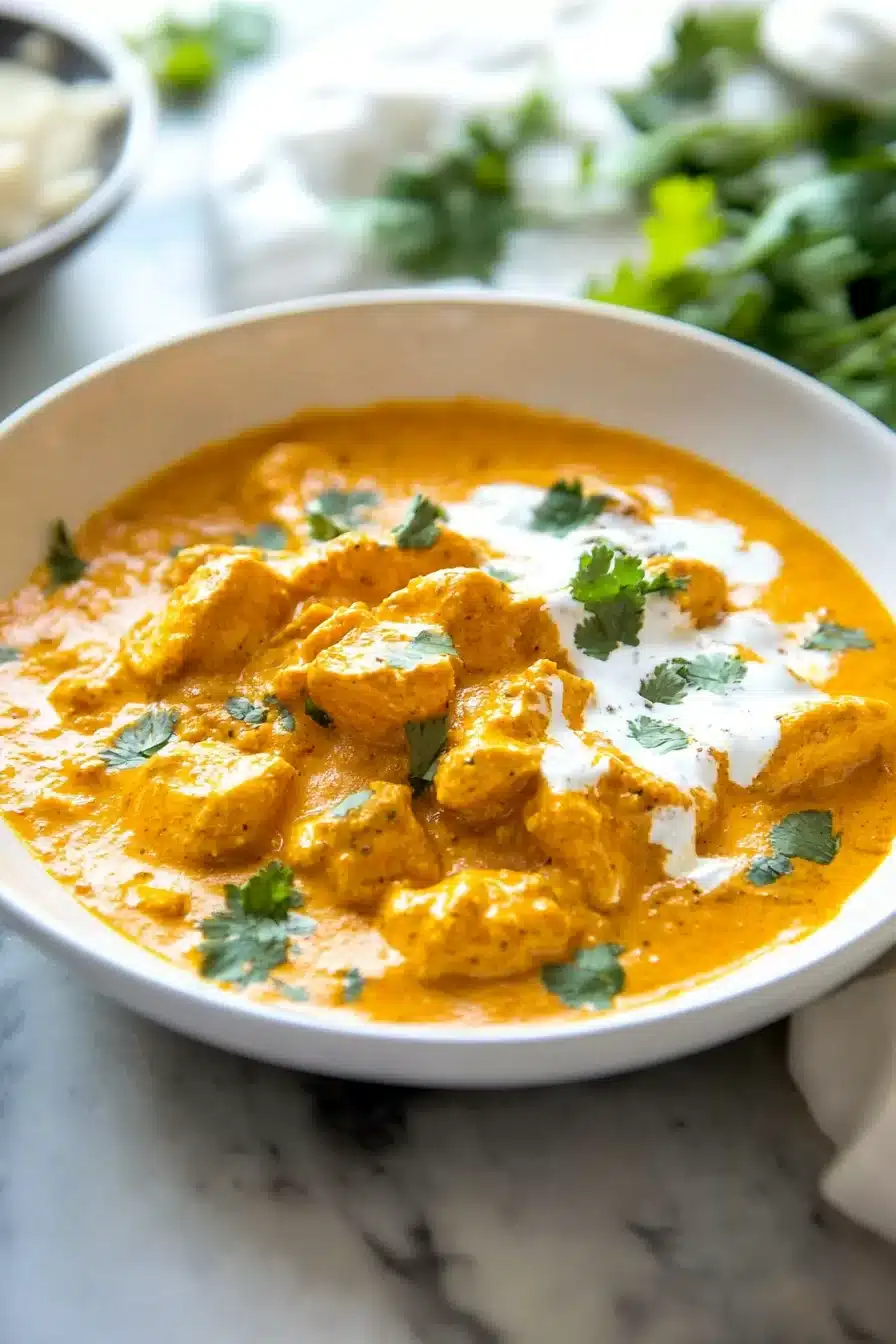
A silky, comforting chicken korma made with juicy chicken thighs, golden fried onions, yogurt, and warm spices like cardamom, cinnamon, and bay leaf. This version layers gentle heat with indulgent creaminess—your kitchen will smell like magic.
Whether you’re settling in on a rainy evening or craving a cozy dinner that feels a bit fancy without trying too hard, this easy chicken korma is happily sitting in that sweet middle ground.

Why You’ll Love this Chicken Korma
No need to complicate things—this easy chicken korma is one of those recipes that lets the ingredients show off a little. You’re not wrestling with tricky techniques or hunting for obscure ingredients (unless chasing ground cardamom pods around your spice drawer counts).
- Ridiculously simple to make: No toasting things in three different pans. One pot, low fuss, big reward.
- Cozy, creamy texture: Between the golden onion paste, yogurt, and optional cream, it’s basically a savory warm hug.
- Adjust it to your taste: You can go light on the spice or bring the heat—your dinner, your adventure.
- Deep, layered flavor: That sneaky mix of whole spices adds big personality without requiring culinary wizardry.
- Freezer-friendly for future cravings: Make it now, eat half, save the rest—you’ll thank past-you next week.
- Great with pretty much anything: Naan, rice, a spoon… it’s not picky.
Ingredient Notes
This korma leans on some pantry heroes and a few great ways to add luscious flavor. Let’s break them down real quick.
- Boneless chicken thighs: They stay tender, juicy, and soak up all that gorgeous flavor like champs. You could use chicken breast in a pinch, but thighs really shine here.
- Onions: Frying them until golden and then blending them adds depth and sweetness you just can’t fake.
- Vegetable oil or ghee: Ghee brings buttery richness. Oil keeps it lighter. Pick your vibe.
- Yogurt: Use plain, full-fat yogurt for best results. Whisk it well to prevent curdling—trust me on this one.
- Heavy cream (optional): Adds luscious creaminess at the end. Leave it out if you’re going for a lighter dish.
- Ground almonds or cashews: This is your secret weapon for thickness. Cashews make it a little sweeter; almonds are more subtle.
- Ginger-garlic paste: Brings that zippy warmth. You can make your own or use store-bought, no judgment.
- Spices (turmeric, cumin, coriander, chili, garam masala): These are the flavor architects. Adjust chili to taste so it’s nice and mellow or has a low-key burn.
- Whole spices (bay leaves, cardamom pods, cloves, cinnamon sticks): Toasted gently in the oil, they infuse the whole dish with warm, cozy notes.
- Fresh coriander (cilantro): For that sparkle of herb freshness at the very end.
How To Make This Chicken Korma
Here’s the part where the kitchen starts to smell like you’re low-key running your own tiny spice café. Don’t worry—step-by-step, this one’s super doable.
-
Fry and blend the onions: Heat oil or ghee and cook the sliced onions until they’re golden brown and crisp. It’s tempting to sneak tastes here, I know. Once cooled, blend them into a smooth, dreamy paste with a splash of water. Set it aside—you’ll reunite soon.
-
Toast whole spices and sizzle the aromatics: In the same pot (less dishes, yes please), toss in the bay leaves, cardamom, cloves, and cinnamon sticks. Let them wake up and start popping. Then add your ginger-garlic paste and sauté for a minute or two until the smell could stop traffic.
-
Add chicken and powdered spices: Time for the chicken to enter the party. Toss it in with turmeric, cumin, coriander, chili powder, and salt. Let it brown gently—it doesn’t need to be seared-to-perfection, just a little color is enough to develop that flavor base.
-
Mix in the onion paste and yogurt: Turn the heat down and stir in that golden onion paste. After a few minutes, slowly pour in the whisked yogurt while stirring continuously. This helps it blend into a smooth sauce instead of going all curdle-crazy.
-
Add nut paste and simmer: Stir in the ground almond or cashew paste too (made with a little water to help it mix). Add half a cup of water to get your gravy just how you like it. Cover and simmer it all over low heat for about 15 to 20 minutes.
-
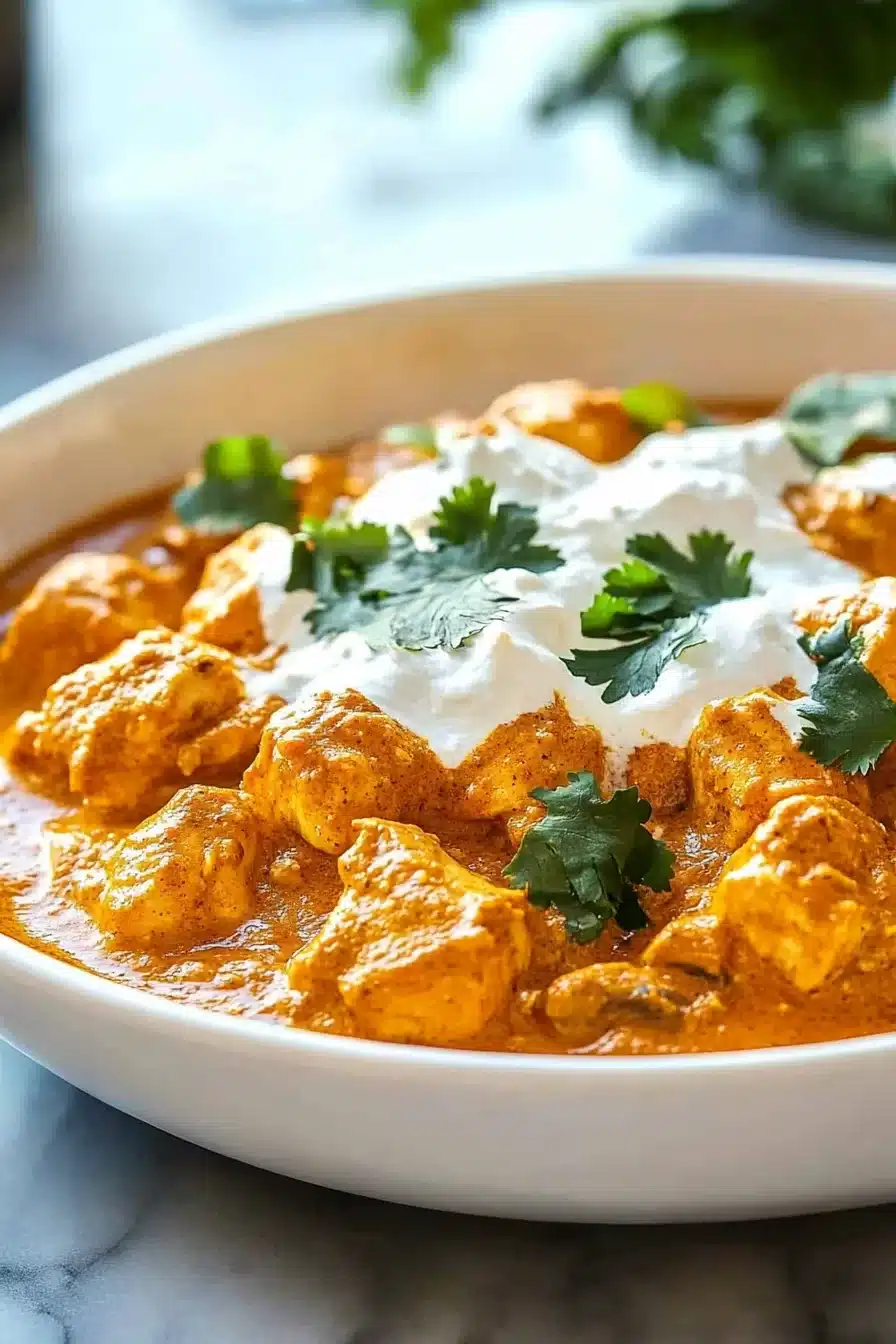
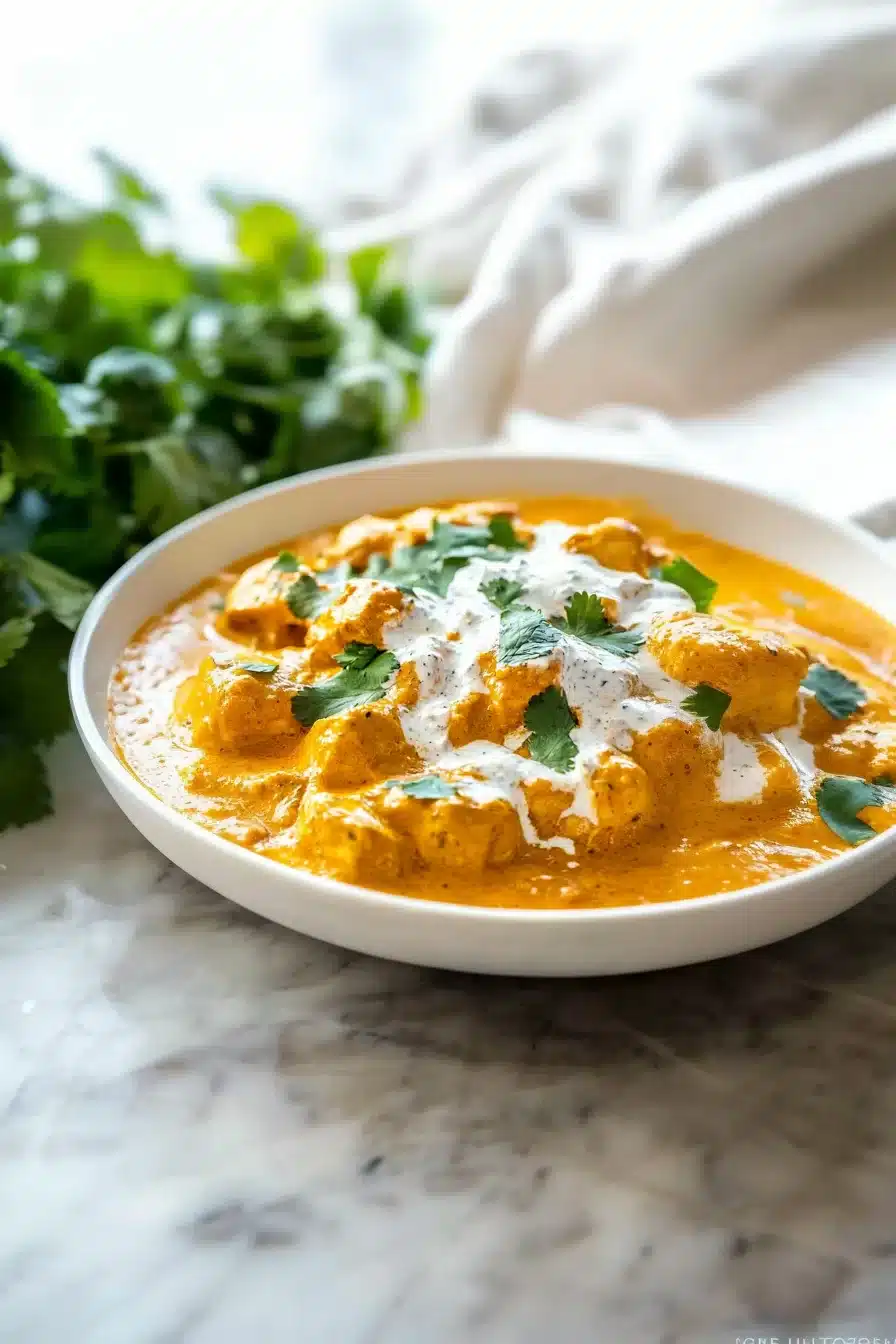
Creamy final touch and spices: Once the chicken’s fully tender, stir in that heavy cream if using. Just two minutes of gentle bubbling is enough. Remove the whole spices (if you can find them all, it’s like a spice treasure hunt), sprinkle in garam masala, and give it a final stir.
-
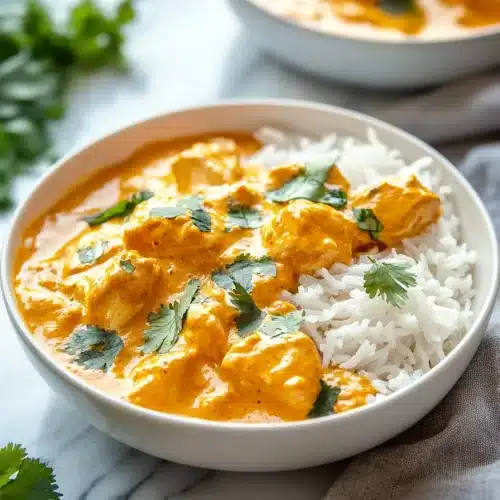
Garnish and serve: A fresh handful of chopped coriander makes it pop at the end. That, plus soft naan or rice? Done and done.
Storage Options
Let’s talk leftovers, shall we? Because if you’re smart (and I think you are), you’ll make extra for future you.
Pop any leftover chicken korma into an airtight container and refrigerate it for up to 4 days. The flavors somehow get even deeper after a night in the fridge, like it’s had a little time to reflect on its life and come back better.
Freezing? Totally doable. Just cool it completely, then tuck it into a freezer-safe container or zip-top bag. Pro tip: choose a flat container so it thaws faster. It’ll keep for a solid 2 months without losing its charm.
To reheat, gently warm it in a saucepan over low heat, stirring occasionally. Add a splash of water or cream if it’s thickened up too much. Microwave works too, but stir halfway through to keep the texture smooth.
Variations and Substitutions
Everyone’s got a different pantry and palate, so here’s how to spin this easy chicken korma your way.
- Swap the chicken: Try it with boneless lamb or tofu for a different protein vibe. Lamb takes a little longer to cook, but it’s incredibly good with korma spices.
- Dairy-free version: Use coconut yogurt and a touch of coconut cream instead of dairy. It’s different, but still rich and deeply satisfying.
- Nut-free korma: Skip the almonds or cashews. Use sunflower seed butter or even thick coconut cream for body.
- Go vegetarian: Sub in cauliflower, paneer, or chickpeas. Just adjust simmering time so everything’s tender but not mush.
- Use pre-fried onions: If you’re in a rush (or lazy-cooking, no judgment), store-bought fried onions can stand in. Slightly different flavor, but still tasty.
What to Serve with Chicken Korma
This silky, mellow curry is like that chill friend who gets along with everyone. Here’s how to round it out into a meal:
-
Buttery naan or roti: You need something to scoop up that thick, savory sauce. Spread a little ghee or butter on warm naan and mop away. Roti works too—less rich, still lovely. Pro tip: warm them on a pan just before serving.
-
Steamed basmati rice: Fluffy, fragrant rice is classic. The grains stay separate and soak up all that golden gravy like champs. You can jazz it up with a little saffron or fried onions too.
-
Cucumber raita: Just whisk yogurt with diced cucumber, salt, and mint. It cuts the richness like a cooling sidekick. So refreshing with spicy or heavy dishes.
-
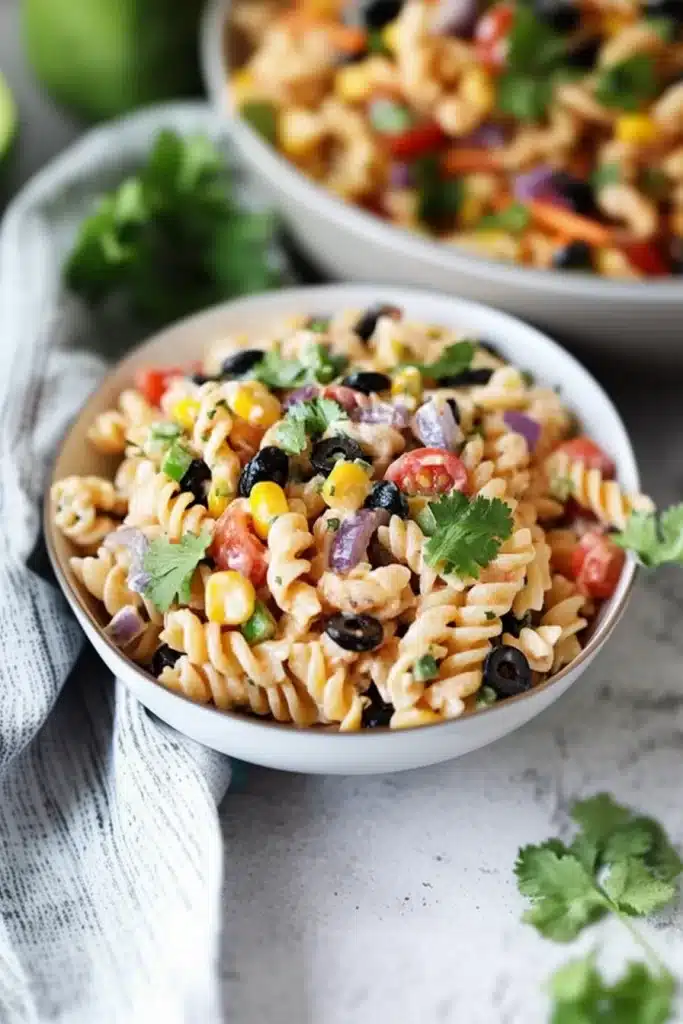
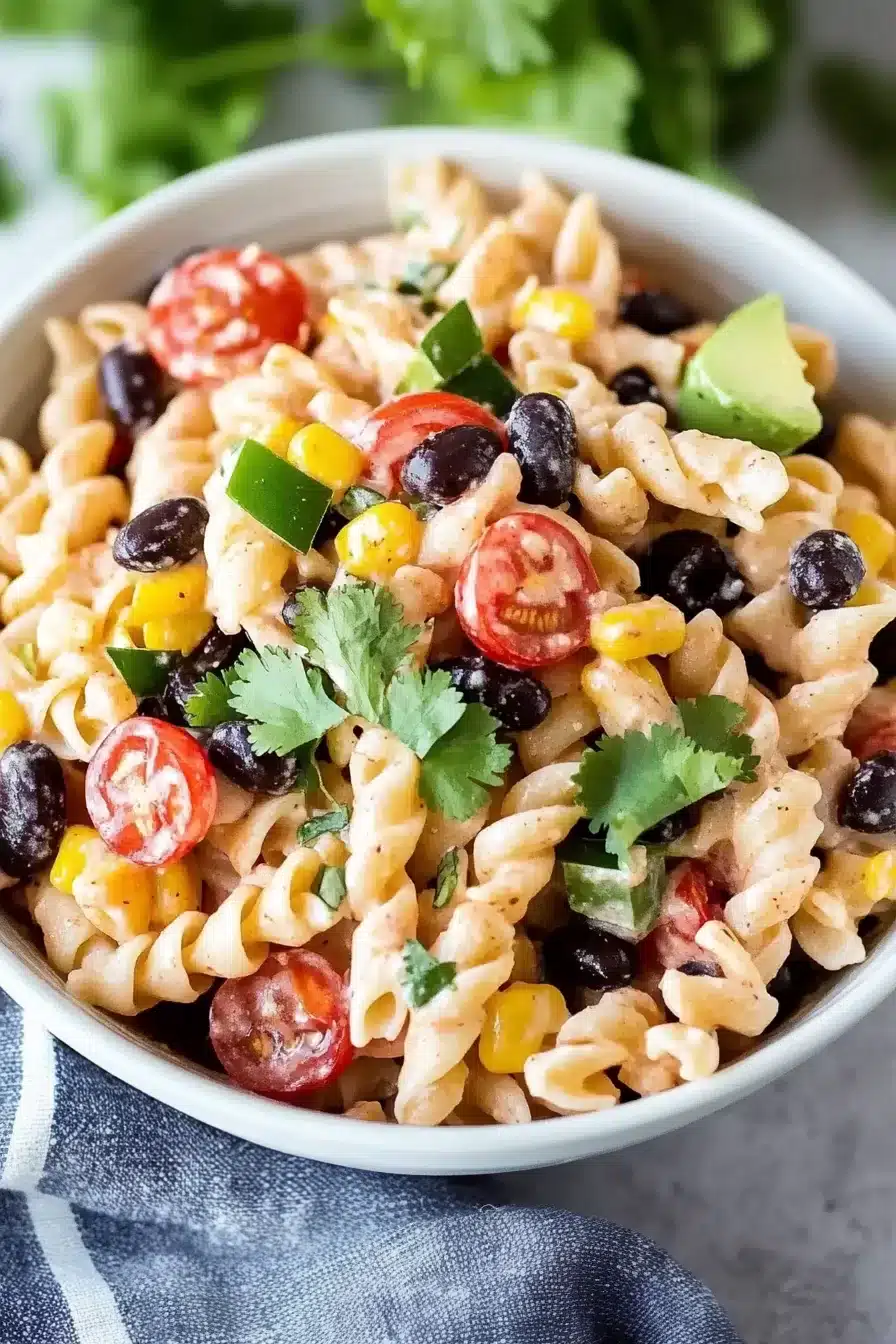
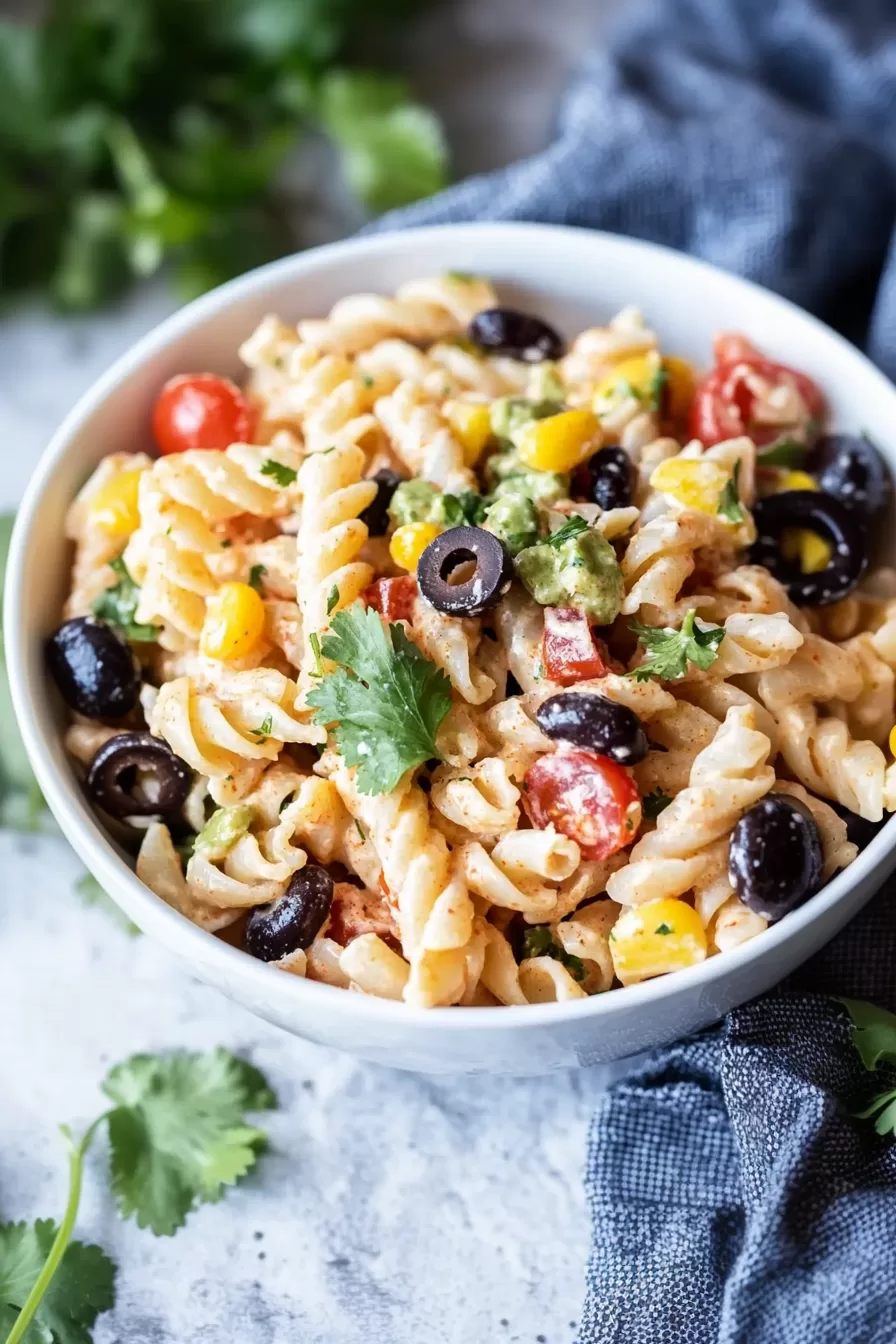
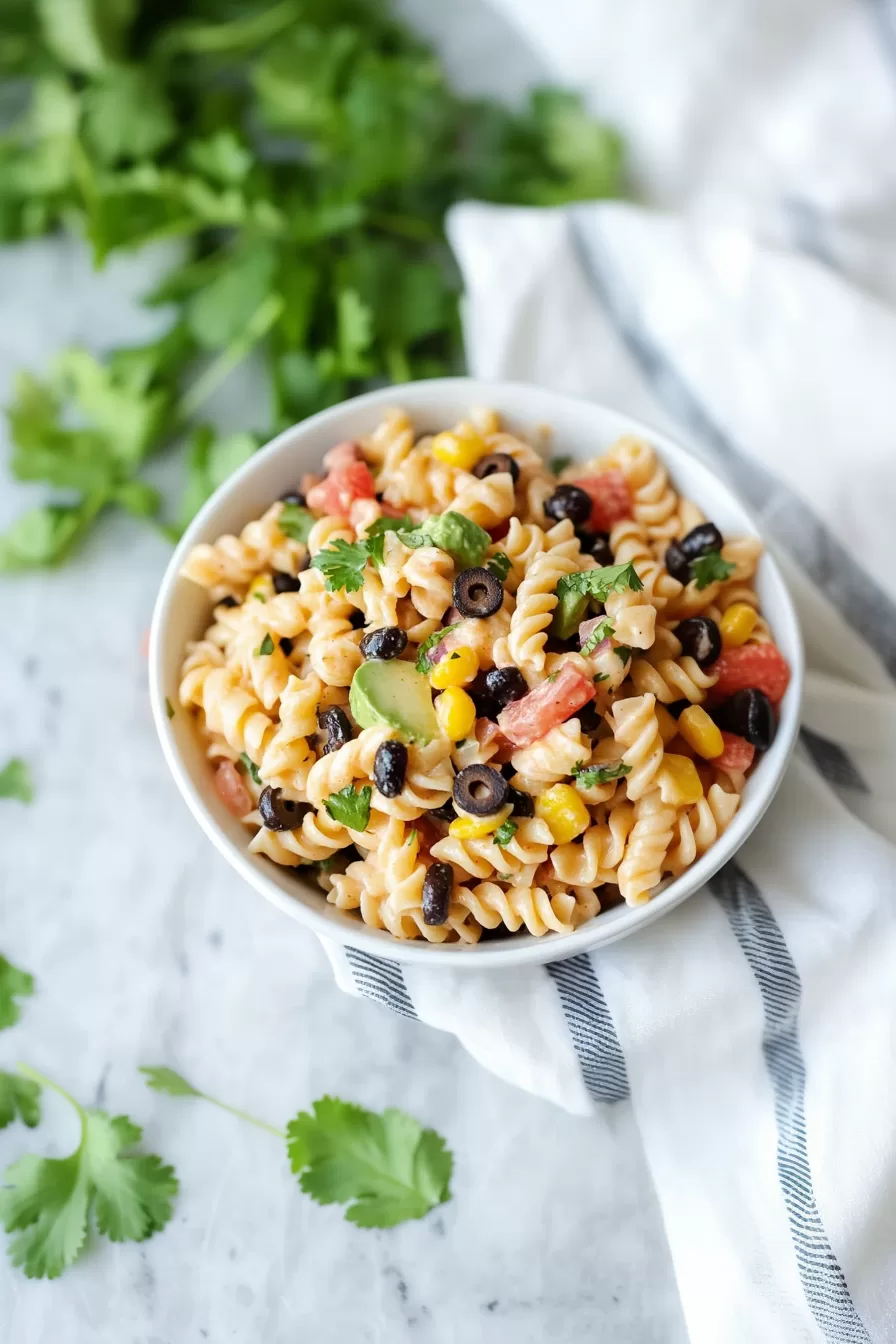
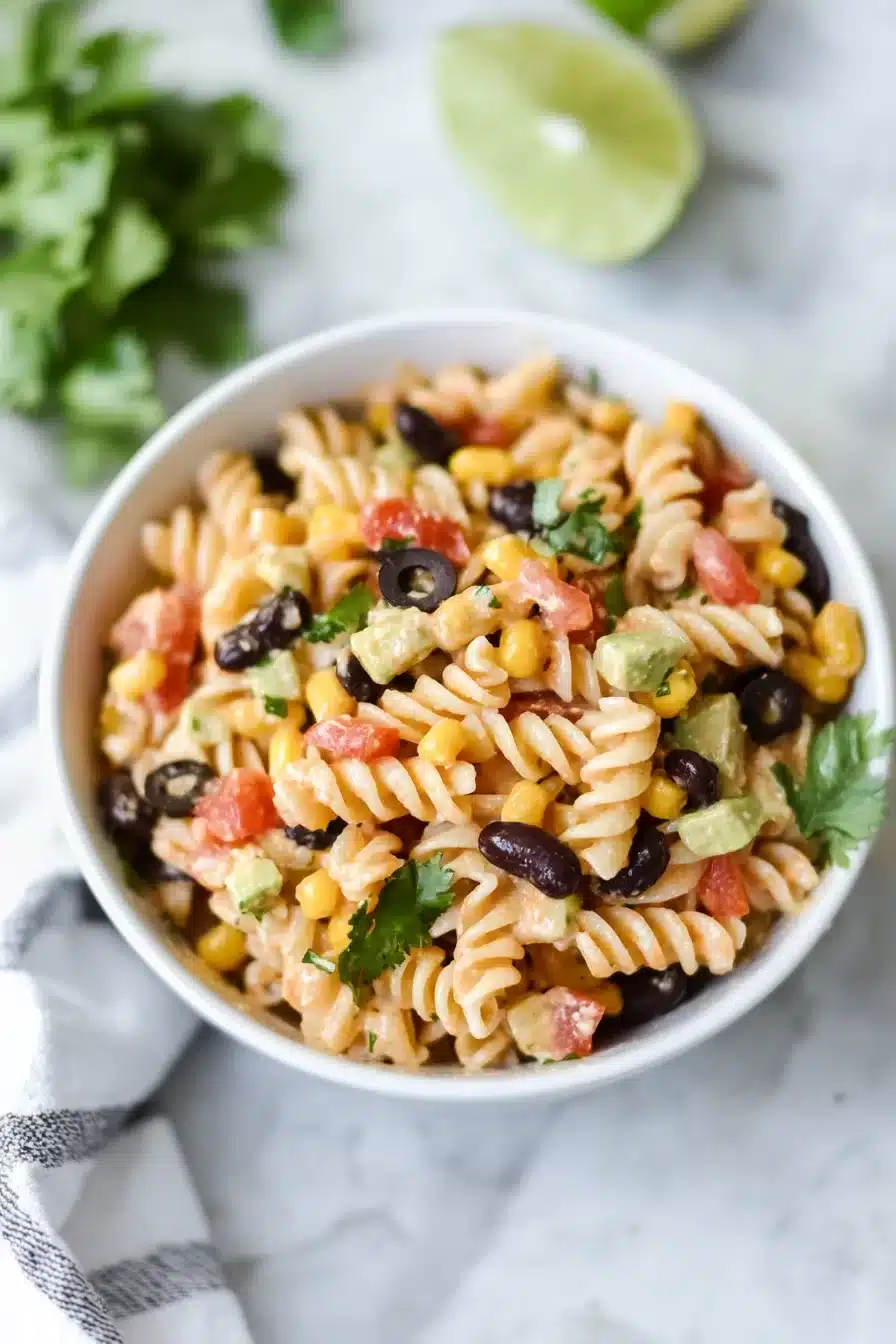
Simple green salad: Sometimes, a crunchy little salad with lemon dressing balances the creaminess beautifully. If you’re making a bigger spread, try contrasting this with something like this Tex-Mex inspired salad for a fun, surprise twist.
-
Sweet ending: If you’re not full yet, something like these peanut butter banana ice cream sandwiches makes an unexpectedly great finish.

Frequently Asked Questions
Can I make this chicken korma ahead of time?
Absolutely, and honestly, it might even taste better the next day. The flavors mellow out and deepen after a night in the fridge. Just store it airtight and reheat gently on the stove or in the microwave with a splash of water or cream if needed.
What can I use instead of cream in chicken korma?
If you’re skipping dairy or keeping things lighter, coconut milk or even a bit of oat cream can work. It’ll shift the flavor slightly (in a good way!). You could also just use extra yogurt and add a little more almond or cashew paste for richness.
Is chicken korma supposed to be spicy?
Not really. It’s meant to be mild and creamy, with just a gentle heat. You control that by adjusting the chili powder. If you want more kick, add a chopped green chili or extra chili powder. Otherwise, it stays mellow and luxurious.
Can I use store-bought fried onions?
Yes! If you’re in a rush or don’t feel like slicing and frying, grab those crispy onions from the store. Just remember they’re usually salted, so adjust the seasoning in your dish accordingly. Blend them with a bit of hot water until smooth—no one will know.
Easy Chicken Korma
Ingredients
Chicken Korma
- 2 tbsp (30 ml) vegetable oil or ghee
- 2 large onions thinly sliced
- 2 bay leaves
- 4 green cardamom pods gently crushed
- 4 whole cloves
- 1 2-inch cinnamon stick
- 2 tbsp (30 g) ginger-garlic paste
- 700 g (1.5 lbs) boneless skinless chicken thighs cut into bite-sized pieces
- 1/2 tsp (0.5 tsp) ground turmeric
- 1 tsp ground cumin
- 2 tsp ground coriander
- 1/2 tsp (0.5 tsp) chili powder or to taste
- 1 tsp salt to taste
- 2/3 cup (160 g) plain full-fat yogurt whisked well
- 1/4 cup (30 g) ground almonds or cashews make into a paste with a little water
- 0.5 cup (120 ml) water plus more as needed
- 1/4 cup (60 ml) heavy cream optional (for extra creaminess)
- 1 tsp garam masala
- 1 handful fresh coriander (cilantro) chopped, for garnish
Equipment
- Large pot or Dutch oven
- Blender
- Knife
- Cutting board
Instructions
- Heat the oil or ghee in a large pot over medium heat. Add the thinly sliced onions and fry, stirring often, until deep golden brown and crisp (about 10–12 min). Remove from the pot, cool slightly, then blend into a smooth paste with a splash of water. Set aside.
- In the same pot, add bay leaves, cardamom pods, cloves, and cinnamon. Toast for 1–2 minutes until fragrant.
- Add ginger-garlic paste and sauté for 1–2 minutes.
- Add the chicken pieces along with turmeric, cumin, coriander, chili powder, and salt. Stir and let the chicken brown gently for 3–4 minutes.
- Lower the heat. Add the fried onion paste and stir to coat the chicken evenly. Slowly add whisked yogurt, a little at a time, stirring continuously to form a smooth sauce.
- Stir in the ground almond or cashew paste and half a cup of water. Cover and simmer on low heat for 15–20 minutes, until the chicken is tender and the sauce thickened. Add more water if needed for your preferred consistency.
- Stir in heavy cream (if using) and simmer gently for 2 minutes. Remove the whole spices if desired. Sprinkle garam masala and mix well.
- Turn off the heat, garnish with fresh coriander, and serve hot with naan, rice, or roti.
Notes
- Use lamb, tofu, or paneer instead of chicken (adjust cooking time as needed).
- For dairy-free: swap yogurt/cream for coconut yogurt and coconut cream.
- Nut-free option: Skip nuts and add sunflower seed butter or extra coconut cream.
- Store-bought fried onions work in a pinch—blend with hot water before using.