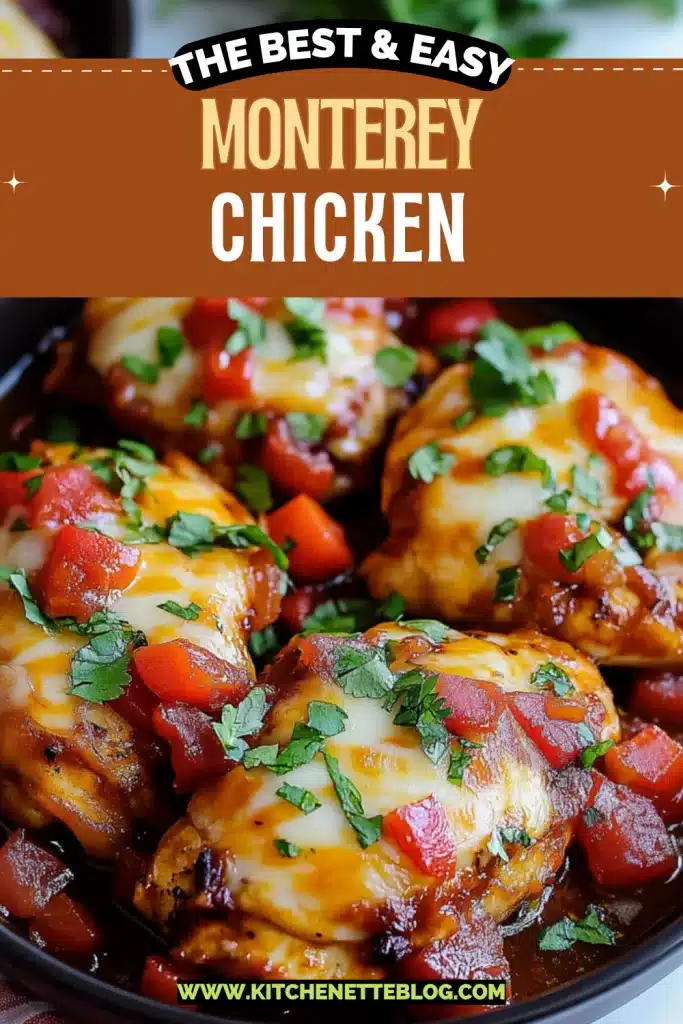
Juicy chicken, crispy bacon, smoky BBQ sauce, and a gooey layer of Monterey Jack—this Monterey Chicken is a sizzling combo of bold comfort. With tender chicken breasts, BBQ sauce, cheese, and bacon, it’s a melty, savory hug in skillet form.
If you’re craving a fork-tender, cheesy chicken dish that feels like a warm pat on the back (with bacon), pull up a chair. This is one you’ll want to tuck into as the sauce bubbles and the cheese crisps just enough.
Simple enough for a weeknight, but bold enough to make folks go “Whoa, what is that smell?”—this Monterey Chicken is the kind of skillet magic that turns a somewhat ordinary fridge lineup into a flavor-layered, broiler-kissed, bacon-topped moment. It’s all about textures here: smoky-sweet BBQ slicked over seared chicken, a gooey cheese blanket, and then the savory snap of bacon crumbles. Bonus: it comes together fast, no weird ingredients or fussy steps. And if you’re lucky, some of it might even make it to lunch the next day. (Big might.)

Why You’ll Love this Monterey Chicken
There’s no overhype here. Just solid, satisfying, cheesy BBQ chicken that comes together in one skillet. That’s the vibe.
- Ridiculously simple to make: You basically sear, sauce, cheese, and broil. Minimal steps, big payoff.
- Multiple textures happening: You’ve got seared chicken, melted cheese lava, crispy bacon, juicy tomato… all in one bite.
- It’s wildly adaptable: Don’t have Monterey Jack? Don’t panic. It still works with other melty cheeses.
- Great for feeding people without losing your mind: Looks impressive, but you’re not marinating 24 hours or whipping out a mandoline.
- It smells like a summer grill-out: Even if you just made it in a skillet on a Wednesday while wearing socks with holes.
- Leftovers are very kind to your lunch game: Chop it up and throw it on a salad or stuff it in a wrap the next day.
Ingredient Notes
This is one of those “you probably already have most of this” recipes. Still, a couple small notes can take the whole thing up a notch.
- Chicken breasts: Go for boneless and skinless. Pounding them ensures even cooking, and helps avoid the dreaded dry middle.
- Garlic powder and paprika: Just a simple mix, but they set the stage. Smoked paprika adds even more oomph.
- Salt and pepper: It’s basic but don’t skimp—seasoning every layer is the secret handshake of good cooking.
- Olive oil: Helps you get that golden sear. Don’t use butter here, it tends to burn before the chicken’s done.
- Barbecue sauce: Pick your poison. Sweet, spicy, hickory-smoked… this is where your personal taste gets to shine.
- Monterey Jack and cheddar cheese: Monterey melts like a dream. Cheddar adds bite. Together, they’re your cheese blanket.
- Bacon: Cook it until crisp, then crumble. There’s no dignity in chewy bacon on melty cheese.
- Tomato and green onions: These fresh toppings cool everything down a tiny bit, and bring a welcome crunch.

How To Make This Monterey Chicken
Let’s get sizzling. You’re just a few tasty steps away from a cheesy chicken masterpiece, and we’ll make it nice and painless.
-
Pound the chicken evenly: Slap those chicken breasts between two sheets of plastic wrap and give them a gentle pound. You want them uniform so they cook evenly, not paper-thin pancake flat.
-
Season the chicken: Dry chicken equals better sear. Pat them dry, then season both sides with garlic powder, paprika, salt, and pepper. Try to keep the seasoning somewhat even but don’t obsess.
-
Sear the chicken in a skillet: Heat that olive oil in a large oven-safe skillet (cast iron works wonders). Place the chicken in and let it go 4 to 5 minutes. Don’t move it constantly—let the crust happen.
-
Flip and baste with BBQ sauce: Once you flip, brush the top with barbecue sauce. I like to do two coats for maximum sauciness. Let it cook through on the second side for another 4 to 5 minutes.
-
Preheat the broiler: As soon as you flip the chicken, switch on your broiler to medium-high. It needs a few minutes to heat while the chicken finishes cooking.
-
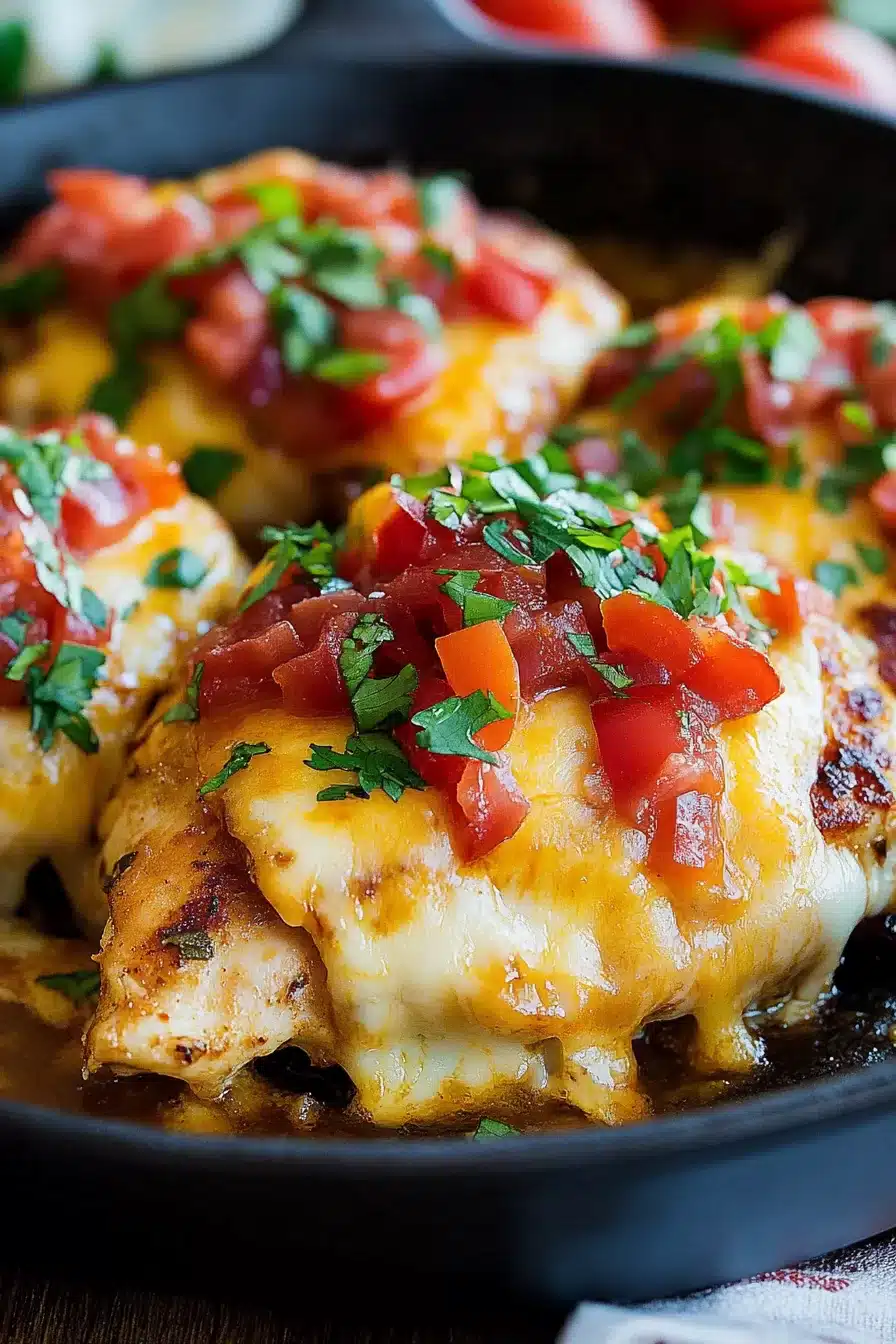
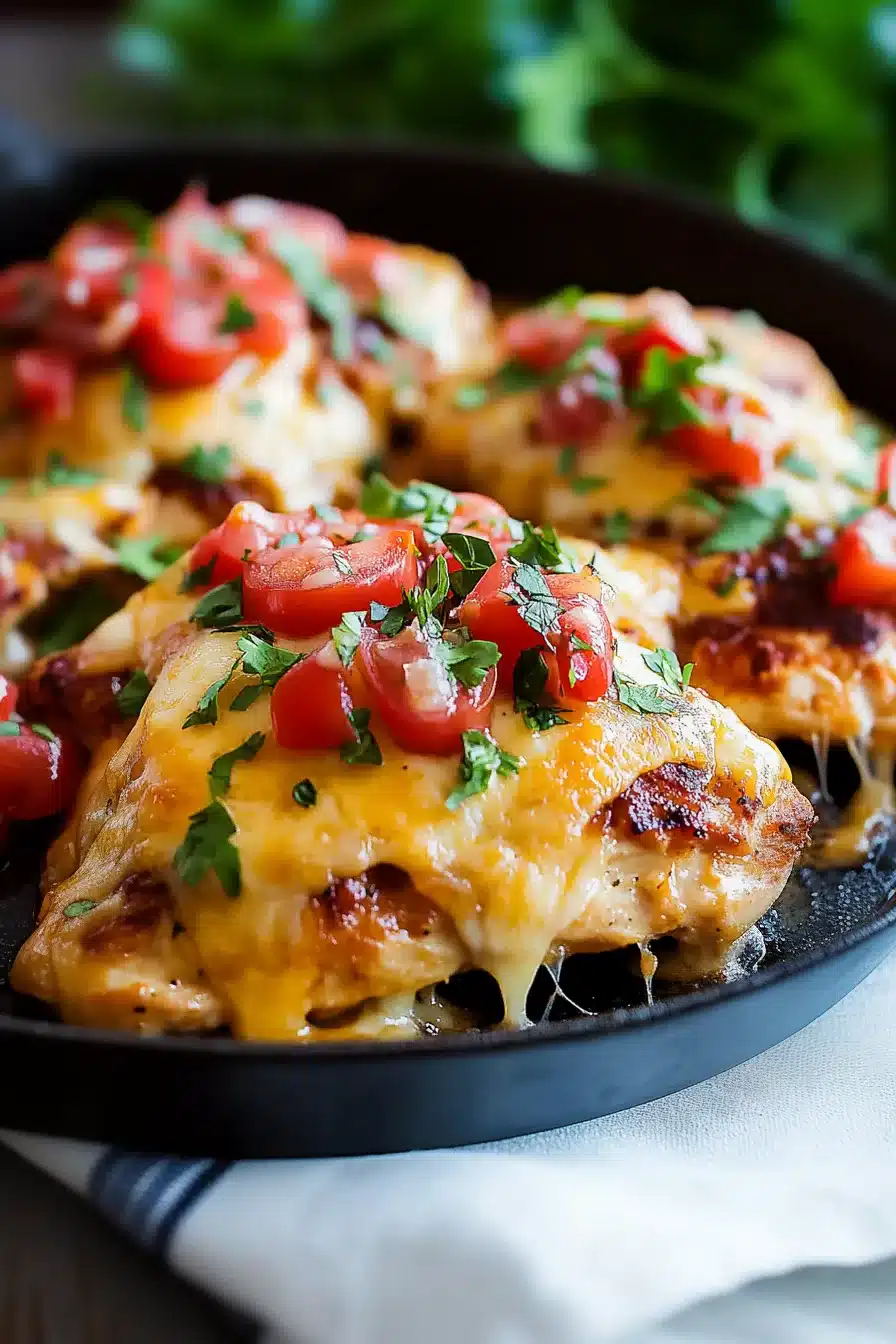
Load up with more sauce and cheese: After both sides are cooked and the chicken hits 165°F, flip once more, give one last generous sauce coat, then pile on that cheese. Divide it evenly (yes, lick the spoon, I won’t judge).
-
Broil until bubbly: Get that skillet under the broiler and let it do its thing for 2 to 3 minutes. Keep an eye on it. You want bubbly cheese with little golden tips, not blackened sadness.
-
Finish and top: Once it’s out of the oven, let it rest for a few minutes so the juices settle. Then sprinkle with crumbled bacon, diced tomatoes, and sliced green onions. Serve hot and let your taste buds say thank you.

Storage Options
You made it, you feasted, and now you’ve got leftovers? Color me impressed with your restraint.
Store any extra Monterey Chicken in an airtight container in the fridge—it’ll stay good for up to 4 days. When reheating, you can pop it in the microwave (covered loosely to avoid a sauce explosion) or in a 350°F oven for 10 to 15 minutes. The oven keeps the bacon crispy, so I usually lean that way.
Yes, you can freeze it. Wrap each cooked chicken breast individually (parchment paper layer, then foil or freezer bag). When you’re ready for another go, thaw in the fridge overnight, then reheat in a covered dish in the oven. Just expect a little texture shift in the fresh toppings, so maybe throw some new tomatoes and green onions on there. Kind of like a flavor reboot.
Variations and Substitutions
Got a fridge full of almosts? This recipe is flexible. Here are a few ideas if you need to make swaps or want to try something wild:
-
Use thighs instead of breasts: Chicken thighs are juicier and less prone to drying out. Just adjust the cook time slightly.
-
Swap cheeses creatively: Pepper Jack brings a kick. Mozzarella melts nicely but won’t add much punch. Gouda actually works great too.
-
Add jalapeños for heat: Slice ’em thin, fresh or pickled, and layer them under the cheese before broiling.
-
Use turkey bacon or veggie bacon: If you’re cutting down on pork, this still brings that smoky vibe without the real deal.
-
Dress it up taco-style: Slice it and serve in tortillas with some shredded lettuce and sour cream. It’s a whole new vibe.
-
Try a different sauce altogether: Maybe you’re not a BBQ person. A smoky chipotle aioli or even salsa roja could make a wild but tasty twist.

What to Serve with Monterey Chicken
This chicken is kinda rich, kinda bold, and pretty filling, so I usually like to pair it with something that anchors it or cools it down a bit.
-
A simple green salad with a citrus vinaigrette is a nice contrast to all the smoky, gooey elements happening in the skillet. Something crisp like romaine or little gems keeps things snappy.
-
Roasted or steamed veggies (think broccoli or green beans) add color and crunch without demanding attention. Bonus: they mop up extra sauce like little edible sponges.
-
Rice or mashed potatoes work great if you’re looking for comfort on a plate. The barbecue sauce becomes a sort of gravy, and I mean, why fight that?
-
Crusty bread or warm dinner rolls can soak up all those pan drippings. I’ve even used leftover bacon basil cornbread muffins and honestly, it was a moment.
-
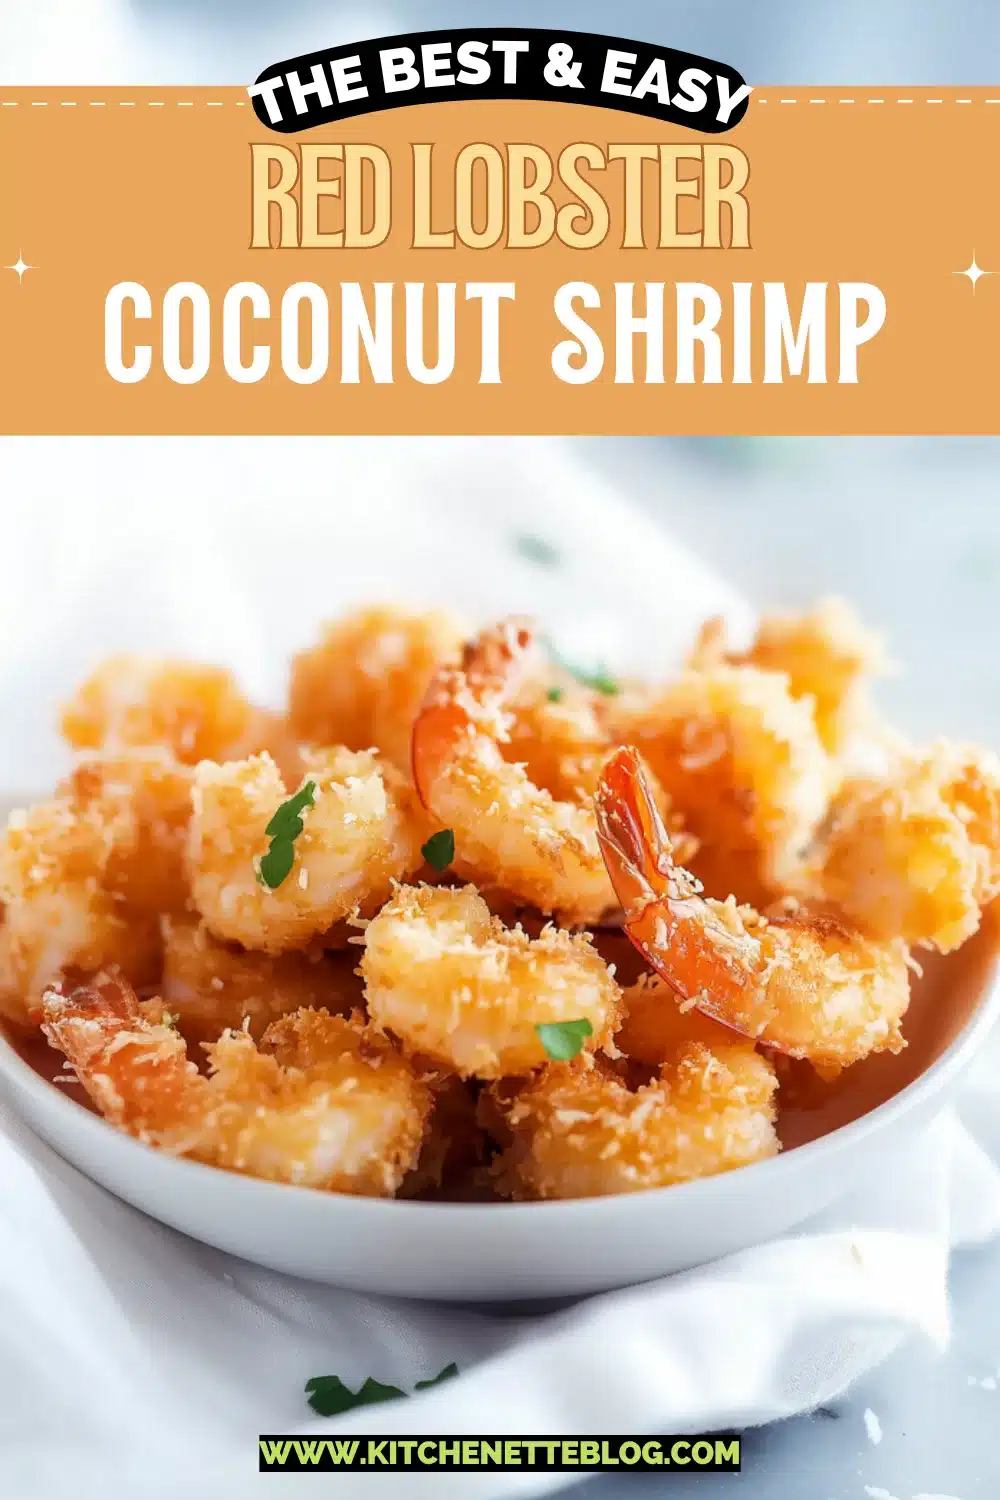
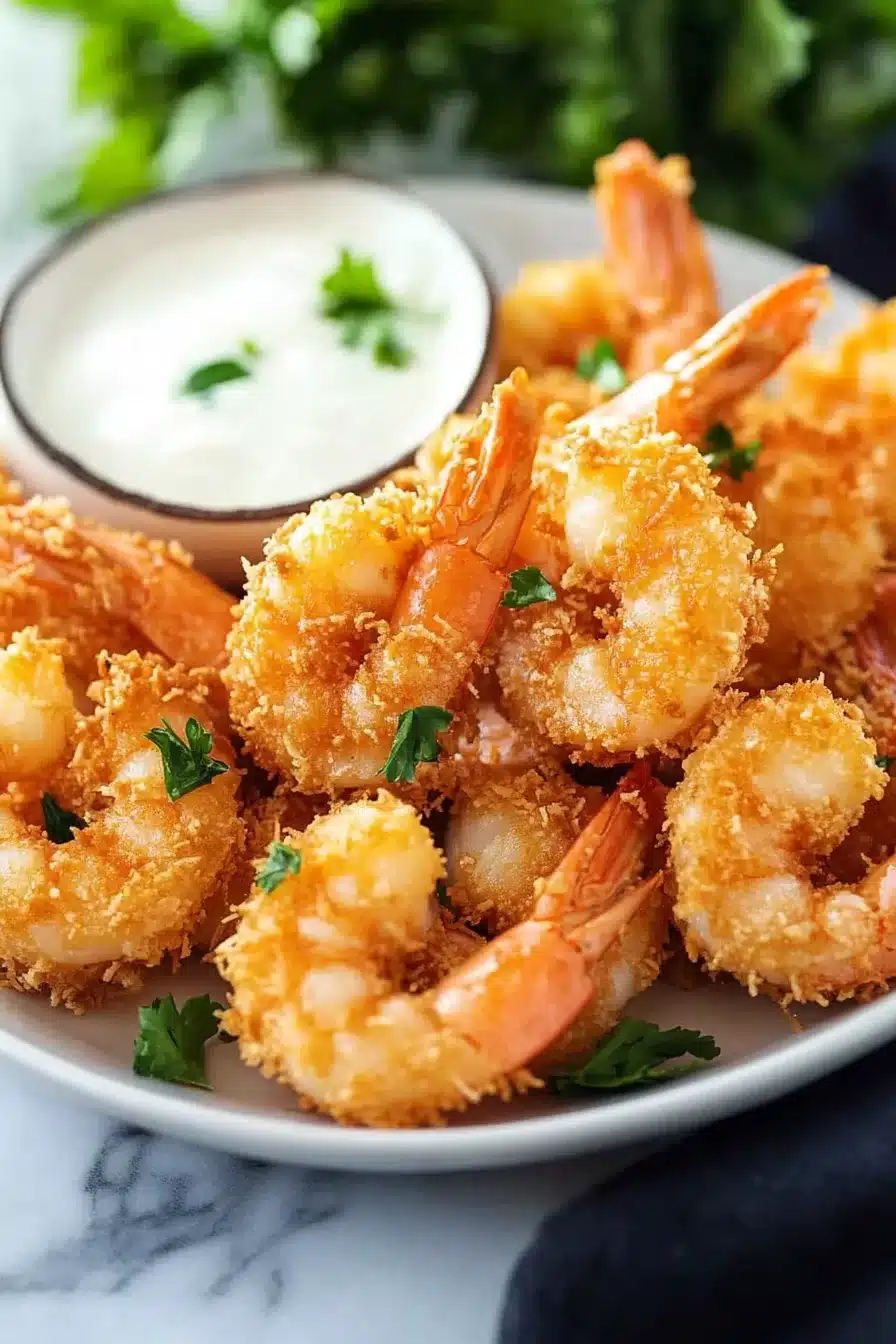
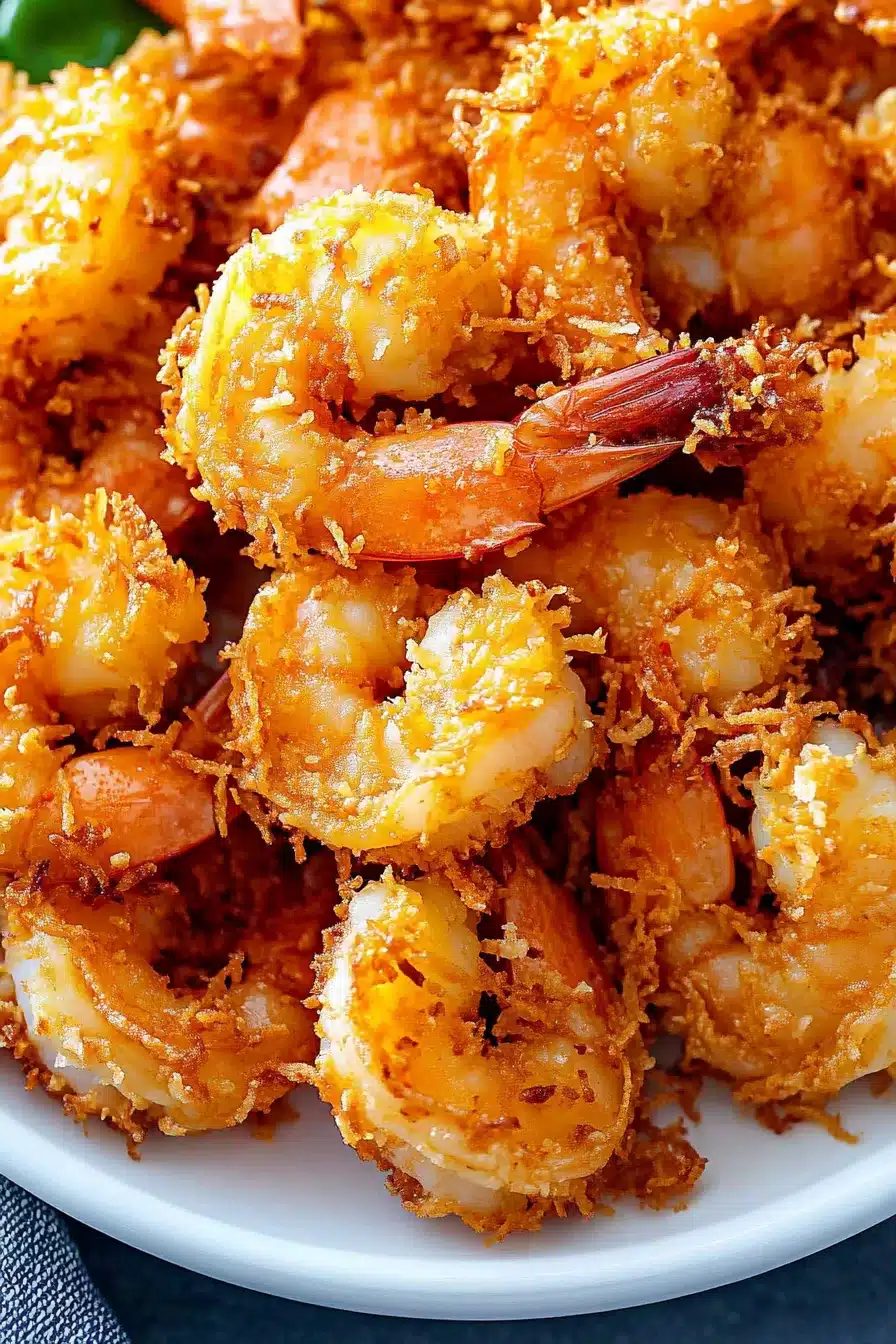
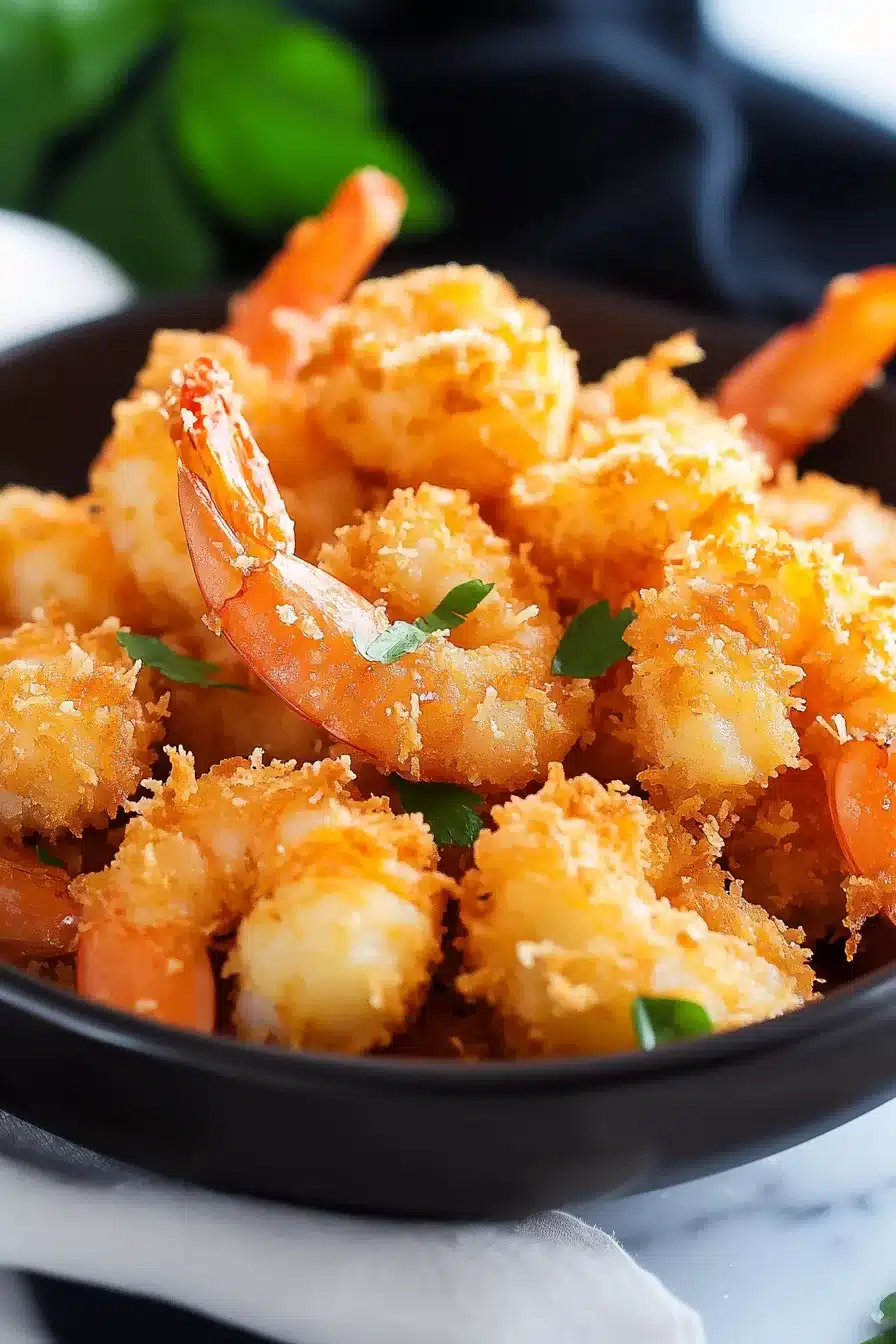
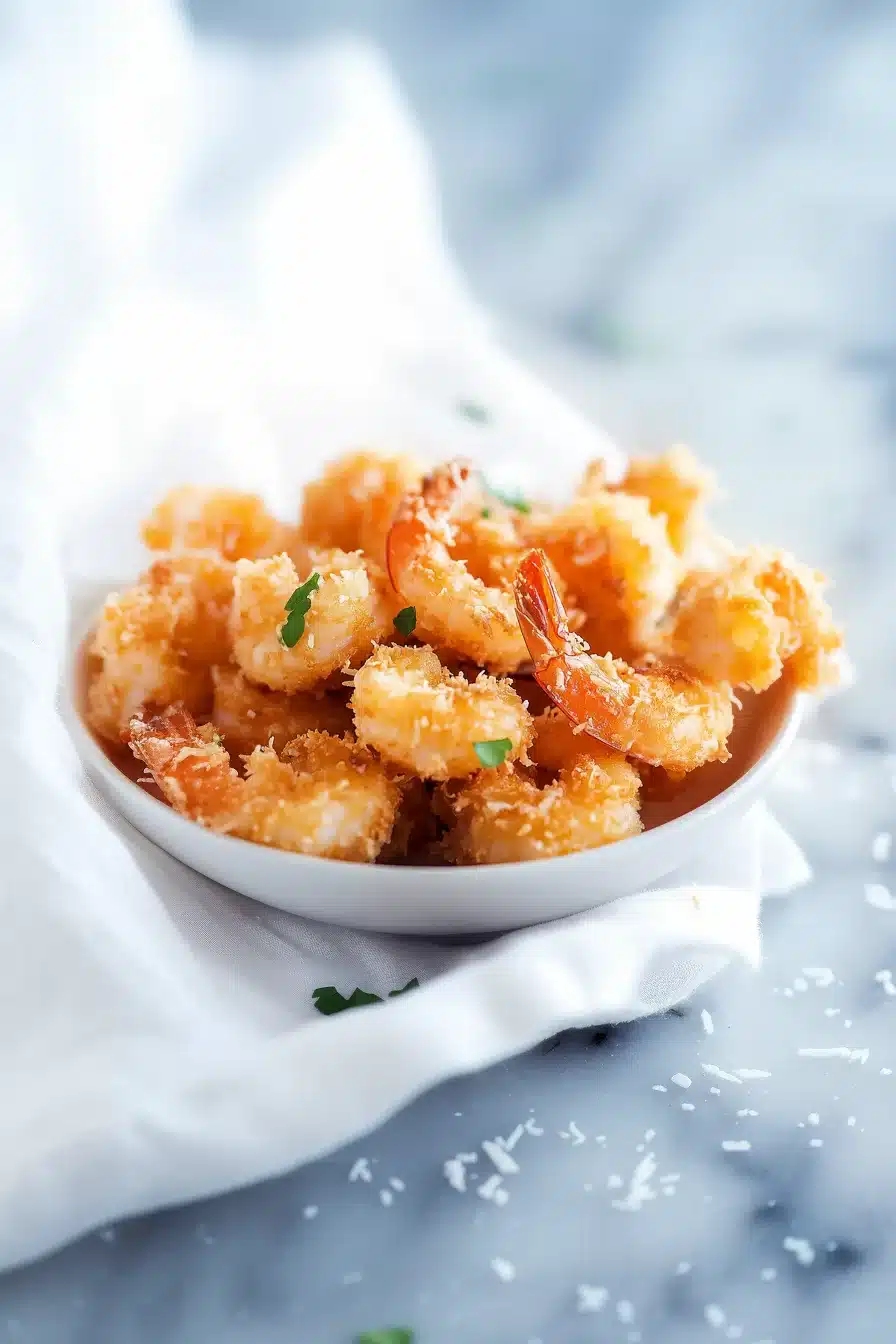
If you’re leaning toward the Southern BBQ mood, adding a side of crispy coconut shrimp makes a pretty unforgettable duo. Think surf-and-turf, but backyard casual.
Frequently Asked Questions
Can I prep Monterey Chicken ahead of time?
You sure can, but I’d keep the cheese and toppings off until just before broiling. You can season and sear the chicken, then refrigerate it. When you’re ready to finish, just sauce, cheese, and broil. That way the cheese stays melty (not rubbery) and the bacon stays crispy.
What’s the best kind of barbecue sauce to use?
Honestly, whatever you love! Sweet, smoky, spicy—it’s up to you. For balance, I usually pick something not too sweet since the cheese and bacon already bring the richness. But I’ve made it with mango-chipotle BBQ sauce once and it was a sleeper hit.
Can I make it without a broiler?
Yep! If you don’t have a broiler, just cover the skillet loosely with foil after adding the cheese and let it melt on low heat for a few minutes. It won’t get the bubbly top, but it’ll still be melted and dreamy.
Is this spicy?
Not at all, unless your barbecue sauce is spicy. The base recipe is smoky, tangy, cheesy, and savory. But if you want to add heat, toss in some jalapeños or choose a spicier BBQ sauce for a fiery kick.

Monterey Chicken
Ingredients
Main Ingredients
- 4 boneless, skinless chicken breasts pounded to even thickness
- 1 tsp garlic powder
- 1 tsp paprika smoked paprika if desired
- 1 tsp salt plus more to taste
- 0.5 tsp black pepper plus more to taste
- 2 tbsp (30 ml) olive oil
- 0.75 cup (180 ml) barbecue sauce your favorite kind
- 1 cup (100 g) Monterey Jack cheese shredded
- 0.5 cup (50 g) cheddar cheese shredded
- 6 slices bacon cooked until crispy and crumbled
- 1 large tomato diced
- 3 green onions thinly sliced
Equipment
- Oven-safe skillet
- Tongs
- Plastic Wrap
- Meat mallet
- basting brush
Instructions
- Preheat your broiler to medium-high. Prepare all toppings and have them ready to go.
- Pound chicken breasts between two sheets of plastic wrap to even thickness (about 1/2 inch).
- Pat chicken dry. Season both sides evenly with garlic powder, paprika, salt, and black pepper.
- Heat olive oil over medium-high in a large oven-safe skillet. Add chicken and sear undisturbed until golden brown on the first side, about 4–5 minutes.
- Flip chicken, brush tops with a generous layer of barbecue sauce (about half the total), and cook the second side another 4–5 minutes, until chicken is cooked through and reads 165°F (74°C).
- Flip chicken once more, brush with remaining barbecue sauce, then pile on Monterey Jack and cheddar cheese evenly over each breast.
- Transfer skillet to the broiler and broil 2–3 minutes, just until cheese is melted, bubbly, and lightly golden (watch closely).
- Remove from oven and let chicken rest for several minutes. Top with crumbled bacon, diced tomato, and sliced green onions. Serve hot.