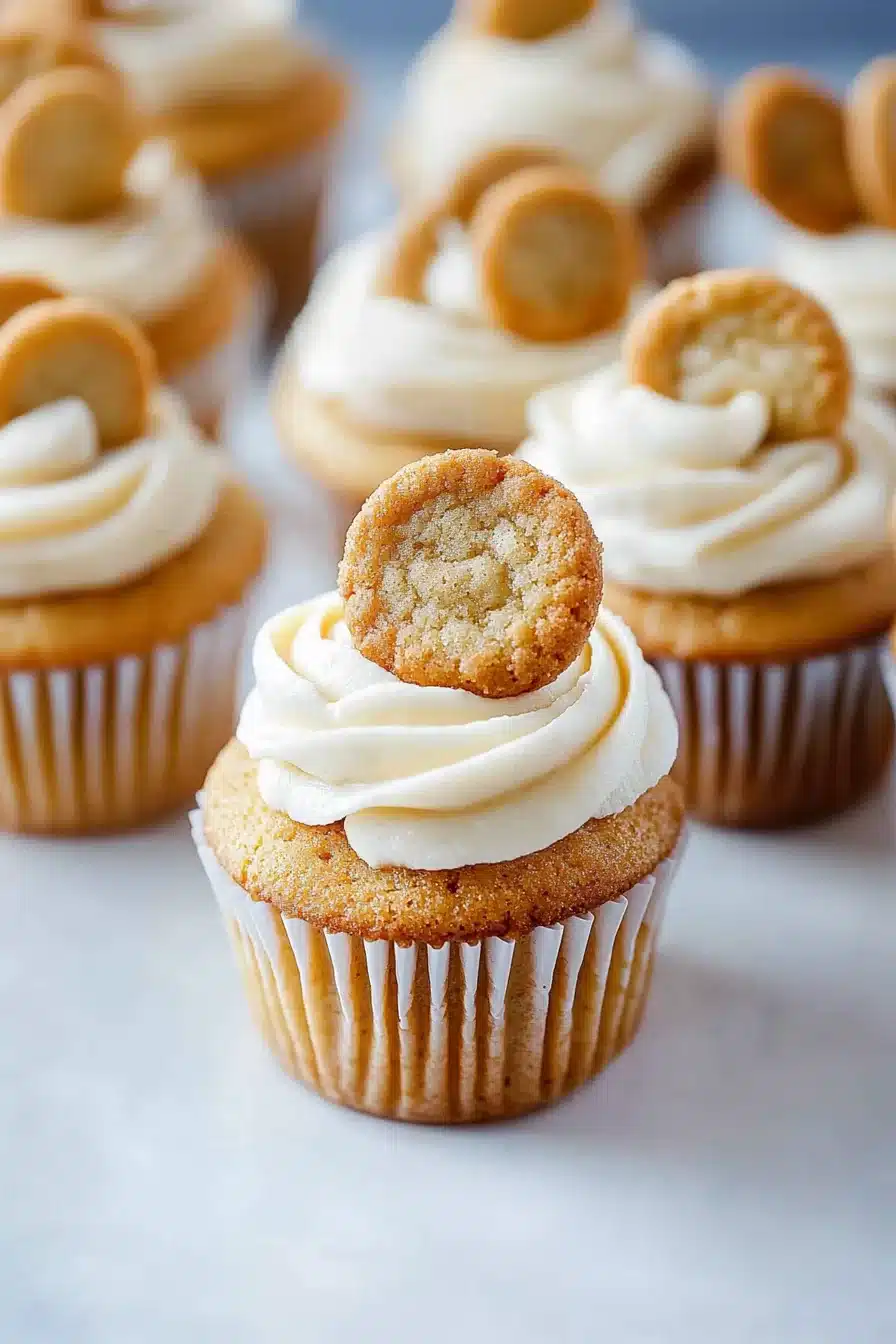
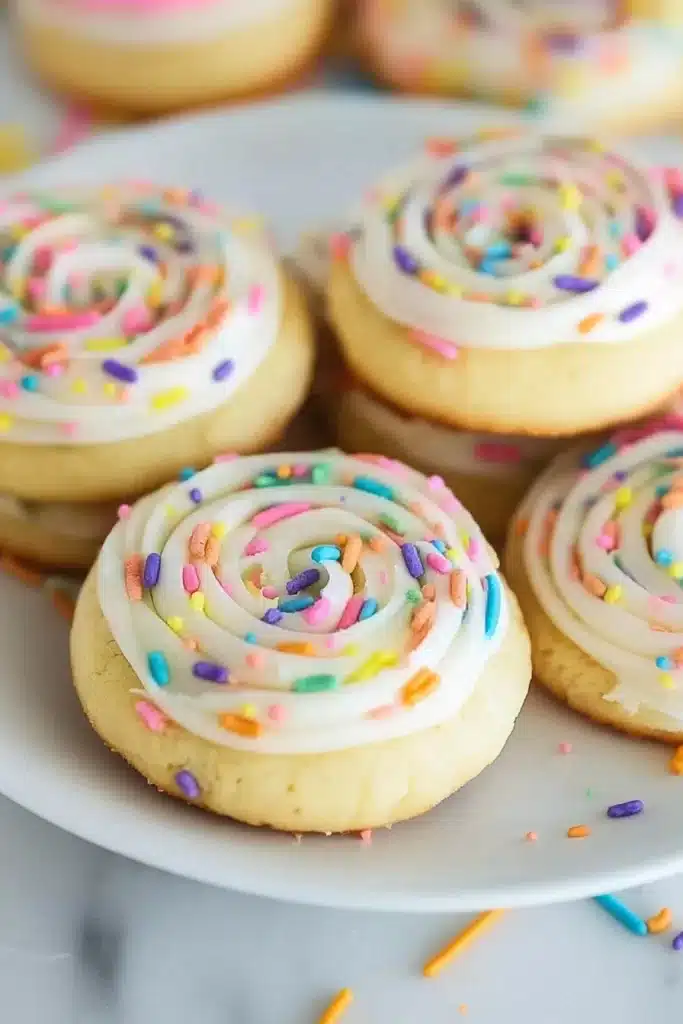
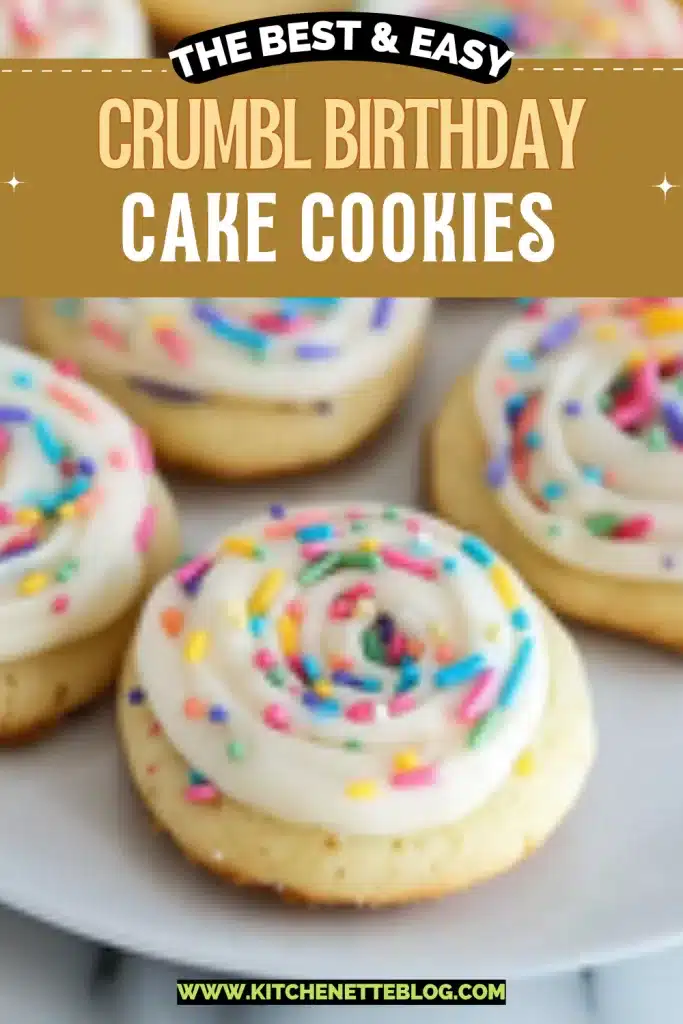
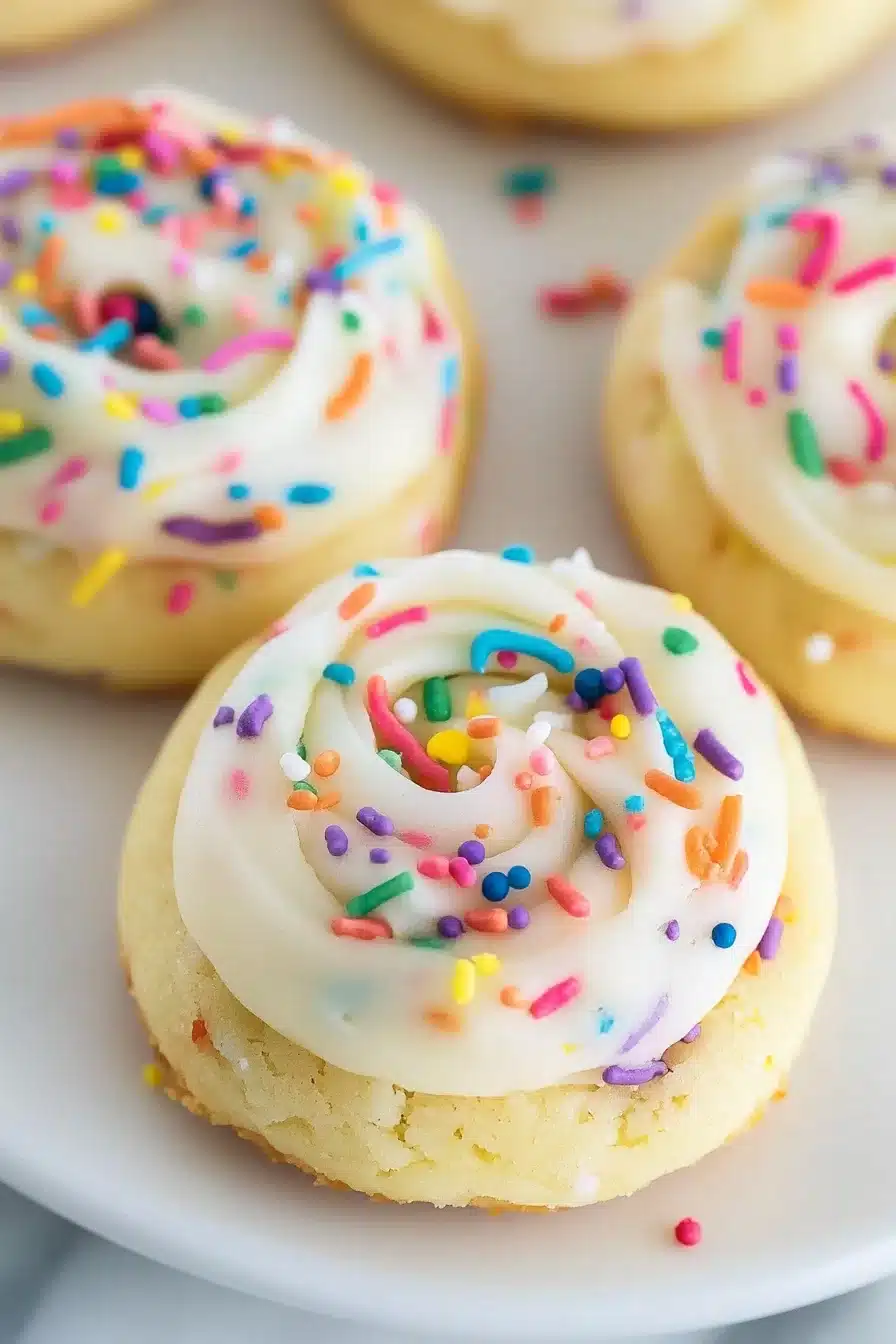
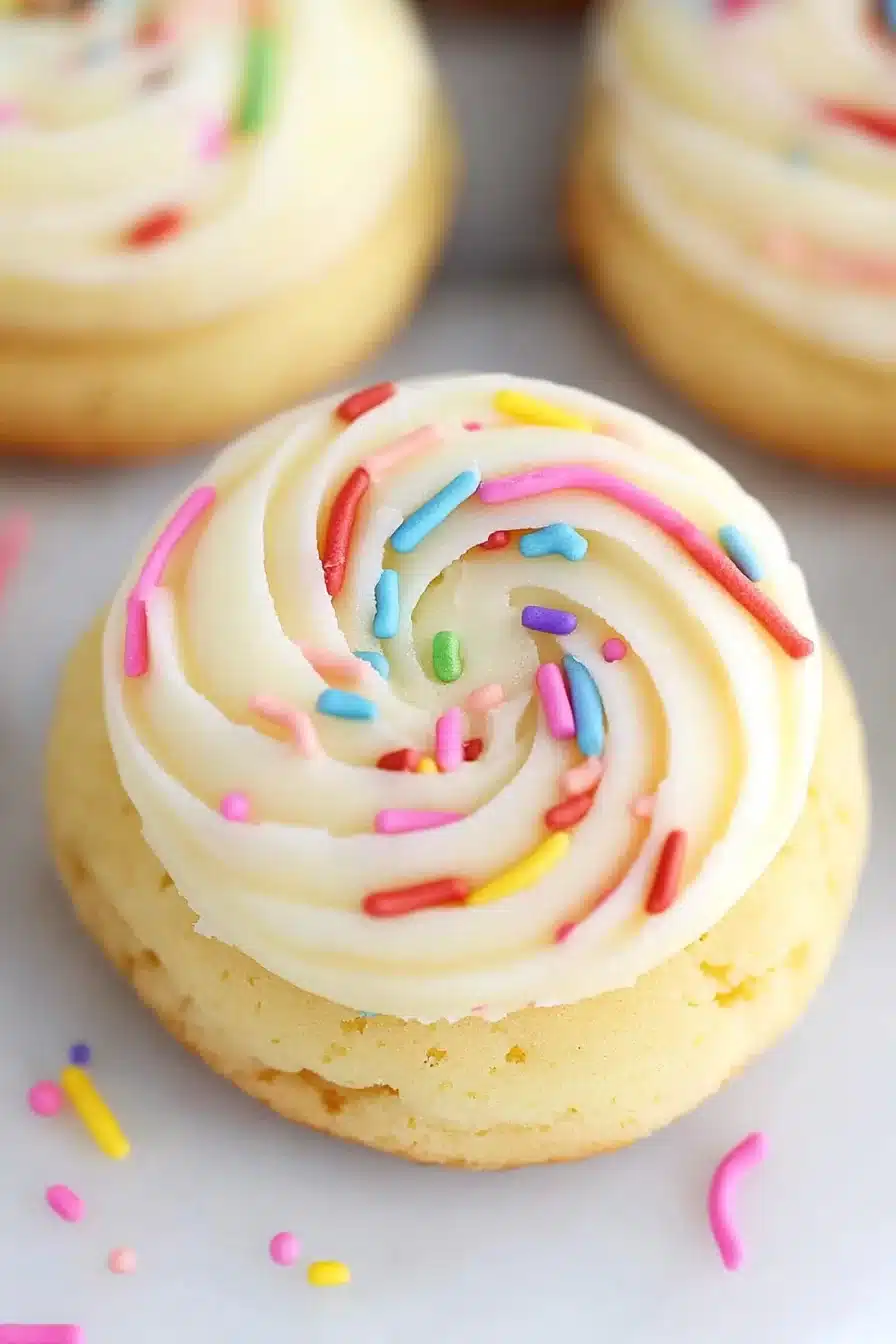
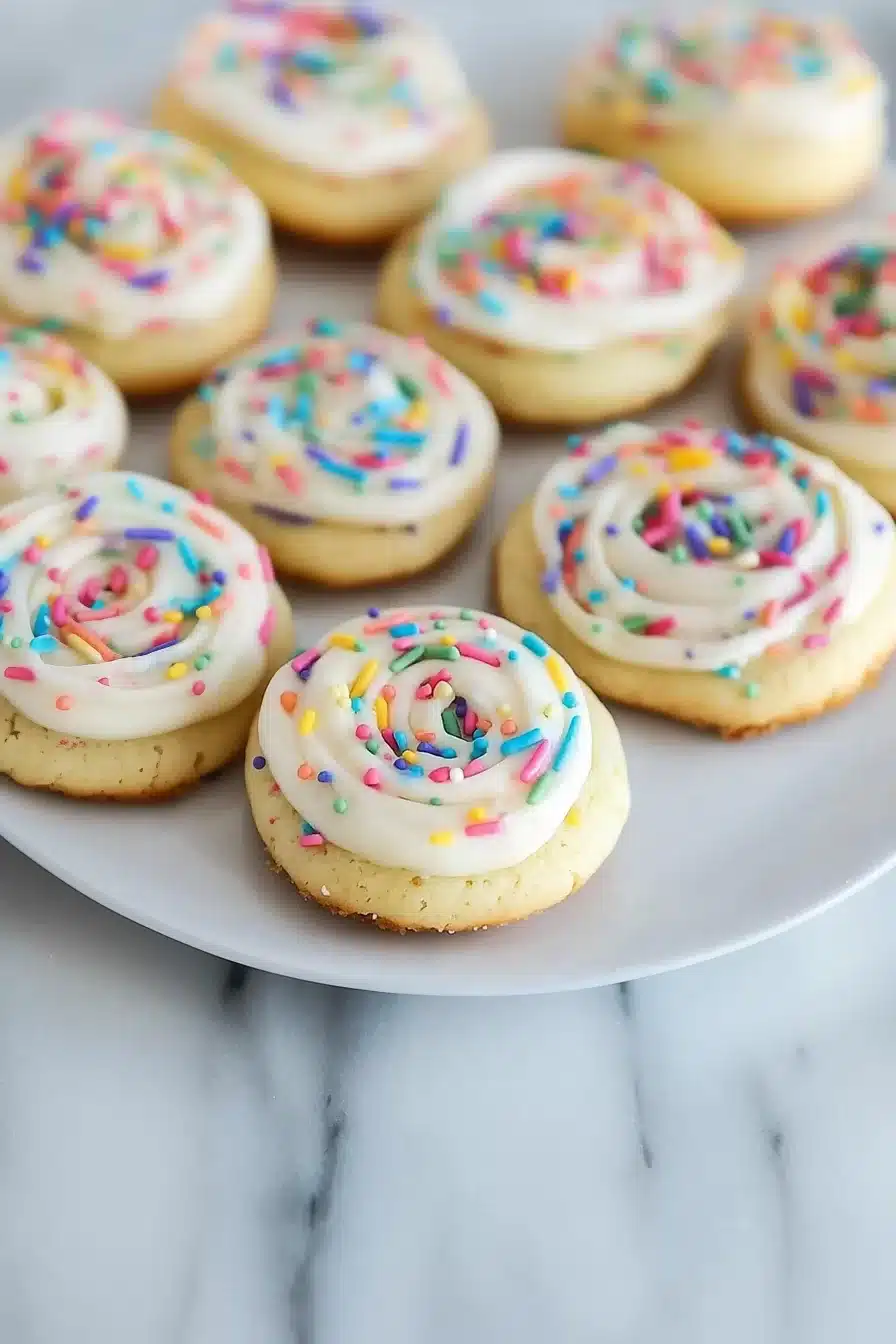
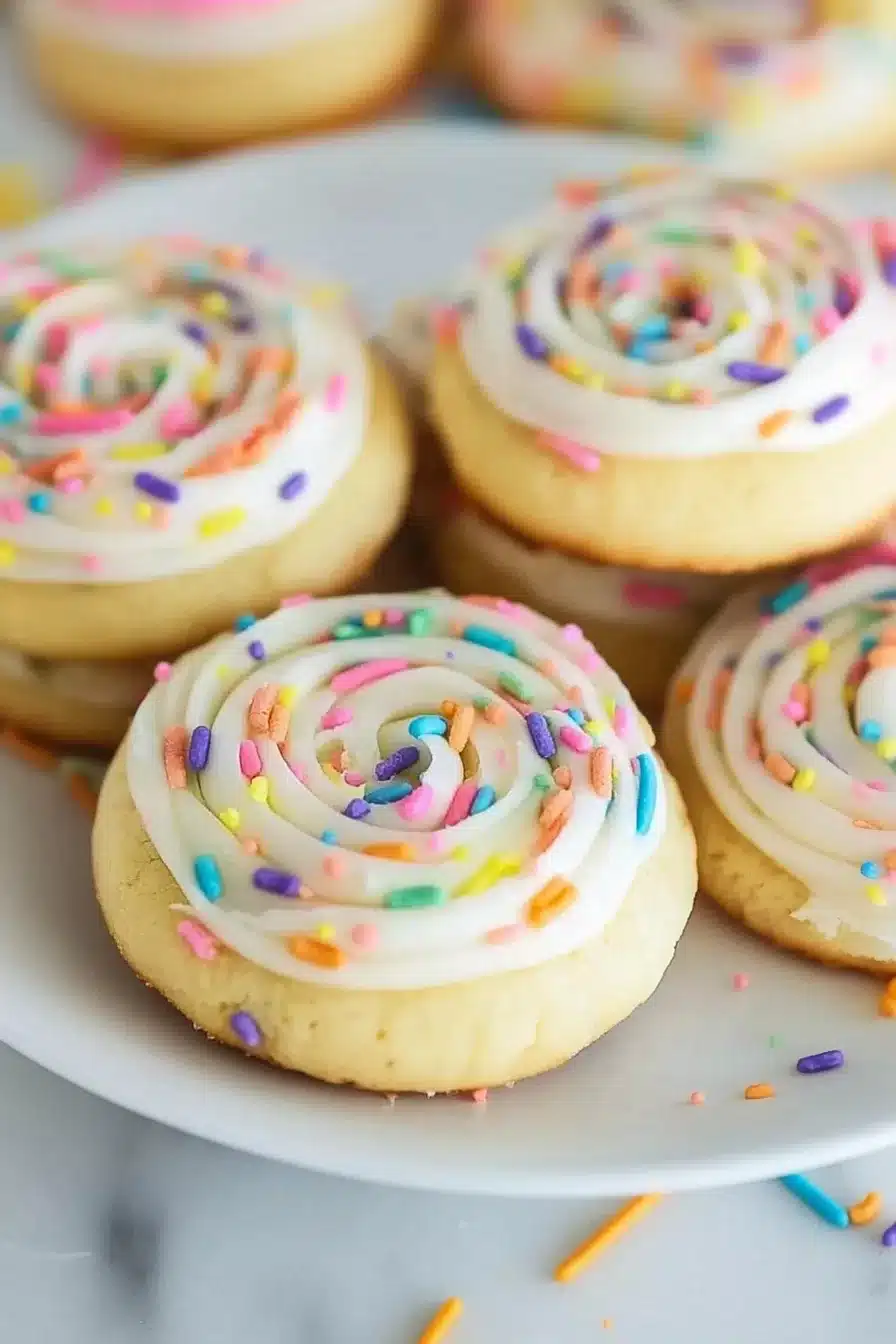
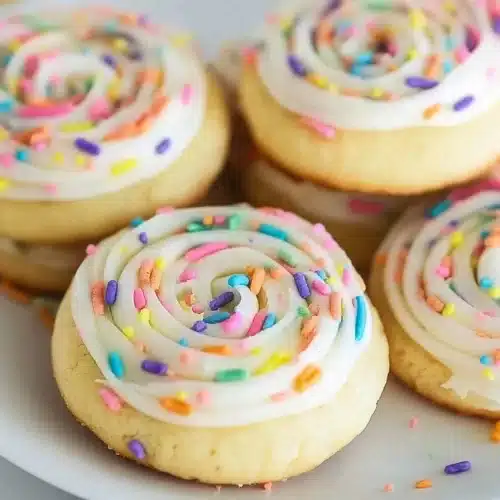
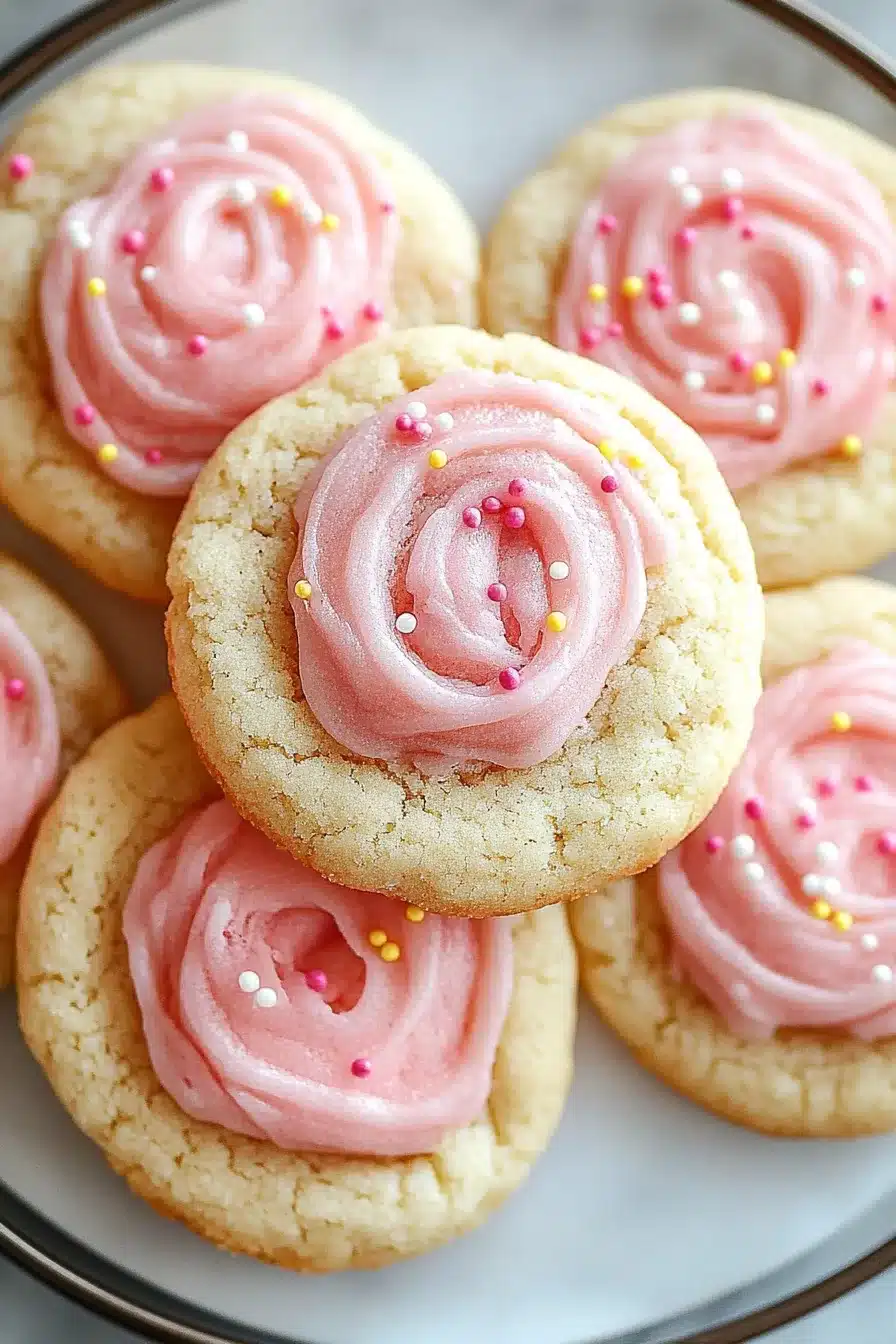
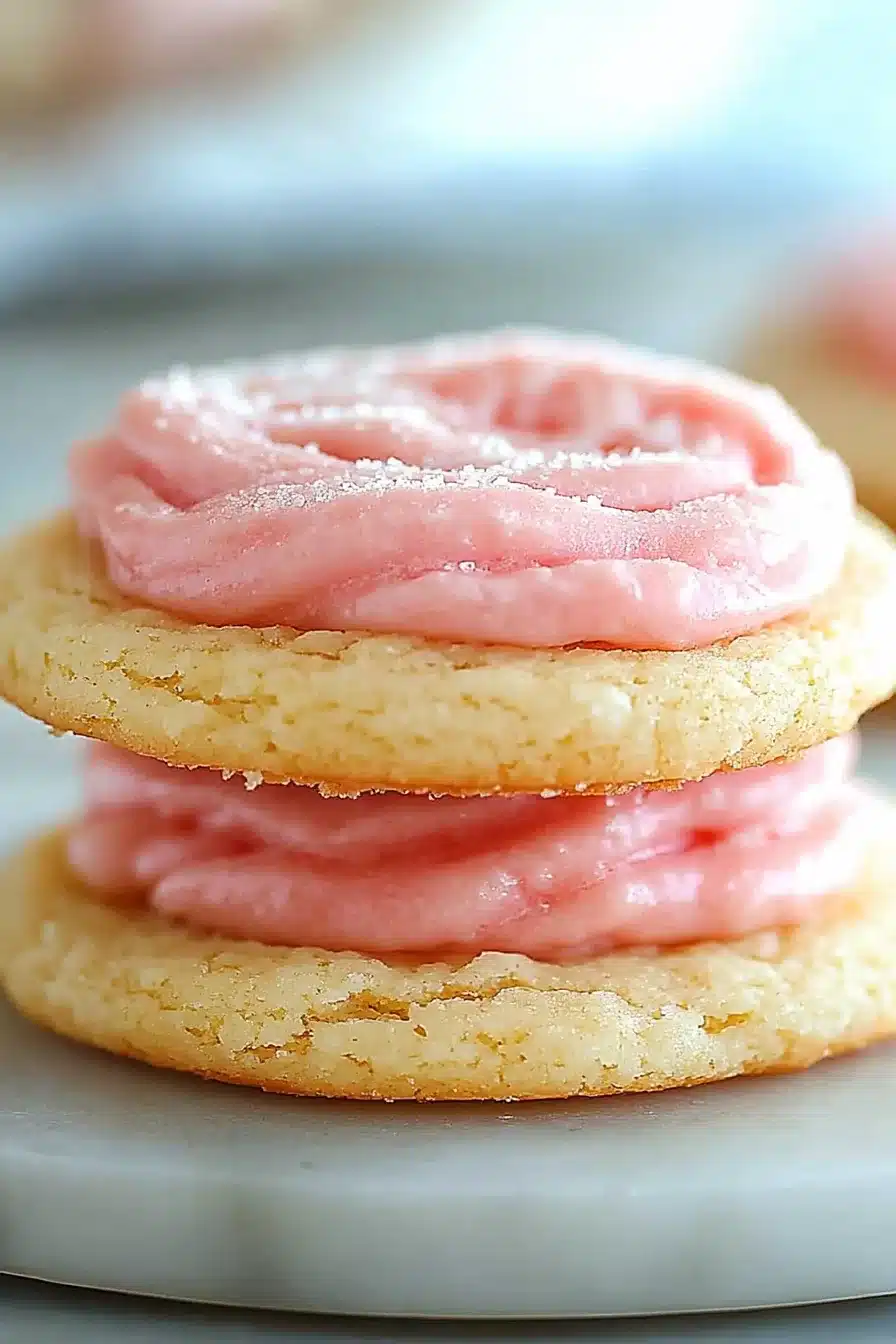
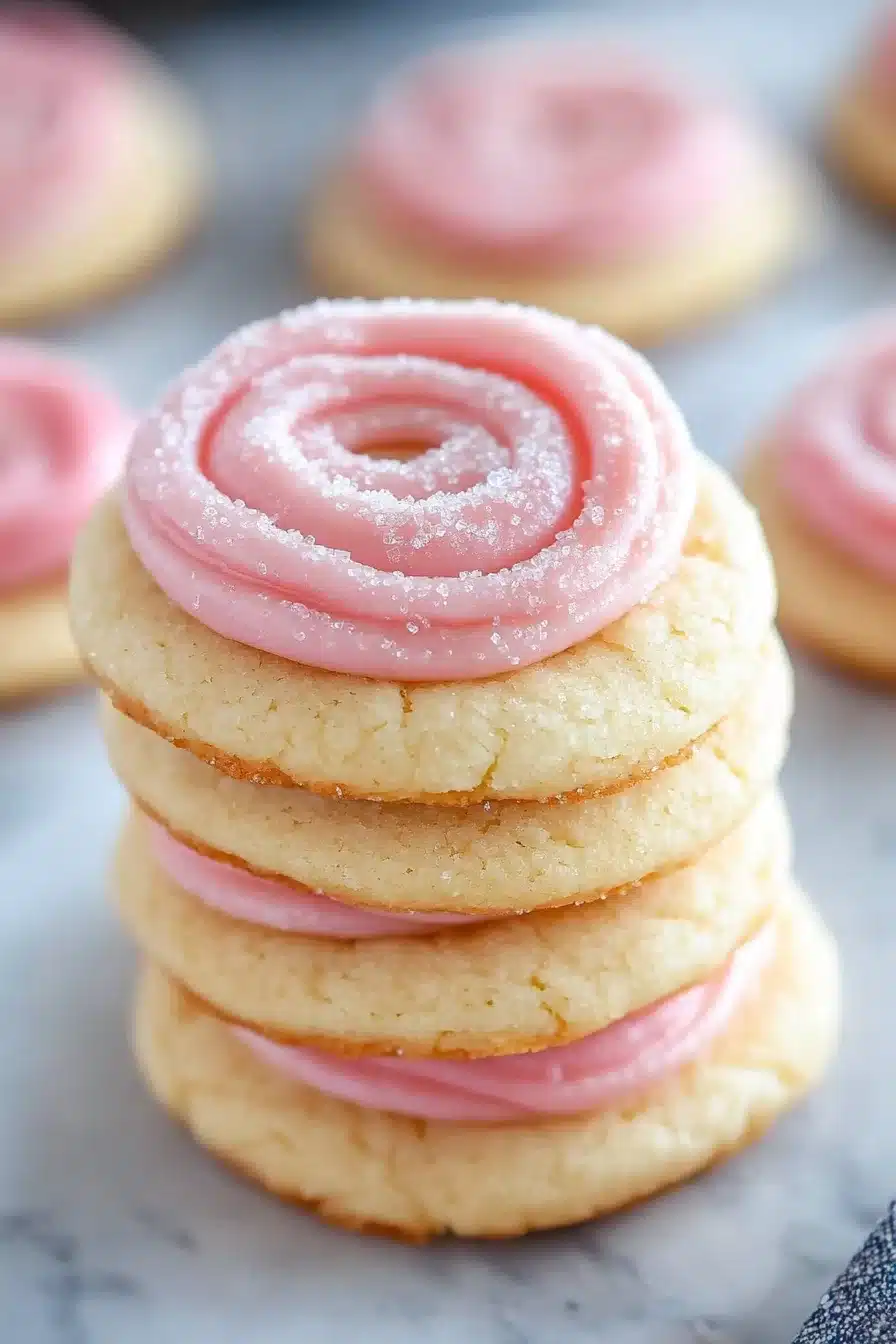
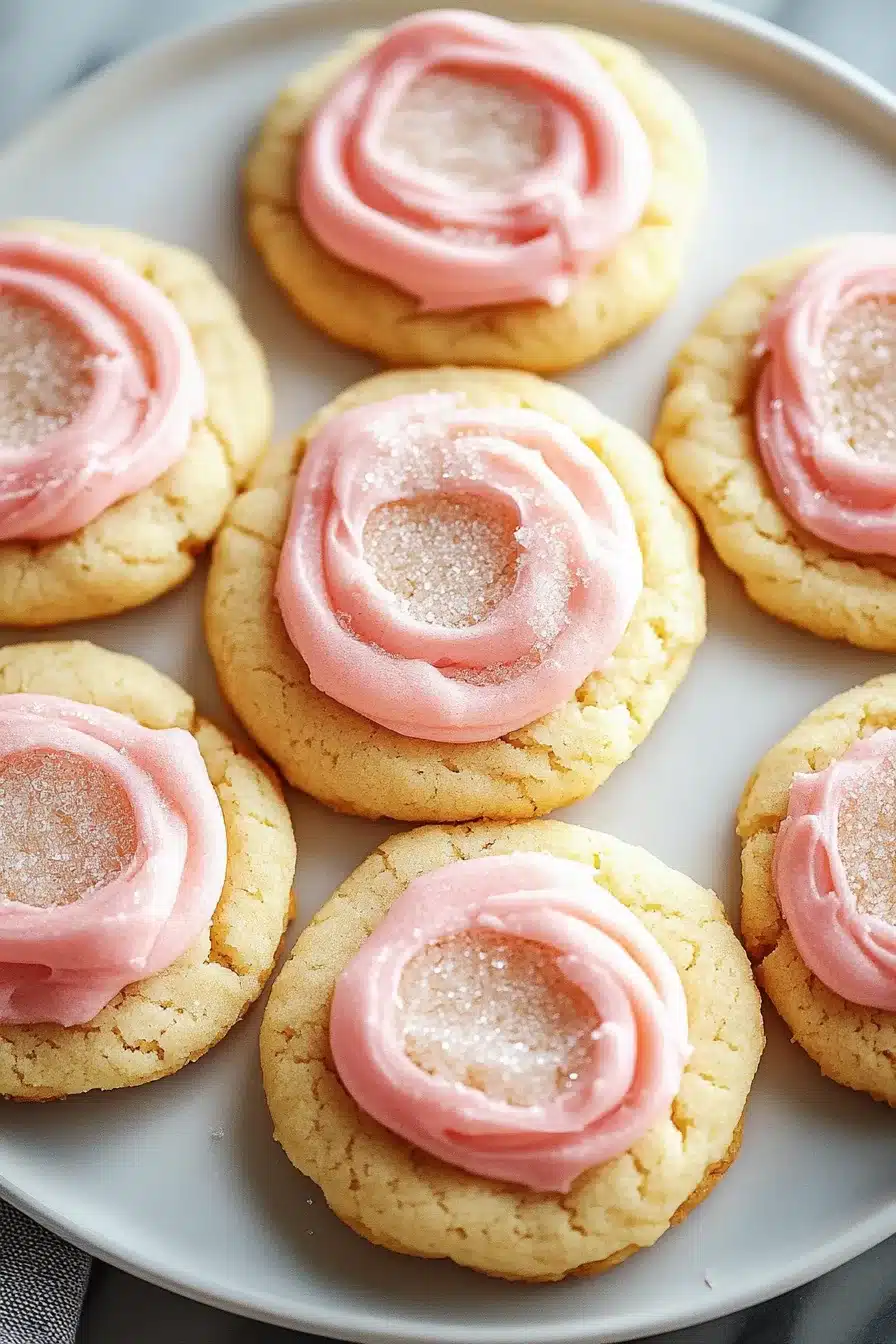
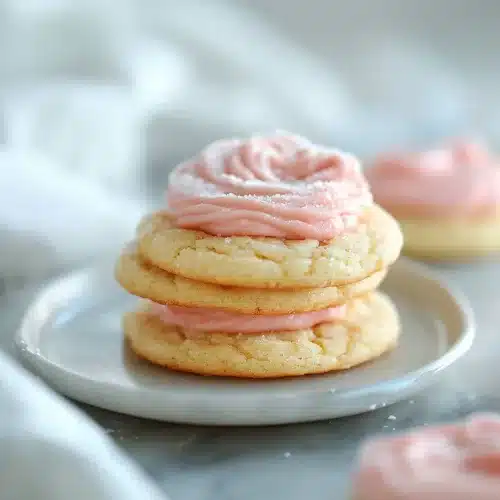
Buttery, soft, and topped with a dreamy swirl of pink frosting—these copycat Crumbl sugar cookies bring the nostalgic bakery vibes right to your kitchen. With simple, joyful ingredients like salted butter, flour, sugar, and almond extract, they’re basically a sugar hug in cookie form.
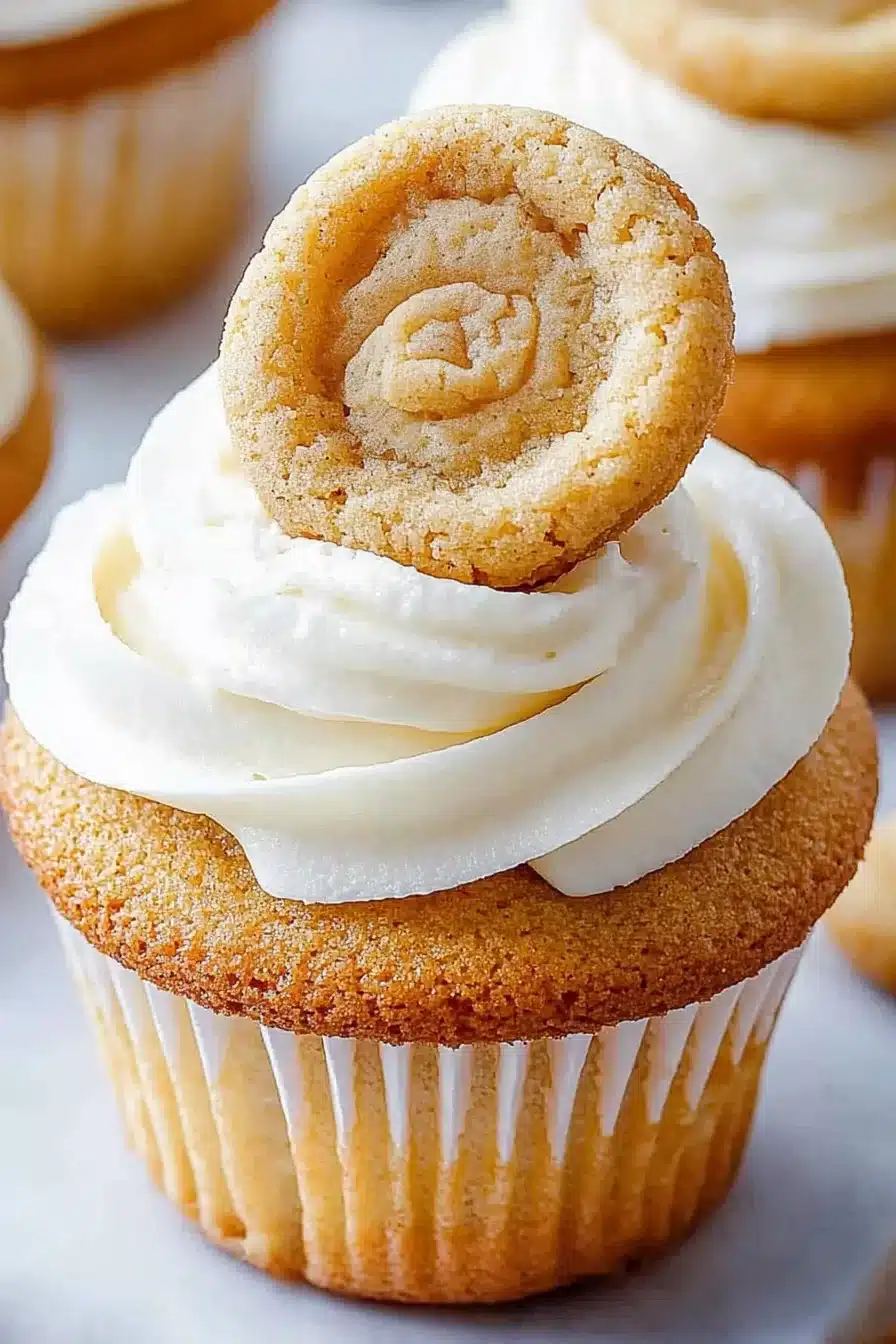
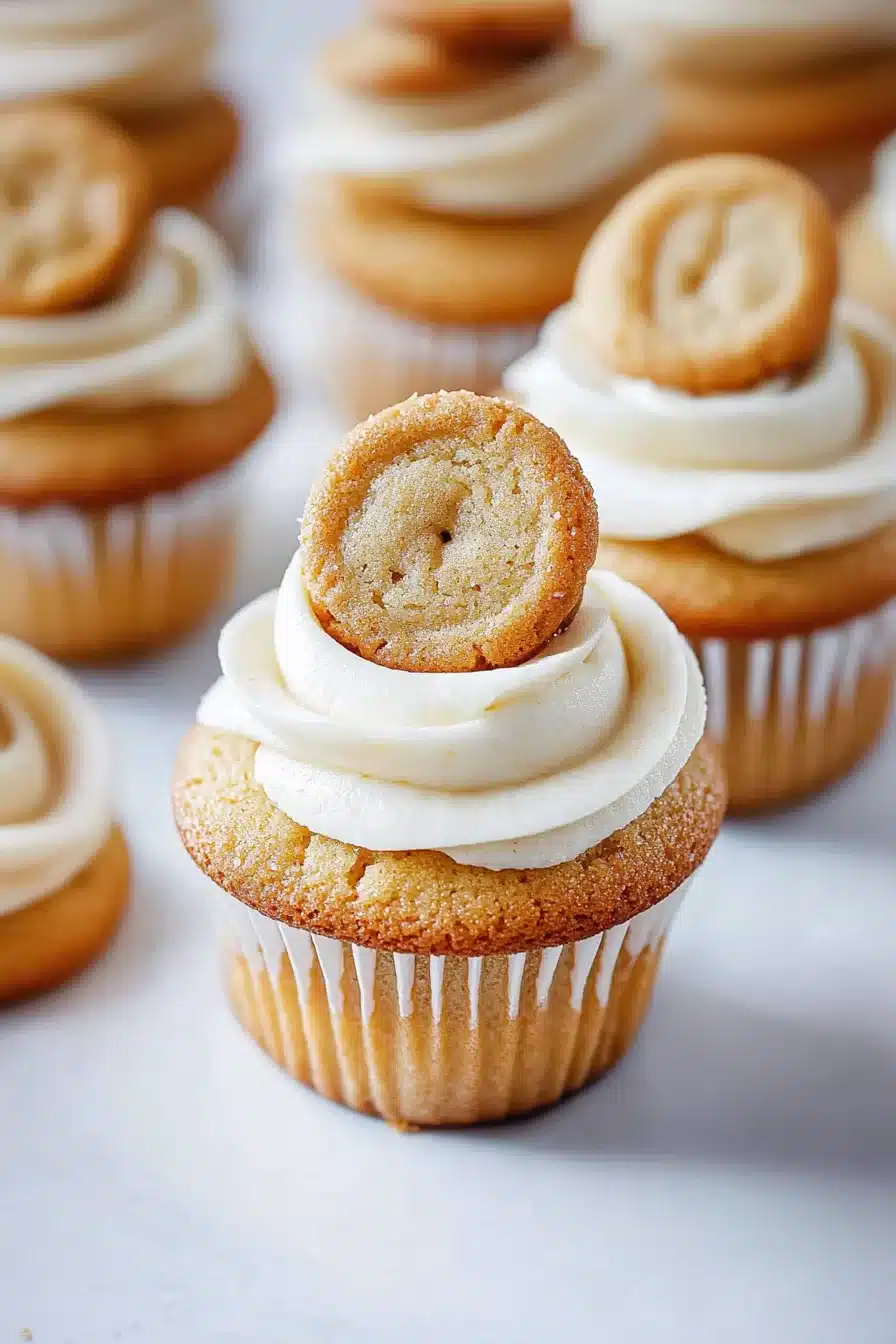
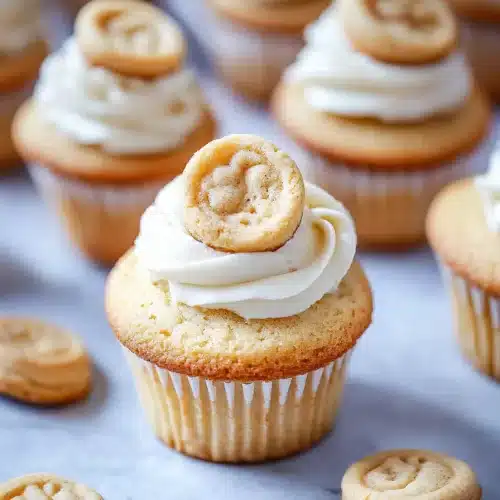
They’re chilled, sweet, and frosted to perfection—the kind of cookie that makes you pause, close your eyes, and mumble “Oh yes” mid-chew. The dough bakes up soft and thick with just a whisper of almond in the background (not over-the-top perfume-y, promise). And that pink frosting? It’s fluffy, creamy, and frankly dangerous if left unsupervised.
Perfect for when you want bakery-level joy without real pants or parking lots. Let’s get into it.
Why You’ll Love this Copycat Crumbl Sugar Cookies
You know those cookies that are basically little clouds with frosting hair? Yeah, this is that moment.
- Soft and pillowy texture: These cookies bake up thick with a tender, almost cake-like crumb that stays soft for days.
- Frosting lovers, rejoice: The fluffy pink frosting isn’t just cute—it’s creamy, sweet, and lightly almondy. You might “accidentally” sample too much.
- Big cookie energy: Each one is oversized (just like Crumbl’s), which means more real estate for frosting… and joy.
- Simple pantry ingredients: No fancy flours or obscure extracts—just the good ol’ classics with a pink flair.
- Customizable vibes: You can tweak the extract, switch the dye, or even use holiday sprinkles. Cookie mood: choose your own adventure.
Ingredient Notes
Let’s peek into the mix. Nothing too wild here, just the cozy comfort lineup.
- Salted butter: Adds richness and depth right off the bat. You want it softened, not melted—just pleasant-to-touch soft.
- Granulated sugar: Classic and clean. It gives structure and just the right sweetness to the base.
- Eggs: For binding and puffiness. Give them a quick whisk before adding if you’re feeling fancy.
- Vanilla + almond extract: The tag-team heroes. Vanilla adds warmth, and almond gives that signature aroma. Go easy on the almond—it’s strong stuff.
- All-purpose flour: No alternative flours here. It holds everything together while keeping the crumb soft.
- Baking powder: To lift things up without browning the edges too much. These cookies are about softness, not crunch.
- Powdered sugar: That melt-in-your-mouth texture you love in frosting? Yeah, thanks to this.
- Heavy cream (or milk): Adjusts the frosting to your desired fluff-to-dollop ratio. Thicker for spreading, thinner for swooshing.
- Pink gel food coloring: Just a dab! Gel gives a bold tint without thinning your frosting.
How To Make This Copycat Crumbl Sugar Cookies
We’re not reinventing the cookie wheel here—just giving it a soft, thick, pastel-pink upgrade. Let’s go chop-chop (well, mix-mix).
-
Preheat and prep: Set your oven to 350°F and line two baking sheets with parchment paper. Go ahead and clear yourself a little spreading space—these cookies like to stretch out.
-
Cream butter and sugar: In a large bowl, beat that softened butter with the sugar until it’s light and a little fluffier than when you started. About 2–3 minutes of mixing should do it. Don’t skimp here—it builds the base texture.
-
Add eggs and extracts: Mix in those eggs, vanilla, and almond extract. Scrape down the bowl sides; you want everything getting to know each other equally.
-
Incorporate dry ingredients: Slowly add the flour and baking powder. Keep your mixer on low speed unless you enjoy flour showers. Mix until a soft dough forms—it’ll look plush and buttery. Avoid overmixing.
-
Portion and flatten: Scoop out ¼ cup portions (I know, right?) and roll them into balls. Space them at least 3 inches apart on your baking sheets, then flatten each with a glass until about ½ inch thick. Think: hockey puck meets marshmallow.
-
Bake until just set: Bake for 9–11 minutes. The edges should look set, but the centers will still look soft and puffed. No glossy tops, but no browning either. Let ’em cool on the pan for 5 before transferring.
-
Make the frosting: Beat softened butter until creamy, then add powdered sugar a little at a time. Stir in extracts and 1 tablespoon of cream. Mix until light and dreamy. Adjust cream as needed, then swirl in that pink tint until it makes your inner 5-year-old smile.
-
Frost and chill: Once the cookies are completely cool (patience, please), frost each with a generous swoosh. Don’t go edge-to-edge—leave a graceful cookie lip exposed. Chill before serving for the ultra-authentic Crumbl texture.
Storage Options
These cookies hold their glow-up surprisingly well. Just follow a few basic rules.
First, for the fridge: Store frosted cookies in a single layer in an airtight container. If you need to stack them, layer with parchment to avoid frosting smush. Crumbl-inspired cookies must be chilled for that signature bite, so honestly, the fridge is your friend here. They’ll be good for about 4–5 days.
Now, about freezing: Yes, you totally can. Freeze unfrosted cookies flat in a zip-top bag or container, then frost after thawing. If you must freeze them already frosted, freeze until solid first on a baking tray, then transfer to a container (with parchment between layers). Don’t expect the frosting to look “bakery fresh” when thawed, but it’ll still taste spot-on.
Reheating? I usually don’t recommend warm sugar cookies here because the frosting can get a little shiny and slidey. But if you’re going for that warm-from-the-oven cookie feel, toast an unfrosted one briefly and frost after.
Variations and Substitutions
Not into almond? Or just want to throw a little personality in the mix? You’ve got options, my friend.
- Almond extract swap: If almond’s not your thing, replace it with more vanilla or even a tiny drop of lemon for a citrusy twist.
- Food coloring options: Not feeling pink? Try blue, lavender, or go full rainbow. Just make sure to use gel food coloring—not liquid.
- Add-ins: Stir a pinch of lemon zest or a splash of orange blossom water into the dough or frosting for a fancy upgrade.
- Cookie size: Want more but smaller? Use 2-tablespoon scoops instead. Just scale back baking time to 7–8 minutes.
- Butter swap: Unsalted works fine too; just add a pinch more salt to balance things out.
What to Serve with Copycat Crumbl Sugar Cookies
These dreamy frost-topped cookies are stars on their own, but if you want to round them out…
-
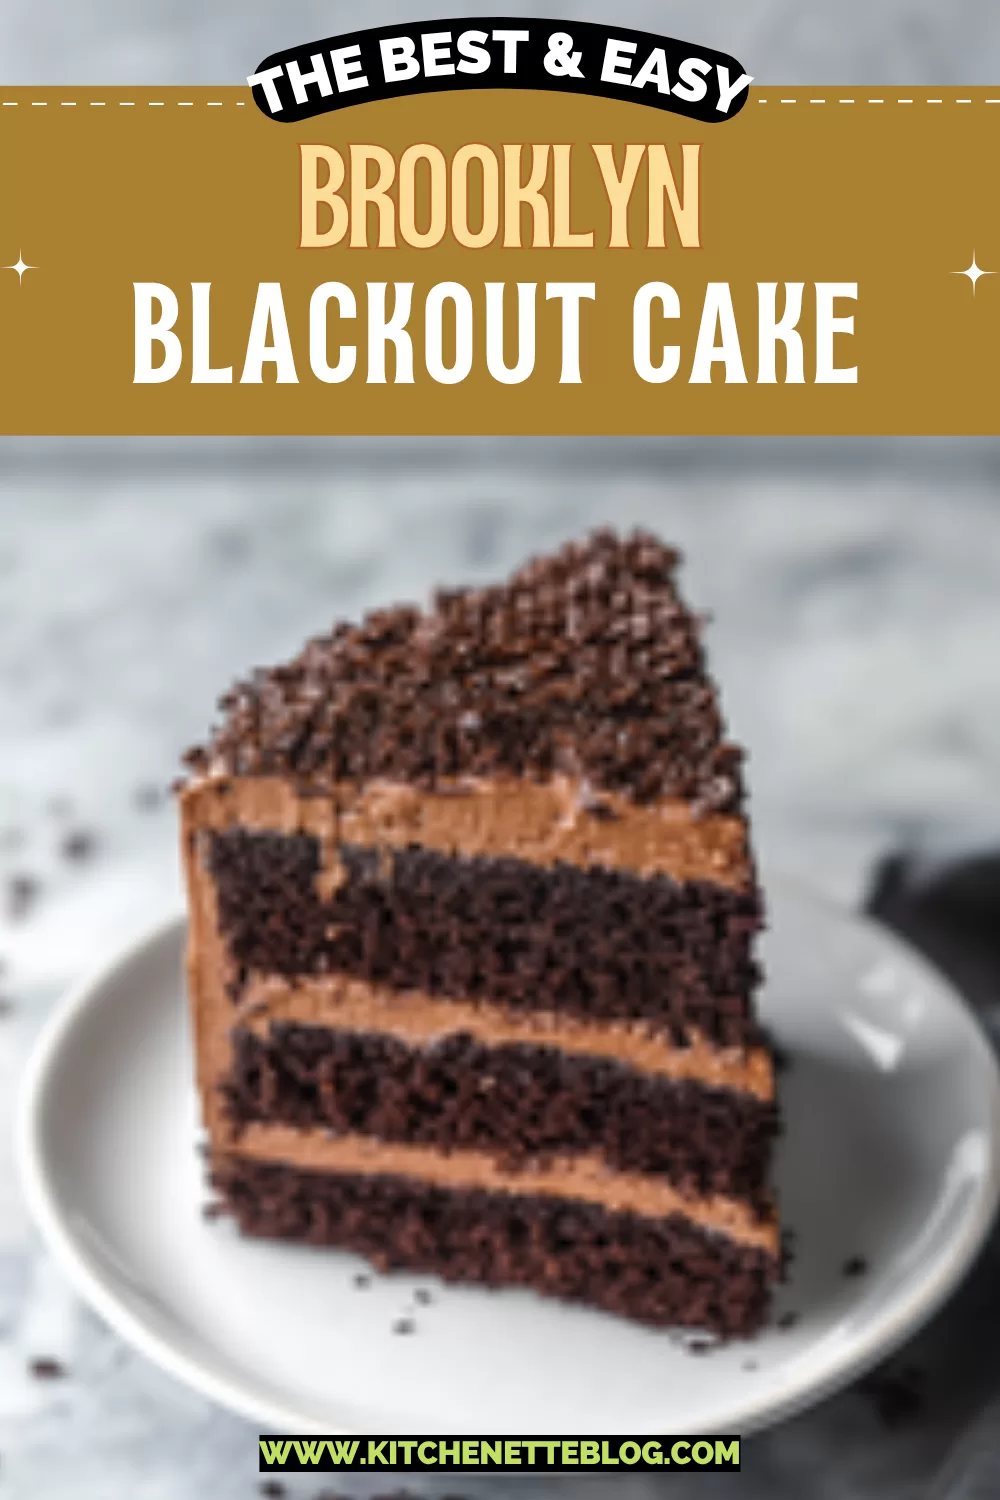
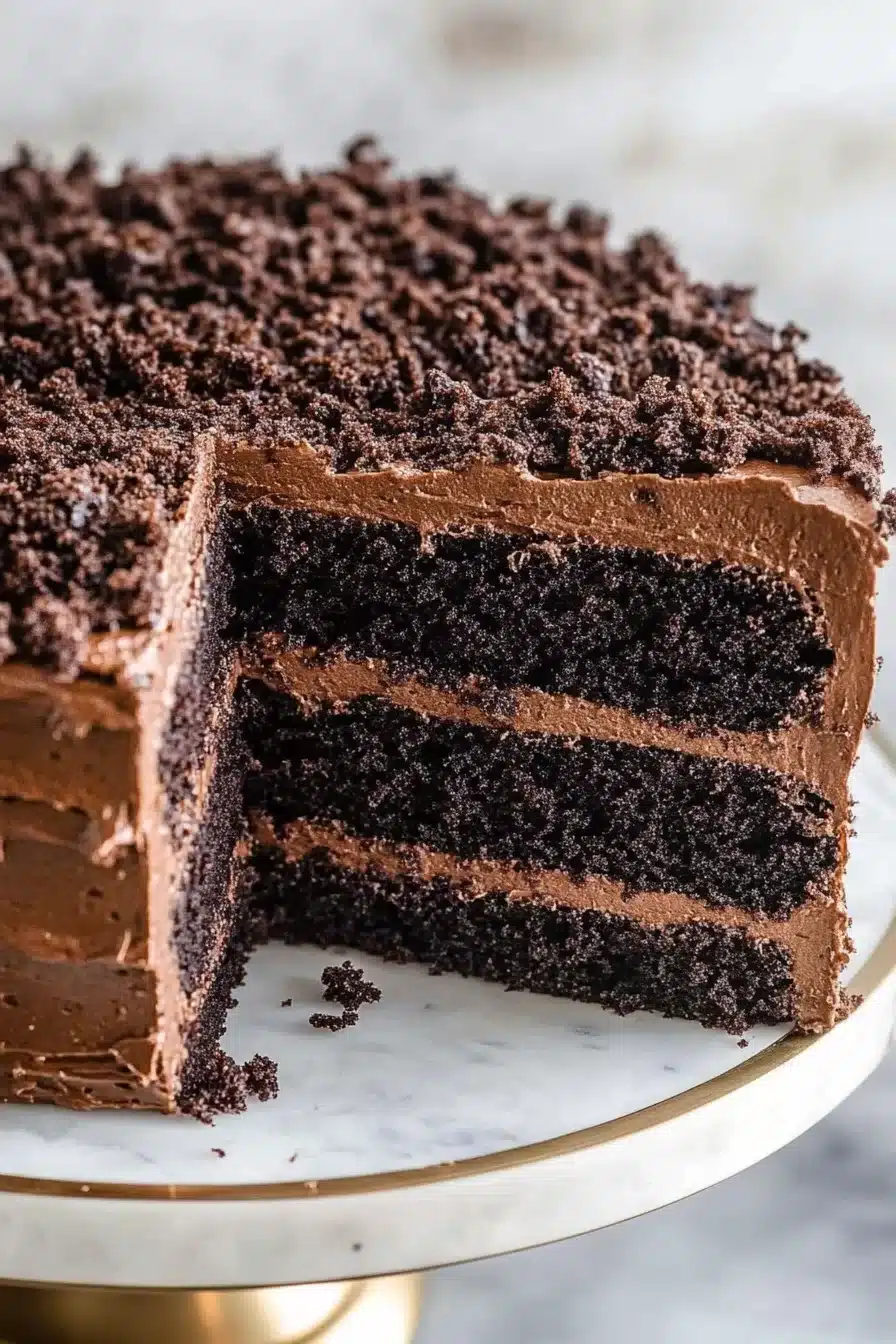
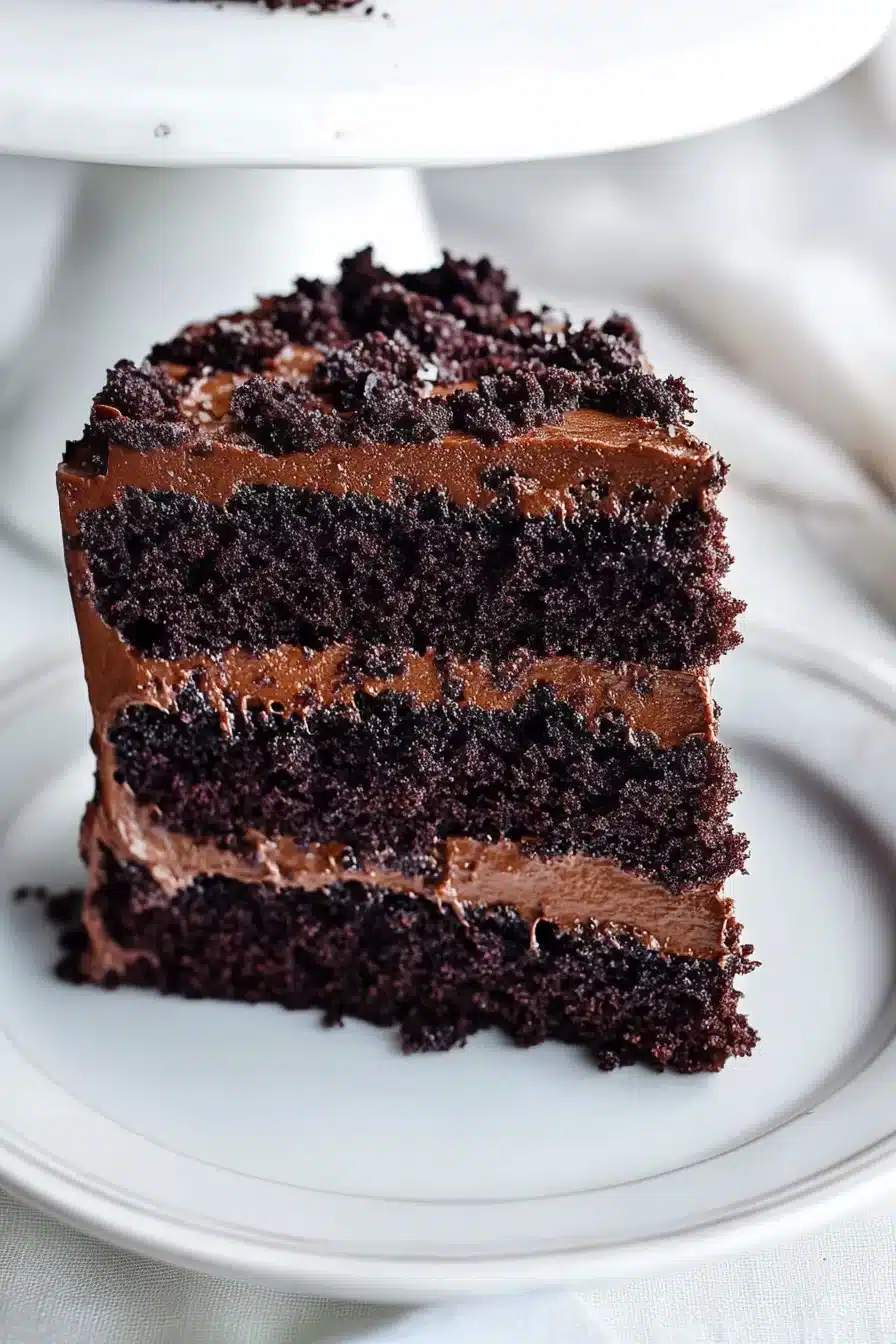
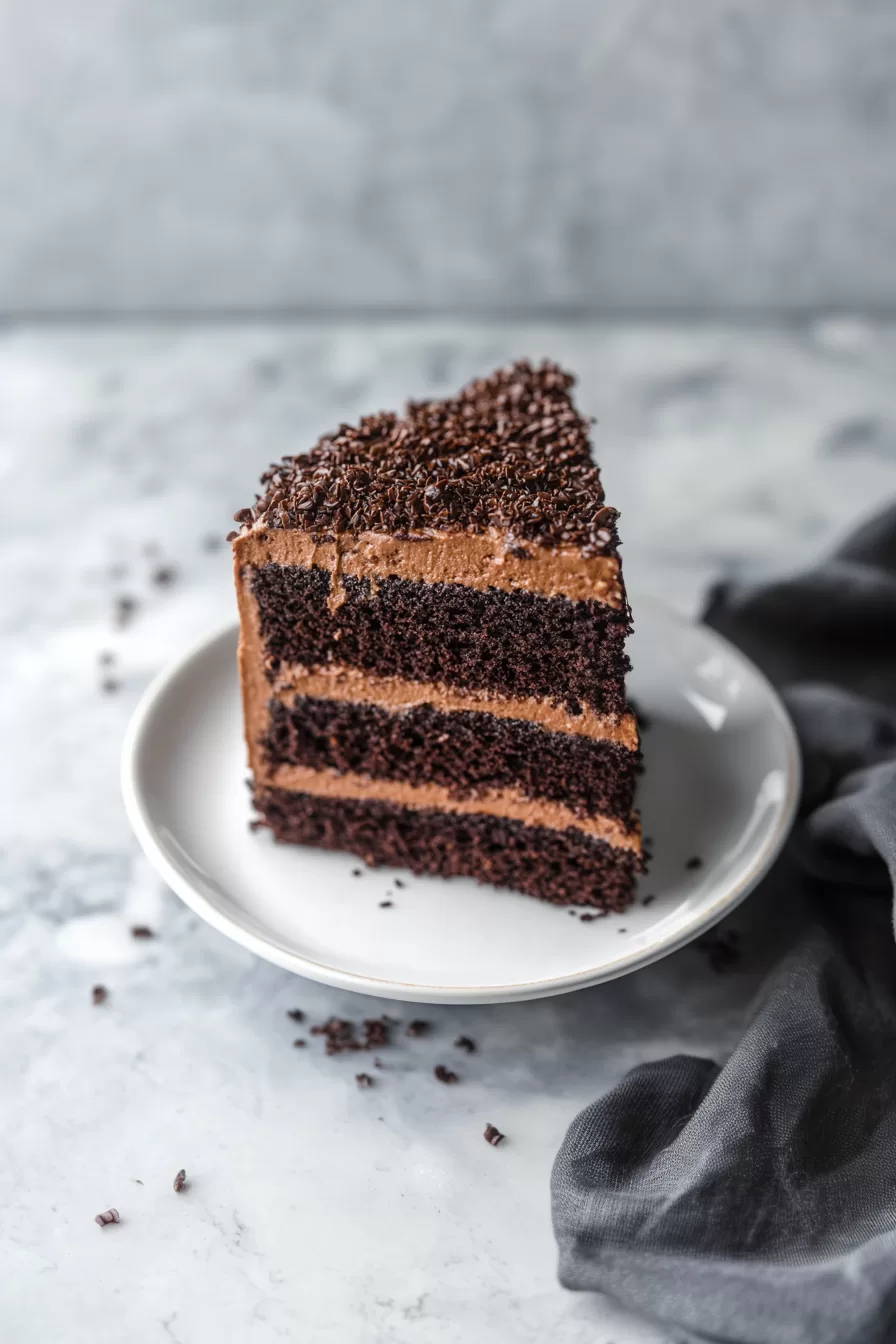
If you’re planning a treat tray or dessert board, these pair beautifully with something rich and chocolatey like this Brooklyn Blackout Cake. It’s the deep, dark yin to the sugar cookie’s pastel yang.
-
For a playful summer vibe, serve them with a scoop of banana-peanut butter ice cream sandwiches. Now that’s a duo with serious snack-time swagger.
-
Hosting a little brunch spread? Add these to the table along with mini quiches or savory muffins like these bacon cornbread muffins. Sweet meets salty? Always a win.
-
They also make an adorable party favor—wrap them in cellophane bags with a ribbon twist and prepare for cookie-induced squeals.

Frequently Asked Questions
Can I make these cookies without almond extract?
Absolutely. Almond extract gives that classic Crumbl scent and flavor, but if it’s not your thing (or if you’re baking for someone with a nut allergy), just use more vanilla extract instead. You can add a tiny splash of lemon juice or zest to give a little extra personality too.
How do I get my frosting the perfect fluffy texture?
Beat the butter until it’s creamy before you add the sugar, then whip it all together with the extracts and cream until it’s smooth and light. Add more cream slowly to get your ideal thickness. If it’s too thick to spread, another teaspoon of cream should loosen it right up. Room temperature ingredients make a big difference here too!
Do these really need to be chilled before eating?
Technically? No. But for the real-deal Crumbl experience, yes! Chilling sets the frosting and makes the cookie slightly firmer around the edges but still soft in the middle. If you love that sweet, cool-textured bite, the fridge is where the magic happens.
Can I freeze the dough and bake later?
Sure can! Scoop and flatten the dough as directed, then flash freeze on a tray, and store the dough disks in a sealed container. When ready to bake, just add a minute or two to the baking time—no need to thaw first. Fresh cookie smell on demand? Yes, please.
Copycat Crumbl Sugar Cookies
Ingredients
For the Sugar Cookies
- 1 cup (227 g) salted butter softened
- 1 1/4 cups (250 g) granulated sugar
- 2 large eggs room temperature
- 1 1/2 tsp (1.5 tsp) vanilla extract
- 1/2 tsp (0.5 tsp) almond extract
- 2 3/4 cups (330 g) all-purpose flour
- 2 tsp baking powder
For the Fluffy Pink Frosting
- 1/2 cup (113 g) salted butter softened
- 2 1/2 cups (325 g) powdered sugar
- 1/2 tsp (0.5 tsp) vanilla extract
- 1/4 tsp (0.25 tsp) almond extract
- 2-3 tbsp (30-45 ml) heavy cream or milk as needed for consistency
- pink gel food coloring just a dab
Equipment
- Baking Sheets
- Parchment paper
- mixer
- Mixing bowls
- Measuring Cups & Spoons
Instructions
- Preheat and prep: Preheat oven to 350°F (175°C). Line 2 baking sheets with parchment paper.
- Cream butter and sugar: In a large bowl, beat the softened butter and granulated sugar until light and fluffy, about 2–3 minutes.
- Add eggs and extracts: Mix in eggs, vanilla, and almond extract until well combined. Scrape down the bowl as needed.
- Incorporate dry ingredients: Sift together flour and baking powder, then gradually add to the wet mixture. Mix on low until a soft dough forms without overmixing.
- Portion and flatten: Scoop out 1/4 cup portions of dough and roll into balls. Place on baking sheets, spacing at least 3 inches apart, and flatten each to 1/2 inch thick with the bottom of a glass.
- Bake: Bake for 9–11 minutes or until the edges look just set (not browned) and the centers are soft. Cool on pan for 5 minutes, then move to wire rack.
- Make the frosting: In a bowl, beat softened butter until creamy. Add powdered sugar in batches, then vanilla, almond extract, and 1 tbsp cream. Beat until light and fluffy, adjusting cream for smoothness. Tint with pink gel food coloring as desired.
- Frost and chill: Once cookies are fully cool, frost generously, leaving a slight border. Chill frosted cookies for at least 45 minutes before serving for classic Crumbl texture.