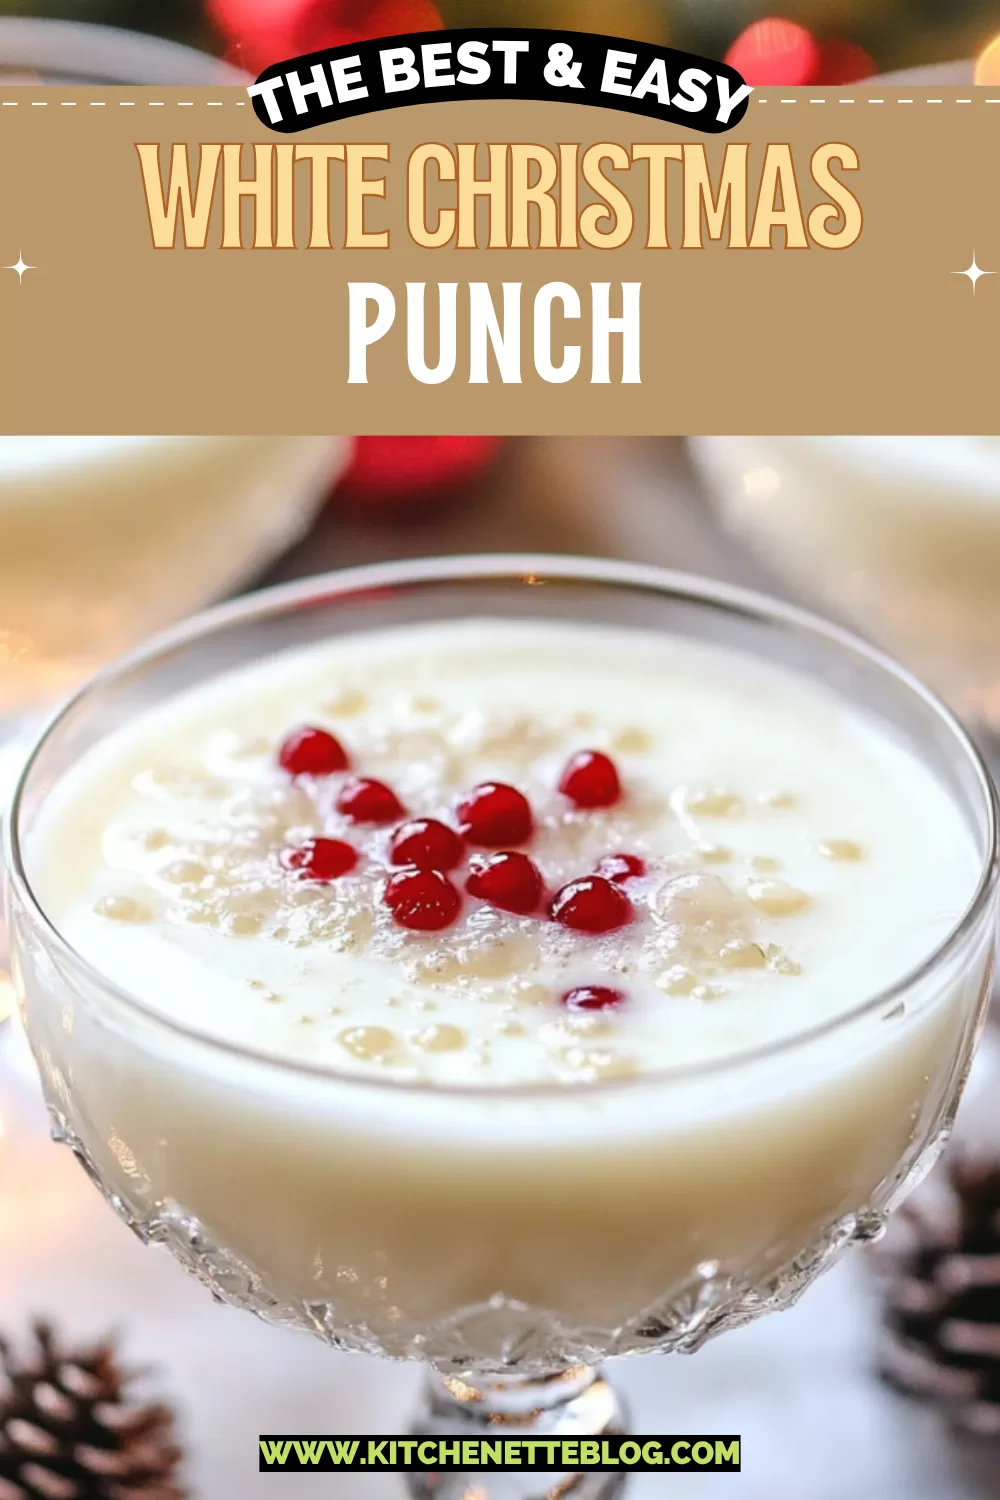
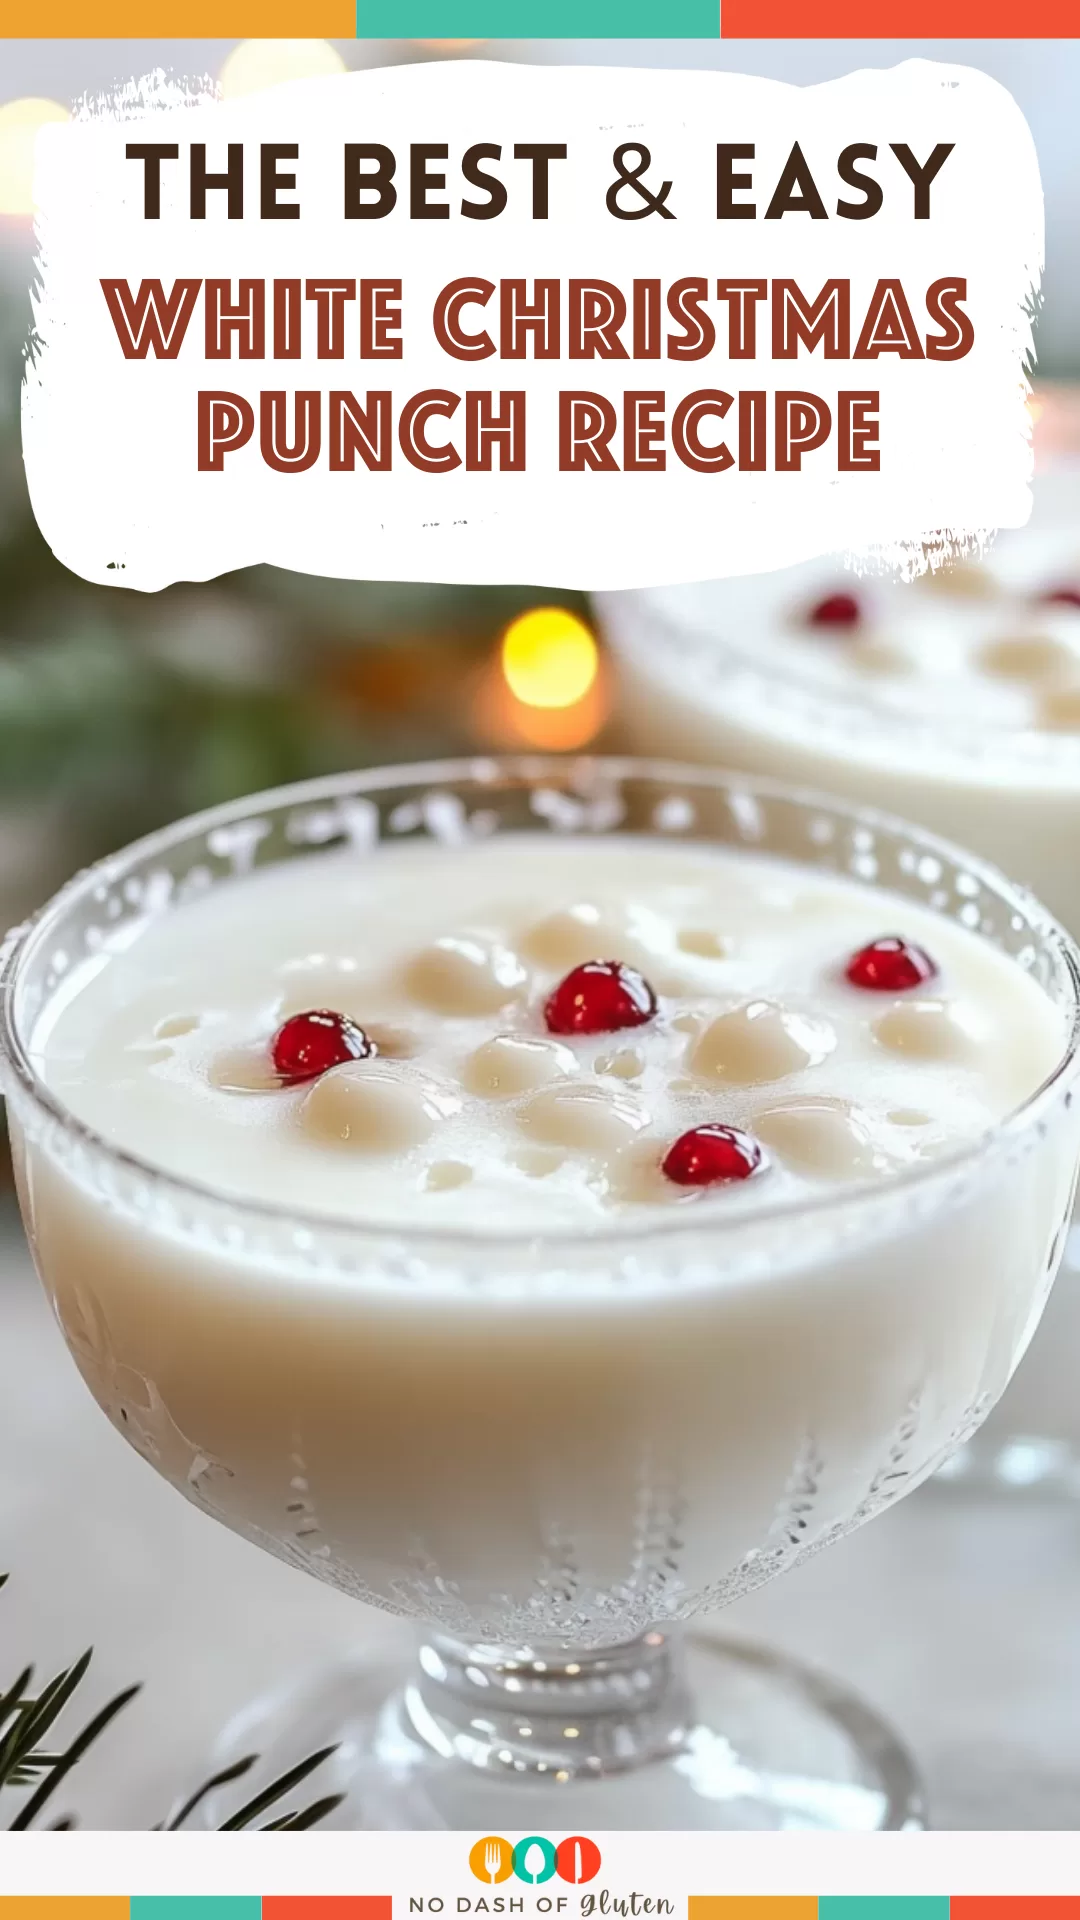
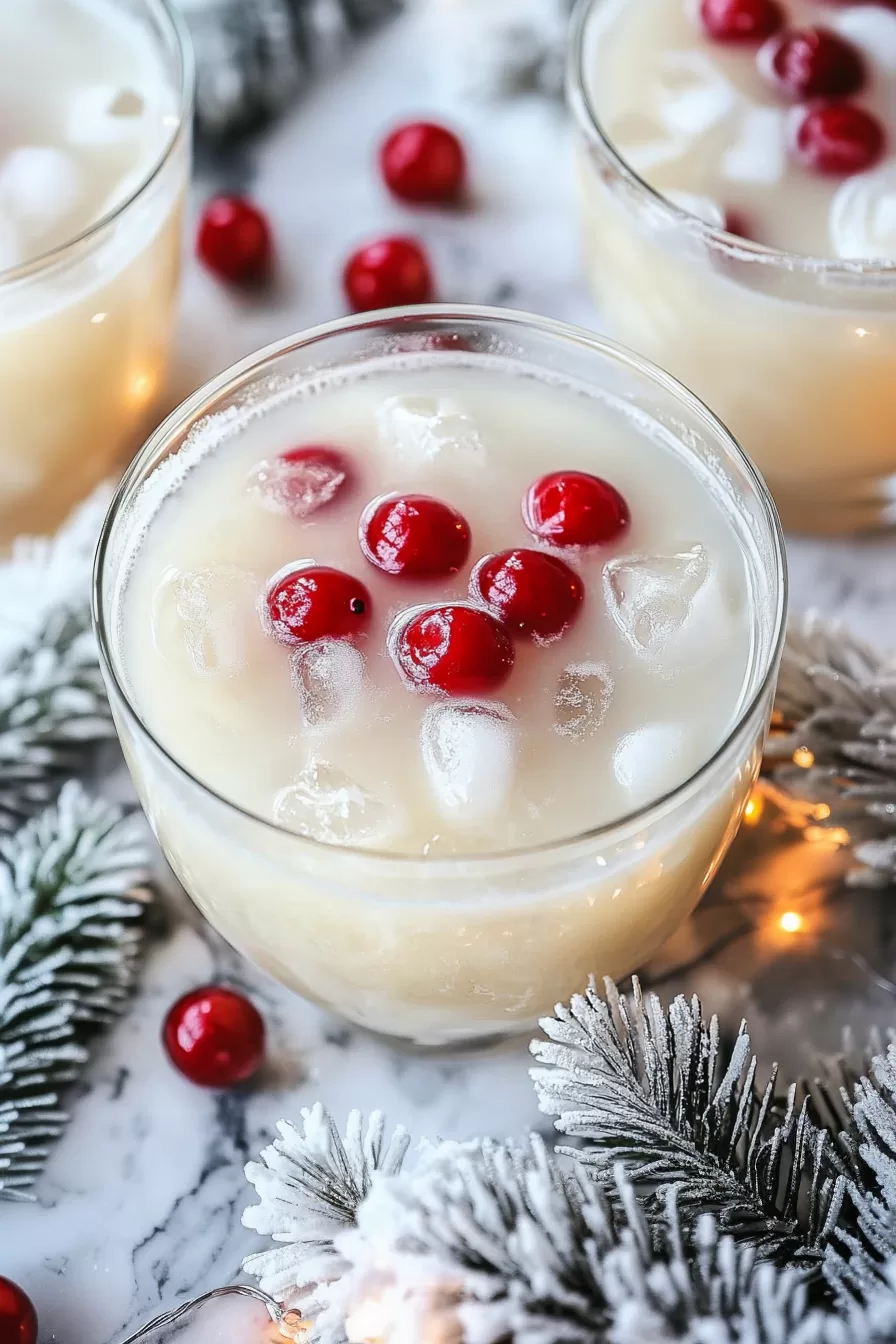
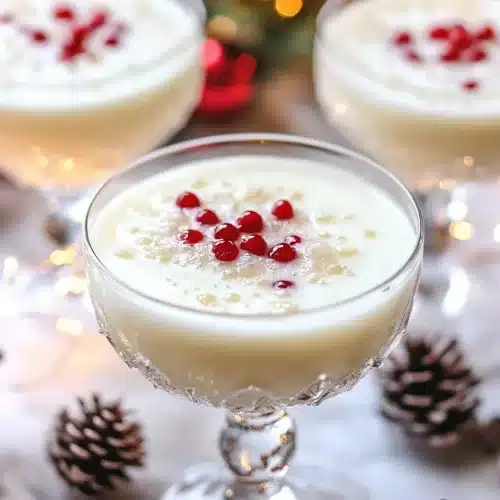
Sweet, fizzy, and just the right amount of creamy, this white Christmas punch is made with lemon-lime soda, vanilla ice cream, condensed milk, and a splash of almond extract. Basically, a party in a bowl.
If you had a snow globe and a milkshake had a baby (just go with it), you’d get this beauty right here. This isn’t your average holiday punch—it’s creamy and icy, with the kind of old-school charm that makes you feel like you should be wearing fuzzy socks and drinking it from a vintage glass. The almond extract gives it that whisper of marzipan warmth, and the soda fizzes things up like a holiday parade in your mouth.
Whether you’re planning a cozy night in or hosting that one friend who always brings a glitter-covered dessert, this drink’s here as your low-stress, high-reward holiday star.
Why You’ll Love this White Christmas Punch
So here’s the deal: this white Christmas punch doesn’t require planning, oven space, or steady piping hands. It’s creamy, fizzy, playful, and—dare I say—kind of magical.
- Ridiculously simple to make: You just stir, scoop, pour slowly, and boom—it’s done before your playlist finishes “Jingle Bell Rock.”
- Sweet and creamy but still fizzy-fresh: Somehow it balances that nostalgic float vibe with enough sparkle to keep it refreshing.
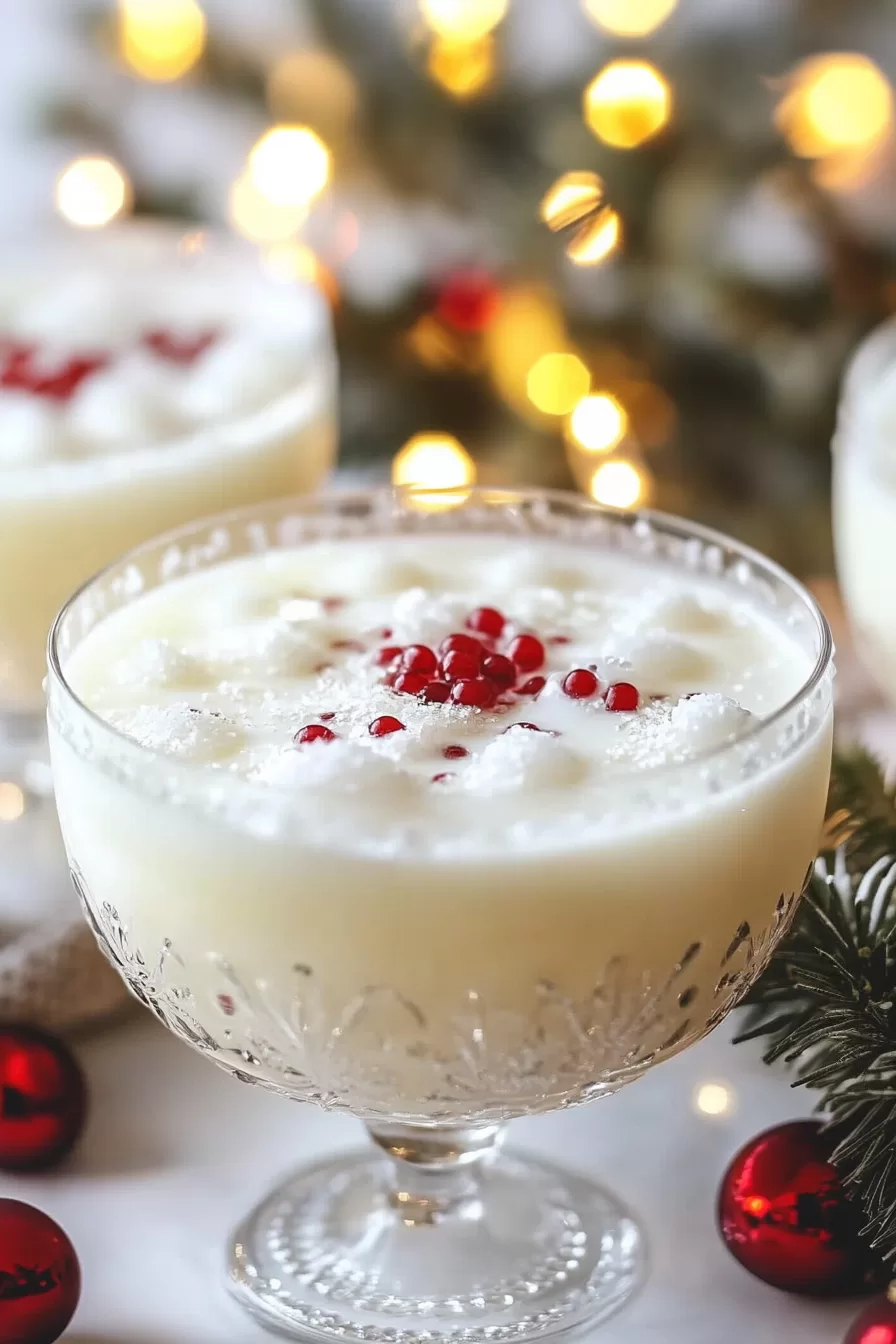
- Customizable for the vibe: Serve it bare and frosty or add whipped cream, cranberries, or sprinkles if you’re feeling fancy.
- Big batch-friendly: One punch bowl does the work, and you look wildly prepared and festive.
- No weird ingredients: You might already have everything on hand, especially if you hoard ice cream like I do.
- Kids and grownups both get it: Add a sneaky splash of booze for the adults or keep it PG for the whole crew.
Ingredient Notes
You’re only four ingredients away from punch bowl glory. It’s all pretty straightforward, but here’s a closer look before we mix:
- Sweetened condensed milk: This thick, glossy liquid brings the sweet and creamy. It’s sticky gold in a can. Don’t confuse it with evaporated milk—they’re very different moods.
- Almond extract: Just a teaspoon or two gives the punch a light, nutty aroma that makes it feel ultra-holiday. Go easy, though—it’s strong and can take over if you’re heavy-handed.
- Lemon-lime soda: Sprite, 7UP, store-brand fizzy goodness—it’s all fair game. It cuts the sweetness and wakes everything up with bubbles.
- Vanilla ice cream: This is what creates the luscious creamy base and gives that gentle snowy color. If you can, grab the good stuff that’s rich and slightly soft already.
How To Make This White Christmas Punch
You don’t need any equipment fancier than a spoon and a decently sized bowl. No cooking required, just some gentle mixing and restraint (mainly from not drinking it all immediately).
-
Mix the creamy part first: Grab a big measuring glass or bowl and combine the condensed milk, almond extract, and about a cup of soda. Stir until smooth. The soda helps loosen the condensed milk and gets it ready for the next step.
-
Build the base in the punch bowl: Scoop that vanilla ice cream into your punch bowl like you’re building a snowman. The softened texture means scooping is easy, and it’ll start to melt into the drink like a dream.
-
Add the sweet cream mix: Pour your condensed milk-almond-soda mixture right over the ice cream scoops. Some bits will melt, some stay creamy—this is where the magic starts.
-
Slowly pour in the rest of the soda: Now, gently pour the chilled soda into the bowl. Go slow so it doesn’t foam over like an ice cream science fair volcano. Give it a light stir to combine; don’t overmix.
-
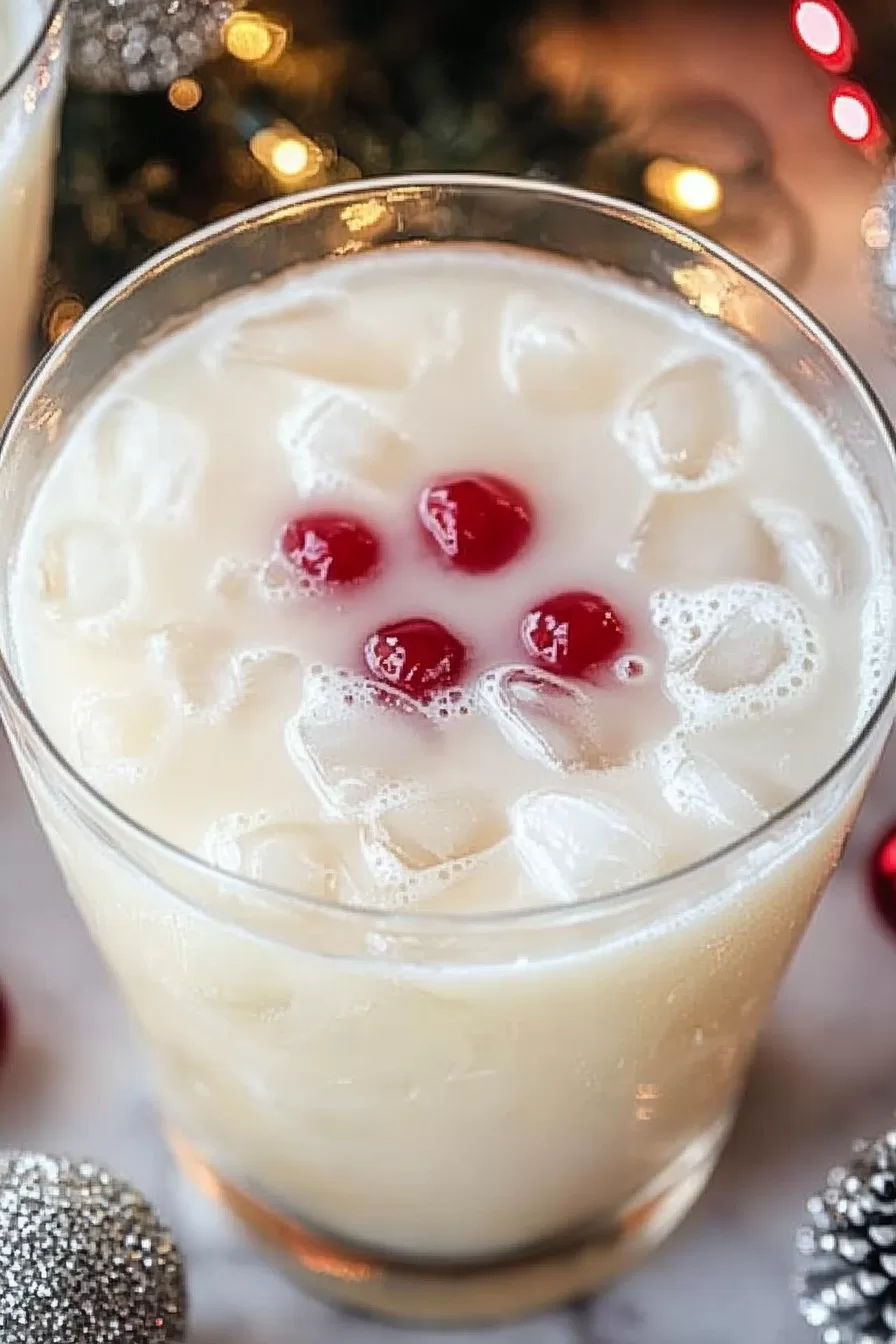
Serve and top if you want: Ladle into glasses and dress it up if you like—whipped cream, frozen cranberries, or snowflake sprinkles all look cute. Or leave it rustic and unfussy. The taste does all the talking.
Storage Options
This punch is one of those “make it and serve it” situations. The fizz fades if it hangs around too long, and melted ice cream isn’t particularly graceful once it gets overly warm or fridge-weird.
If you do have leftovers (which is rare, but let’s say you wildly overestimated your guest list), you can store them in the fridge in a sealed container for a few hours. The texture will change a bit—the bubbles go flat, and it’ll be more like a creamy soda—but still tasty if you don’t mind the shift.
Freezing isn’t ideal, since both dairy and carbonation don’t recover well from it. The ice cream gets icy, and the soda loses all its oomph. If you’re hoping to prep ahead, I recommend mixing the condensed milk, almond extract, and about a cup of soda ahead of time, then just stash that in the fridge until go-time.
For the best result though? Mix and serve fresh. It takes about 5 minutes tops, so it’s low commitment either way.
Variations and Substitutions
This white Christmas punch is a dreamy blank canvas, but there’s plenty of room to play. Here are a few swaps and twists if you’re feeling adventurous:
- Use peppermint extract instead of almond: Just a few drops will give it a whole different holiday vibe—think candy cane milkshake float.
- Swap the soda flavor: Try ginger ale for a spiced mellow twist, or do half soda and half sparkling water to cut the sweetness.
- Add a little color: A splash of cranberry juice or pomegranate juice adds blushy pink tones and a little tart contrast.
- Go dairy-free: Use a dairy-free vanilla ice cream and sweetened almond condensed milk. Still frothy, creamy, and festive with a plant-based spin.
- Grown-up version: Add a splash of amaretto or vanilla vodka for the cocktail crowd. Definitely label the bowl though—confusion could end… interestingly.
What to Serve with White Christmas Punch
A pretty glass of this bubbly white punch deserves a little snack partner or two. Whether you’re going full holiday party or just having a cozy movie night, here’s what vibes with it:
-
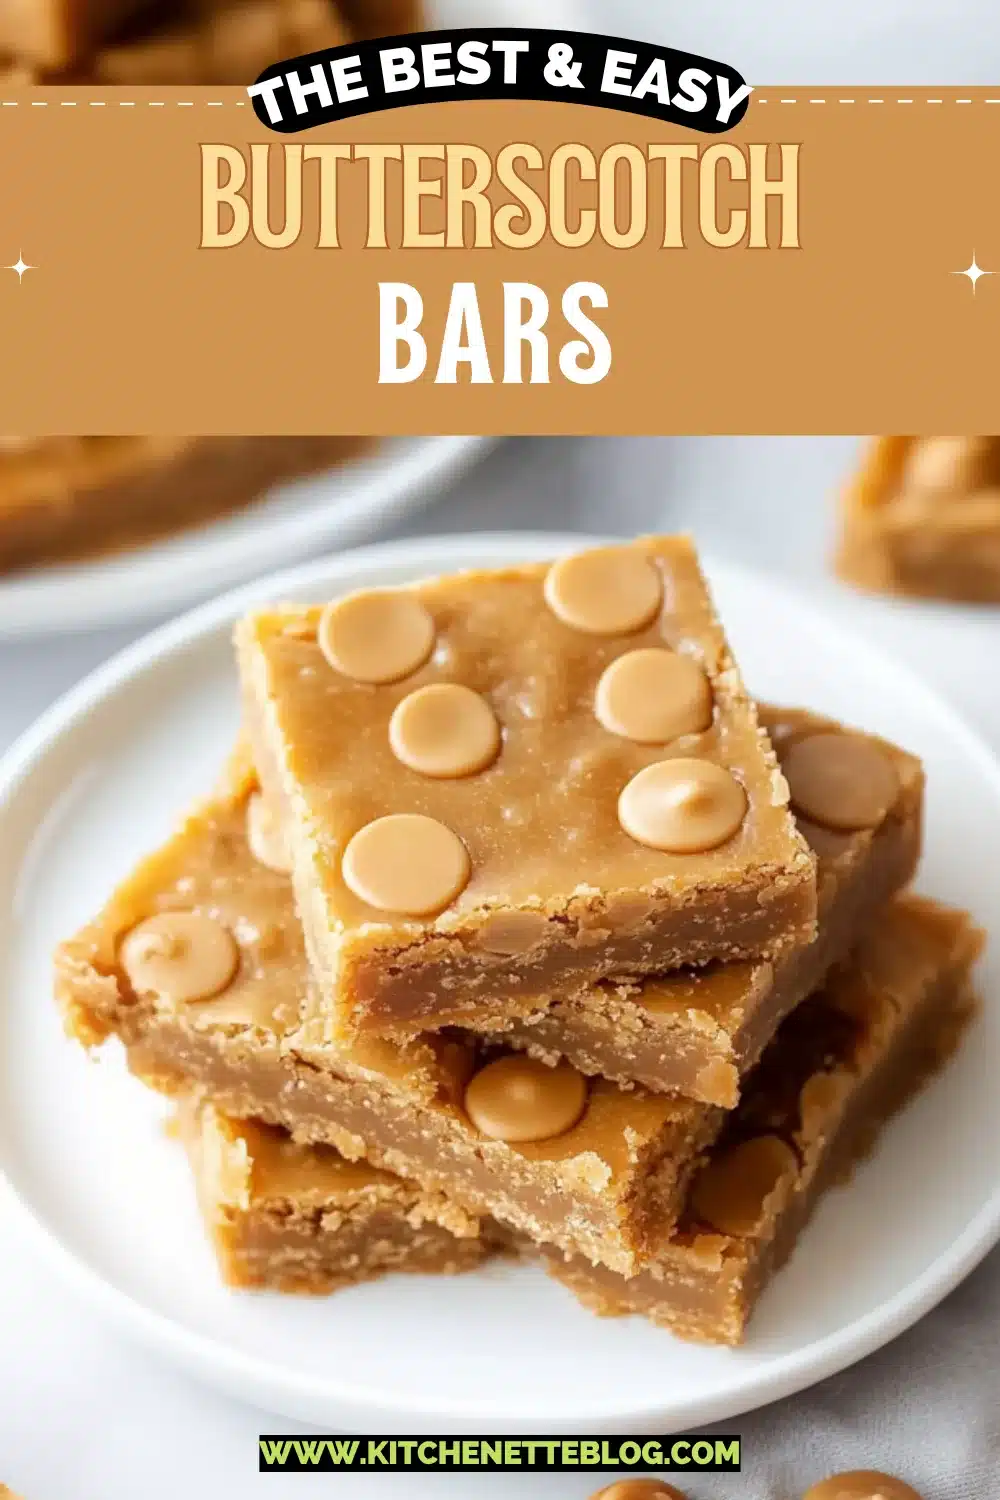
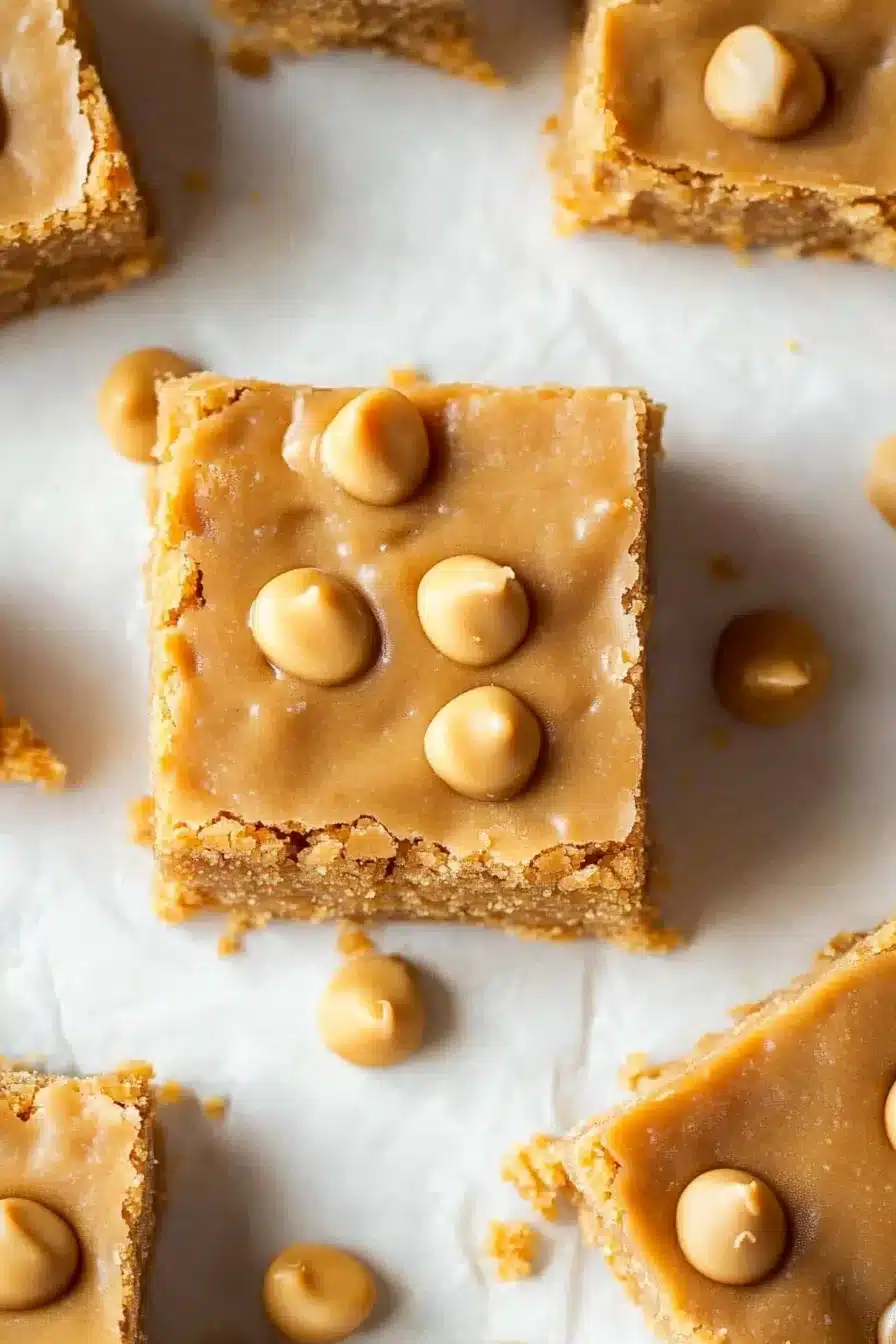
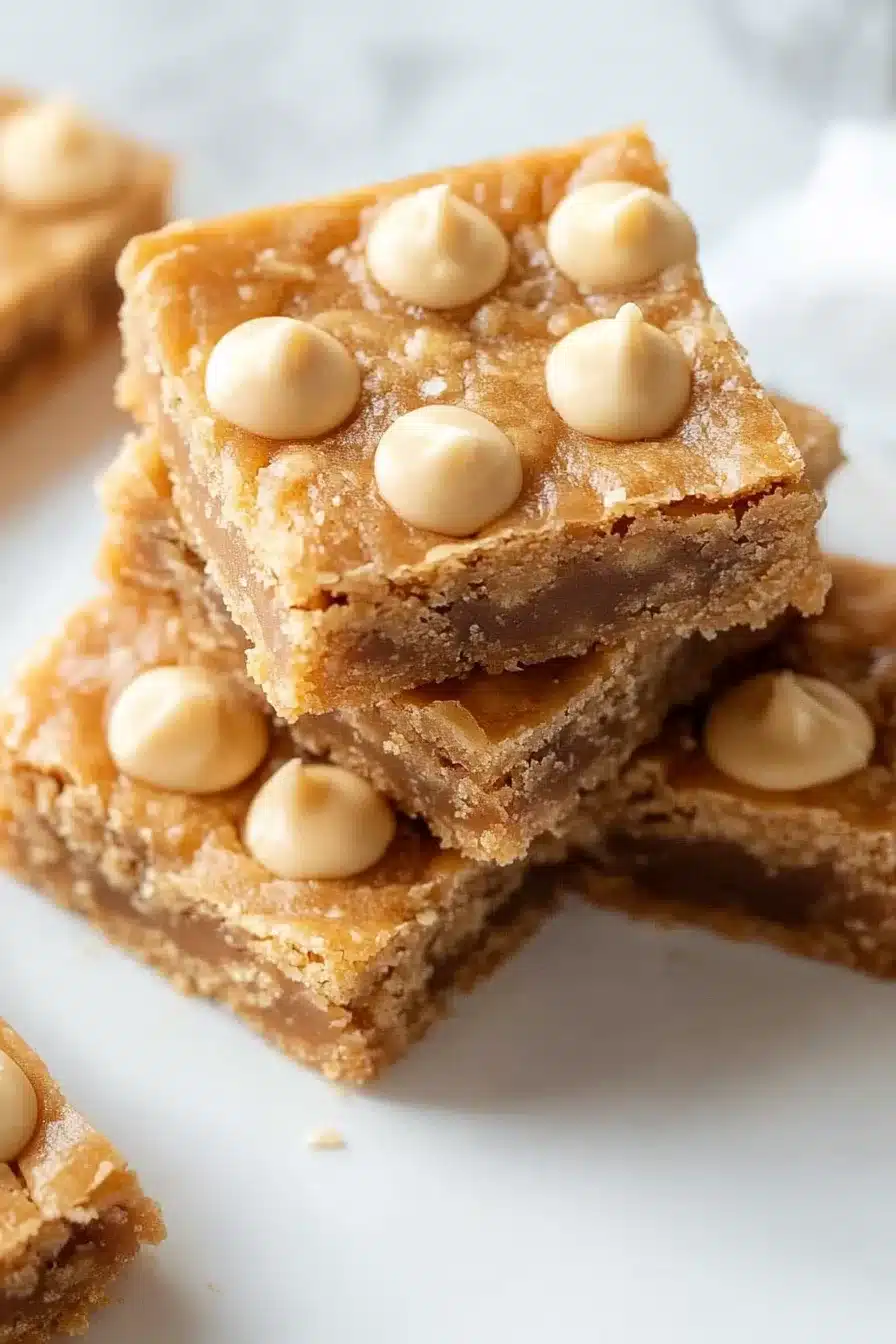
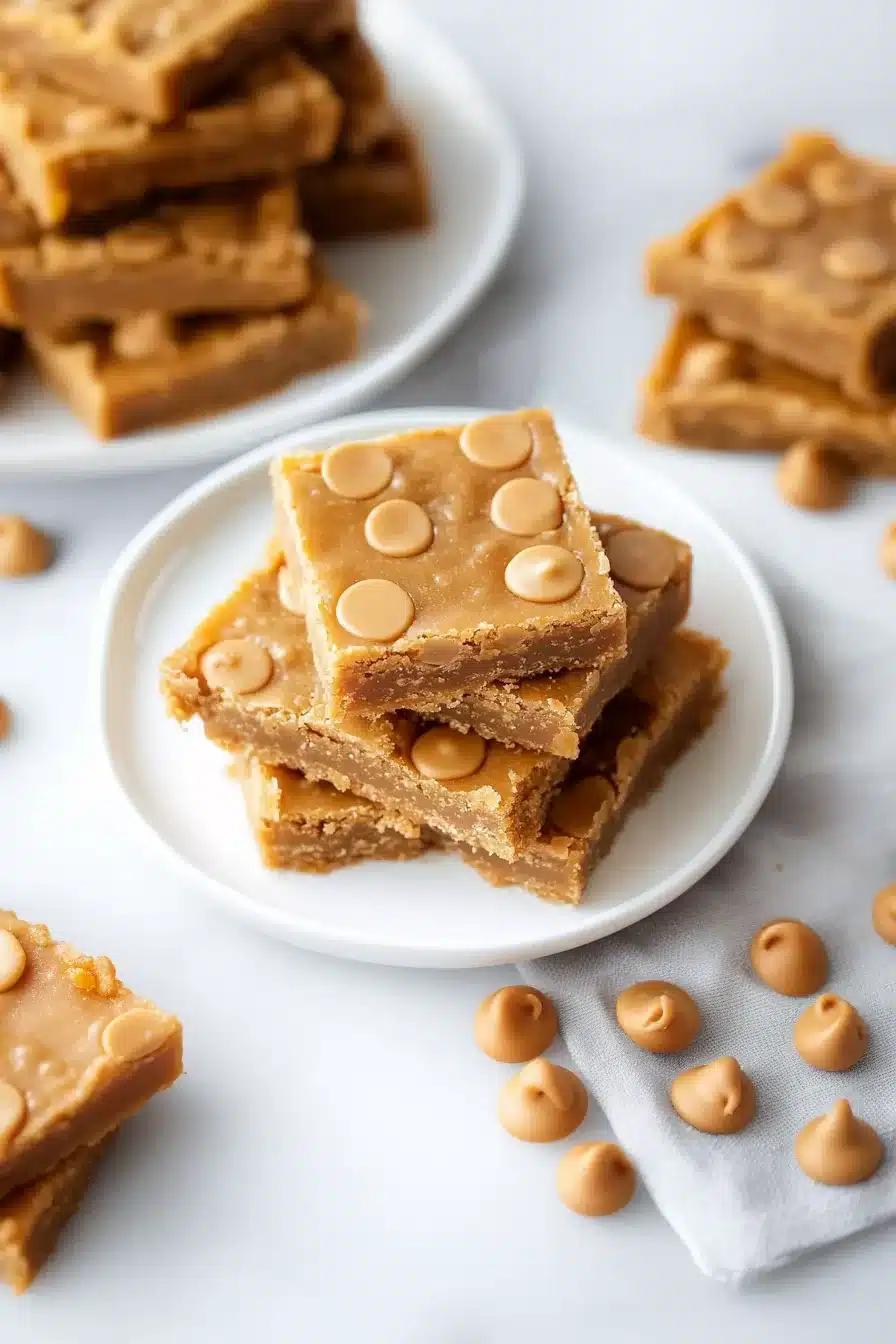
Homemade butterscotch bars would be an outrageously good match. Creamy drink, fudgy-sweet treats? Yes please. They have that satisfying chew that makes your mouth happy after a fizzy sip.
-
Salty crackers with a sharp cheese, like aged cheddar or gouda, balance all the sweet going on. It’s a combo that works every time.
-
Sugar cookies, decorated or plain, are classic with this. If you don’t frost them too heavily, they’re a gentle, buttery backdrop to the punch.
-
If you want a savory counterpoint, small bites like bacon basil cornbread mini muffins give that smoky, herby pop against the sweet drink. Trust your tastebuds on that one.
-
Or keep it icy and lean fully into dessert drinks with peanut butter banana ice cream sandwiches. Messy? Yes. Festive? Also yes.

Frequently Asked Questions
Can I make this ahead of time for a party?
You can prep part of it ahead—specifically, mix the condensed milk, almond extract, and a little soda, then store it covered in the fridge. Don’t add the ice cream or full soda until just before serving though. The bubbles will fade and the ice cream will melt, and nobody wants slightly warm punch soup. Timing is everything here!
What’s the best way to keep the punch cold while serving?
Scoop extra ice cream into the bowl right before guests arrive—it doubles as flavor and chill. Or float a few ice cubes made from soda or milk (so they don’t water it down). Just avoid regular ice if you’re in it for that creamy texture. Bonus tip: chill your serving glasses in the freezer for about 15 minutes for an extra frosty vibe.
Can I use a different extract besides almond?
Totally! Peppermint gives it a minty flair, vanilla makes it a little more mellow, and orange extract adds festive citrus warmth. Just remember, extracts are potent. Go easy and taste as you go. It’s easier to add more than to try fixing an overly bold punch.
Is there a dairy-free version of this recipe?
Yep, and it can be fabulous. Use a high-quality dairy-free vanilla ice cream (coconut or oat milk-based ones work well), and swap the regular condensed milk with a sweetened condensed coconut milk. Almond extract still works perfectly, and the texture stays creamy even without dairy. It won’t taste identical, but it’ll still be dreamy and holiday-worthy.
White Christmas Punch
Ingredients
Main Ingredients
- 14 oz (396 g) sweetened condensed milk 1 can (396g)
- 1-2 tsp (5-10 ml) almond extract to taste
- 2 liters (2 l) lemon-lime soda Sprite, 7UP, or similar; well chilled
- 1.5 quarts (1.4 l) vanilla ice cream softened slightly (about 1.4 liters)
Optional Toppings
- whipped cream for garnish
- frozen cranberries for garnish
- festive sprinkles for garnish
Equipment
- Punch Bowl
- Large Spoon
- Measuring cup
Instructions
- Mix the creamy base: In a large bowl or measuring cup, stir together the sweetened condensed milk, almond extract, and about 1 cup of the soda until it's smooth and blended. The soda helps loosen the condensed milk.
- Build the punch base: Scoop the softened vanilla ice cream into your punch bowl.
- Add the cream mixture: Pour the condensed milk and soda mixture over the ice cream.
- Pour soda slowly: Gently pour in the rest of the chilled lemon-lime soda. Go slow to avoid too much foam and fizz. Lightly stir to combine, but don't overmix.
- Serve and decorate: Ladle into glasses and top with whipped cream, frozen cranberries, or holiday sprinkles if desired. Serve immediately for best fizz and creamy texture.