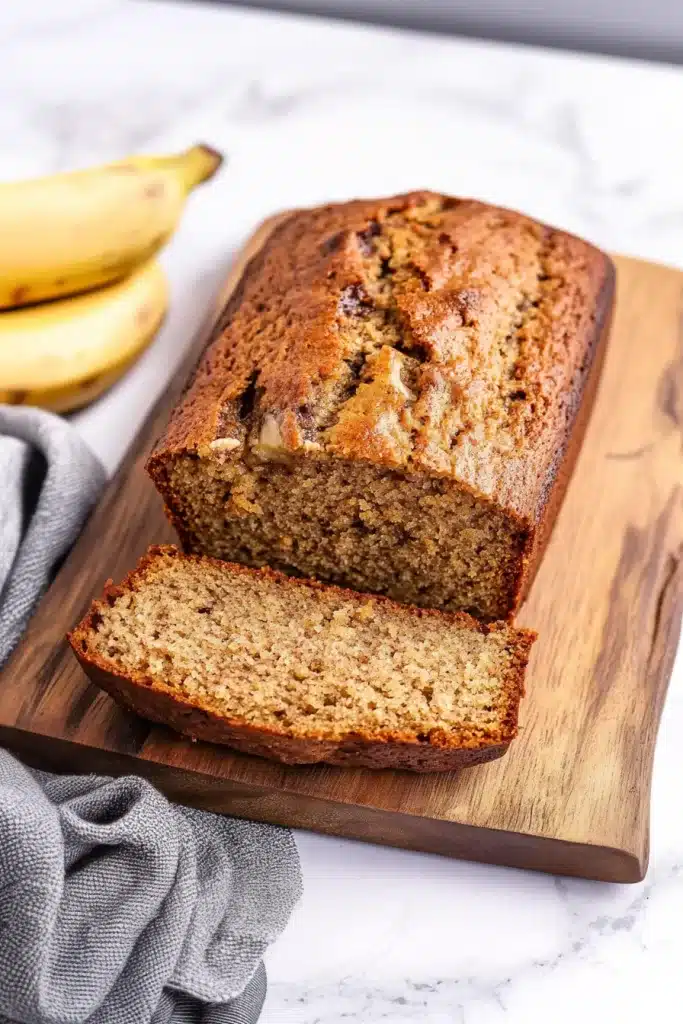
Buttery bananas, toasted walnuts, a hint of vanilla—this Starbucks banana bread is everything you love about the coffee shop version, minus the to-go bag. With just ripe bananas, sugar, flour, eggs, oil, and walnuts, your kitchen is about to smell downright glorious.
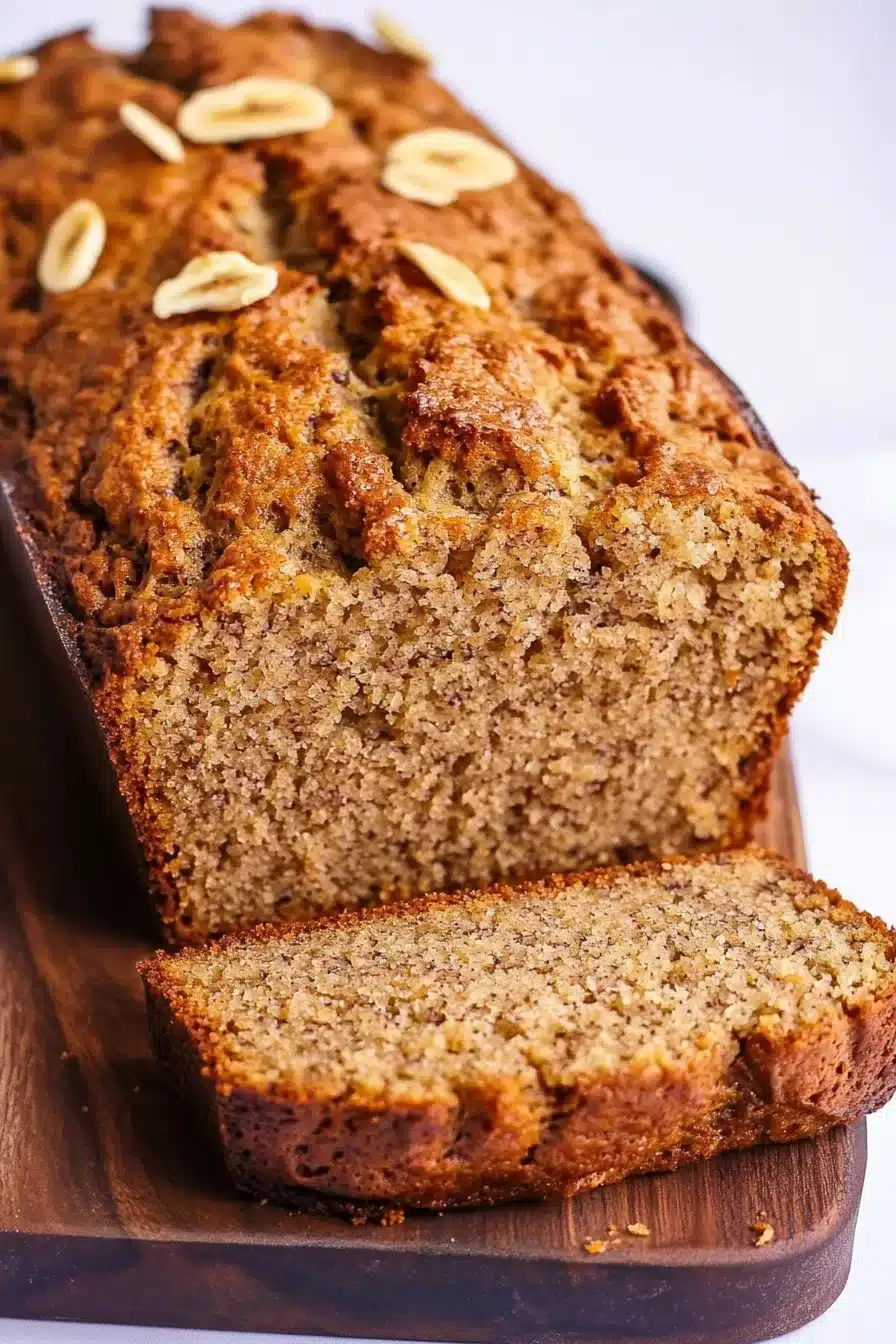
There’s something wildly comforting about making banana bread. Maybe it’s the smell—sweet and nutty, like a warm hug from your oven. Or maybe it’s knowing that you’re transforming those neglected brown bananas into something downright magical (and, yes, snack-worthy). This one is true to that rich, moist classic you’d spot behind the glass at Starbucks, with those sweet easy-to-slice edges and crunchy walnut top.
Perfect warm with a slather of butter… or cold from the fridge while you casually stand over the sink. No judgment. Either way, you’re gonna want to keep this one close.

Why You’ll Love this Starbucks Banana Bread
It’s banana bread—of course it’s lovable. But this one? This one hits differently. No fancy gadgets, no secret ingredients (unless you count the gentle chaos of three overly ripe bananas). Just wonderfully moist texture, a nutty crown, and cozy café vibes in your own kitchen.
- Ridiculously simple to make: You stir a few bowls, mash a few bananas, and the oven does most of the actual work.
- Deep banana flavor: You’ll really taste the bananas because there’s nothing to hide them—no extra spices or distractions.
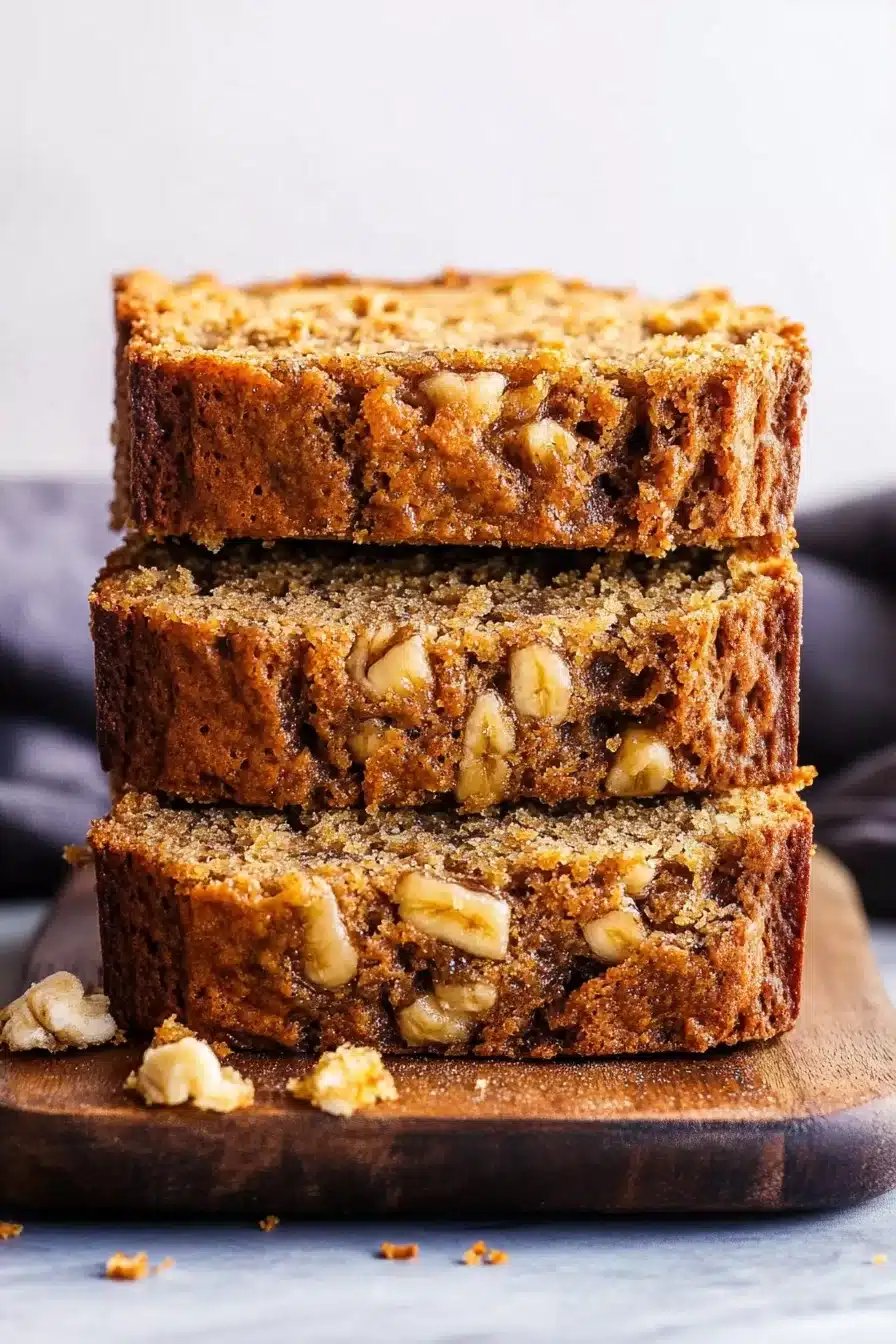
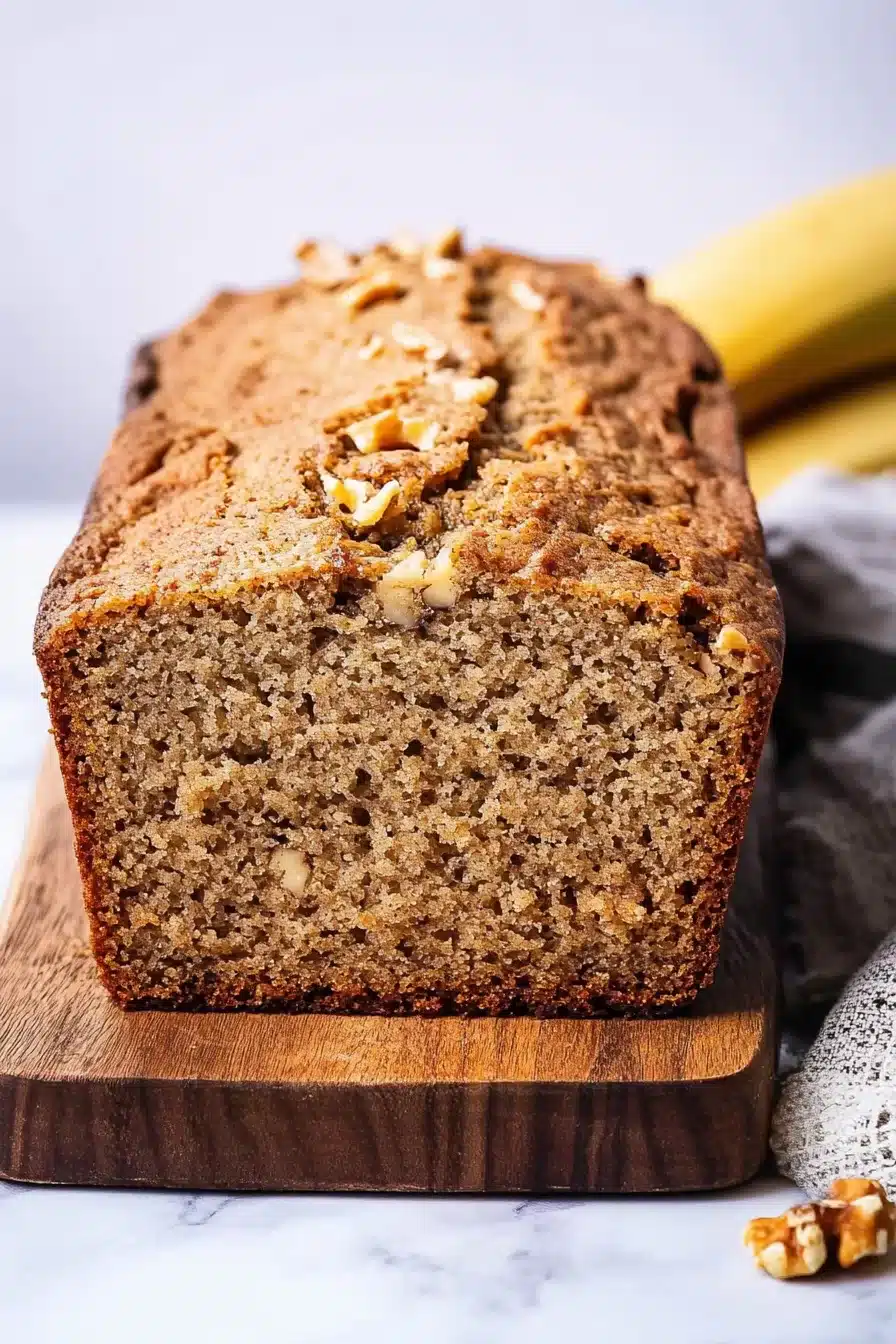
- Walnut lovers, rejoice: There are chopped walnuts inside and a sprinkle on top for a toasty crunch.
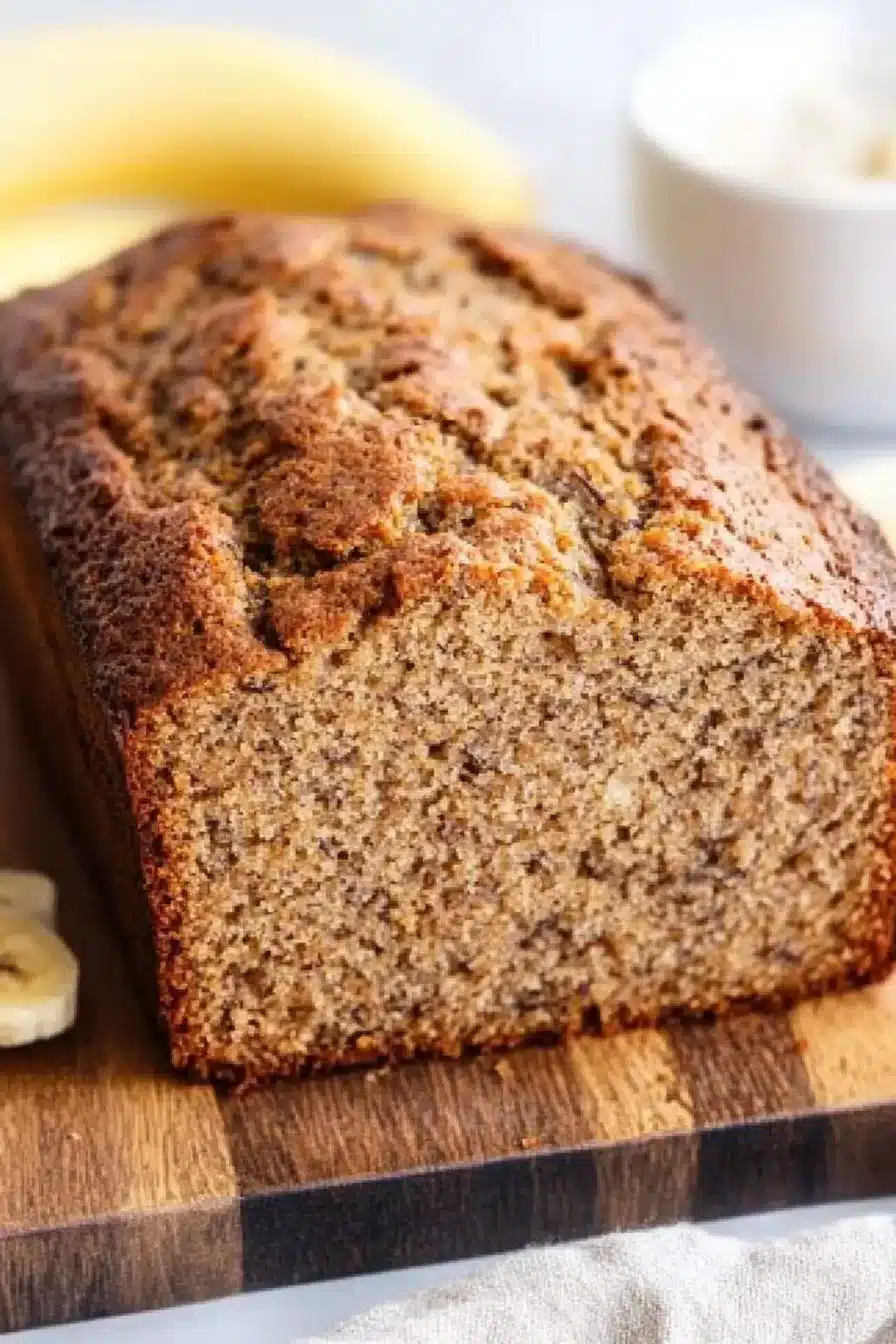
- Moist, tender crumb: Thanks to the oil and buttermilk combo, each slice stays soft without being greasy.
- Smells like a dream: That warm banana-vanilla smell wrapping around you while it bakes? Pretty sure heaven is scented like this.
Ingredient Notes
Short and sweet (just like the ingredient list). Here’s what’s going in, and why it matters.
- Flour: All-purpose flour works great here. It creates a tender structure and helps balance all the moisture from the bananas.
- Baking soda: This gives your loaf its rise and soft crumb. Do check the date—old baking soda means sad, dense bread.
- Salt: Just a pinch, but it brings out all the flavors, especially the banana.
- Egg: One is plenty to bind everything nicely. For best results, let it come to room temp.
- Sugar: Regular white sugar keeps things sweet and classic. No need for brown sugar here—simplicity wins.
- Vegetable oil: Helps keep the bread extra moist without overwhelming any of the flavors.
- Buttermilk: Adds the tiniest bit of tang and makes the crumb incredibly soft. You can sub lemon juice + milk if needed.
- Vanilla extract: Adds warmth and rounds out the sweetness—just a dash makes a big difference.
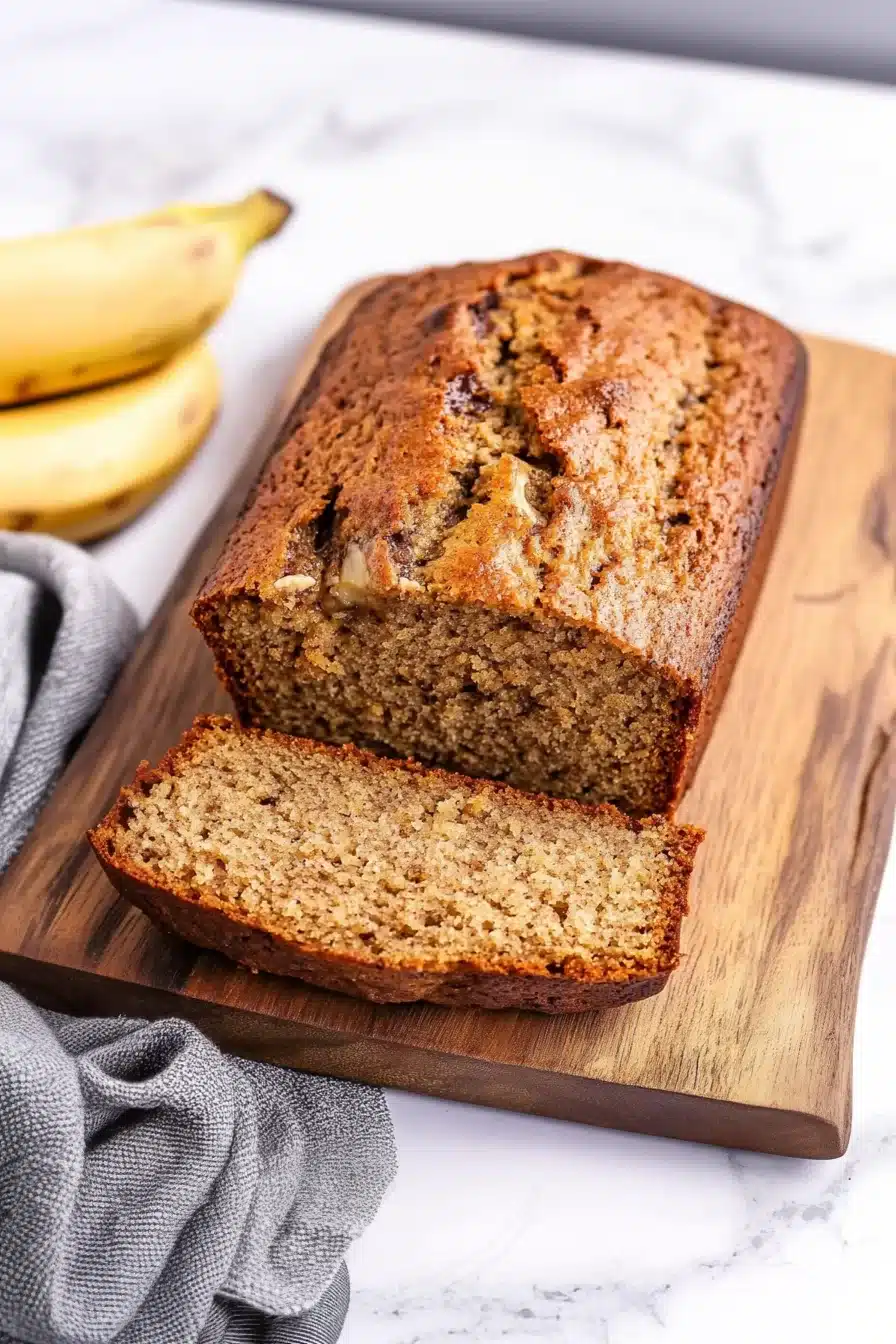
- Bananas: The riper the better. Think spotty, even blackened. If they’re fragrant and a little mushy, they’re perfect.
- Walnuts: You’ll stir them in and sprinkle them on top. Toast them first if you like extra flavor and crunch.
How To Make This Starbucks Banana Bread
Okay, let’s get banana-bready. This process is relaxed, forgiving, and totally doable even if your brain’s half-asleep. Which is usually when I want banana bread anyway.
- Preheat and prep your pan: Start by setting the oven to 325°F. Grease a standard loaf pan and give it a little flour dusting so nothing sticks.
- Mix the dry ingredients: In a medium bowl, sift together your flour, baking soda, and salt. This avoids clumps and keeps things light.
- Whisk the wet base: In a large mixing bowl, combine the egg, sugar, and oil. Stir, don’t beat. You just want it all mixed and glossy-ish.
- Combine wet and dry: Gently stir in the dry ingredients. No need to over-mix—we want tender, not tough.
- Add moisture-makers: Now fold in the buttermilk, vanilla, and mashed bananas. Don’t worry if it looks slightly lumpy. That’s banana bread, baby.
- Stir in walnuts: Fold in half a cup of the chopped walnuts. Save the rest—they’re for a crunchy topping.
- Get it in the oven: Pour the batter into your prepped loaf pan. Smooth the top a bit, then sprinkle with the remaining walnuts.
- Bake ‘til golden and dreamy: It’ll take 45 to 60 minutes. Every oven is different, so start testing at 45 with a toothpick. A few moist crumbs clinging is okay.
- Cool it down: Let it sit for 10 minutes in the pan, then lift it onto a wire rack. Cool completely before slicing. Or don’t wait. I get it.
Storage Options
Let’s talk leftovers—assuming you somehow don’t eat the whole loaf in one sitting (been there).
Once it’s cooled, wrap your banana bread tightly in plastic wrap or stash it in an airtight container. It’ll stay moist and magical at room temp for about three days. After that, pop it in the fridge to stretch it a few more.
Want to freeze it? Oh yes, it freezes beautifully. Wrap individual slices in plastic, then slide them into a freezer bag. That way, you can thaw just one slice at a time (microwave for 30 seconds and ta-da, banana heaven). You can also freeze the whole loaf, just make sure it’s double-wrapped to prevent freezer funk.
Reheating is simple: A quick zap in the microwave or a few minutes in the toaster oven brings back all the soft, warm glory. Slap on some butter while it’s warm and try not to melt yourself.
Variations and Substitutions
Want to mix it up a little? No judgment here. This recipe is super flexible.
- Nuts out: Skip the walnuts if you’re not a fan, or swap them with pecans, almonds, or heck—chocolate chips.
- Dairy-free: Use almond milk with a splash of lemon juice instead of buttermilk, and make sure your oil and vanilla are dairy-free too.
- Oil swap: You can use melted butter if you’d rather. It’ll add a rich flavor but might make the crumb slightly denser.
- Sweet tooth tweak: Stir in a handful of white or dark chocolate chips for a dessert-y loaf. Keep them away from the top so they don’t burn.
- Fruit twist: Try folding in chopped dates or dried cranberries if you’re feeling fancy. Go light—too much and it gets soggy.
What to Serve with Starbucks Banana Bread
Banana bread’s a solo act most days, but every now and then it’s fun to build a breakfast (or snack plate) around it.
- Pair it with some strong coffee and thick Greek yogurt with honey on the side for a low-effort, high-reward breakfast spread. You’ll feel like you’re having brunch at a café… in socks.
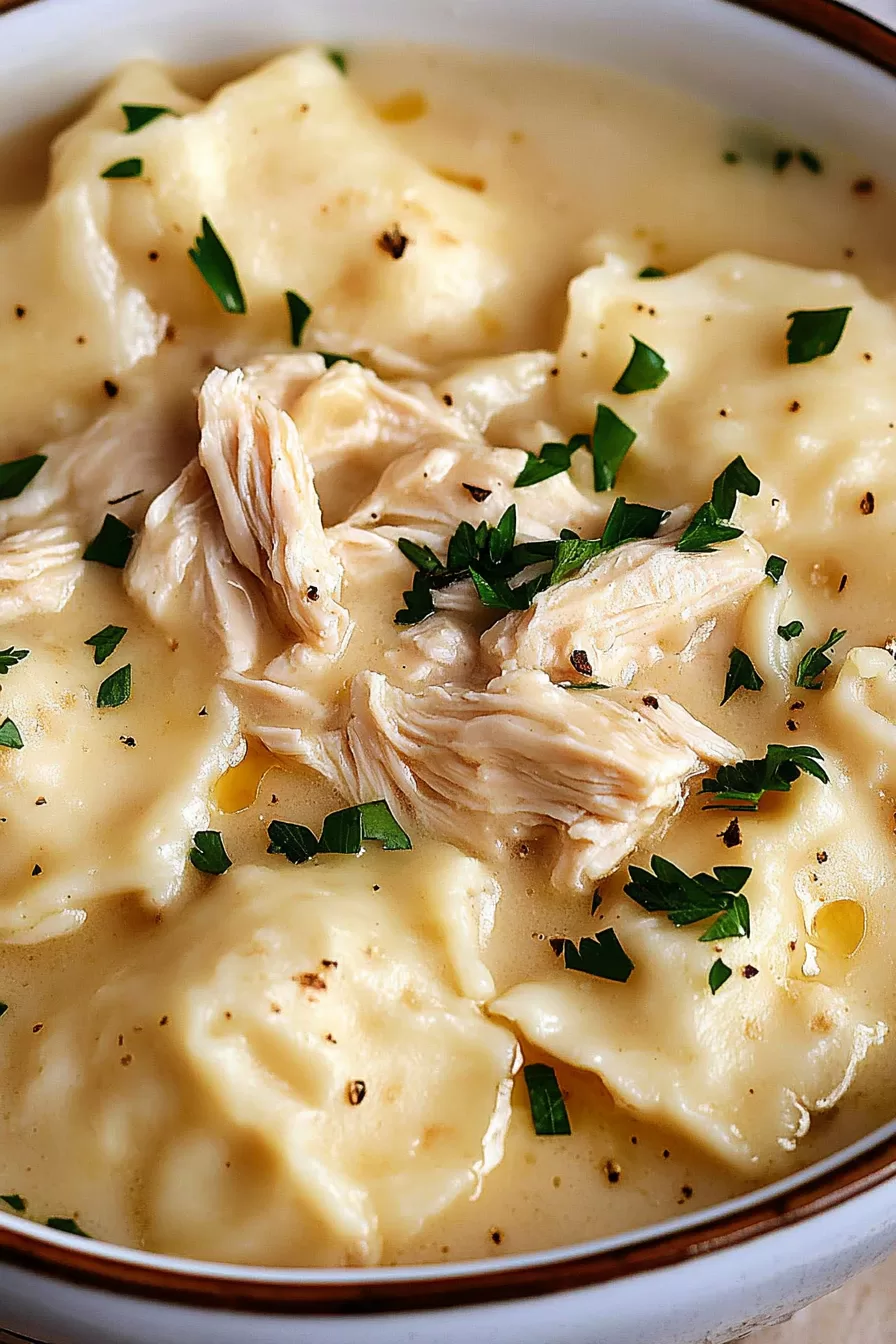
- Serve it with a cozy bowl of soup or stew. Sounds weird? Hear me out. The slightly sweet bread’s a great sidekick to something savory and warm, like this chicken and dumplings situation.
- Slice it, toast it lightly, then smear with almond butter and a pinch of flaky salt. Add some sliced strawberries if you’re feeling extra.
- For a casual party or picnic, cut the loaf into thick cubes, add toothpicks, and serve it as finger food next to savory bites like antipasto squares. Yes, banana bread and meat-cheese squares can coexist.
Frequently Asked Questions
Can I use frozen bananas for this recipe?
Yes, frozen bananas work beautifully! Just thaw them completely and drain any excess liquid. They’ll look gross and mushy, but trust me, that’s the sweet flavor-packed goo you want. And they mash up like a dream.
What if I don’t have buttermilk?
No worries at all. Just add 1/2 tablespoon of lemon juice or white vinegar to 2 tablespoons of regular milk. Let it sit for 5 minutes and bam, instant buttermilk swap. It helps with tenderness and flavor, so don’t skip it entirely.
How do I know when banana bread is done?
Start testing at 45 minutes. Stick a toothpick into the center—if it comes out clean or with a few sticky crumbs, it’s good to go. If it’s still batter-y, give it another 5 to 10 minutes and test again. The top should be golden and firm.
Can I make this without nuts?
Absolutely. Just leave out the walnuts altogether, no need to replace them unless you want to. You could sub in chocolate chips, seeds, or dried fruit if you’re into that. Or keep it classic and smooth—still delicious either way.
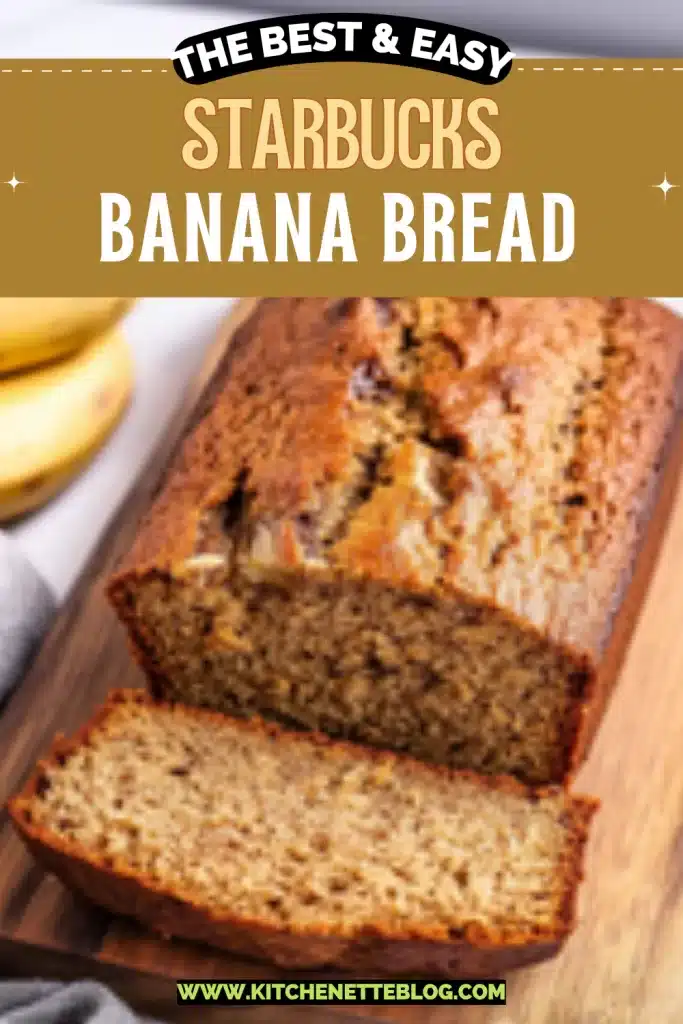
Starbucks Banana Bread
Ingredients
Dry Ingredients
- 1 1/2 cups (190 g) all-purpose flour
- 1 tsp baking soda
- 1/2 tsp (0.5 tsp) salt
Wet Ingredients
- 1 large egg room temperature preferred
- 3/4 cup (150 g) granulated sugar
- 1/2 cup (120 ml) vegetable oil
To Fold In
- 2 tbsp (30 ml) buttermilk or 2 tbsp milk + 1/2 tbsp lemon juice
- 1 tsp vanilla extract
- 3 (300 g) ripe bananas about 1 1/4 cups mashed, very ripe
- 3/4 cup (85 g) walnuts chopped, divided; toasted if desired
Equipment
- Loaf Pan
- Mixing bowls
- Whisk
- Rubber spatula
- Wire rack
Instructions
- Preheat your oven to 325°F (165°C). Grease and lightly flour a standard loaf pan for easy removal.
- In a medium bowl, sift together the flour, baking soda, and salt. Set aside.
- In a large bowl, whisk the egg, sugar, and vegetable oil until well combined and glossy. No need to beat—just mix until smooth.
- Stir the dry ingredients into the wet mixture gently. Mix until just combined—avoid over-mixing for a tender loaf.
- Fold in the buttermilk, vanilla extract, and mashed bananas. If your batter looks a bit lumpy, that's totally normal.
- Gently fold in half of the chopped walnuts (about 3/8 cup), reserving the rest for topping.
- Pour the batter into the prepared loaf pan, smoothing the top. Sprinkle the remaining walnuts evenly over the top.
- Bake in the preheated oven for 45–60 minutes, or until the loaf is golden and a toothpick inserted in the center comes out clean or with just a few damp crumbs.
- Cool in the pan for 10 minutes, then transfer to a wire rack to cool completely before slicing—if you can wait that long!