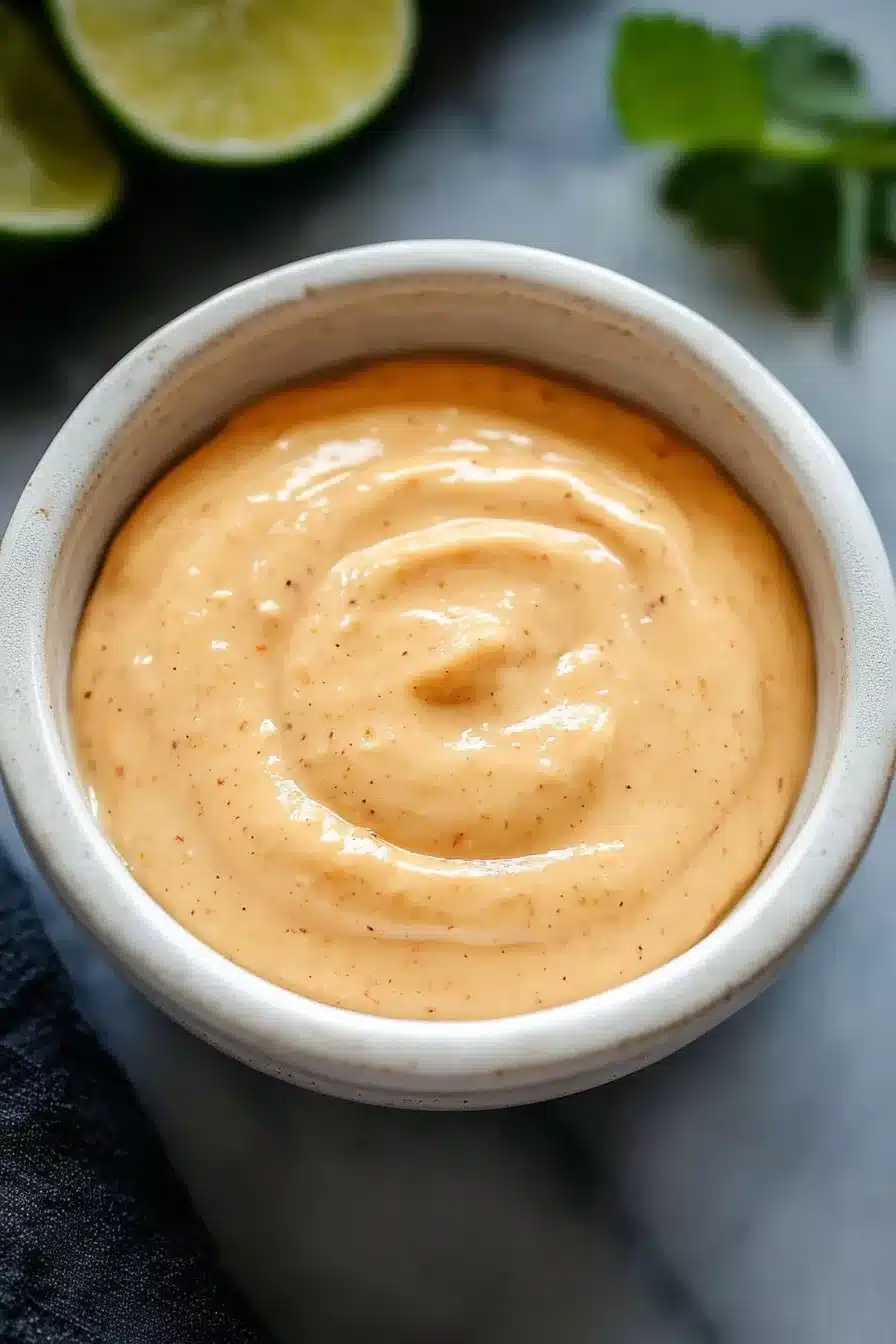

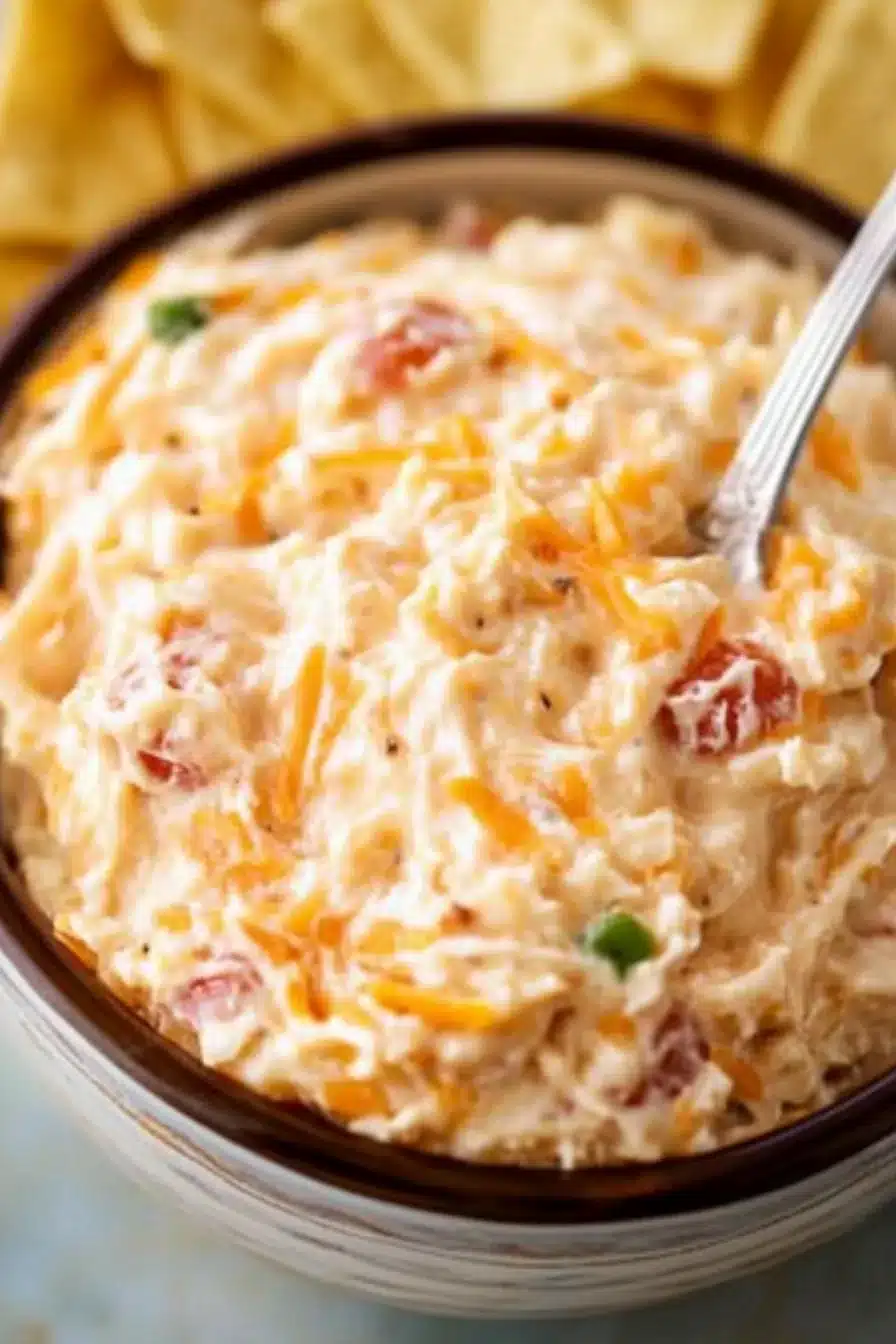
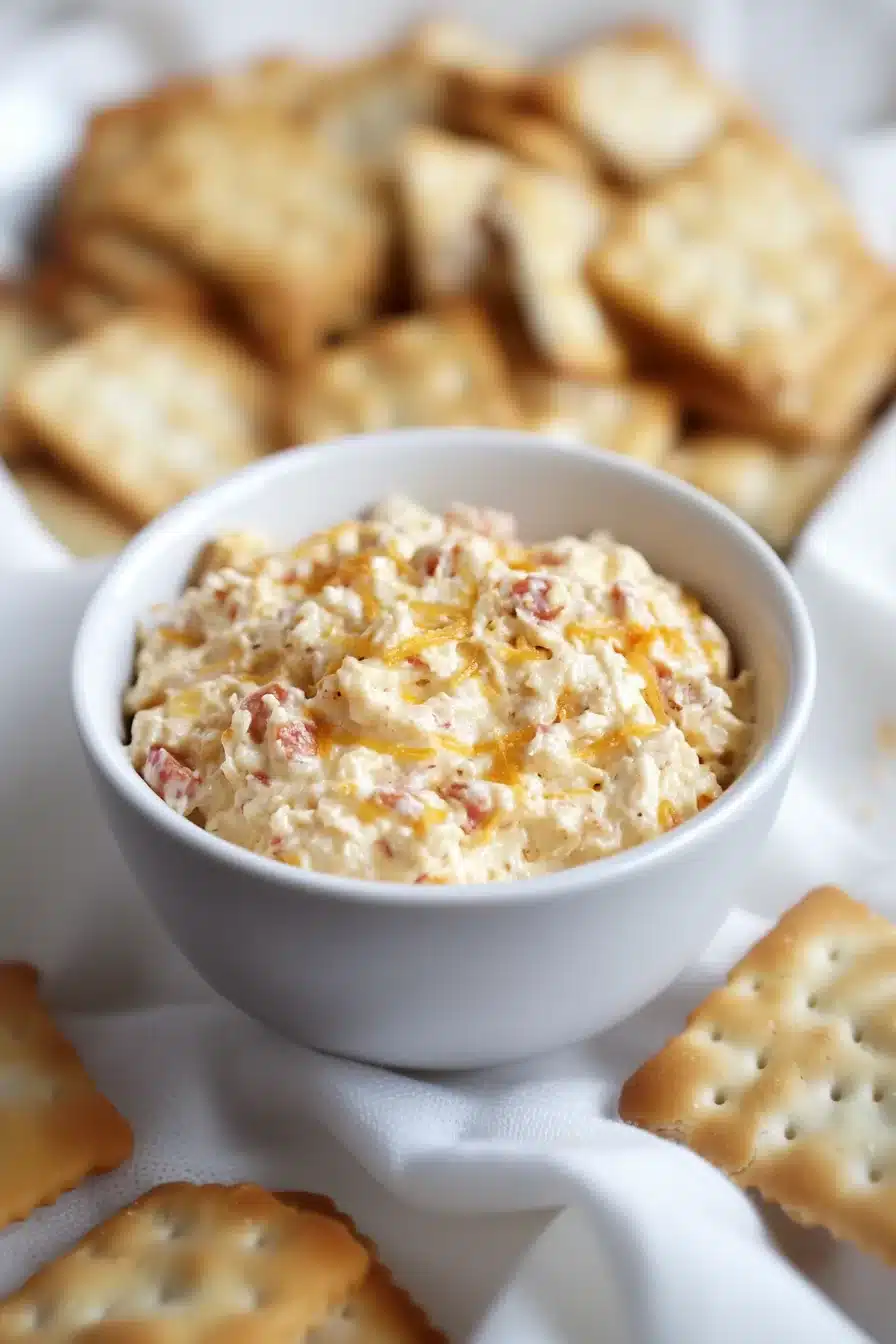
Creamy, tangy, and utterly scoopable, Paula Deen Pimento Cheese blends cream cheese, mayo, sharp cheddar, and pimentos into something you’ll want on everything. Smear it, scoop it, or just eat it with a spoon (no judgment here).
Sometimes all you want is something cozy, creamy, and just a teensy bit old-school—in the best way. Think Southern charm, minus the humidity. This Paula Deen pimento cheese is a luscious mix of bold cheeses, bright pimentos, and a whisper of sweet onion. It’s velvety with a little chew from the shredded cheddar, and there’s a light tang that sneaks up on you and whispers, “Hey, maybe grab a cracker.” It’s happy hour food, picnic food, Netflix-and-snack-food. And it’s ready before most delivery apps can even find your address.

Why You’ll Love this Paula Deen Pimento Cheese
Not everything needs a backstory. Sometimes a cheese spread just needs to be delicious. Here’s why this one’s worth your mixing bowl.
- Ridiculously simple to make: You just beat, stir, chill, and try not to eat it all directly from the spoon. No stovetop, no stress.
- Velvety yet chunky: The cream cheese makes it smooth, while the cheddar and Monterey Jack give it some nice structure and bite.
- Big Southern flavor energy: That mix of Paula Deen’s seasoning, pimentos, and onion? It’s like a porch swing in cheese form.
- Perfect for any stage of hunger: Snack? Sandwich? Party platter centerpiece? This stuff multitasks better than I do on a weekday.
- Make-ahead friendly: It actually gets better after a little fridge time, so you can prep it, forget it, and thank yourself later.
Ingredient Notes
Nothing too fancy here—just a smart combo of flavorful, creamy, and crisp elements that all pull their weight.
- Cream cheese: Softened to room temp, it gives the spread that silky richness and keeps it from being just shredded cheese in mayo.
- Mayonnaise: I like a full-fat, Southern-style mayo (you know the one), but your fave brand will work fine. Feel free to adjust to taste.
- Paula Deen House Seasoning: It’s a blend of salt, black pepper, and garlic powder. You can use your own mix if you don’t have the branded jar.
- Kosher salt and freshly ground pepper: Just enough to balance and brighten. Taste as you go—you’re the boss here.
- Diced pimentos: These little red gems bring zing and color. Drain them well or things can get… wetter than ideal.
- Grated onion: Adds depth and a little bite. A fine microplane works beautifully—resist the urge to chop too chunky.
- Grated Monterey Jack cheese: Smooth and melty with a mild flavor. It plays well with others and mellows out the sharper cheeses.
- Grated sharp cheddar cheese: Go bold here. Pre-shredded is fine if you’re in a rush, but freshly grated melts in better and tastes richer.
How To Make This Paula Deen Pimento Cheese
Meet your new favorite no-cook recipe. All you need is a bowl, a beater, and maybe some patience while it chills.
-
Soften the cream cheese: Leave it out for 20 to 30 minutes, or zap it in short bursts in the microwave—just until it’s soft but not warm. You want it whipping smooth, not melting.
-
Beat until fluffy: In a mixing bowl, beat the cream cheese until it’s smooth and light. Scrape down the sides. You’ll know it’s ready when it looks a bit like a cheesecake base.
-
Add the mayo and House Seasoning: Beat those in until the whole thing looks creamy and united. If it’s too thick, add a tiny bit more mayo—but not too much. We’re going for spreadable, not soup.
-
Season to taste: Add a little Kosher salt, crank some pepper, give it a taste, then adjust. Keep in mind the cheese will also bring saltiness.
-
Mix in the good stuff: Fold in the diced pimentos, grated onion, Monterey Jack, and sharp cheddar. Go gently—you want things well blended but not overworked into mush.
-
Chill it down: Cover the bowl, stick it in the fridge for at least an hour, and let the flavors do their thing. It’s even better the next day, if you can wait that long.
Storage Options
Alright, let’s talk fridge etiquette. This pimento cheese keeps like a champ in an airtight container for up to a week. The flavors actually mellow and blend more over time—so if you manage to forget it in the back of the fridge for two days, don’t worry, it probably got better.
Now, about freezing. Technically, yes, you can freeze it. But I won’t pretend it comes out exactly the same. The texture gets a bit grainy and the cheeses feel slightly separate from each other, like they’ve had a falling out. So while it’s not unsafe to freeze, I say make it fresh and enjoy it chilled instead.
Reheating? Don’t do it. This isn’t that kind of dip. If you want something warm and melty, maybe swing over to this bubbly baked rigatoni situation instead.
Variations and Substitutions
Want to play a little? You totally can. This is more of a cheese playground than a locked-down formula.
- Different cheeses: Try smoked gouda, fontina, or even a little pepper jack if you want some mild heat.
- Swap the mayo: Greek yogurt brings more tang and less fat, or use sour cream for something halfway in between.
- Add jalapeños: Dice them up finely (fresh or pickled both work) and stir in for a spicy twist with extra crunch.
- Spice it up: A little smoked paprika or a pinch of cayenne gives it a warm kick and nice depth.
- Use roasted red peppers: If pimentos aren’t your thing, roasted red bell peppers (chopped fine) work great too and have a meatier texture.
What to Serve with Paula Deen Pimento Cheese
This stuff’s the Swiss army knife of snack spreads. Here’s where I’d slather, dip, or gloriously overdo it.
-
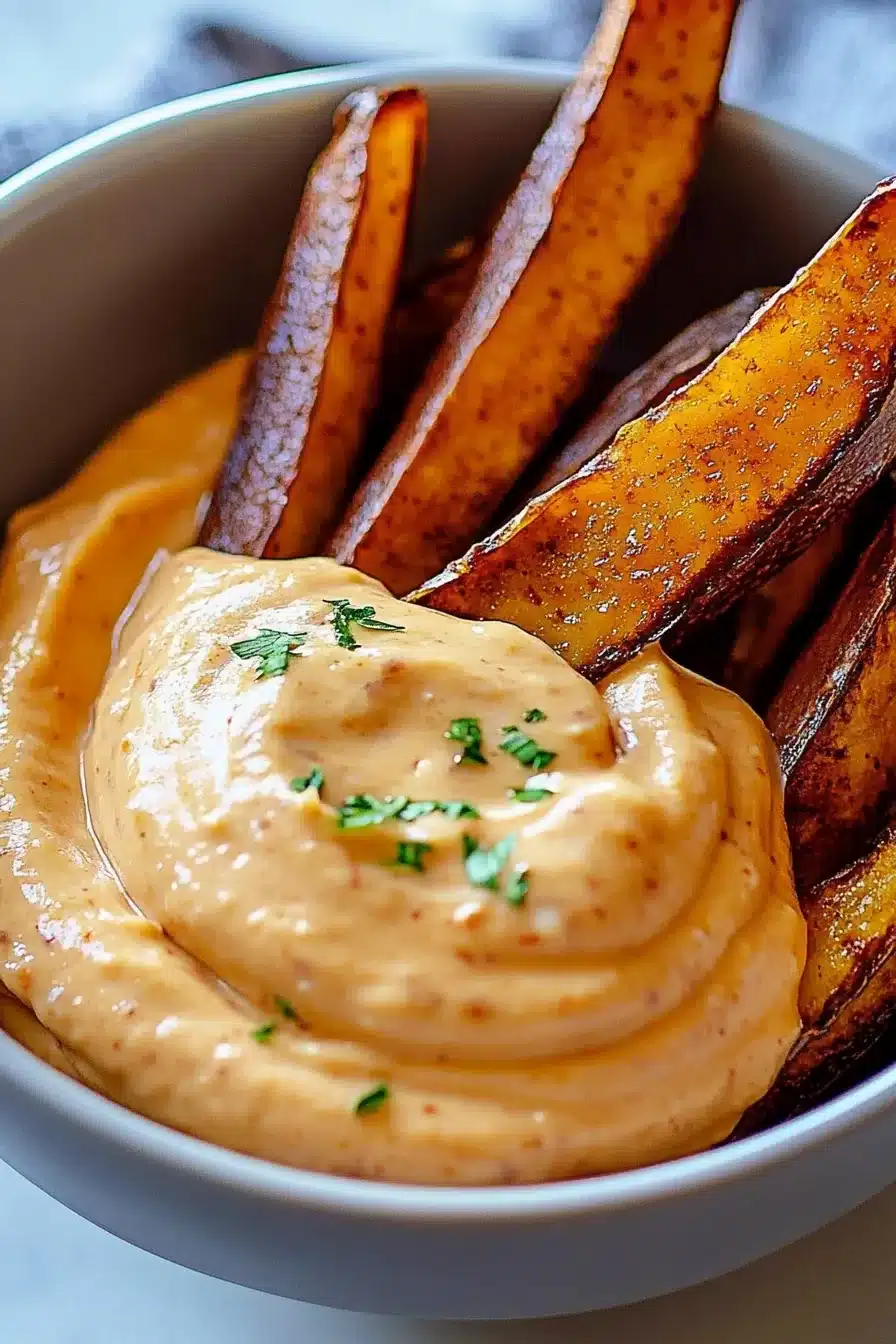
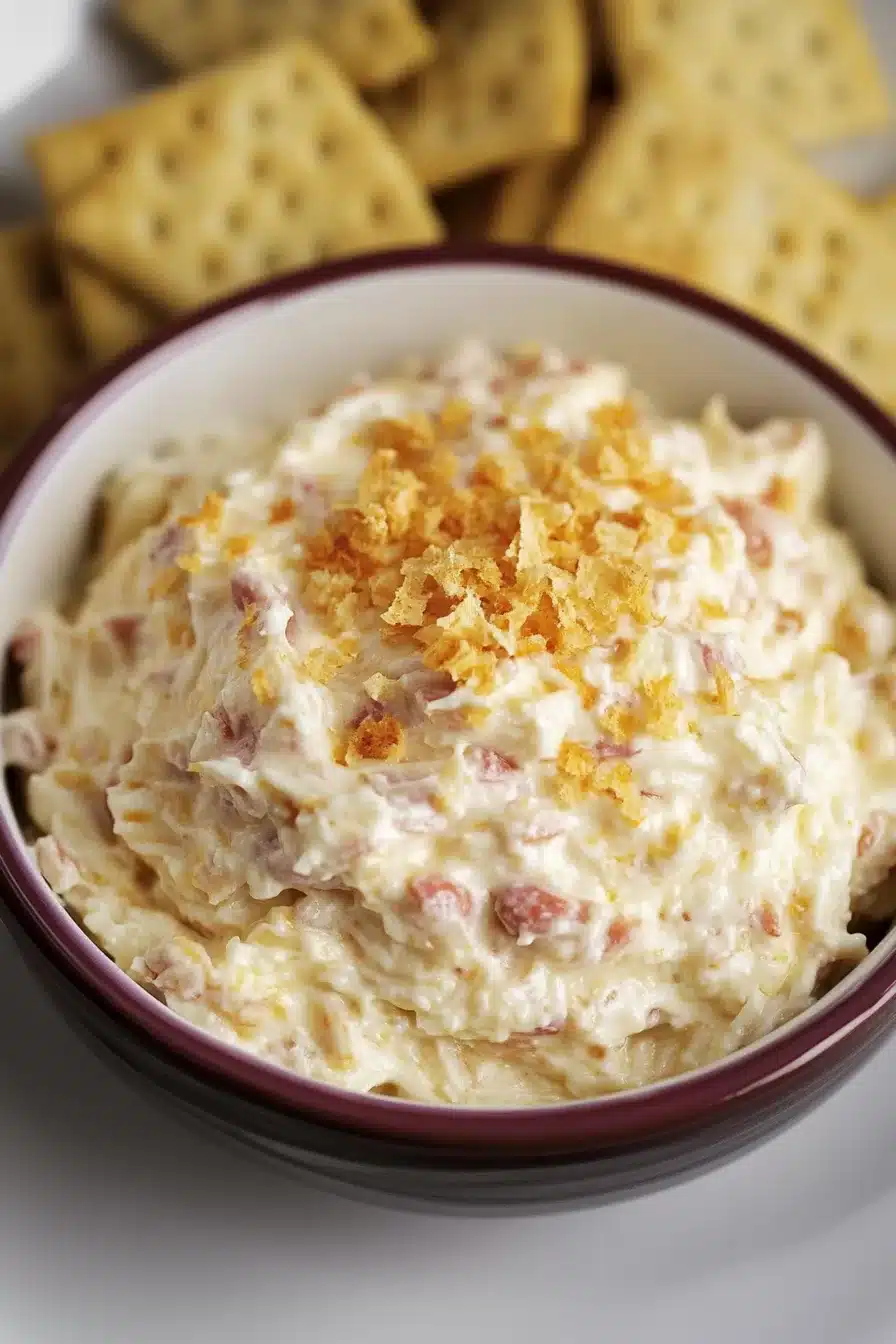
Crackers, chips, or raw veggies: The classic trio. I love Ritz for that salty-buttery vibe, but celery sticks and cucumbers give nice crunch and freshness. Even pita chips work great for a heartier scoop.
-
Slathered onto sandwiches: Use it like a condiment in a turkey melt, or go full Southern and make grilled pimento cheese sandwiches. Trust me—it melts into gooey perfection.
-
Topped on burgers: Yes, this is real, and yes, it’s amazing. Skip the boring slice of cheddar and spoon this on a hot patty instead. It melts slightly and gives the perfect creamy bite.
-
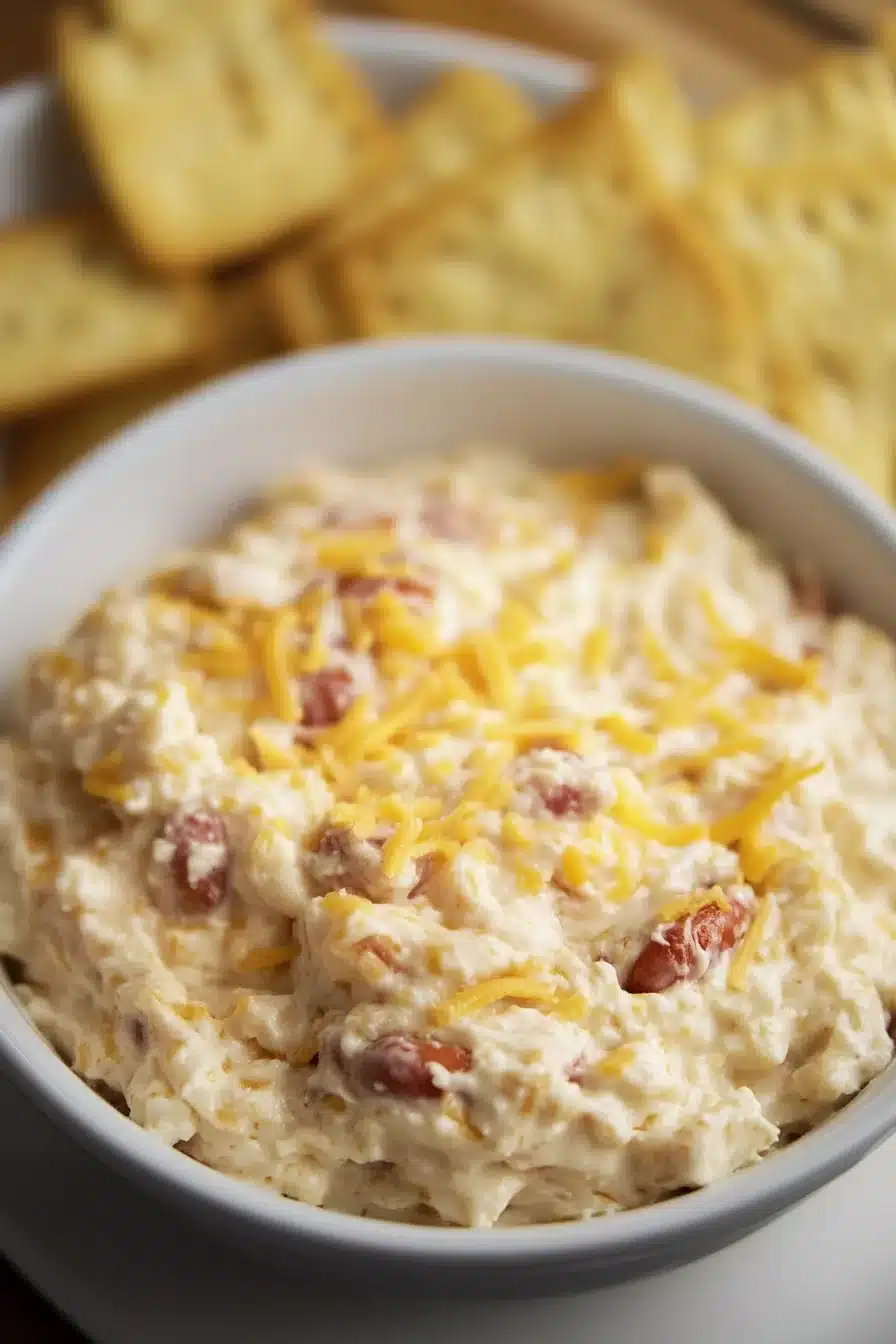
As a party dip centerpiece: Plop the bowl in the middle, ring it with dippers, and walk away. It’ll be gone before you can say “do y’all want drinks?”
-
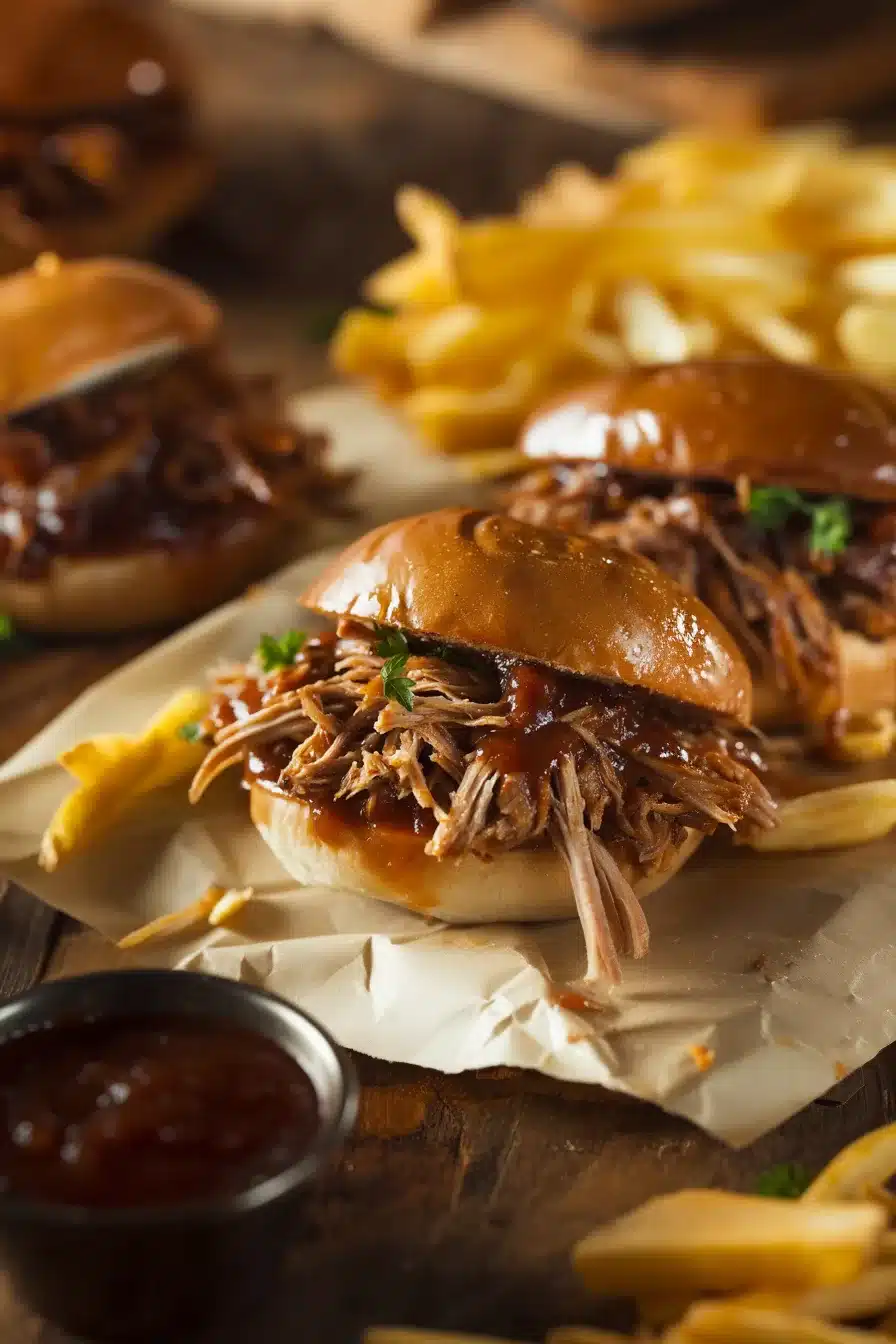
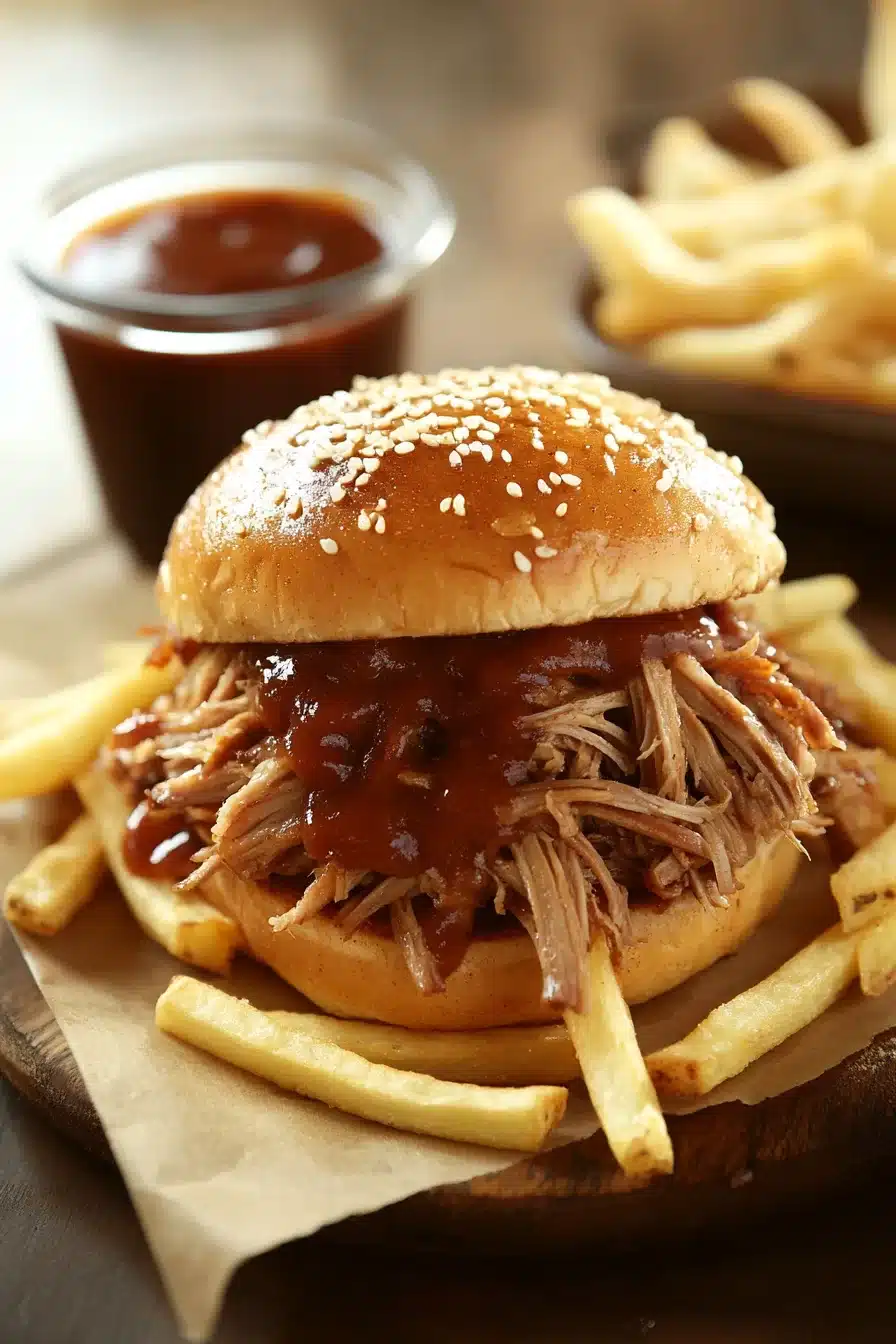
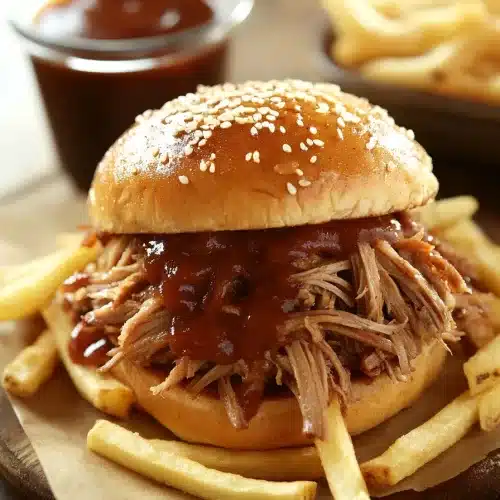
Alongside BBQ mains: Oh, it’s wonderful next to smoky meats. Try it beside something like this slow cooker Texas pulled pork for maximum Southern vibes.

Frequently Asked Questions
Can I use pre-shredded cheese for pimento cheese?
Sure, you can. Pre-shredded cheese is convenient, and sometimes convenience wins. Just know that it’s coated with anti-caking agents, so it might not blend as smoothly. If you’ve got five extra minutes and a block of cheese, though, fresh grating is worth it.
Is Paula Deen House Seasoning necessary?
Not at all! If you don’t have a jar of it laying around, just mix equal parts garlic powder, black pepper, and salt. Adjust to your liking. It’s simple, really, and adds that little somethin’ somethin’ to the base.
How long does pimento cheese need to chill before serving?
I’d say at least one hour, though two is even better. That time lets the flavors settle in and blend properly. If you sneak a bite early, I get it—but give it a chance to mellow for best results.
Can I make Paula Deen pimento cheese ahead of time?
Yes, and honestly, you should. Making it a day in advance allows those cheesy, tangy, oniony flavors to really come together. Just keep it covered in the fridge and give it a good stir before serving.

Paula Deen Pimento Cheese
Ingredients
Base Mix
- 8 oz (225 g) cream cheese softened to room temperature
- 1/2 cup (120 ml) mayonnaise full-fat preferred, or to taste
- 1 tsp Paula Deen House Seasoning or equal mix of garlic powder, black pepper, and salt
- 1/4 tsp (0.25 tsp) kosher salt or to taste
- 1/4 tsp (0.25 tsp) freshly ground black pepper or to taste
Cheese & Mix-ins
- 1 jar (113 g) diced pimentos 4 oz (113g), drained well
- 2 tbsp (30 g) grated sweet onion packed, use microplane for best texture
- 1 cup (115 g) grated Monterey Jack cheese about 4 oz (115g)
- 1 cup (115 g) grated sharp cheddar cheese about 4 oz (115g), freshly grated preferred
Equipment
- Mixing bowl
- Hand mixer or stand mixer
- Spatula
- Box grater
- Microplane (for onion)
Instructions
- Soften the cream cheese by letting it sit at room temperature for 20–30 minutes or microwaving on low in short bursts until soft but not warm.
- In a mixing bowl, beat the softened cream cheese with a hand mixer or stand mixer until smooth and fluffy. Scrape down the sides as needed.
- Add mayonnaise and Paula Deen House Seasoning (or garlic powder, black pepper, and salt mix). Beat until thoroughly combined. Add more mayo if needed for spreadable texture.
- Season with kosher salt and freshly ground pepper to taste. Remember the cheeses will add more saltiness—adjust carefully.
- Fold in the drained diced pimentos, grated onion, Monterey Jack, and sharp cheddar gently using a spatula. Mix until evenly distributed but avoid overmixing.
- Cover the bowl and refrigerate for at least 1 hour before serving, or overnight for best flavor.