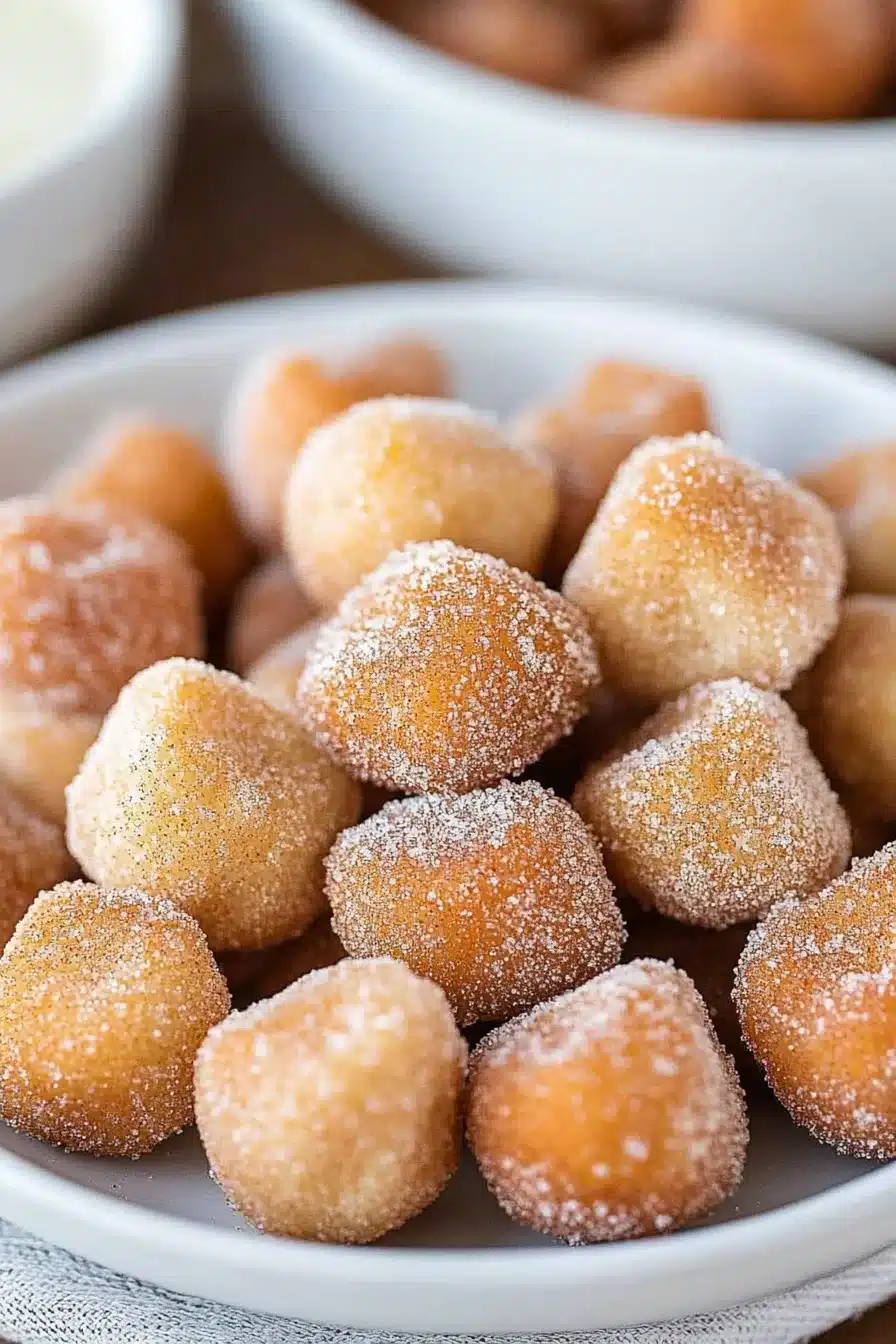
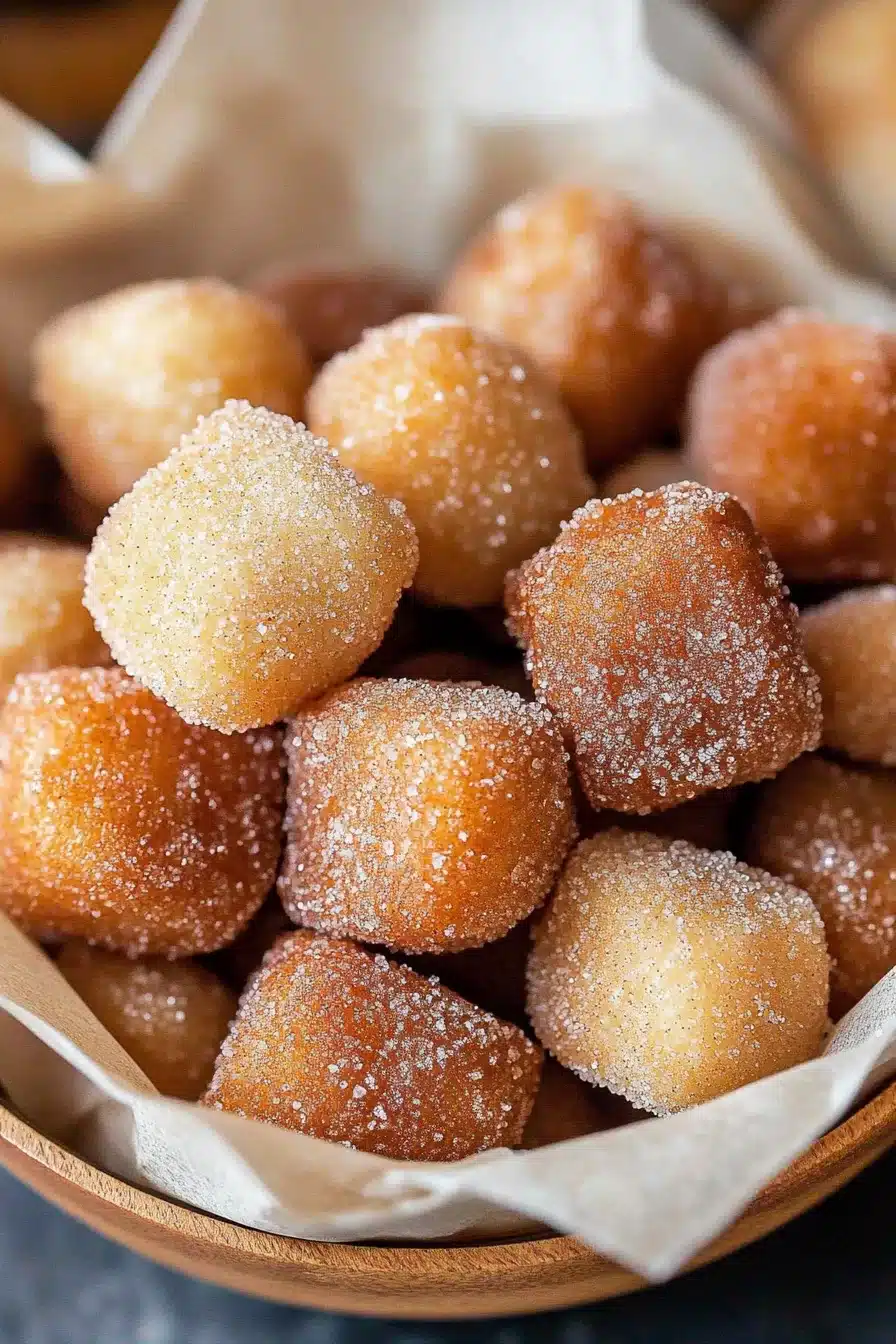
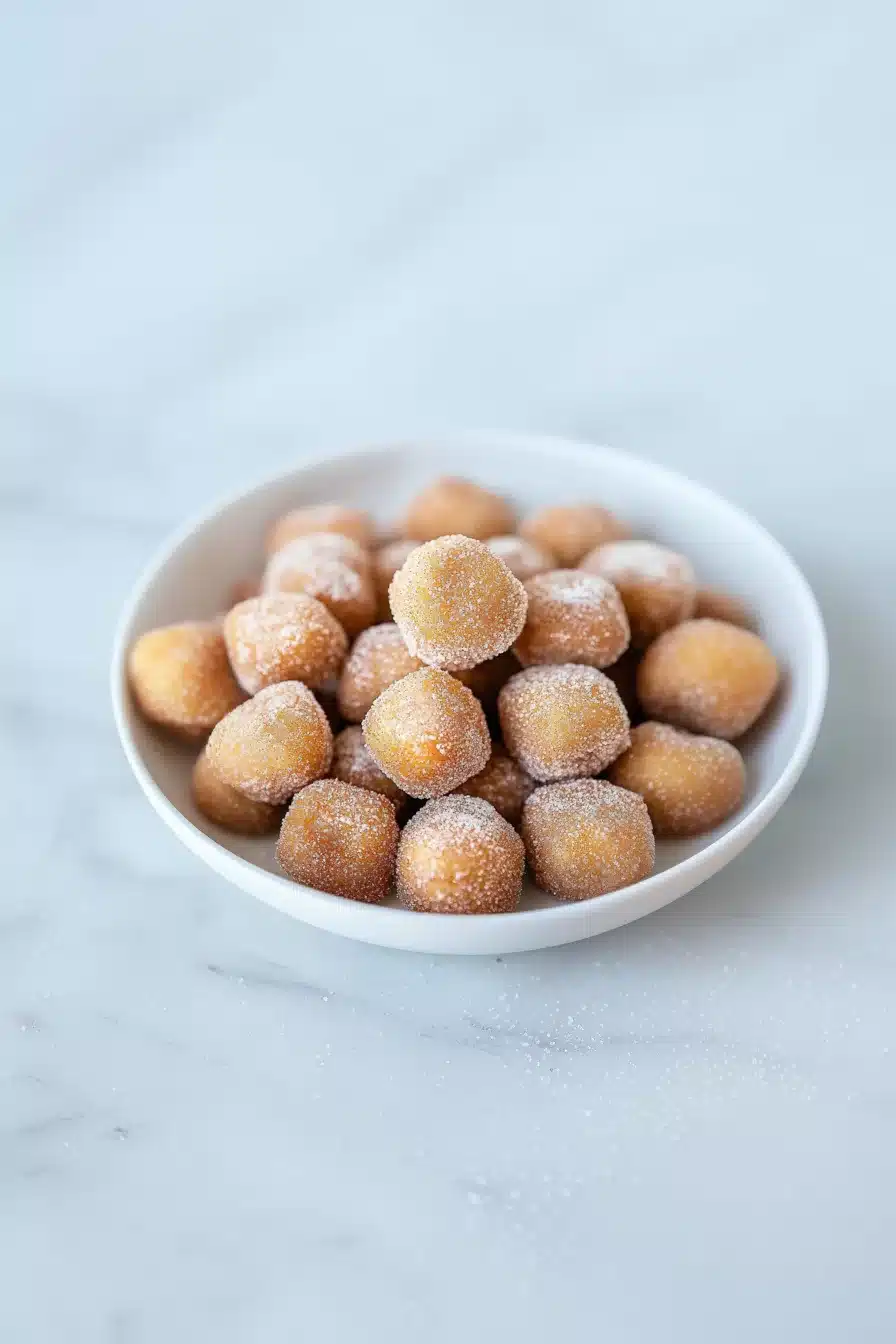
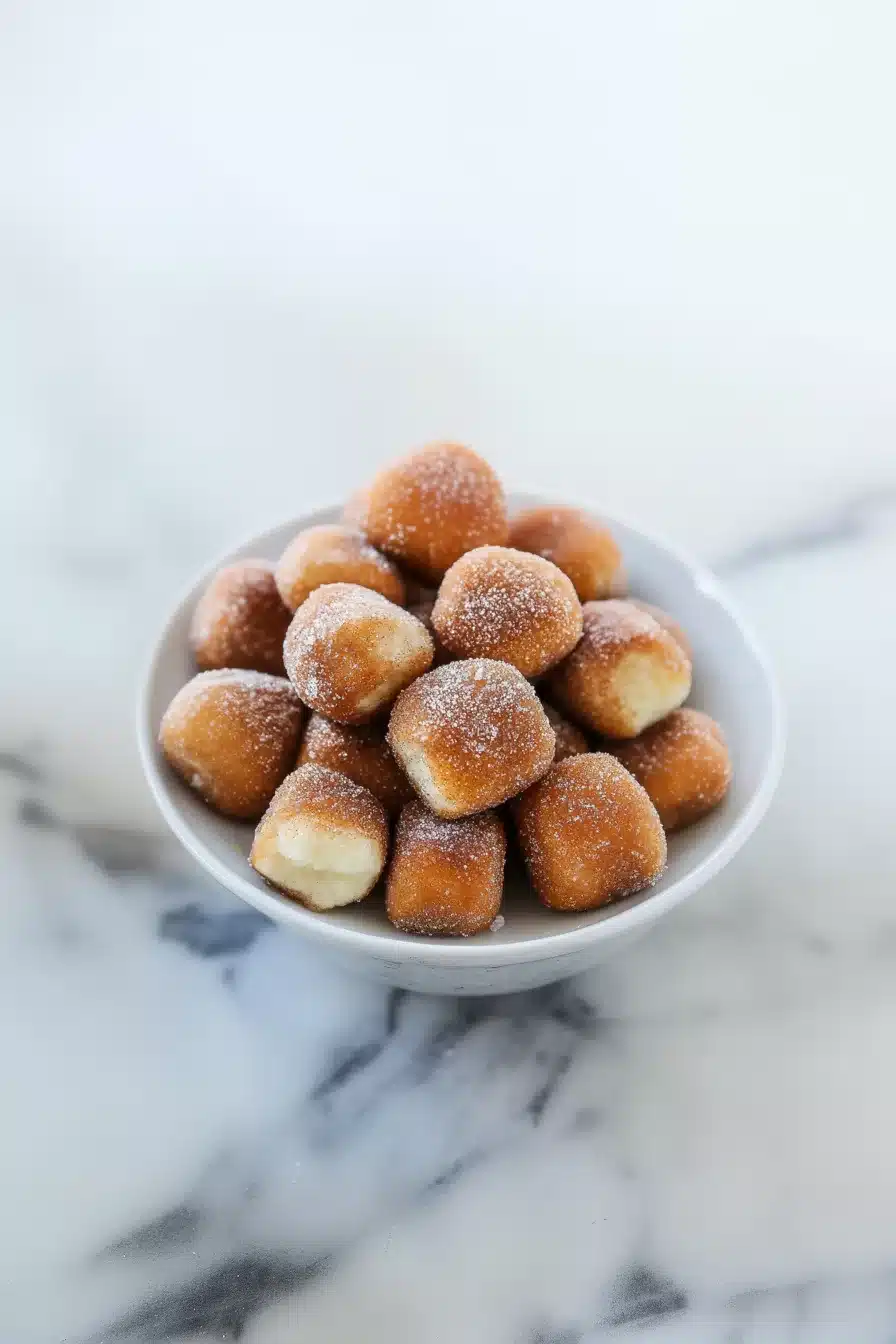
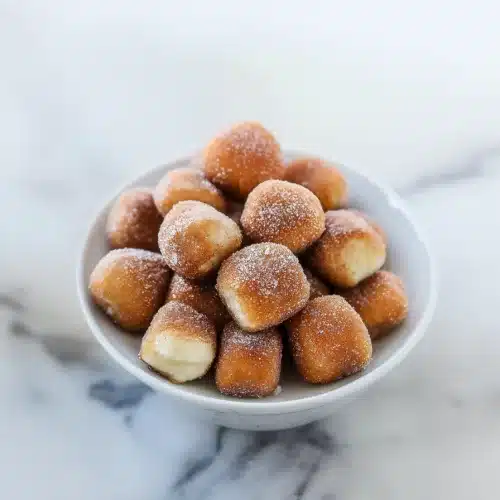
Warm, golden bites of handmade dough meet cozy cinnamon sugar and a silky cream cheese dip in these cinnamon sugar pretzel bites. Made with just flour, yeast, butter, sugar, and a dash of joy.
Soft, chewy, and just sweet enough to make you smile around bite three, these little nuggets are the snack version of a big cozy hug. Perfect for sharing (if you must), or for sneaking into the movies under your hoodie. I won’t tell if you don’t.
There’s just something so deeply satisfying about pulling a tray of homemade pretzel bites out of the oven. The warm yeast smell wraps around you like a bakery blanket, and once you coat them in that buttery cinnamon sugar? You’re officially in treat-yourself territory. These guys aren’t fancy. They’re nostalgic, warm, slightly sticky with sugar, and honestly kind of addictive. Whether you’re setting them out for a party, movie night, or just making a Tuesday feel celebratory, cinnamon sugar pretzel bites do not disappoint.

Why You’ll Love this Cinnamon Sugar Pretzel Bites Recipe
Let’s keep it simple: they’re soft, pillowy, sugar-dusted little bits of joy. What’s not to love?
- Ridiculously simple to make: You don’t need any fancy skills or equipment—just your hands, a pot, and maybe a little playlist going in the background.
- That iconic chewy pretzel texture: Thanks to a quick baking soda bath, they get that signature bounce and glossy finish.
- The cinnamon sugar magic: It clings to the buttery surface in just the right way, leaving a tiny smudge on your fingers (that’s the mark of happiness).
- Dip game strong: The cream cheese dip is tangy, creamy, and just sweet enough to sing backup without stealing the show.
- Great for any occasion: Game day, brunch, holiday trays, Tuesday afternoons—you name it, they fit in.
- Make-ahead friendly: They actually reheat like champs, and that’s saying something for homemade dough.

Ingredient Notes
This recipe keeps things down-to-earth. Just pantry basics and a little patience to bring out those fluffy, chewy layers of goodness.
- Warm water: Helps activate the yeast. Aim for 110°F—it should feel like a cozy bath, not a hot tub.
- Brown sugar: Adds depth and a hint of molasses flavor to the dough itself.
- Unsalted butter: You’ll use it two times: in the dough and later as a drizzle before coating. Double duty, double delicious.
- Active dry yeast: This one’s the engine. Make sure it’s fresh—proofing it first is a nice little insurance policy.
- All-purpose flour: Nothing fancy here. Start with 4½ cups and add more if the dough’s too sticky to handle.
- Salt: For balance and flavor. Pretzel dough without salt is just…bread.
- Egg + water (egg wash): Gives baked bites that shiny, golden crust. Don’t skip it—it’s your glossy glow-up.
- Baking soda: Essential for pretzel authenticity. Boiling gives that chewy texture and pretzel-y flavor.
- Granulated sugar + cinnamon: The queen and king of sweet spice. Combined, they’re nostalgic perfection.
- Cream cheese: Softened to dreamy spreadability. It tames the sweetness of the sugar with creamy tang.
- Powdered sugar + vanilla extract + milk: These round out the dip, making it velvety and just-right sweet.
How To Make This Cinnamon Sugar Pretzel Bites Recipe
Don’t let the steps intimidate you—it’s more hands-on than hard. Plus, kneading dough is basically edible therapy.
-
Make the pretzel dough: Start by stirring together warm water, brown sugar, the melted (cooled) butter, and yeast in a stand mixer bowl. Let it get all frothy and excited for 5 to 10 minutes.
-
Add flour and salt: Toss in the salt and flour (start with 4½ cups). Mix on low until it comes together, then turn things up to medium and knead until the dough smooths out. If it’s still clinging like a stage-five clinger, add more flour tablespoon by tablespoon.
-
Rise and shine: Turn the dough out, give it one last quick knead, then place it in an oiled bowl. Flip it once to coat. Cover it and let it rise somewhere cozy until doubled—about an hour.
-
Prep everything else: While the dough’s doing its thing, line your baking sheets and preheat the oven to 425°F. Also, bring a big pot of water to a boil.
-
Give it a baking soda bath: Carefully (seriously, slow and steady) stir in the baking soda—it’ll foam up like a science fair volcano, so use a large pot.
-
Shape the bites: Punch down the risen dough and divide it into 8 even parts. Roll each into ropes (about ½ inch thick) and slice into 1-inch pieces.
-
Boil the bites: Drop the dough bits into the baking soda bath for 30 seconds. Work in batches. Scoop them out with a slotted spoon and spread them out on your parchment-lined trays.
-
Bake to golden goodness: Brush each bite with egg wash for that bakery-style shine. Then bake for 15 to 20 minutes until they’re bronzed and beautiful.
-
Cinnamon sugar time: While still warm, toss the baked bites in a mix of melted butter, granulated sugar, and cinnamon. Shake them around in a bowl like you’re flavor-dancing.
-
Make the dip: Mix softened cream cheese and butter until fluffy. Add powdered sugar and vanilla, then thin with milk until it dips like a dream.
Storage Options
So you made a big batch and have a few (or… 40) left over. Here’s what to do.
Let them cool completely before storing—warmth equals sogginess. If you’re just keeping them for a day or two, a zip-top bag or airtight container on the counter is fine. For slightly longer stretches, stash them in the fridge. They’ll keep their texture surprisingly well for 3 to 4 days.
Reheating? Go straight for the oven or toaster oven. About 5 minutes at 325°F perks them right back up. Microwaving can work for a few seconds, but you lose that toasty outer layer. I’m a big fan of crisp-chewy contrast, so I vote oven.
Oh, and yes—you can freeze them. Just cool fully, then toss into a freezer-safe bag. When you’re ready to snack again, reheat straight from frozen, adding a couple of minutes to the oven time.
For leftover dip, keep it in the fridge for up to a week. Stir before serving, or zap it for 10 seconds to loosen it.
Variations and Substitutions
Let’s say you’re out of something, or just wanna get creative. Here’s how to pivot like a snack-themed MacGyver.
- No brown sugar? Use white sugar or honey in the dough. The flavor will be a little lighter but still lovely.
- Make it savory: Skip the cinnamon sugar and toss your baked bites in garlic butter and parmesan instead. Totally transforms the vibe.
- Cream cheese swap: No cream cheese? Greek yogurt or mascarpone work great in the dip with slightly different results.
- Get spicy: Add a pinch of cayenne or cardamom to the cinnamon sugar for subtle heat or depth.
- Try a chocolate dip: Melt some chocolate chips with cream for an ultra-indulgent alternative to the cream cheese dip.
- Tapioca flour option: If you’re curious about flour swaps, this post on tapioca flour substitutes might come in handy if you’re experimenting.
What to Serve with Cinnamon Sugar Pretzel Bites
If you’re wondering what to set out alongside your bites (or just how to turn them into a whole experience), here’s some snack synergy.
-
A tall mug of hot chocolate is an obvious but irresistible pairing. The rich chocolate and puffy sugar-dusted bites? I mean, yes. A thousand times yes.
-
Serve these during a game night alongside something savory like wings or sliders. That sweet-salty snack switcharoo keeps everyone nibbling. Might I suggest these Indian Spiced Chicken Wings if you’re feeling bold?
-
If you’ve got brunch plans, place a tray of these next to fruit, yogurt, and coffee. They’re excellent breakfast dessert. (Yes, that’s a real thing. Let’s normalize it.)
-
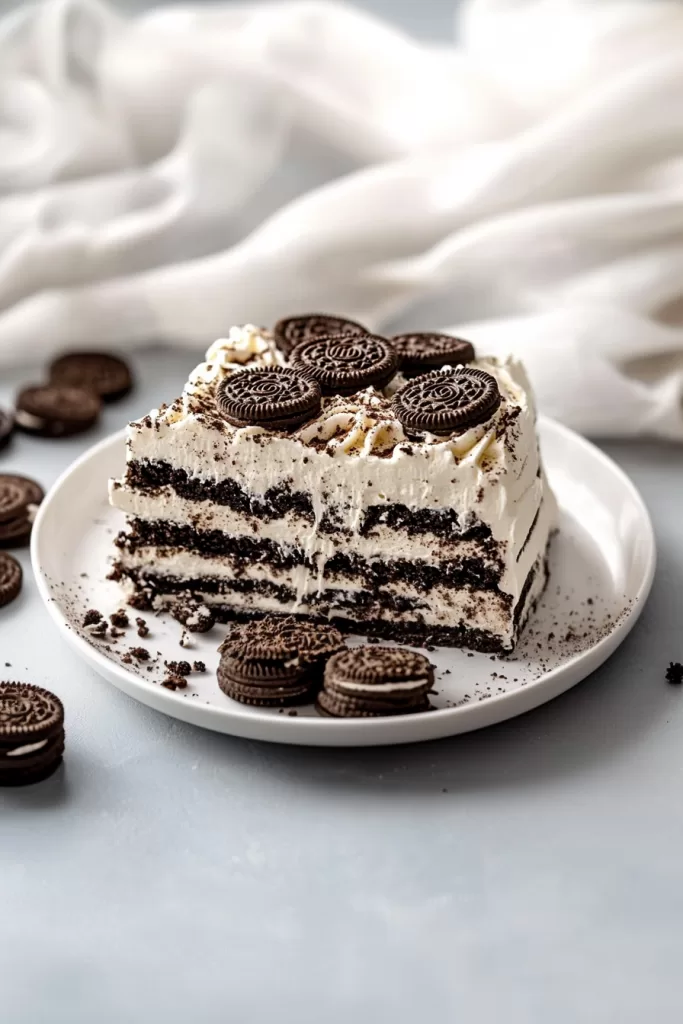
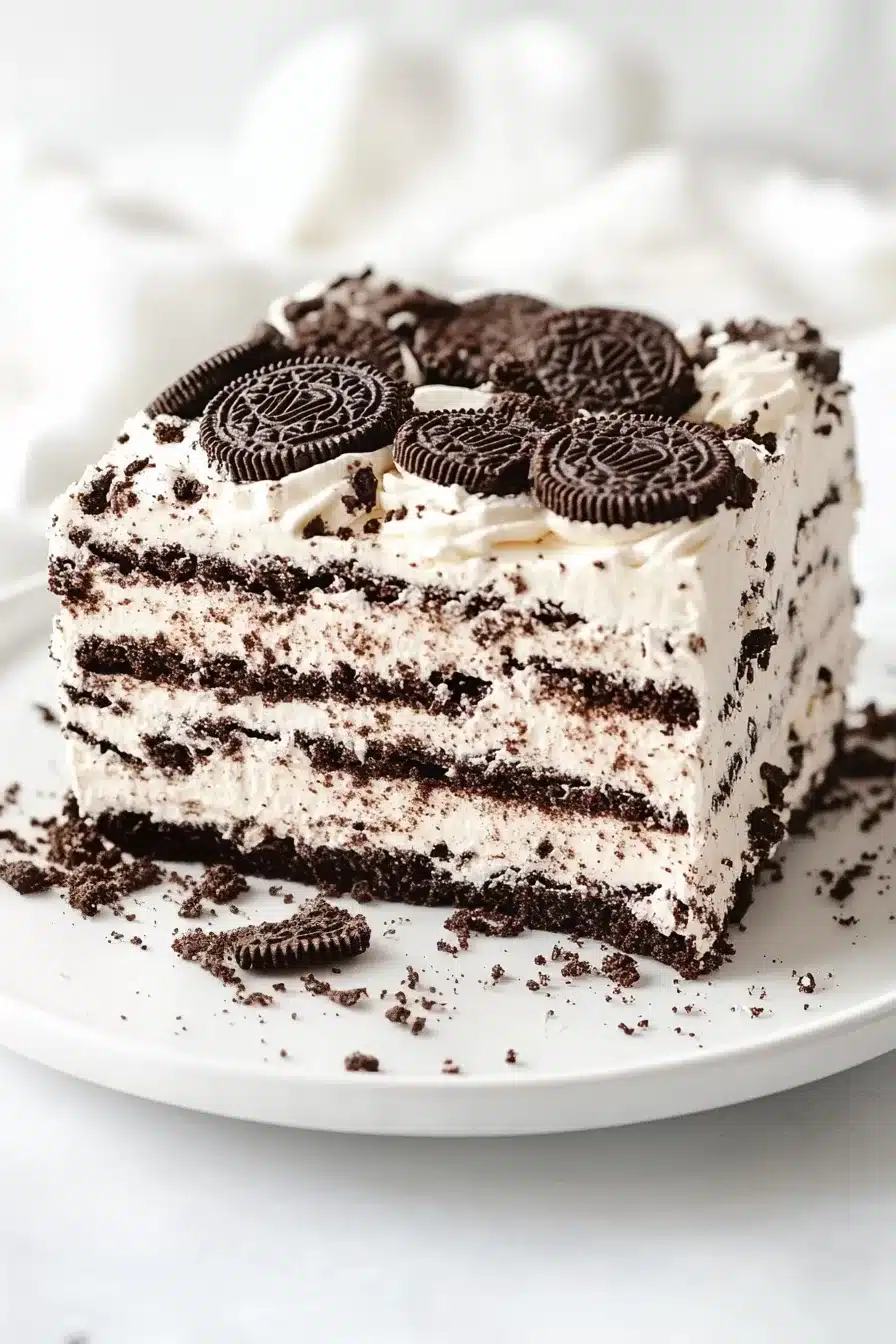
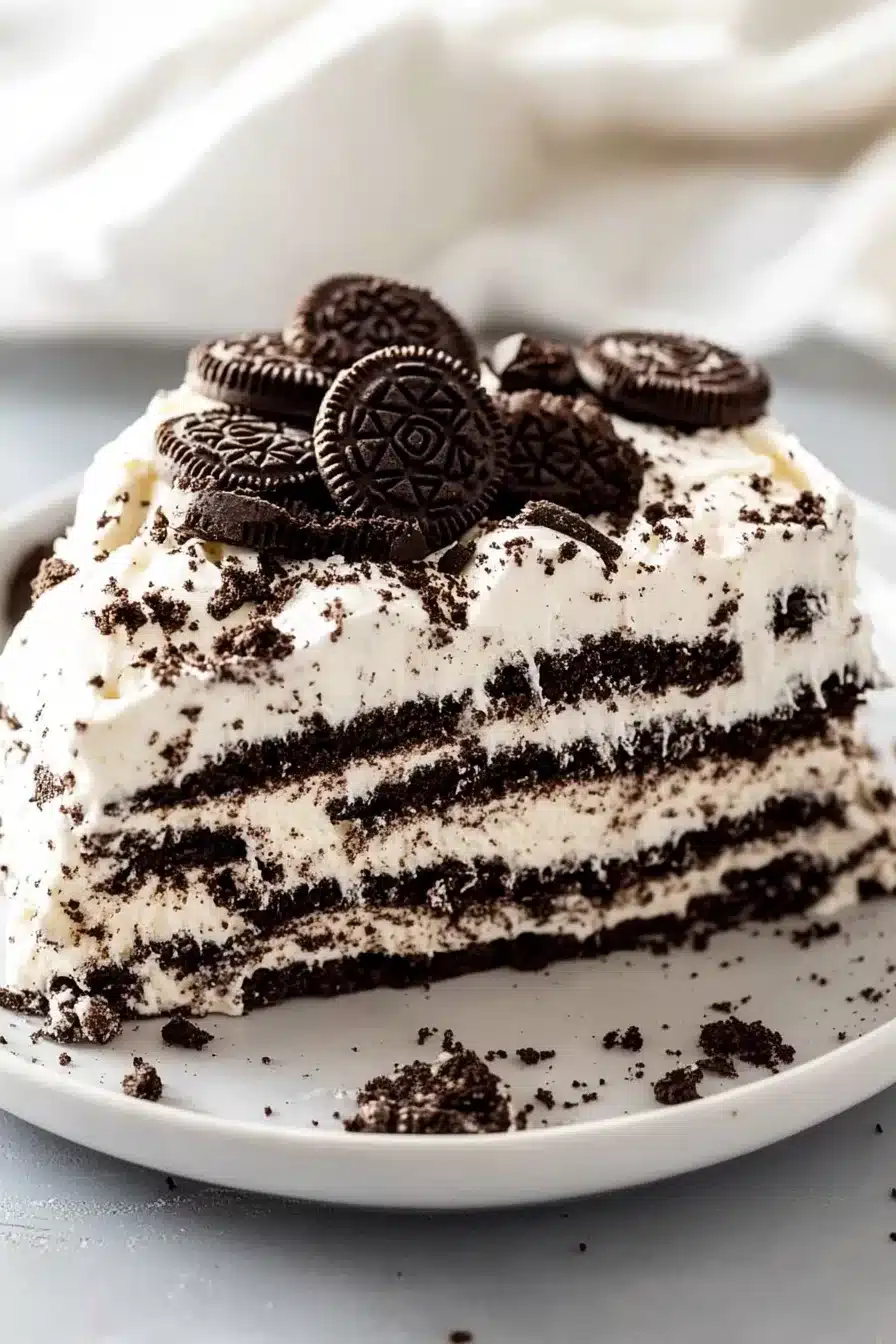
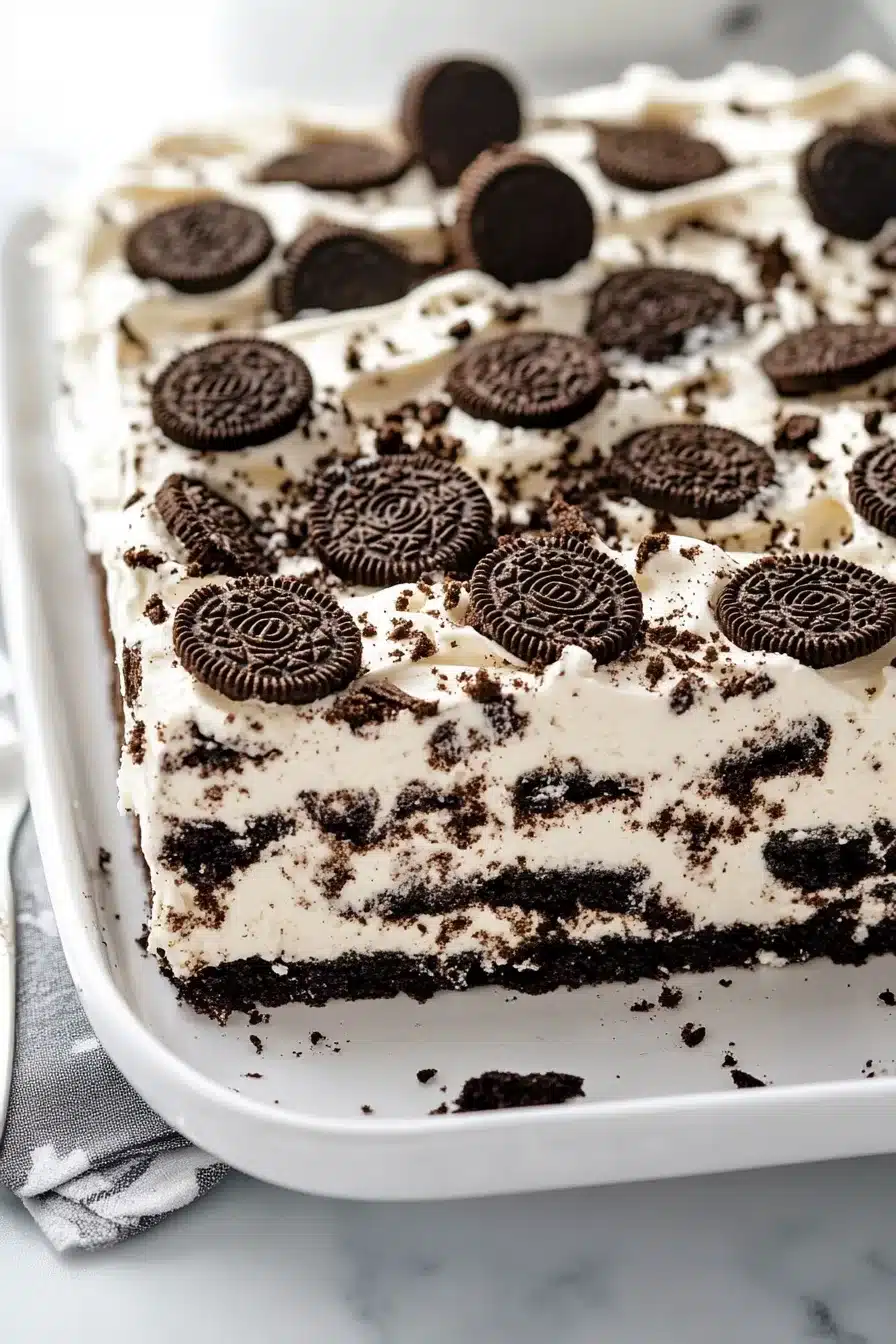
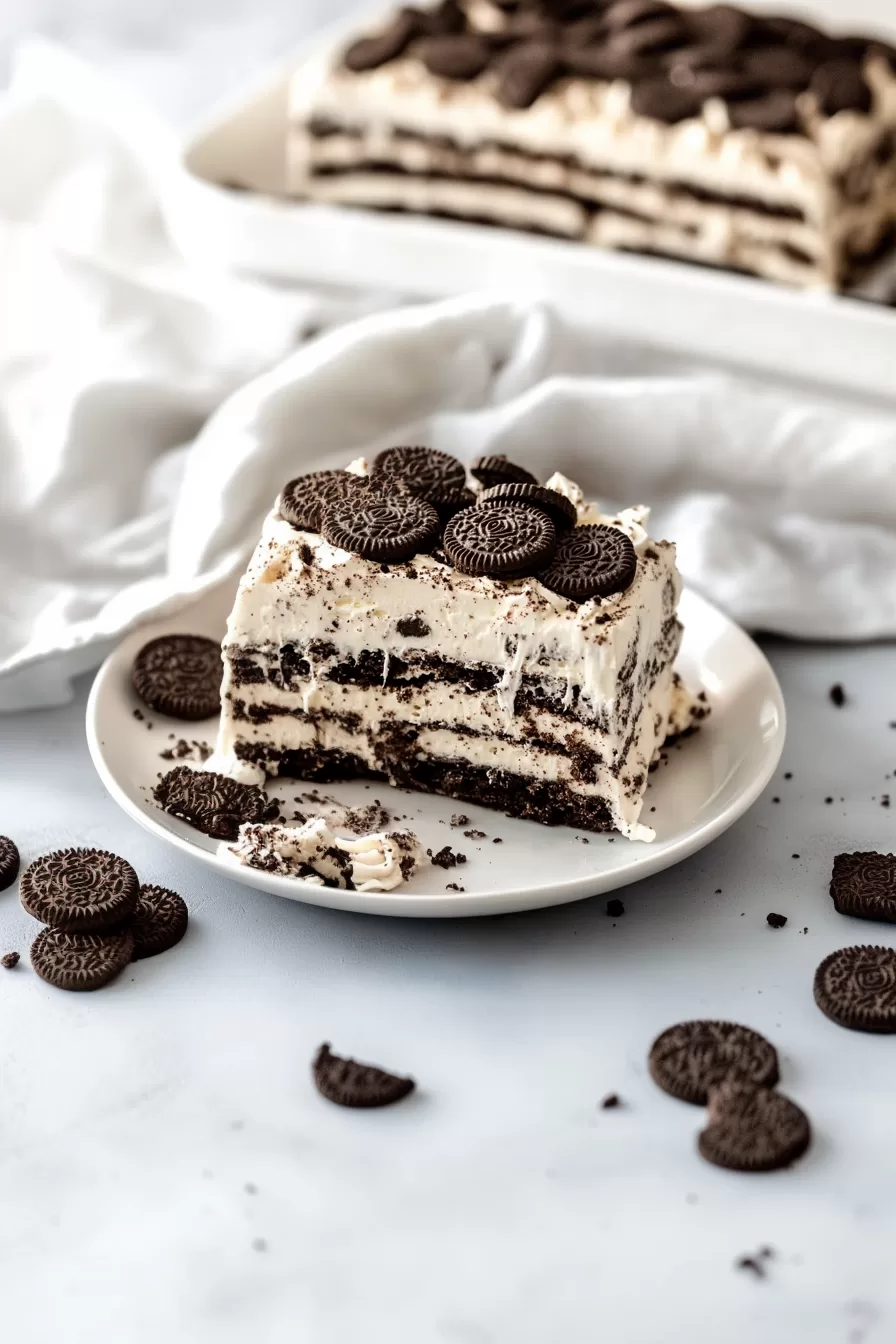
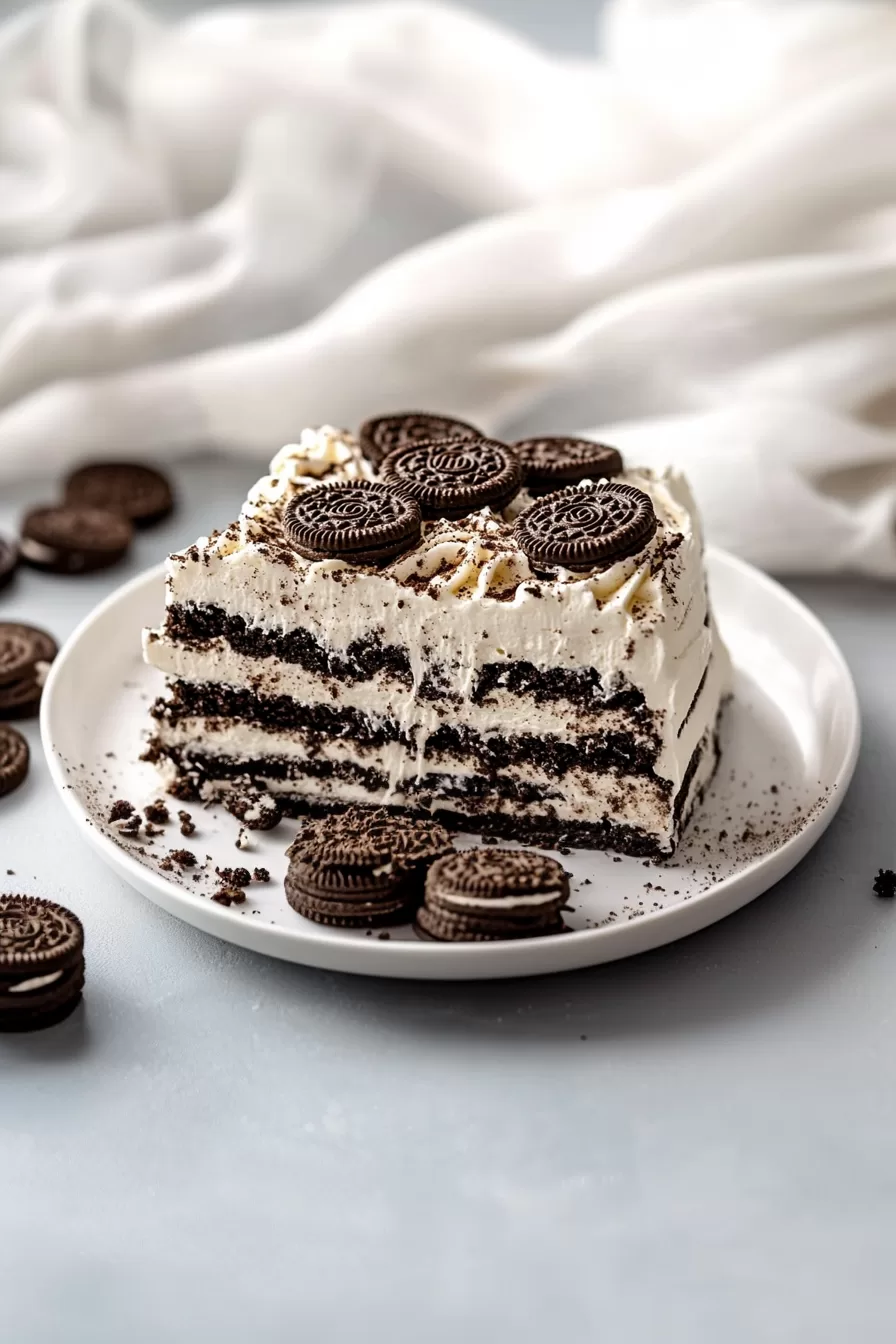
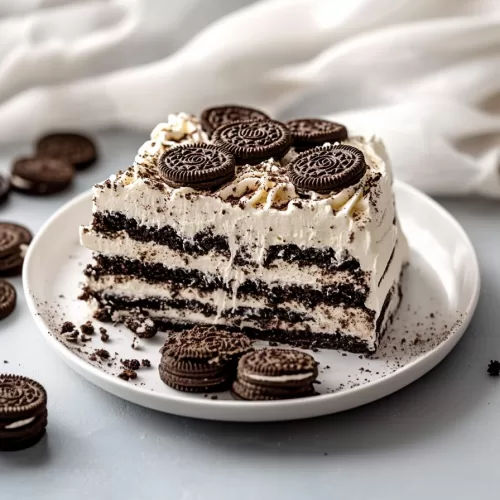
For dessert spreads, include your pretzel bites with other finger-friendly treats. I like adding some cool contrast like this Oreo Icebox Cake—it’s no-bake heaven.
-
Need something more balanced to complete the table? A tart fruit salad with citrus or berries adds contrast to the sweetness here. Plus it’s colorful and refreshing.
Frequently Asked Questions
Can I make the dough ahead of time?
Yes, absolutely! You can make the dough the night before, cover it tightly, and let it rise slowly in the fridge overnight. Before you shape and boil the dough bites, just let the dough sit at room temperature for about 30 minutes to take the chill off. It’ll come back to life beautifully, promise.
Do I really need to boil the dough in baking soda?
Yes! That quick boil in baking soda water is what gives pretzels their signature chewy outside and glossy, golden-brown look. Without it, they’d taste more like regular baked dough balls. Still tasty, but not really *pretzely* if that makes sense. It’s worth the extra pot and five minutes.
Can I make these gluten-free?
You can try using a 1:1 gluten-free flour blend designed for baking, but results may vary depending on the brand. Some GF doughs don’t stretch and rise quite the same, so they might come out a bit denser. If you experiment, let me know how it goes!
How can I keep them warm for a party?
Your best bet is to make them just before guests arrive and keep them loosely covered with foil in a warm oven (around 200°F). If you made them earlier in the day, do a quick reheat for 5–7 minutes before serving. Lay the dip out chilled or at room temp—it works both ways!
Cinnamon Sugar Pretzel Bites
Ingredients
Pretzel Dough
- 1½ cups (360 ml) warm water about 110°F
- 2 tbsp (25 g) packed brown sugar
- 4 tbsp (56 g) unsalted butter melted and cooled, plus 3 more tbsp for coating
- 2¼ tsp (7 g) active dry yeast 1 packet
- 4½ cups (562 g) all-purpose flour plus more as needed
- 2 tsp (10 g) salt
Baking Soda Bath & Topping
- 2/3 cup (90 g) baking soda
- 1 large (1) egg beaten, for egg wash
- 1 tbsp (15 ml) water to mix with egg wash
- 1 cup (200 g) granulated sugar
- 3 tsp (8 g) ground cinnamon
- 3 tbsp (42 g) unsalted butter melted, for coating baked bites
Cream Cheese Dip
- 4 oz (113 g) cream cheese softened
- 2 tbsp (28 g) unsalted butter softened
- 1 cup (120 g) powdered sugar
- 1 tsp (5 ml) vanilla extract
- 2-3 tbsp (30-45 ml) milk as needed for consistency
Equipment
- Stand Mixer (optional)
- Large pot
- Baking sheet
- Parchment paper
- Slotted spoon
- Mixing bowls
- Measuring Cups & Spoons
- Whisk
Instructions
- Make the Pretzel Dough: In a large bowl or stand mixer, combine warm water, brown sugar, melted butter, and yeast. Stir and let sit until foamy, about 5–10 minutes.
- Add flour and salt. Mix on low speed until a rough dough forms, then switch to medium speed and knead (or knead by hand) until the dough is smooth and elastic, about 5–7 minutes. If very sticky, add more flour 1 tablespoon at a time until manageable.
- Turn dough onto a lightly floured surface. Knead once or twice, then place in a greased bowl, flipping to coat. Cover and let rise in a warm place until doubled in size, about 1 hour.
- Prep for Baking: Meanwhile, line two baking sheets with parchment paper and preheat oven to 425°F (220°C). Bring a large pot of water to a boil.
- Cautiously add baking soda to the boiling water—go slow, it will foam up! Once dissolved, keep the pot at a simmer.
- Punch down risen dough. Divide into 8 pieces. Roll each into a rope about 1/2 inch thick, then cut into 1-inch pieces to form bites.
- Working in batches, drop dough pieces into the simmering baking soda bath for 30 seconds. Remove with a slotted spoon and arrange on prepared baking sheets.
- Mix egg with 1 tablespoon water. Brush egg wash over each pretzel bite for a shiny crust. Bake 15–20 minutes, until deep golden and set.
- Cinnamon Sugar Coating: In a large bowl, mix granulated sugar and cinnamon. As soon as pretzel bites are out of the oven, brush with melted butter, then immediately toss in cinnamon sugar until coated on all sides.
- Make the Cream Cheese Dip: Beat softened cream cheese and butter until smooth. Add powdered sugar and vanilla. Beat until fluffy, then thin out with milk to reach desired dipping consistency.
- Serve warm pretzel bites with the cream cheese dip. Enjoy!