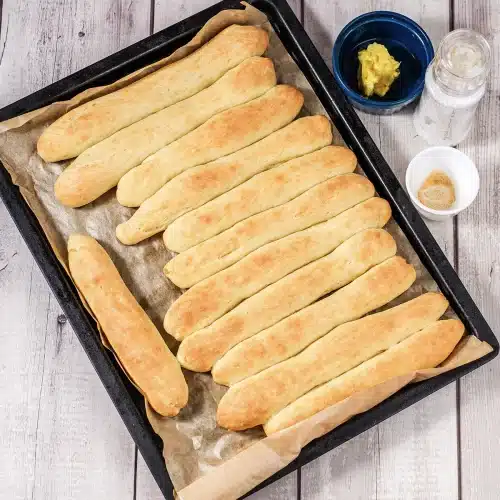
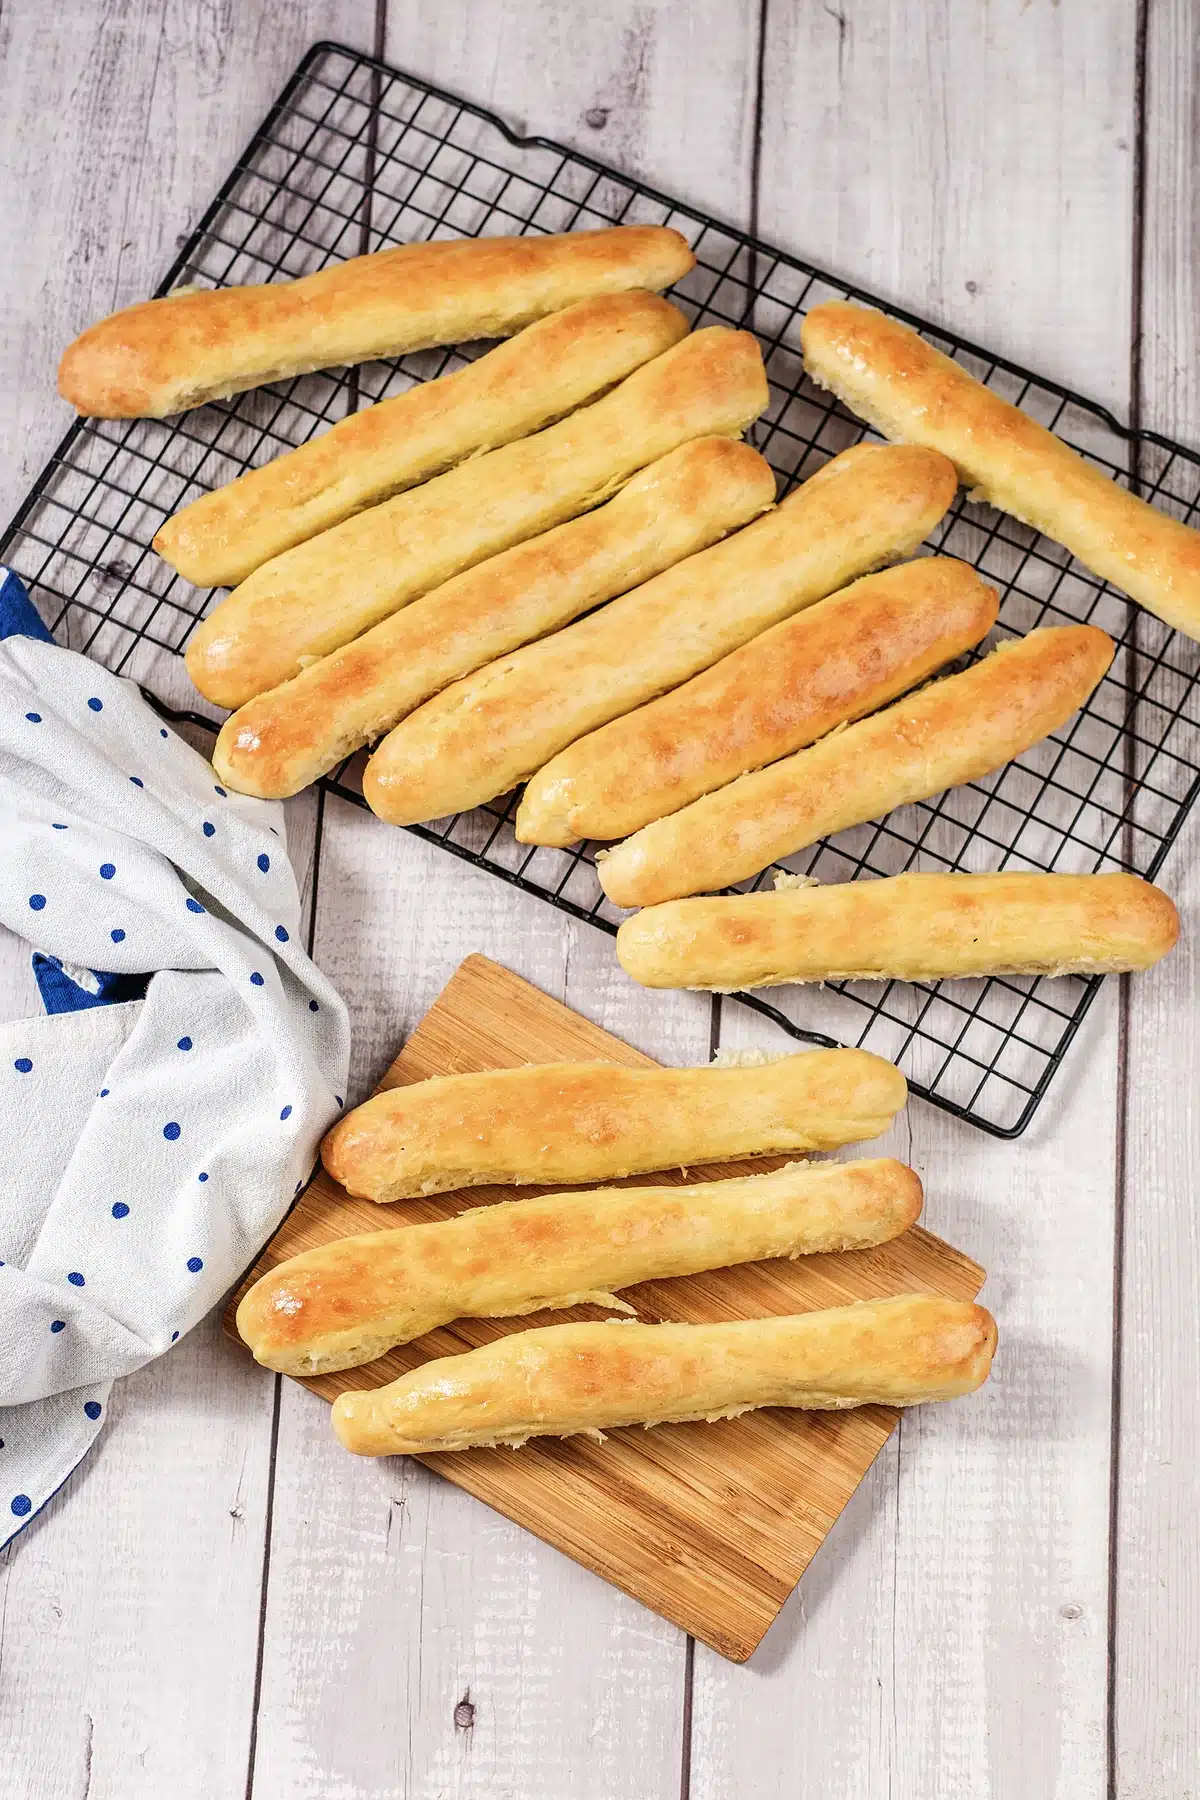
Olive Garden Breadsticks are the reason people arrive at that restaurant hungry and leave without touching the entree. They come out soft, faintly sweet, brushed while hot with butter and garlic salt, and they never last long enough to cool. This copycat gets you the same thing at home from flour, milk, yeast and a stick of butter.
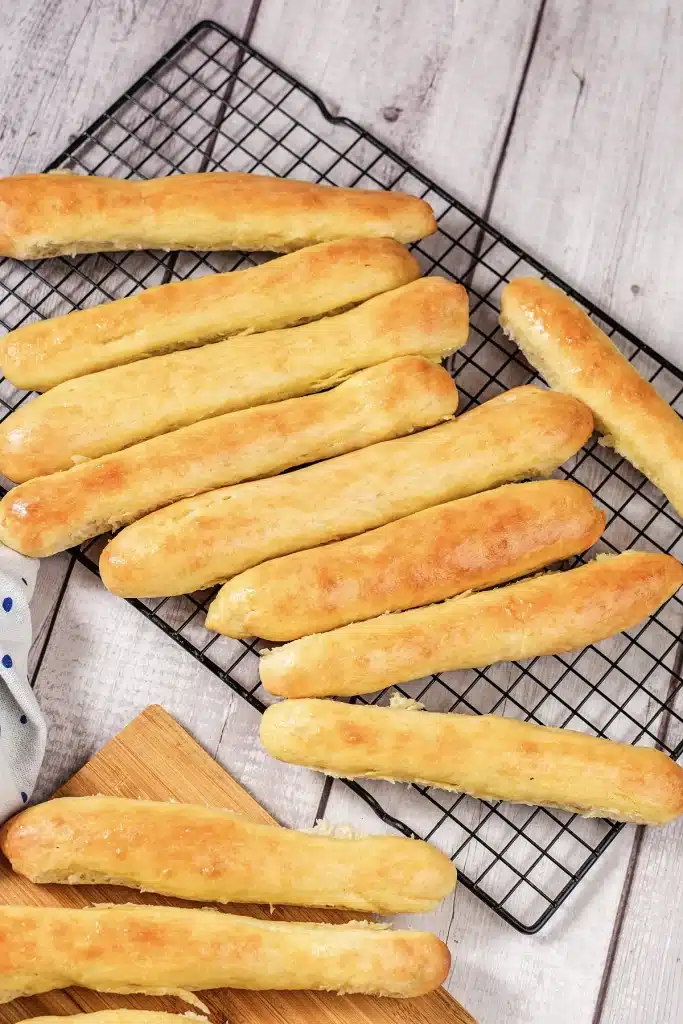
- Same soft, salty, garlicky bite as the restaurant, without the wait for a table
- Six pantry ingredients, and a stand mixer does the kneading for you
- The dough rises twice, so almost all of the three hours is hands off
- Twelve breadsticks from one batch, which is enough for a family dinner
- Freezes baked or unbaked, so a Sunday afternoon feeds you on a Wednesday
I baked these four times before the crumb was right. The first two batches tasted fine and felt wrong, dense and a little bready, because I treated the dough like pizza dough and rushed the second rise. The trick turned out to be patience in one specific place: let the shaped ropes puff until they look almost too soft to move, then bake them hot and fast. That is what gives you a thin, pale gold crust over an interior that pulls apart in strands.

- What Makes Olive Garden Breadsticks Different
- Ingredient Notes
- Bread Flour or All-Purpose Flour
- How To Make Olive Garden Breadsticks
- How To Tell When the Dough Is Ready
- Make It Ahead
- Storing Olive Garden Breadsticks
- Variations and Substitutions
- What to Serve with Olive Garden Breadsticks
- Olive Garden Breadsticks FAQ
What Makes Olive Garden Breadsticks Different
Most homemade breadsticks are crisp. They are rolled thin, baked long, and they snap. Olive Garden breadsticks go the other way completely. They are closer to a soft dinner roll that has been stretched into a rope, with a crumb that tears rather than shatters and a crust barely thick enough to hold its shape.
Two things get you there. Enrichment is the first: milk and a little butter in the dough slow gluten development and keep the crumb tender, where a plain water dough bakes up chewier and drier. Timing is the second. Butter goes on the moment the tray leaves the oven, so the crust softens under it instead of setting hard.
Garlic is not in the dough either, which surprises people the first time they make Olive Garden breadsticks at home. It is in the topping, mixed with salt and brushed over the hot bread, and that is why the smell hits you before the first bite does. Put garlic powder in the dough and you get a faint background note; put it on top and you get the restaurant.
Save this recipe
Enter your email and I’ll send this recipe straight to your inbox.
Ingredient Notes
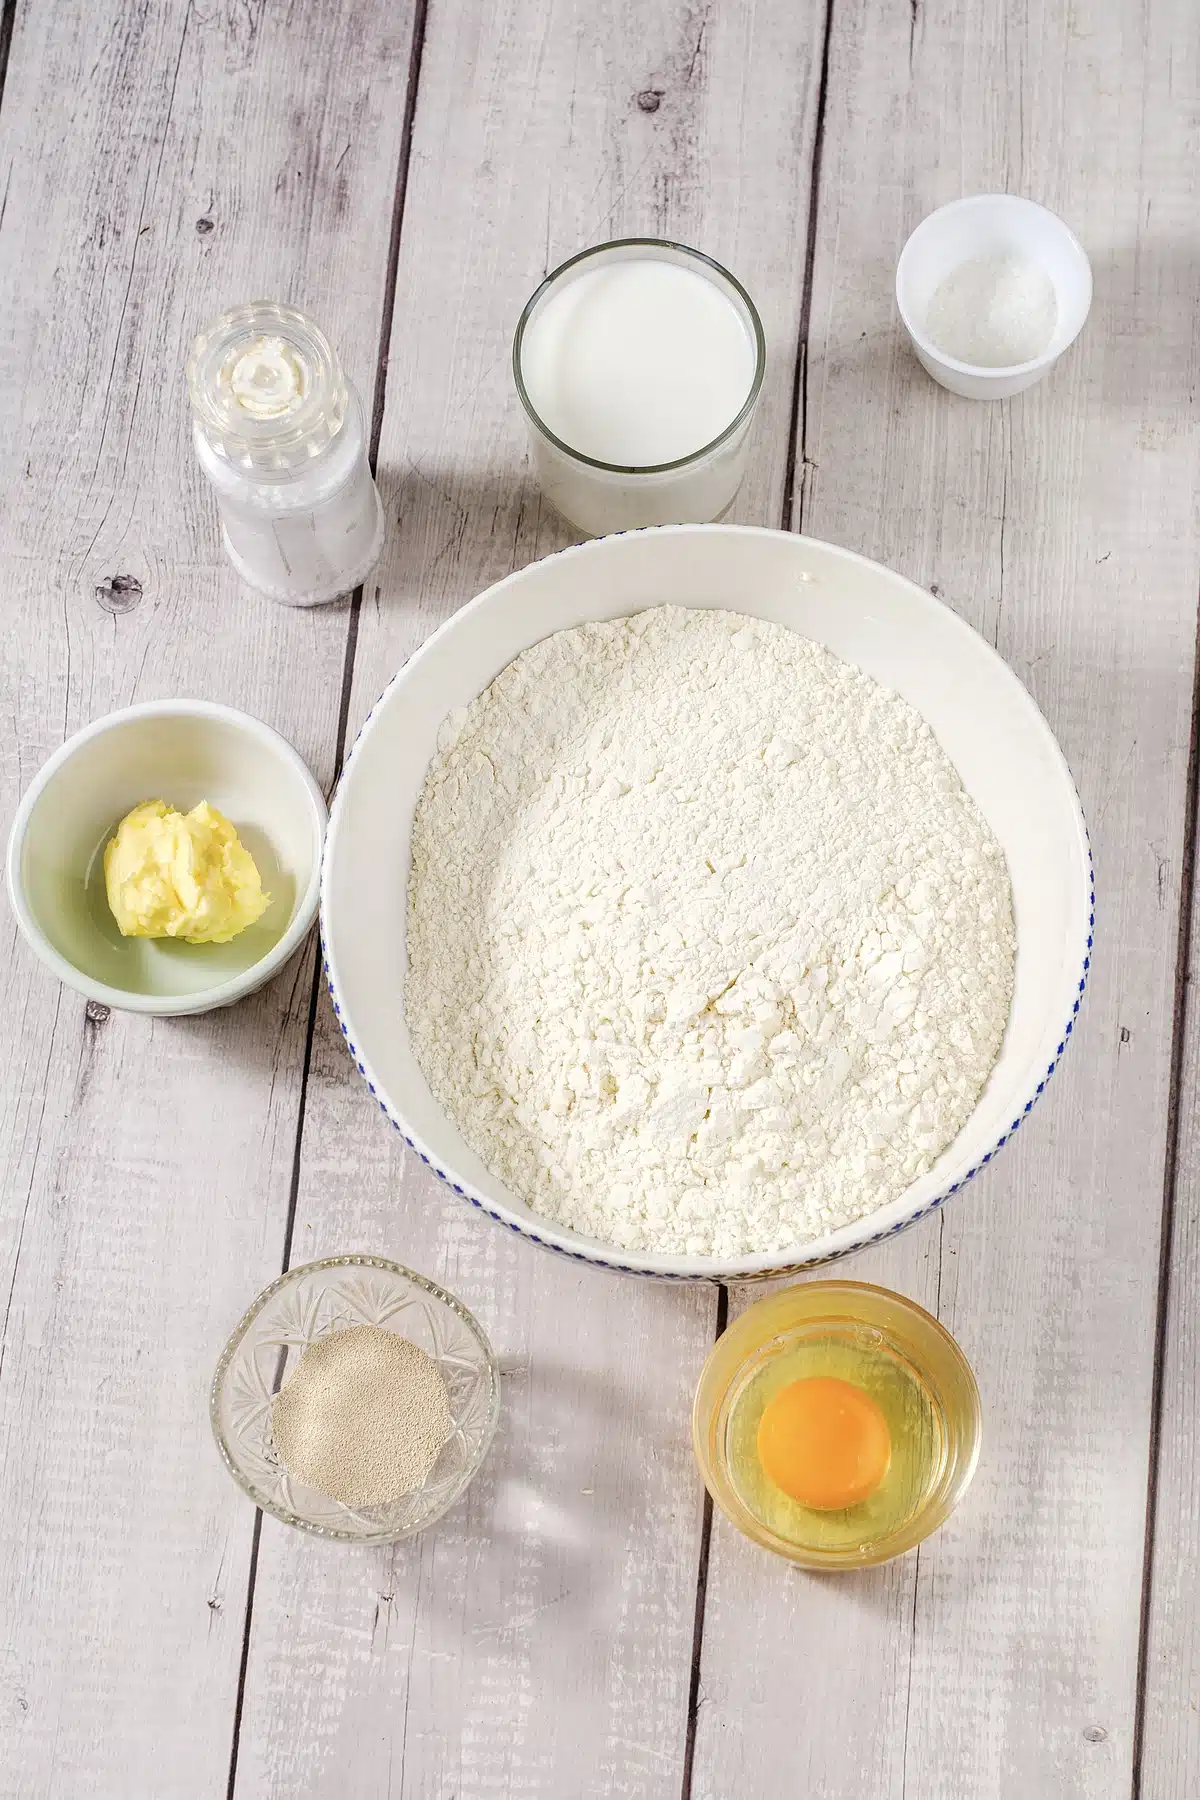
- All-purpose flour. Three cups, plus up to a quarter cup more if the dough stays sticky. Bread flour works and gives a slightly chewier pull, but all-purpose is what keeps Olive Garden breadsticks soft, and soft is the point. The Wheat Foods Council has a clear breakdown of how the flour types differ in protein if you want to understand why the swap changes the crumb.
- Whole milk. One cup, warmed to about 110 degrees. Warm it in the microwave in short bursts and test it on your wrist; anything hot enough to feel hot will kill the yeast. Skim milk works but the crumb comes out noticeably drier.
- Active dry yeast. Two and a quarter teaspoons, which is one standard packet. Bloom it in the warm milk with half a teaspoon of the sugar and give it a full ten minutes. If it has not gone foamy and smelled like beer by then, the yeast is dead and the batch will not recover.
- Granulated sugar. Two tablespoons. Half a teaspoon feeds the yeast and the rest goes into the dough, where it does two jobs: it makes the finished bread faintly sweet, the way the restaurant version is, and it helps the tops brown in a short bake.
- Unsalted butter. Six tablespoons in total, two melted into the dough and four for brushing. Unsalted lets you control the salt in the topping, which is the part people notice.
- Garlic powder and salt. A teaspoon of garlic powder to half a teaspoon of fine salt, stirred together and scattered over the buttered tops. Use powder rather than fresh garlic here, because fresh burns on contact with hot bread and turns bitter.
Bread Flour or All-Purpose Flour
This is the question that comes up every time someone makes these, so it is worth answering properly. Bread flour has more protein, usually around twelve to fourteen percent against ten or eleven for all-purpose. More protein builds more gluten, and more gluten gives you a stronger, chewier, more elastic crumb.
For a baguette that is exactly what you want. For Olive Garden breadsticks it works against you. The restaurant breadstick is soft enough to squash between two fingers and spring back, and the extra chew from bread flour reads as slightly tough by comparison. If bread flour is all you have, hold back two tablespoons of it and add a tablespoon of milk to compensate.
One thing that matters more than the flour type: measure by weight if you can. Three cups scooped straight from the bag can weigh anywhere from 380 to 450 grams depending on how packed it is, and forty extra grams of flour is the difference between a soft dough and a stiff one.
How To Make Olive Garden Breadsticks
First, bloom the yeast. Stir the warm milk, the yeast and half a teaspoon of the sugar together in the bowl of a stand mixer and leave it alone for ten minutes. You are looking for a foamy cap across the surface, not a few bubbles at the edge, because every soft crumb in a batch of Olive Garden breadsticks starts here.
Next, build the dough. Add the rest of the sugar, a cup and a half of the flour, the salt and the melted butter, and mix on low with the paddle until it comes together as a loose batter. Switch to the dough hook, add the remaining flour a little at a time, and knead for seven to eight minutes until the dough is smooth, elastic and pulling cleanly away from the sides of the bowl.
Then let it rise. Turn the dough into a lightly greased bowl, cover it, and leave it somewhere warm for about ninety minutes, until it has doubled. A turned-off oven with the light on is the most reliable warm spot in most kitchens.
Shaping and the Second Rise
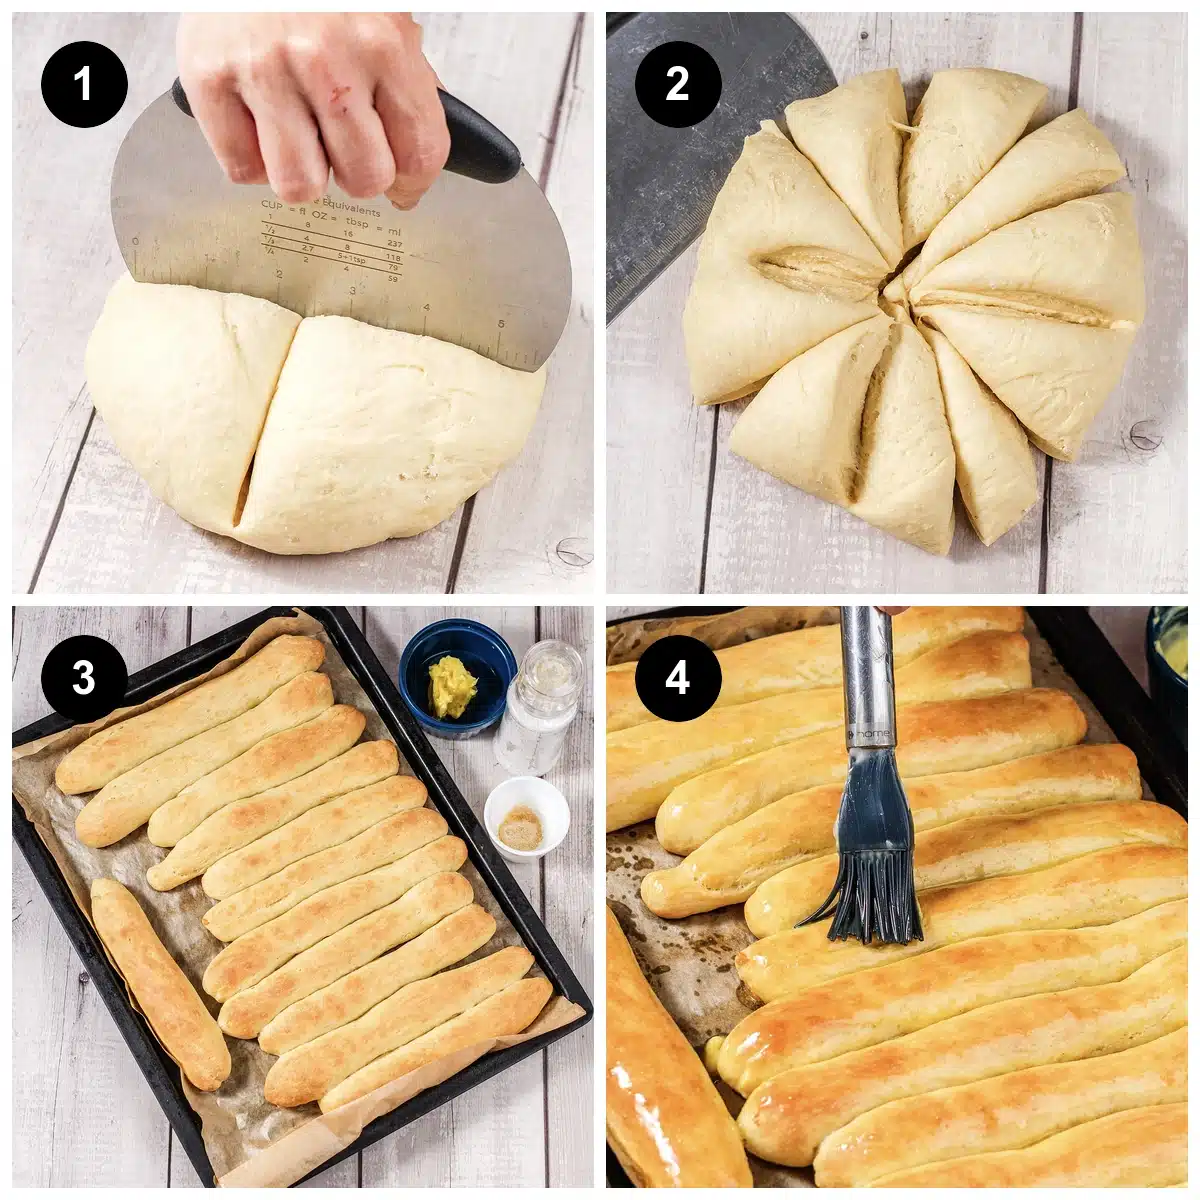
After that, shape and rise again. Punch the dough down, divide it into twelve equal pieces, and roll each one into a rope about eight inches long. Space them well apart on two parchment-lined baking sheets, cover them loosely, and give them a second rise of about an hour. This is the step people cut short, and it is the one that decides whether Olive Garden breadsticks come out airy or tight.
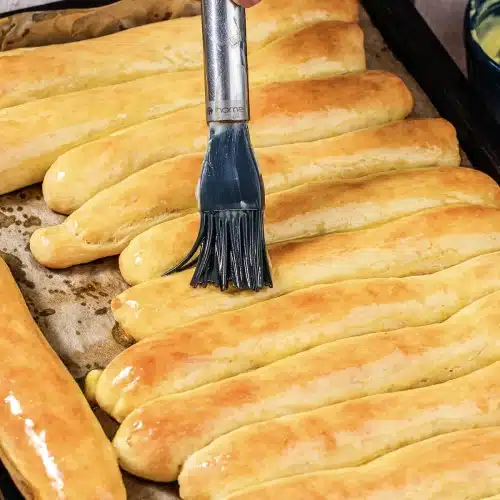
Finally, bake and butter. Heat the oven to 425 degrees during the last ten minutes of the rise, bake the trays for eleven to thirteen minutes until the tops are just gold, then brush them with melted butter while they are still too hot to hold and scatter the garlic salt over the top.
How To Tell When the Dough Is Ready
Two checks, one for each rise. After the first rise, press two floured fingers half an inch into the dough. If the dents stay put, it is ready; if they spring back straight away, give it another twenty minutes.
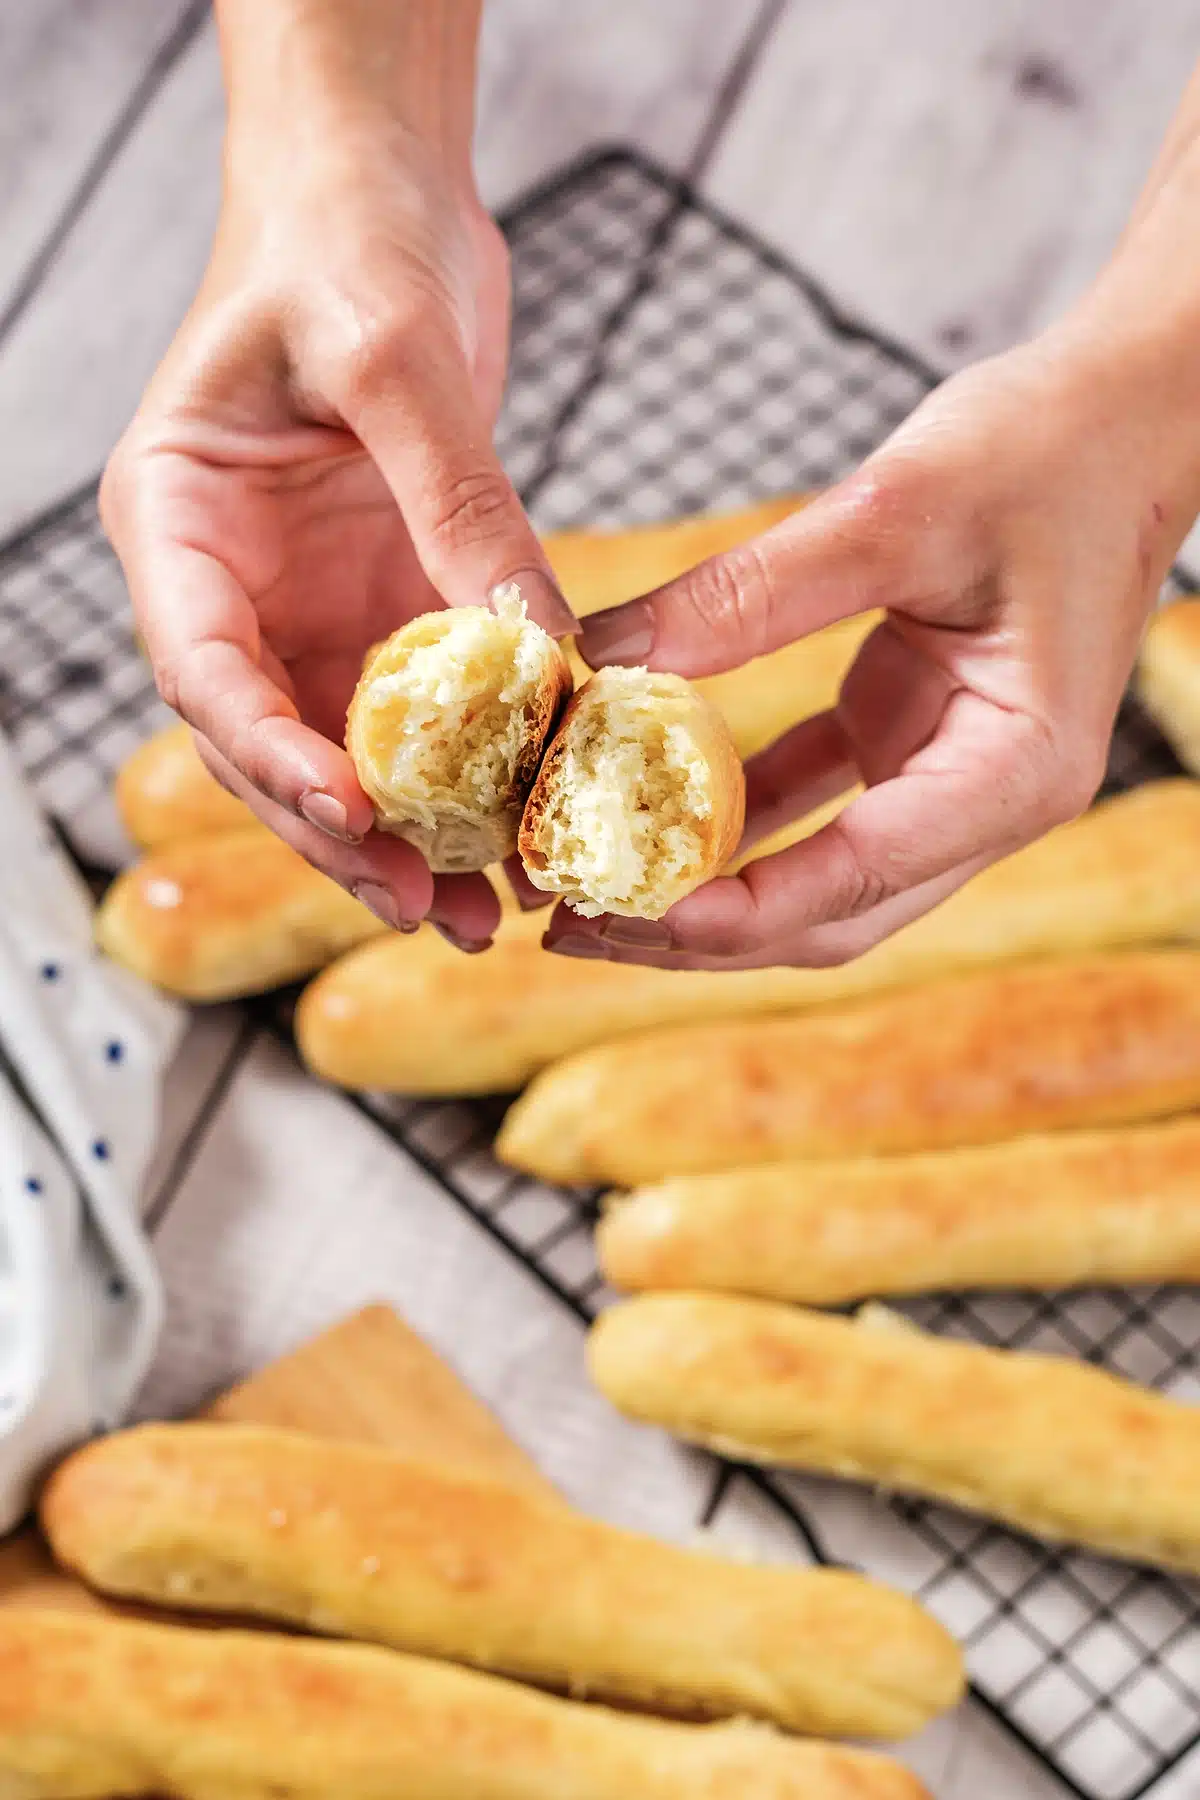
After the second rise the ropes should look visibly puffed and feel airy when you nudge one, almost fragile. Underproofed ropes bake up dense and split along the side. Overproofed ones collapse a little in the oven and go flat on top, so if yours have gone past puffy into wobbly, get them in immediately.
The bake itself is short. Pull the trays when the tops are the color of pale straw, not brown. Olive Garden breadsticks carry on cooking for a minute or two out of the oven, and a deep golden one has already gone a step too far.
Make It Ahead
The dough is happy to wait. After the first rise, punch it down, cover the bowl tightly and refrigerate it for up to twenty-four hours. Cold dough is easier to roll than warm dough, so this is genuinely the easier route. Take it out, divide and shape straight from the fridge, and let the second rise run about ninety minutes instead of sixty because the dough is starting cold.
You can also shape the ropes, arrange them on the trays and refrigerate them overnight covered in plastic. Pull the trays out an hour and a half before you want to bake, let them come up to room temperature and finish puffing, then bake as usual. That turns dinner-time work into ten minutes.
Storing Olive Garden Breadsticks
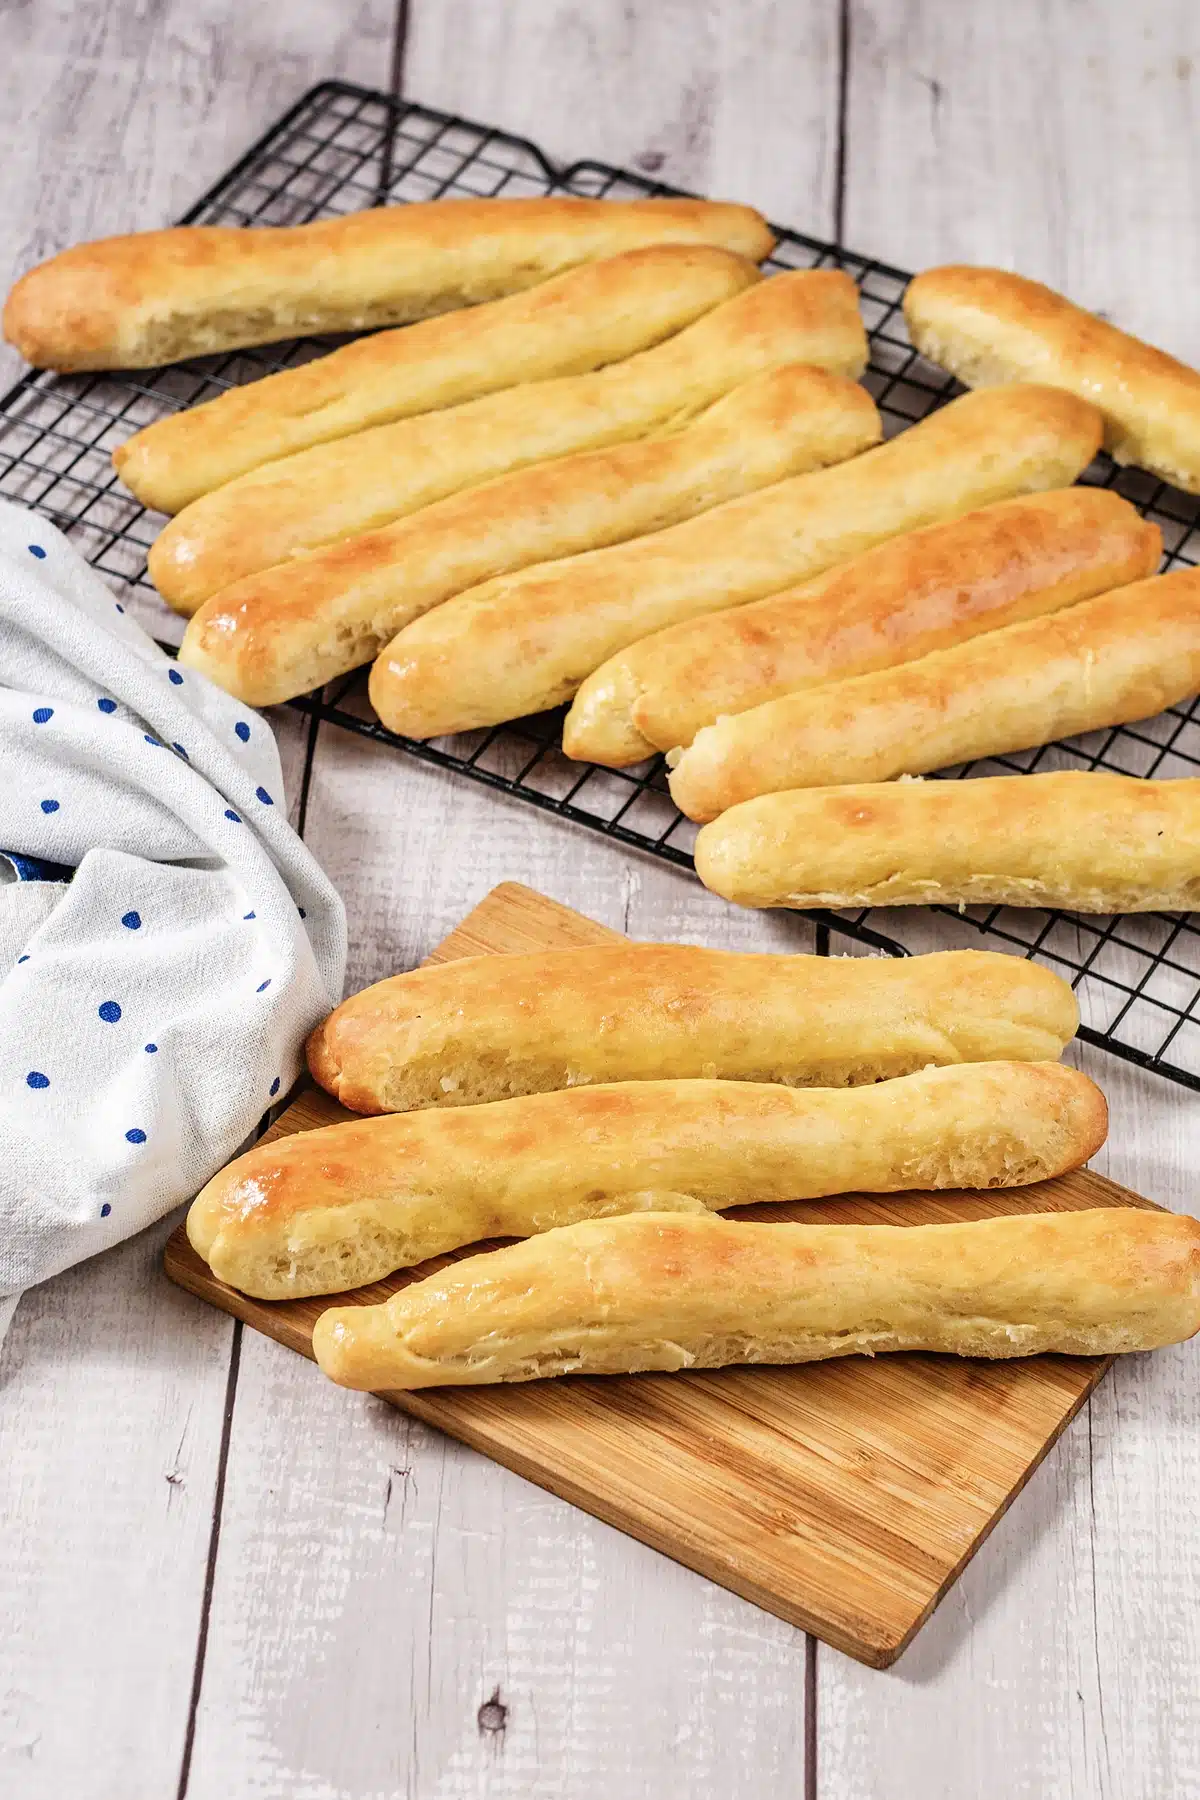
Keep them in a sealed container or a zip-top bag at room temperature for up to two days. Do not refrigerate Olive Garden breadsticks, because the fridge stales bread faster than the counter does. To bring a day-old breadstick back, wrap it in foil and give it eight minutes in a 350 degree oven; it comes out close to new.
For the freezer, cool the baked breadsticks completely, freeze them in a single layer on a tray, then transfer them to a bag for up to three months. Reheat from frozen at 350 degrees for ten to twelve minutes and brush on a little more butter as they come out.
Freezing them unbaked works too, and I like it better. Shape the ropes, freeze them solid on a parchment-lined tray, then bag them. To bake, arrange them spaced out on a lined sheet, let them thaw and rise for about three hours at room temperature, and bake as normal. Fresh Olive Garden breadsticks on a weeknight with five minutes of actual effort is hard to argue with.
Variations and Substitutions
Parmesan. Grate a couple of tablespoons of parmesan over the tops right after the butter goes on, while the surface is still wet enough to hold it.
Herbed butter. Stir dried oregano, basil and a pinch of red pepper flakes into the melted butter before brushing. This is the version that goes with a bowl of marinara.
Dairy-free. Unsweetened oat milk in the dough and a good plant butter for brushing. The crumb is very slightly less tender and nobody at the table has ever noticed.
Whole wheat. Swap one of the three cups for whole wheat flour. You get a nuttier, heartier breadstick that is no longer a copycat of anything, but it is good on its own terms.
Cheese-stuffed. Flatten each piece, lay a stick of low-moisture mozzarella down the middle, and pinch the dough closed around it before rolling. Seal it properly or the cheese escapes.
What to Serve with Olive Garden Breadsticks
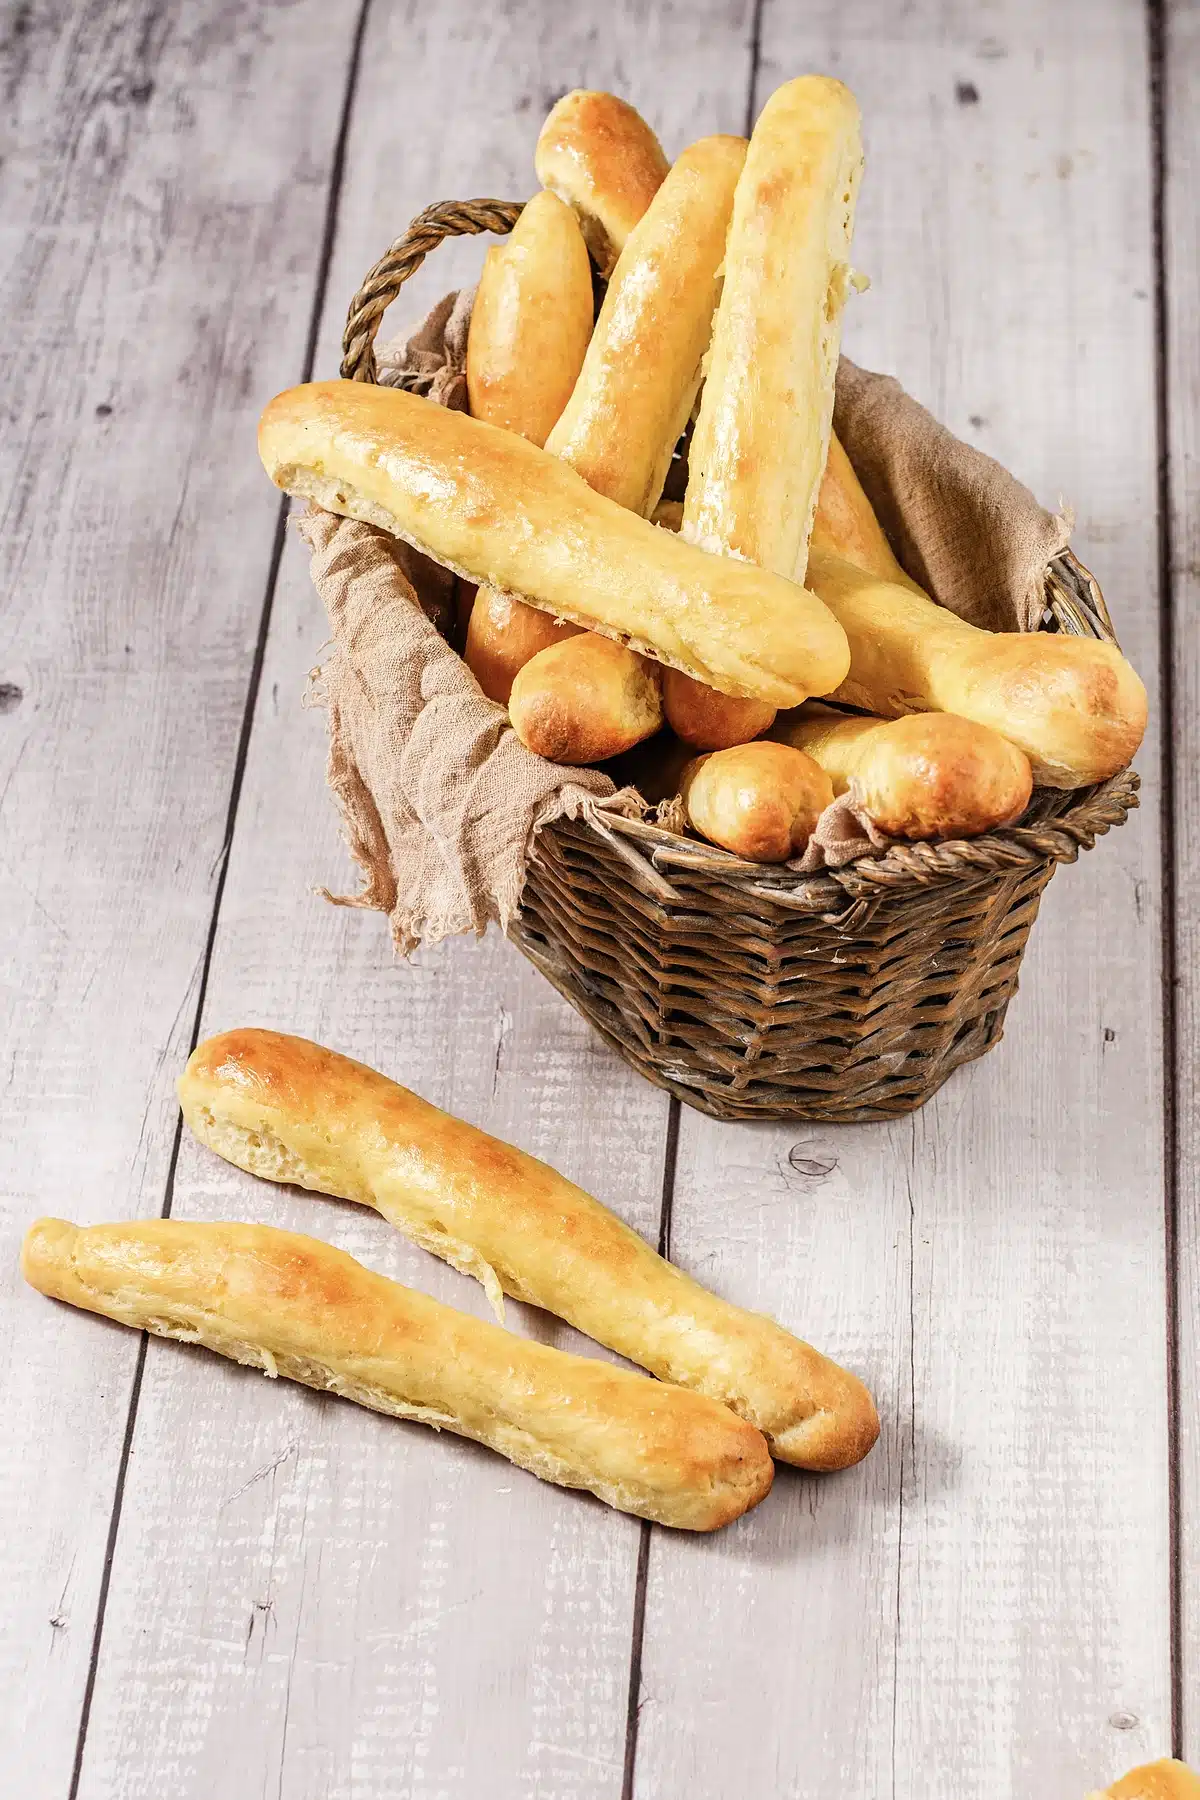
Soup and salad is the obvious pairing for Olive Garden breadsticks, because that is the combination the restaurant built its reputation on. A bowl of kielbasa potato soup and a basket of these is a whole dinner, and the bread is doing real work mopping up what the spoon leaves behind.
On the salad side, anything with a sharp vinaigrette cuts through the butter. A big bowl of Ina Garten pasta salad covers it, and so does a plain green salad with lemon and olive oil. For a proper Italian-American spread, put out a small dish of warm marinara for dipping and a plate of garlic butter potatoes alongside the roast.
Olive Garden breadsticks are also the right bread for anything saucy. Baked pasta, a braise, chili, a plate of meatballs. The crumb is dense enough to hold up to a heavy sauce without disintegrating, which is more than most soft rolls manage.
Olive Garden Breadsticks FAQ
Frequently Asked Questions
Can you buy Olive Garden breadsticks to bake at home?
The restaurant sells them by the dozen to take away, and some locations will sell you unbaked dough if you ask, but there is no retail box in the grocery aisle. Making them yourself is the only way to have them on a Tuesday.
What kind of breadsticks does Olive Garden use?
A soft, enriched yeast dough, shaped into ropes, baked pale and finished with butter and garlic salt while hot. It is much closer to a dinner roll than to the crisp grissini sold in packets.
Why did my Olive Garden breadsticks come out dense?
Almost always a short second rise, or dough that had too much flour worked into it. Give the shaped ropes the full hour and stop adding flour once the dough stops sticking to your fingers.
Can I make the dough by hand?
Yes. Mix it in a bowl with a wooden spoon until it is too stiff to stir, then knead on a lightly oiled counter for ten to twelve minutes. It is a soft dough, so resist the urge to keep adding flour.
More Questions About Copycat Breadsticks
Good to Know
Can I double the recipe?
You can, and the dough handles it well, but bake the trays one at a time on the middle rack. Two trays at once means uneven heat and one batch that browns while the other stays pale.
Do I need a stand mixer?
No, though it makes the kneading painless. A food processor with a dough blade works in about ninety seconds, and hands work in twelve minutes.
Why are mine not soft on top?
The butter went on too late. Brush the moment the tray comes out, while steam is still coming off the bread, so the crust absorbs it instead of shedding it.
If a batch of warm bread is your idea of a good afternoon, the same slow-rise logic gets you a tray of TikTok cinnamon rolls for the following morning.
Olive Garden Breadsticks
Save this recipe
Enter your email and I’ll send this recipe straight to your inbox.
Ingredients
Dough
- 1 cup whole milk warmed to about 110°F
- 2 1/4 teaspoons active dry yeast one standard packet
- 2 tablespoons granulated sugar divided use
- 3 cups all-purpose flour plus up to 1/4 cup more as needed
- 1 1/2 teaspoons fine salt
- 2 tablespoons unsalted butter melted and cooled slightly
- 1 large egg beaten, for brushing before baking
Garlic Butter Topping
- 4 tablespoons unsalted butter melted
- 1 teaspoon garlic powder
- 1/2 teaspoon fine salt
Equipment
- Stand Mixer (optional)
- Mixing bowls
- Baking Sheets
- Plastic Wrap or Kitchen Towel
- Parchment paper
- Pastry brush
Instructions
Make the Dough
- Bloom the yeast: Stir the warm milk, yeast and 1/2 teaspoon of the sugar together in the bowl of a stand mixer. Leave it for 10 minutes, until a foamy cap has formed across the surface. If nothing happens, the yeast is dead and the batch will not recover.
- Start the dough: Add the remaining sugar, 1 1/2 cups of the flour, the salt and the melted butter. Mix on low with the paddle attachment until it comes together as a loose batter.
- Knead: Switch to the dough hook. Add the remaining flour a little at a time and knead for 7 to 8 minutes, until the dough is smooth, elastic and pulling cleanly away from the sides of the bowl. Add up to 1/4 cup more flour, a tablespoon at a time, only if it still sticks to your fingers.
- First rise: Turn the dough into a lightly greased bowl, cover it, and leave it somewhere warm for about 90 minutes, until doubled. A turned-off oven with the light on works well.
Shape and Rise Again
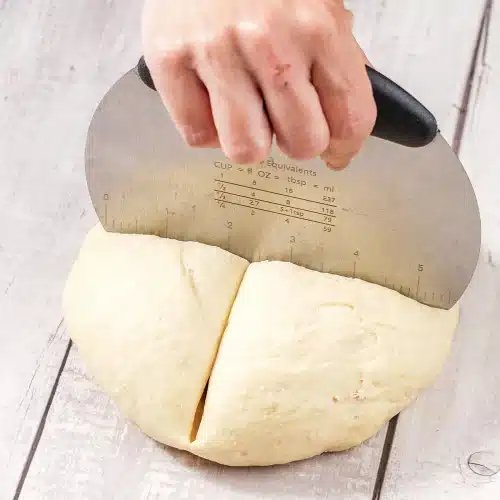
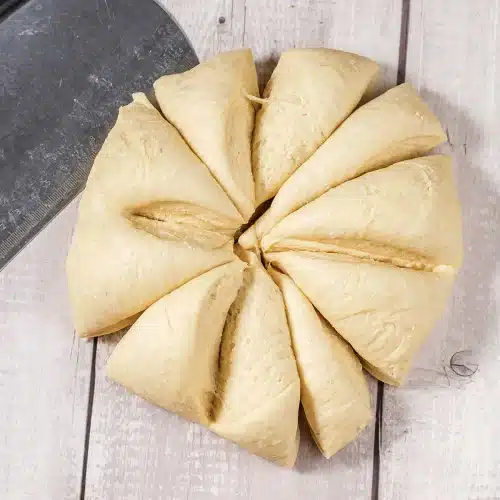
- Divide: Punch the dough down and turn it onto a clean, dry counter. Cut it in half with a bench scraper.

- Cut twelve pieces: Work each half into a round and cut it into 6 even wedges, so you finish with 12 pieces of roughly equal weight.
- Roll the ropes: Roll each piece into a rope about 8 inches long on an unfloured surface. Space them well apart on two parchment-lined baking sheets.
- Second rise: Cover the trays loosely and let the ropes rise for about 1 hour, until visibly puffed and airy when nudged. Do not cut this short.
Bake and Butter
- Bake: Heat the oven to 425°F (220°C) during the last 10 minutes of the rise. Brush the ropes lightly with beaten egg, then bake one tray at a time on the middle rack for 11 to 13 minutes, until the tops are the color of pale straw.
- Butter and finish: Stir the garlic powder and salt into the melted butter. Brush it generously over the breadsticks the moment they come out of the oven, while steam is still rising, and serve warm.