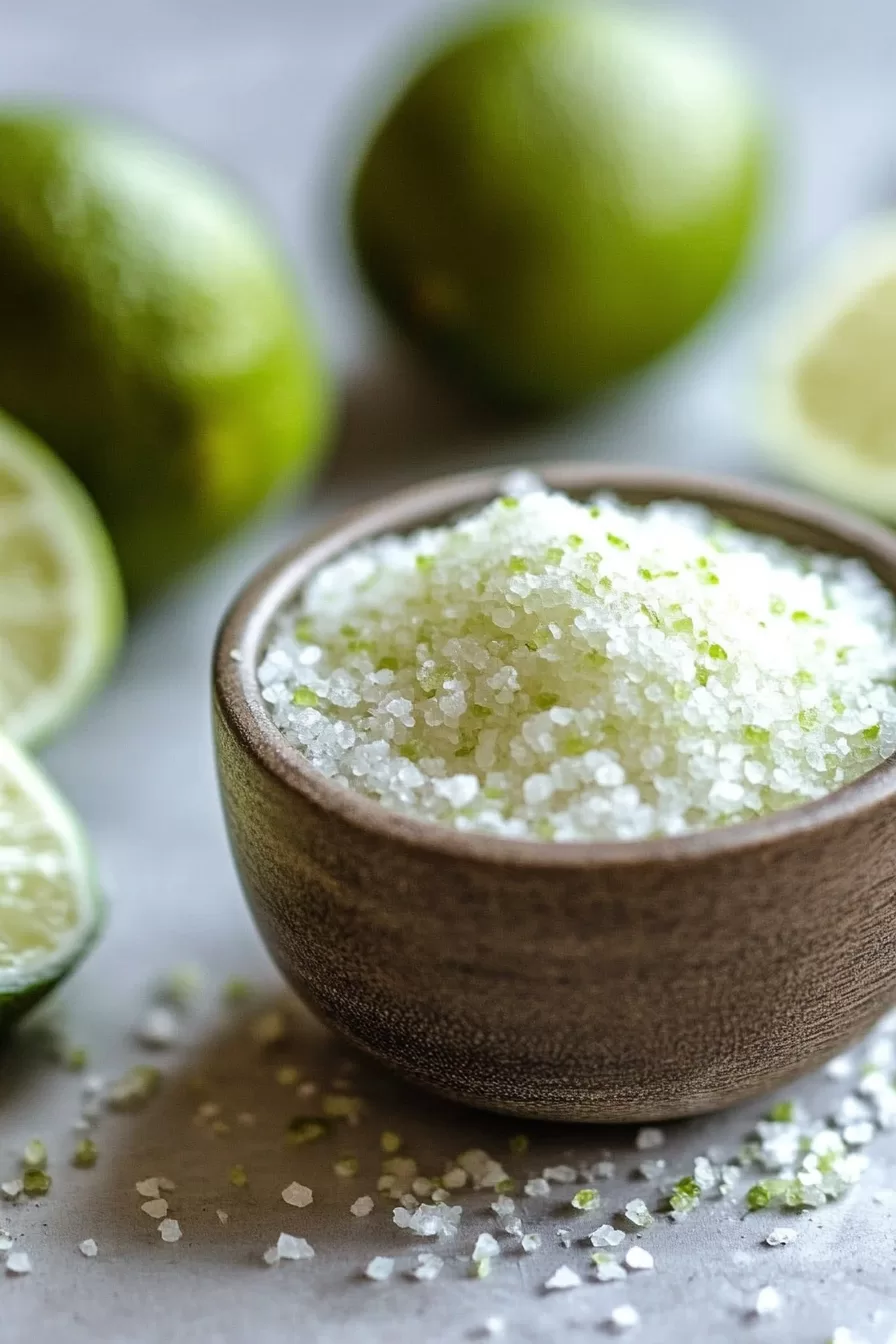
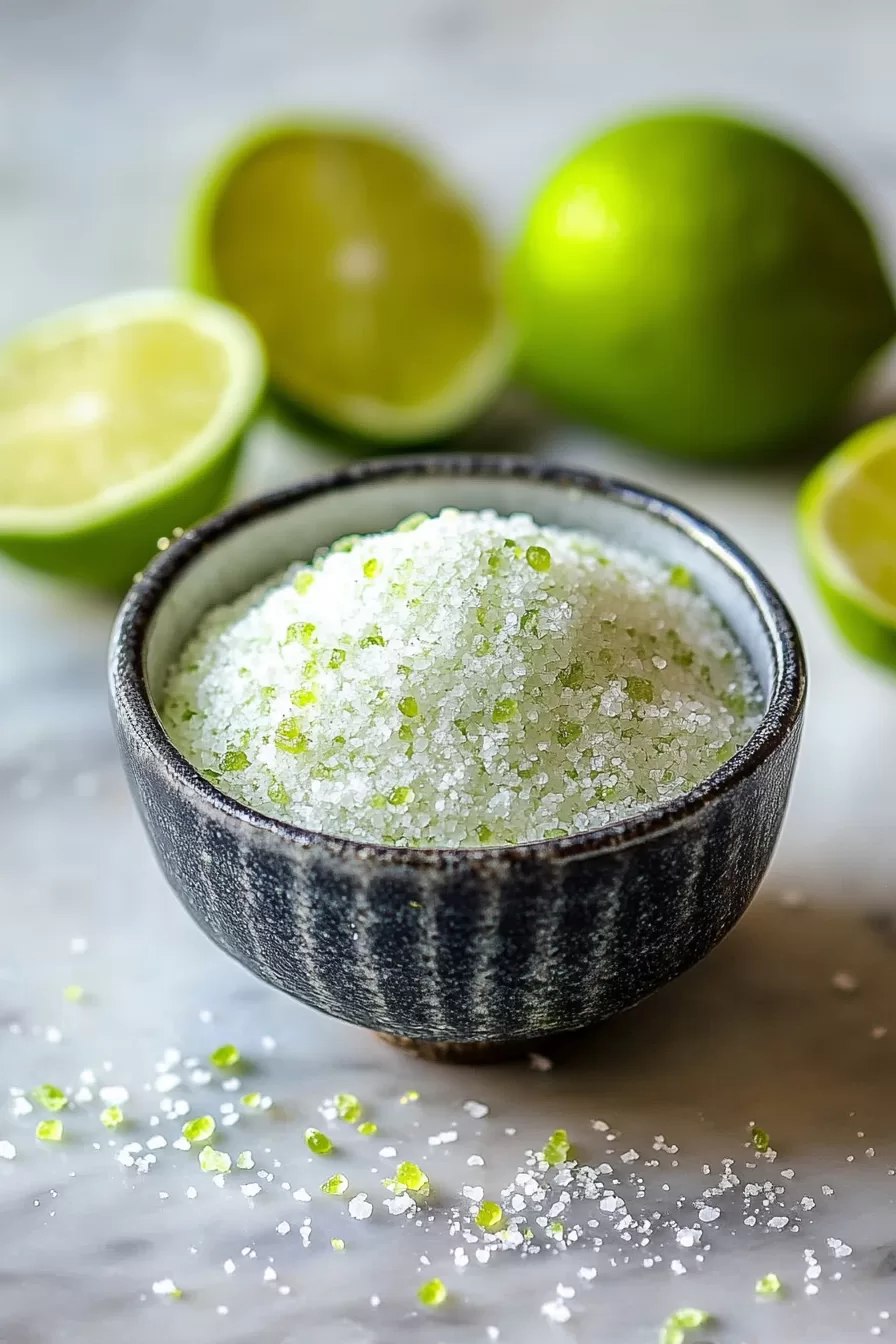
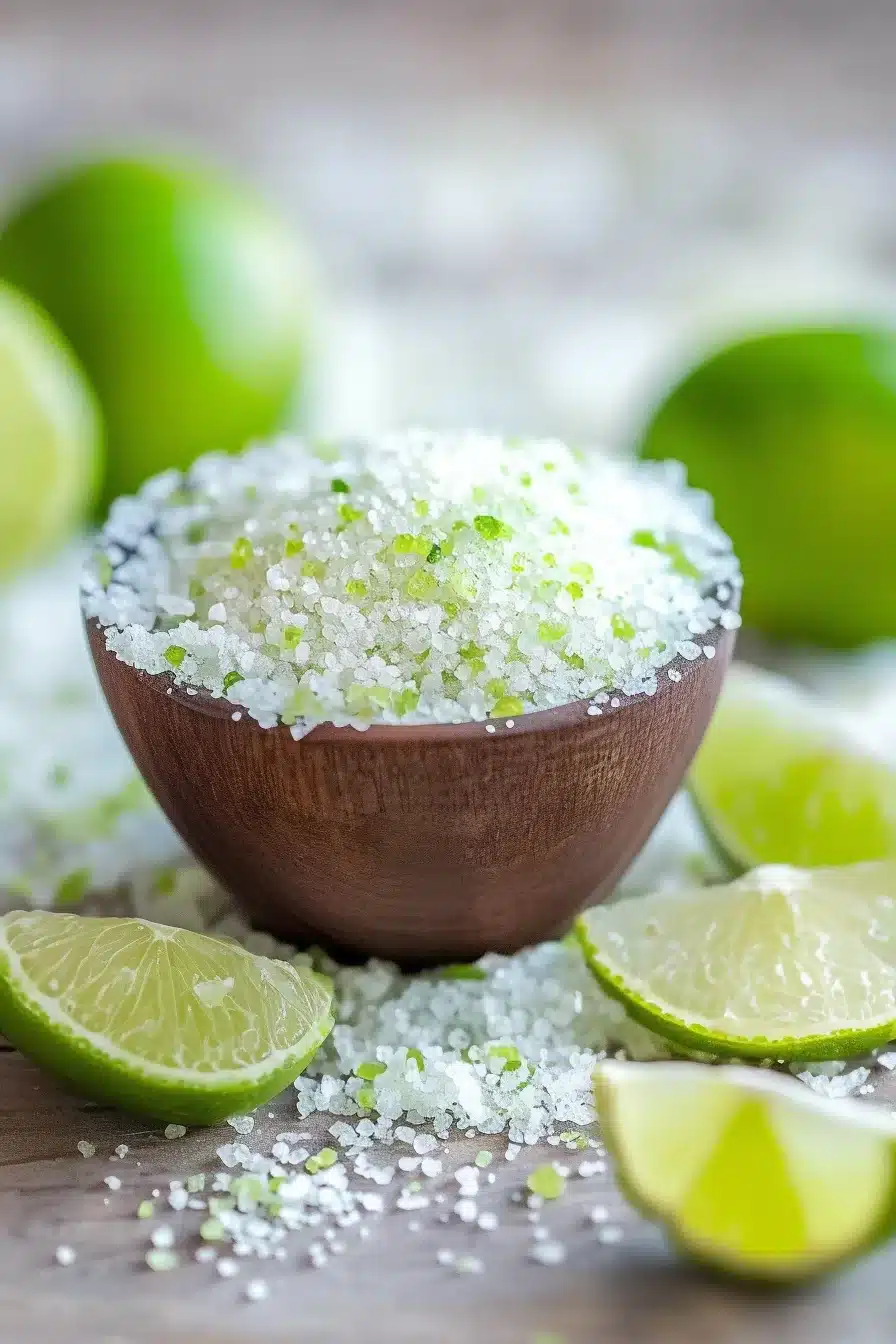
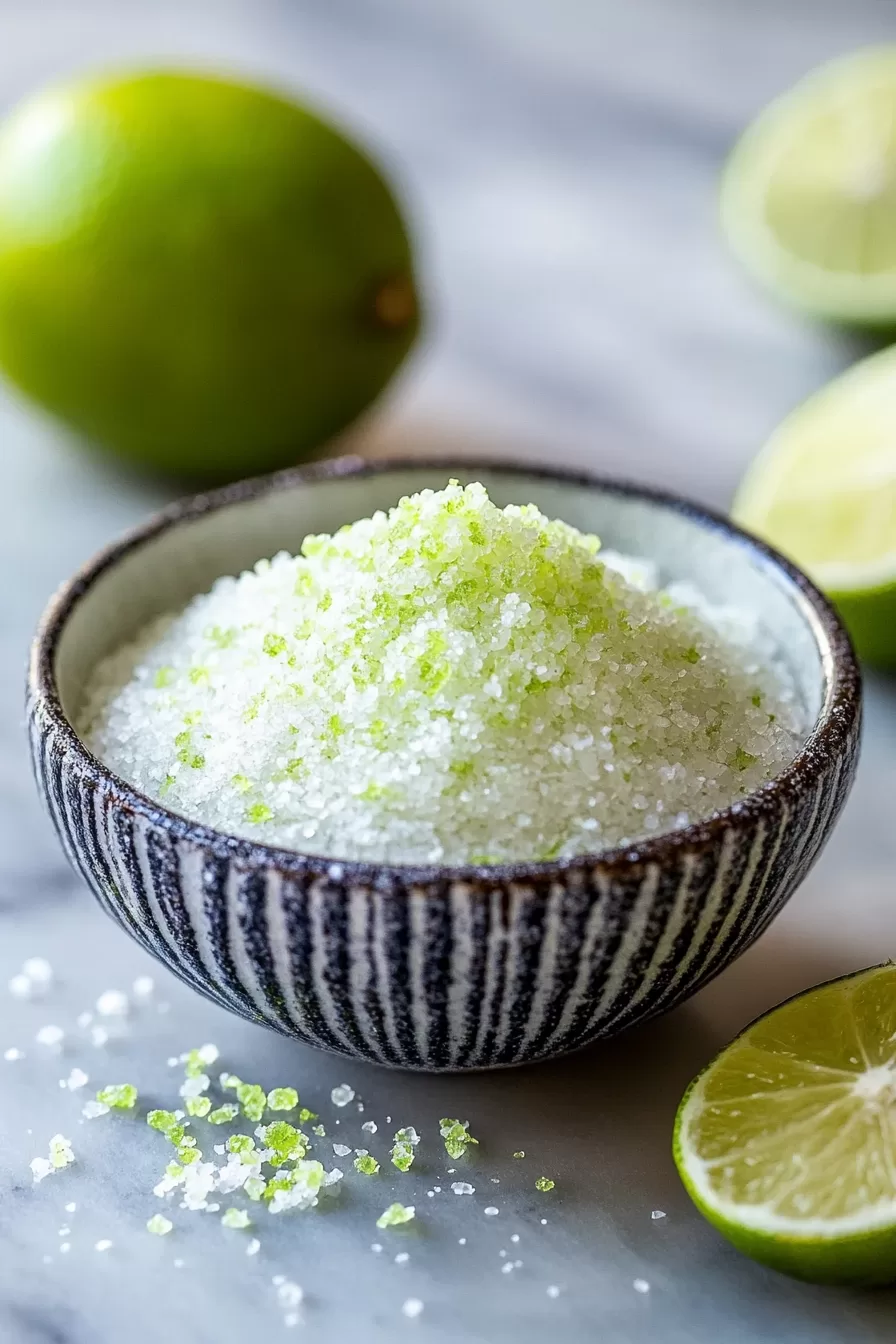
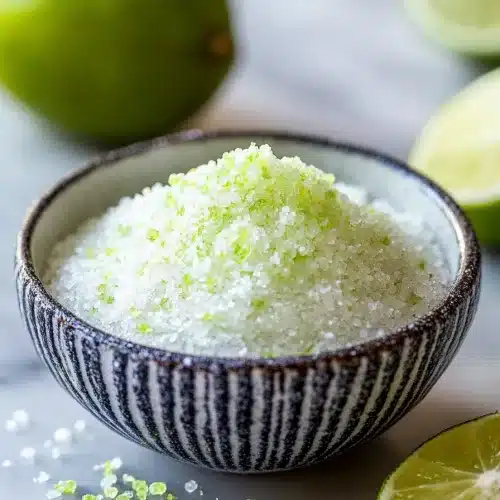
Bright and zesty, this lime salt brings a citrusy punch to your favorite dishes using just coarse sea salt and fresh lime zest. It’s got that tart nose-tingling aroma that’ll make you want to sprinkle it on everything from tacos to popcorn.
A quick bake in the oven is all it takes, and suddenly your kitchen smells like a tropical breeze smacking into the edge of a margarita glass. The texture? Crunchy and flaky, like it knows exactly how to sit on the rim of a cocktail or dust a juicy grilled steak. Welcome to a five-minute flavor upgrade.
So here’s the whole scoop: lime salt is what you make when you want something unfussy but still feels—fancy? And sneaky-versatile too. It perks up roasted veggies, takes grilled meats to another level of “oh hey now,” and honestly? It even makes snack bowls sing a little. The process is wildly simple, borderline too easy, which makes this one of those little pantry cheats I keep going back to.

Why You’ll Love this Lime Salt
We’re not reinventing the wheel here. But this lime salt recipe is such a no-brainer flavor bomb, it’s worth keeping in regular rotation. Think finishing touch, not fussy garnish.
- Ridiculously simple to make: You’re literally just zesting, mixing, and baking. That’s it. Bonus: your kitchen smells like summer.
- Big payoff for tiny effort: A single lime and some coarse salt? Somehow they turn into magic.
- Keeps forever (basically): It’ll hang out in your pantry for weeks, just getting zestier by the day.
- Adds zippy flair to anything: Sprinkle it on fruit, fish, eggs, or yes, even the rim of your cocktail.
- Customizable in fun ways: Feeling rogue? Add chili flakes, crushed herbs, or even a little sugar for a sweet-sour twist.
- No weird steps or tools: If you’ve got an oven and a zester, you’re already overqualified.

Ingredient Notes
Not much to unpack here, but the quality of your two ingredients really does matter. Think of this as a minimalist dish with nowhere to hide—in a good way.
- Coarse sea salt: Look for flaky or coarse sea salt (skip the fine stuff). The chunky texture helps the zest stick and gives a lovely crunch when sprinkled. Maldon or Celtic sea salt are great if you’re feeling bougie.
- Freshly grated lime zest: You want the outer green part only—none of that bitter white pith. A microplane works best. Organic limes are worth it here since you’re eating the skin (literally).
How To Make This Lime Salt
Alright, this is where things get really complicated. Just kidding—this might be the simplest flavor booster recipe in your entire culinary lineup. Let’s walk through it.
- Preheat the oven: Set it to 225°F and let it do its thing while you zest and mix—low and slow keeps the lime oils fragrant without scorching them into bitterness.
- Combine zest and salt: In a small bowl, toss your fresh lime zest into the sea salt and give it a thorough mix. Make sure all the little green flecks are evenly distributed—use your fingers if you’re feeling tactile.
- Spread on a baking tray: Pour the mixture onto a parchment-lined or unlined metal tray (unfussy, remember?) and spread it out evenly. Aim for a thin, even layer so it all dries out evenly.
- Bake until dry: Pop it in the oven for about 30 minutes. You’re not trying to brown it, just slowly dehydrate the zest—your nose will tell you when it’s ready (hello, lime-scented air).
- Cool completely and store: Let the salt cool right on the tray—it crisps up a bit more as it cools. Once it’s completely dry, funnel it into an airtight jar. Label it if you must, or just stash it somewhere easy to grab.
Storage Options
Since this is essentially dried citrus and salt—which, spoiler alert, are both natural preservatives—you’ve got some wiggle room here.
Once it’s fully cooled and dry, store your lime salt in an airtight jar at room temperature. A glass spice jar, tiny Mason jar, or basically anything with a lid will do. If it clumps over time, no worries—just shake it up or give it a quick stir before using. It’ll still be punchy.
Refrigeration isn’t necessary, and I’d honestly avoid it since fridges can introduce moisture. And while technically freezable (hey, it’s salt, not ice cream), I wouldn’t head that route. The freezer can mess with the delicate oils from the zest and make the flavor fade. So skip it; pantry life is where this stuff thrives.
Variations and Substitutions
You’ve nailed the classic version—now let’s mess around a bit. Because lime salt is basically flavor confetti, and who doesn’t want more confetti in their kitchen?
- Chili lime salt: Stir in a pinch of chili flakes or ground cayenne with the zest if you want heat alongside that citrus zing—perfect for elote or spicy margaritas.
- Lemon or orange zest: Swap the lime for any citrus you like. Meyer lemon salt? Yes, please. Blood orange for a sweet twist? Go wild.
- Pink Himalayan salt: Want to be extra fancy without trying too hard? Use Himalayan salt for a splash of soft color and mild mineral flavor.
- Herb-infused: Mix in finely chopped rosemary or thyme before baking, especially if you’re planning to use the salt on roasted vegetables or grilled poultry.
- Sweet citrus sugar-salt blend: Add a teaspoon of raw sugar along with the zest and salt—it’s incredible on fruit salads or even the rim of a tequila sunrise.
What to Serve with Lime Salt
Lime salt kind of plays well with everything. It’s a bit of a chameleon—bright and bold, but still lets the main dish lead. Here are a few ideas to get you started.
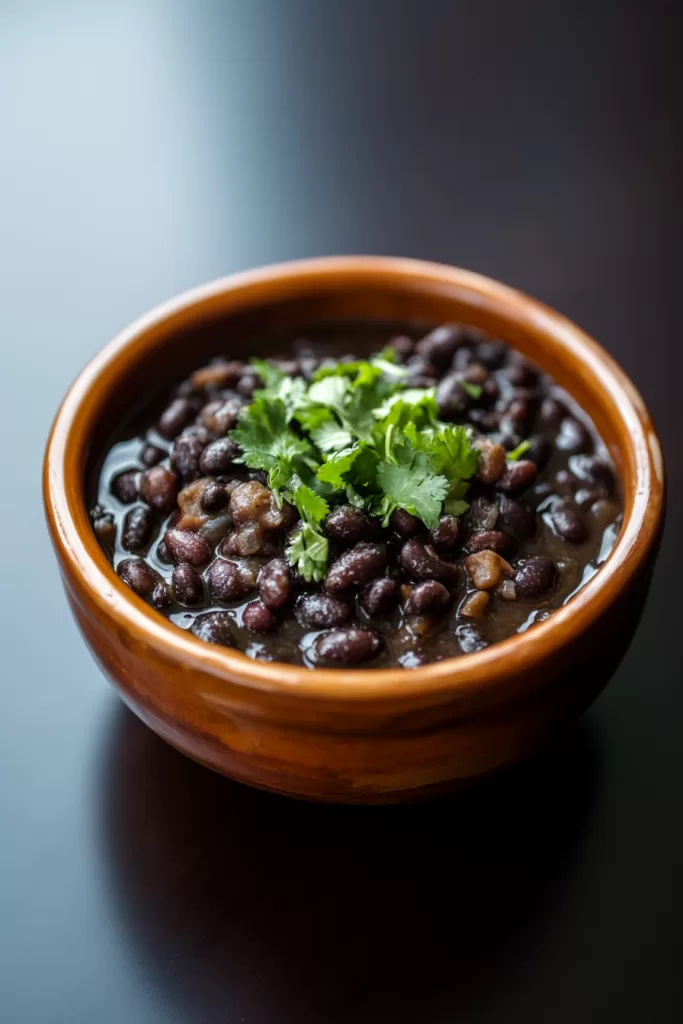
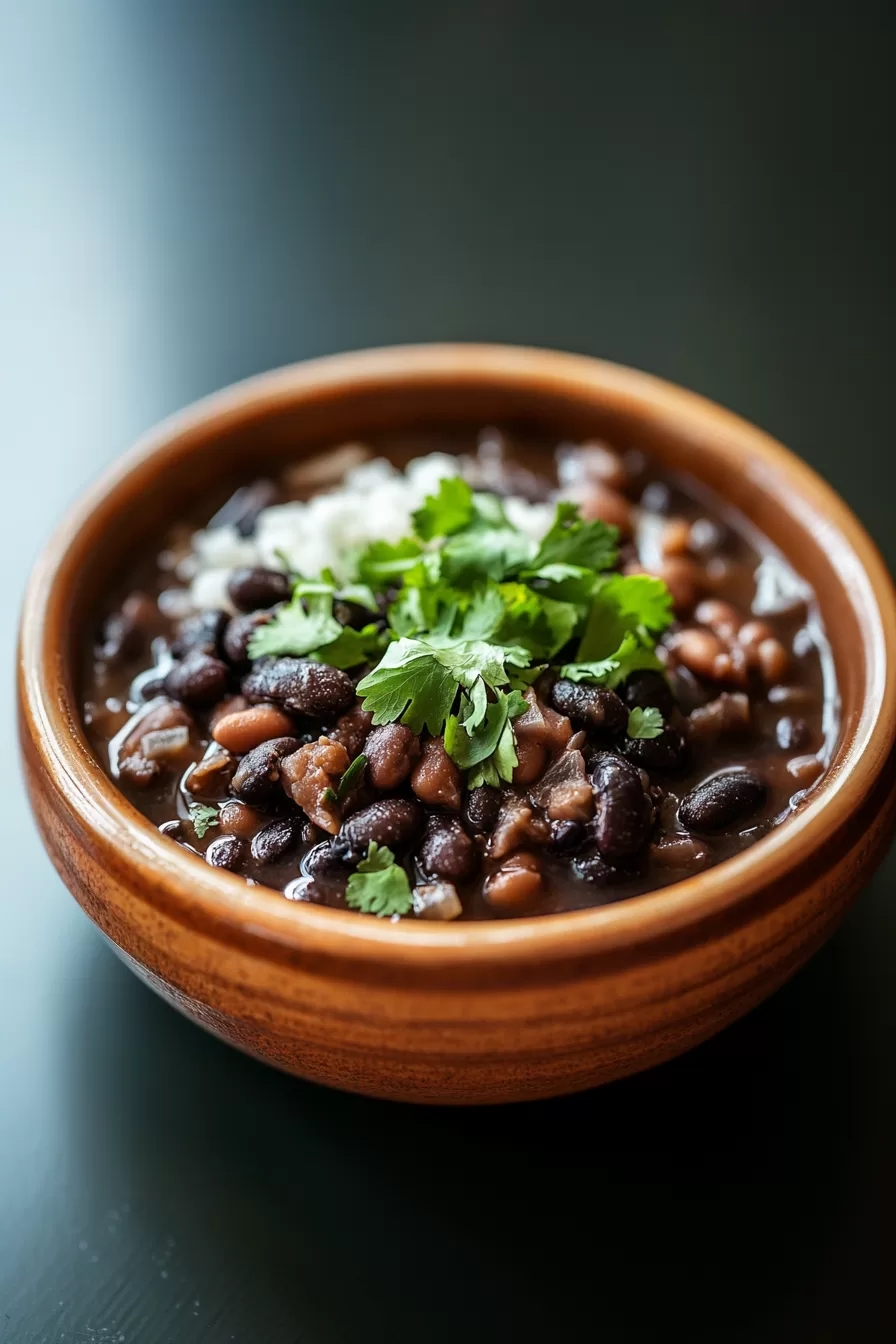
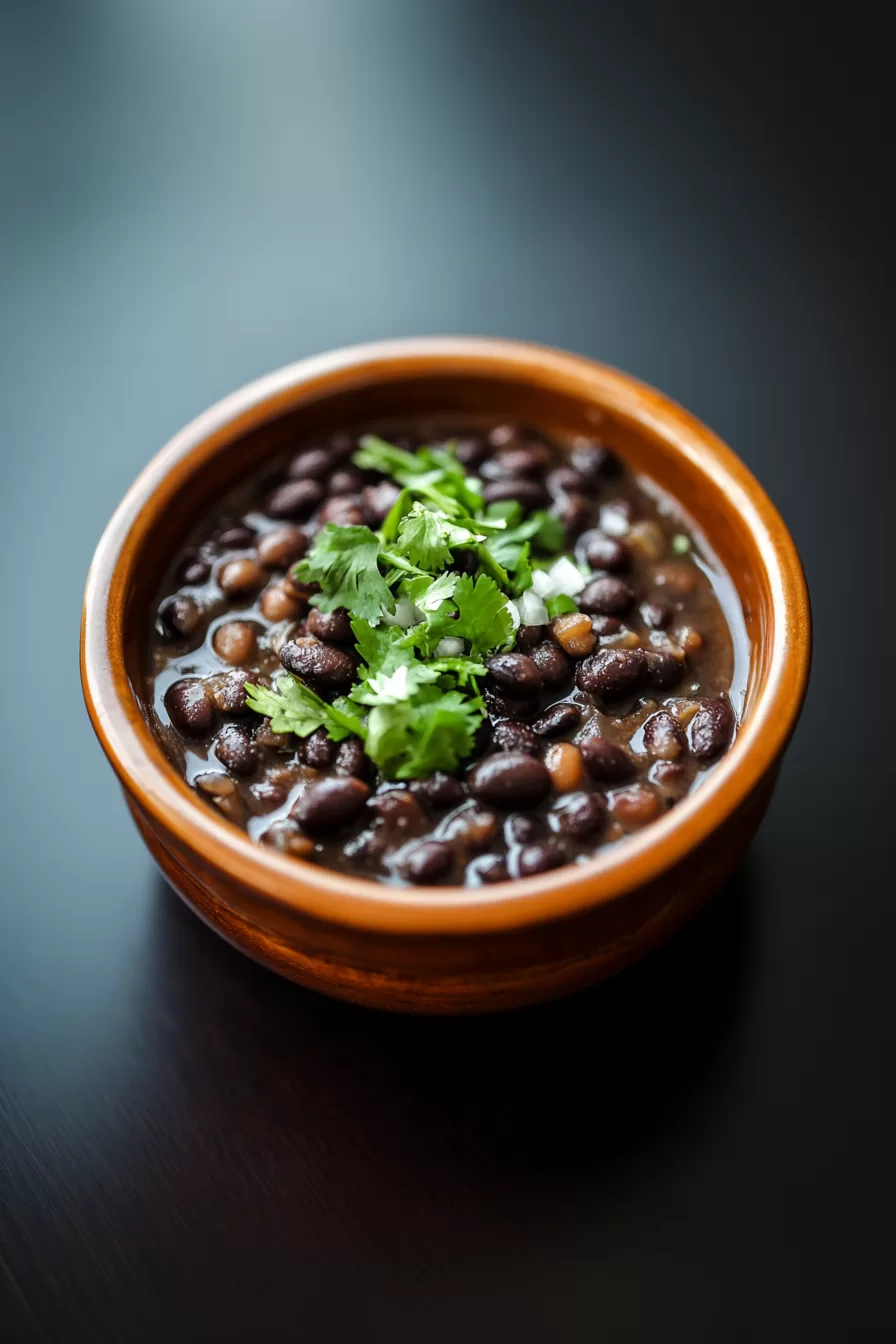
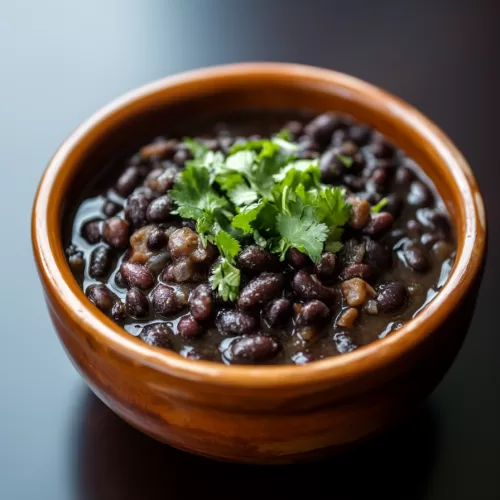
- Cuban black beans love a dusting of lime salt. It adds a tangy sparkle that lifts all the warm, earthy flavors without overpowering. Think of it like a squeeze of lime, in sprinkle form.
- Use it to finish off grilled fish—seared cod, for example, is a dream pairing. It complements that caramelized, flaky texture with a kick of citrus brightness. It also brings out the leafy bitterness if you’re serving it with something like rainbow chard.
- Dust a little onto the rim of your cocktail glass. Lime salt turns an average margarita into a top-shelf moment. You can even mix some into Bloody Mary rims for a citrusy surprise.
- Roasted potatoes, sweet corn, or even avocado toast get a glow-up with a little lime salt on top. It just pops.
- And don’t forget the snack scene—homemade tortilla chips, buttery popcorn, or even a platter of fruit slices (watermelon, mango, pineapple). Trust me on that last one.
Frequently Asked Questions
Can I use bottled lime juice or dried zest instead of fresh lime zest?
So here’s the thing: bottled lime juice won’t work here. You need the *zest*—that bright green outer layer that holds all those fragrant oils. Dried zest could work in a pinch, but it’s not nearly as punchy. Fresh lime zest really makes this sparkle, so try to stick with the real deal.
Does lime salt go bad? How long does it keep?
It won’t spoil in the traditional sense since salt is basically nature’s preservative. However, the lime flavor will fade over time. If stored in a dry, airtight container it should stay zesty for several weeks, maybe even a couple of months. Just open the jar and sniff—it’ll let you know if it’s still got the goods.
What type of salt works best for lime salt?
Go for coarse or flaky sea salt. You want noticeable texture and enough surface area for the zest to cling to. Fine salt tends to disappear into food with less drama, and we want *drama*—at least the good kind. Maldon, Celtic, or any coarse kosher-style salt is perfect here.
How can I use lime salt beyond margarita rims?
Oh yes, margaritas are just the beginning. Use it to finish grilled meats, sprinkle over roasted veggies, dust it on fresh fruit, or even jazz up your morning eggs. It also gives a citrusy lift to dishes like cranberry meatballs or spiced snacks. Anywhere you’d normally squeeze a lime? Try swapping for lime salt instead and see what happens.
Lime Salt
Ingredients
Lime Salt
- 1 lime zest only, organic preferred
- 1/2 cup (80 g) coarse sea salt flaky or coarse, such as Maldon or Celtic
Equipment
- Microplane or fine grater
- Oven
- Baking tray
- Parchment paper (optional)
- Airtight jar
Instructions
- Preheat your oven to 225°F (110°C).
- Zest the lime, being careful to remove only the green outer layer and avoid the bitter white pith. A microplane works best for fine zesting.
- In a small bowl, combine the fresh lime zest with the sea salt. Mix thoroughly with your fingers to distribute the zest evenly throughout the salt.
- Spread the mixture evenly onto a parchment-lined (or unlined) baking tray in a thin layer.
- Bake for about 30 minutes, stirring halfway through. The goal is to dry out the zest without browning—your kitchen will smell fragrant and citrusy when it's done.
- Remove from the oven and let cool completely on the tray. The salt will crisp up a bit more as it cools.
- Once fully cooled and dry, transfer the lime salt to an airtight jar for storage. Label and store at room temperature.