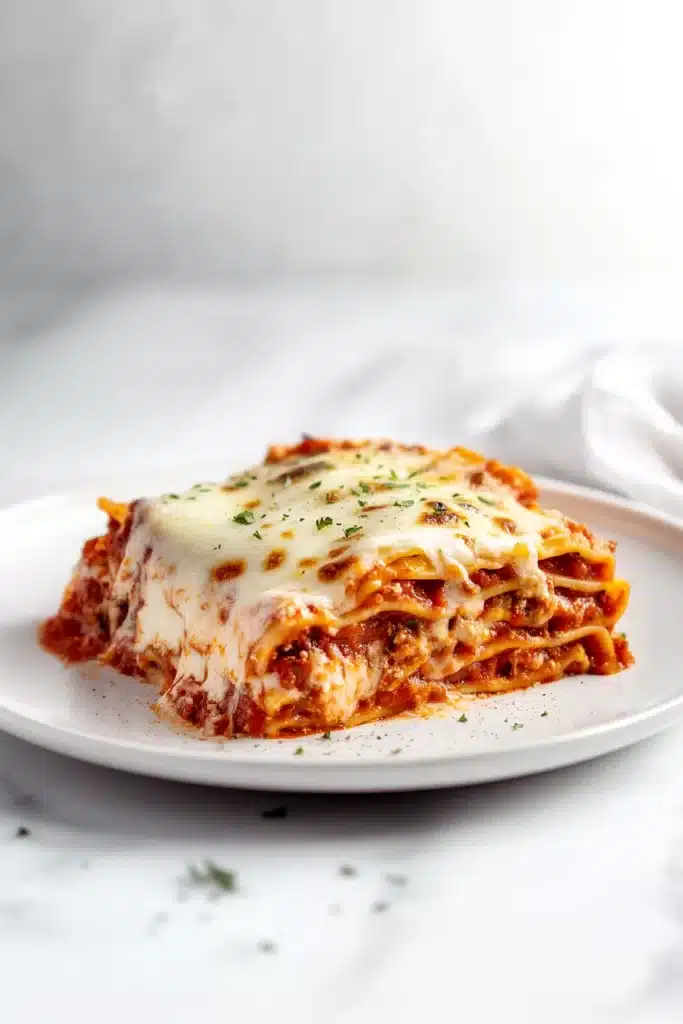
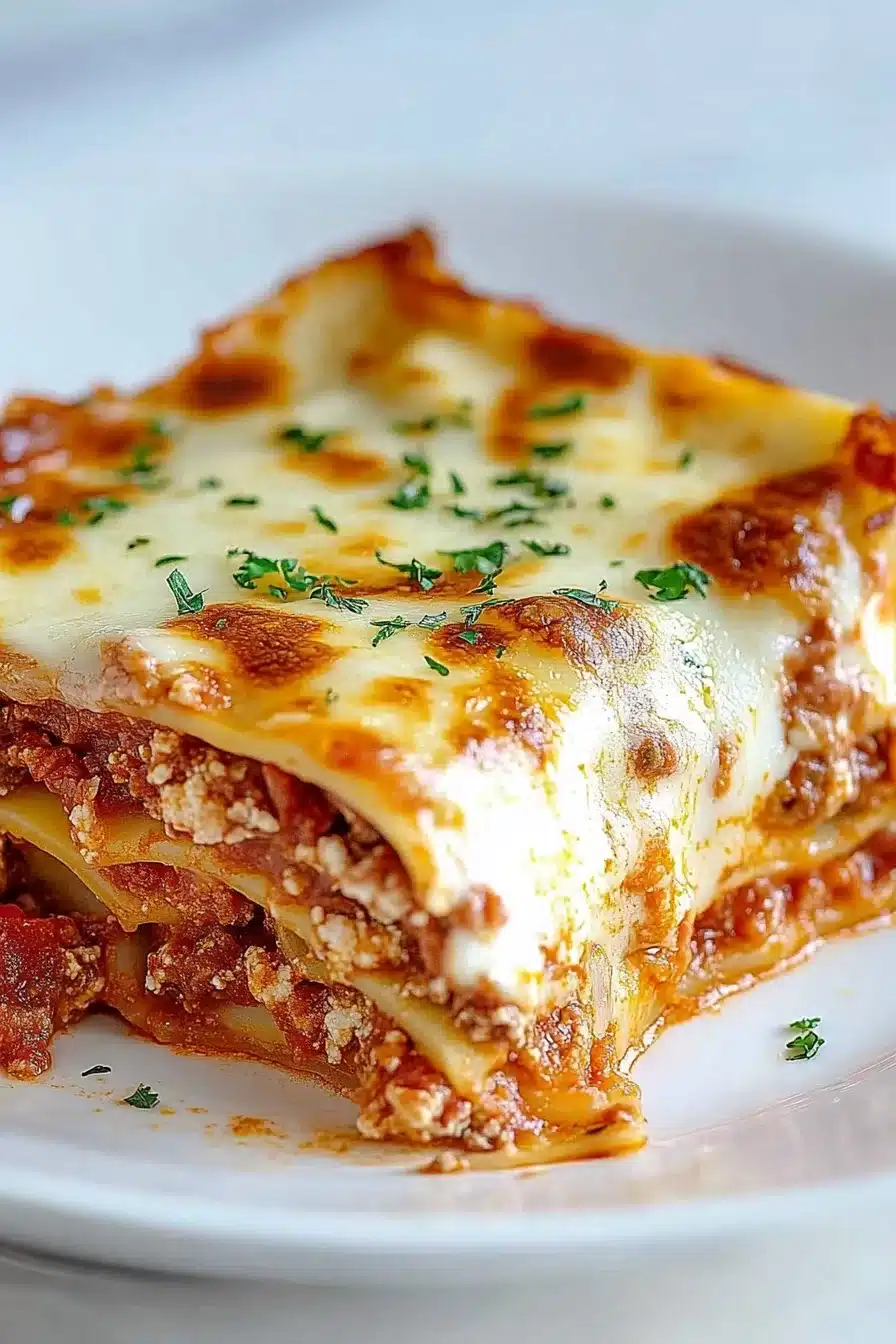
A cozy, cheesy classic layered with tender noodles, savory meat sauce, and creamy ricotta. This Olive Garden Lasagna Classico is pure comfort with hearty ground beef, Italian sausage, and melty mozzarella baked to bubbly perfection.
When that unmistakable aroma of garlic, oregano, and tomatoes hits the air—you know you’re in the right place. Homemade lasagna is one of those things that sounds intense, but once you break it down, it’s kind of like kitchen Tetris with noodles and cheese. This version brings that familiar restaurant flavor into your own oven, saucy and satisfying with just a bit of a “how am I not eating this all straight from the pan” problem. It’s not just for Sunday dinner either. Leftovers make a mean lunch, and honestly, it’s one of the few layered things I don’t mess up on the first try.

Why You’ll Love this Olive Garden Lasagna Classico
This lasagna won’t serenade you with an accordion, but it will make your kitchen smell like a bustling little trattoria somewhere with red-checkered tablecloths. It’s comfort food, straight-up.
- Bold, meaty layers: The combo of ground beef and sausage gives the sauce deep flavor and that rich, savory kick.
- Balanced cheese situation: There’s a dreamy amount of mozzarella and Parmesan, plus that soft ricotta layer to keep everything creamy.
- No tricky parts: The steps are easy to follow. Some simmering, some layering, some waiting as your kitchen smells fantastic.
- Tastes even better the next day: Something magical happens in the fridge overnight. The flavors marry; the noodles firm up just right.
- Freezes like a champ: You can make it ahead, freeze, and reheat when life gets chaotic (or you’re just really tired).
- Classic Italian vibes at home: It gives that nostalgic Olive Garden flavor without the waiting, awkward birthday singers, or never-ending breadstick temptations.
Ingredient Notes
No mystery ingredients here, just a cozy cast of characters doing what they do best.
- Olive oil: Helps sauté the aromatics and gives the sauce a silky base. If you like, use extra virgin—adds a bit more depth.
- Red onion: Slightly sweeter than yellow, and it plays nice with the garlic in the sauce.
- Garlic cloves: The more, the merrier, right? Use fresh if you can; it really comes through in the final dish.
- Ground beef and Italian sausage: The one-two punch for flavor. Sausage adds spice and richness, while the beef keeps things hearty.
- Crushed tomatoes and tomato paste: Crushed tomatoes bring the volume, tomato paste concentrates the flavor—don’t skip it.
- Oregano (dried and divided): Dried herbs hold up well in the simmer, and we save some for the ricotta mixture too.
- Fresh basil: Always stir this in at the end so it doesn’t lose its pop. Brightens up the whole sauce.
- Ricotta cheese: Soft and just a little tangy. Tip: let it sit out 10 minutes to soften before mixing.
- Egg: Helps bind the ricotta filling so it doesn’t slide around with every bite.
- Lasagna noodles: Go with classic here, not the oven-ready kind. They’re sturdier and give better control when layering.
- Mozzarella & Parmesan: Because cheese… and more cheese. Mozzarella melts, Parmesan browns and boosts umami.
- Fresh parsley: Optional but pretty. A sprinkle just before serving livens it up a bit.
How To Make This Olive Garden Lasagna Classico
Let’s take it one layer at a time. No stress. If a noodle rips, just eat it and pretend that one never existed. Here we go.
-
Preheat and prep the dish: Set your oven to 350°F and lightly grease a 9×13-inch baking dish. Nothing wild here, just setting the stage.
-
Sauté the aromatics: In a large skillet, warm up the olive oil over medium heat. Toss in your chopped onion and garlic. Cook until everything smells amazing and the onions are soft—about 3 to 5 minutes.
-
Cook the meats: Add the beef and sausage. Break it up with a spoon and cook until browned, 10 to 15 minutes or so. Might need to drain some fat here (grab a coffee while it sizzles).
-
Simmer the sauce: Stir in the crushed tomatoes, tomato paste, ½ teaspoon oregano, and a good pinch each of salt and pepper. Let it all bubble gently for 20 minutes. During the last 5, toss in the fresh basil. Your kitchen will smell like something good’s about to happen.
-
Mix the ricotta filling: In a bowl, combine ricotta, beaten egg, the rest of the oregano, and a tiny shake of salt and pepper. It should be smooth and creamy, like cheesy spackle (mmm… delicious spackle).
-
Start layering: Spread a little ricotta mixture on the bottom of the dish. Lay down noodles (3 or 4, whatever fits). Add more ricotta every layer, followed by meat sauce, then mozzarella, then a sprinkle of Parmesan. Repeat until you run out. Finish with sauce, mozzarella, and a generous handful of Parmesan.
-
Bake it: Cover with foil and bake for 20 minutes. Then remove the foil and bake another 10. You’ll know it’s ready when everything’s bubbly and golden on the edges.
-
Let it rest: Do not skip this! Let the lasagna sit for 10 minutes so it holds its shape when slicing. Sprinkle with parsley and call it dinner.
Storage Options
If your self-control and your fridge both survive dinner, congrats—this lasagna actually makes awesome leftovers.
Once cooled, you can store slices in an airtight container in the fridge for up to 4 days. Wrap the whole dish in foil or plastic wrap if you’re keeping it all together. It reheats beautifully in the microwave (cut into individual portions first), or if you’re feeling fancy, warm it in the oven at 300°F until hot and bubbly again.
Wondering if you can freeze it? Absolutely. Wrap individual baked portions tightly in foil, then pop ‘em in a freezer bag. Use within 2 months for best texture. Reheat straight from frozen at 350°F, covered with foil for 30–40 minutes, then uncovered for 10 to crisp the top.
Tip: If you want to make it ahead and freeze the whole unbaked dish, go for it. Assemble, cover tightly, and freeze. When ready to bake, add 20–30 minutes to the bake time and keep it covered most of the way through.
Variations and Substitutions
Lasagna is shockingly forgiving, even when your pantry isn’t cooperating. Here’s how to shake things up or use what you’ve got.
-
Ground turkey instead of beef: Lightens things up without losing that satisfying meaty base. Just add a splash more olive oil so it doesn’t dry out.
-
Spinach in the ricotta layer: Stir in a handful of chopped cooked spinach (squeeze it dry first) for a pop of green and a little feel-good fiber.
-
Cottage cheese swap: Not everyone’s a ricotta fan. Cottage cheese works fine—just give it a quick blitz in a food processor for smoother texture.
-
Oven-ready noodles: I mean, if it saves your sanity, go for it. Just tweak the sauce to be a bit looser and check for doneness.
-
Extra spicy sausage: Want a kick? Use hot Italian sausage and maybe a pinch of chili flakes in the meat sauce.
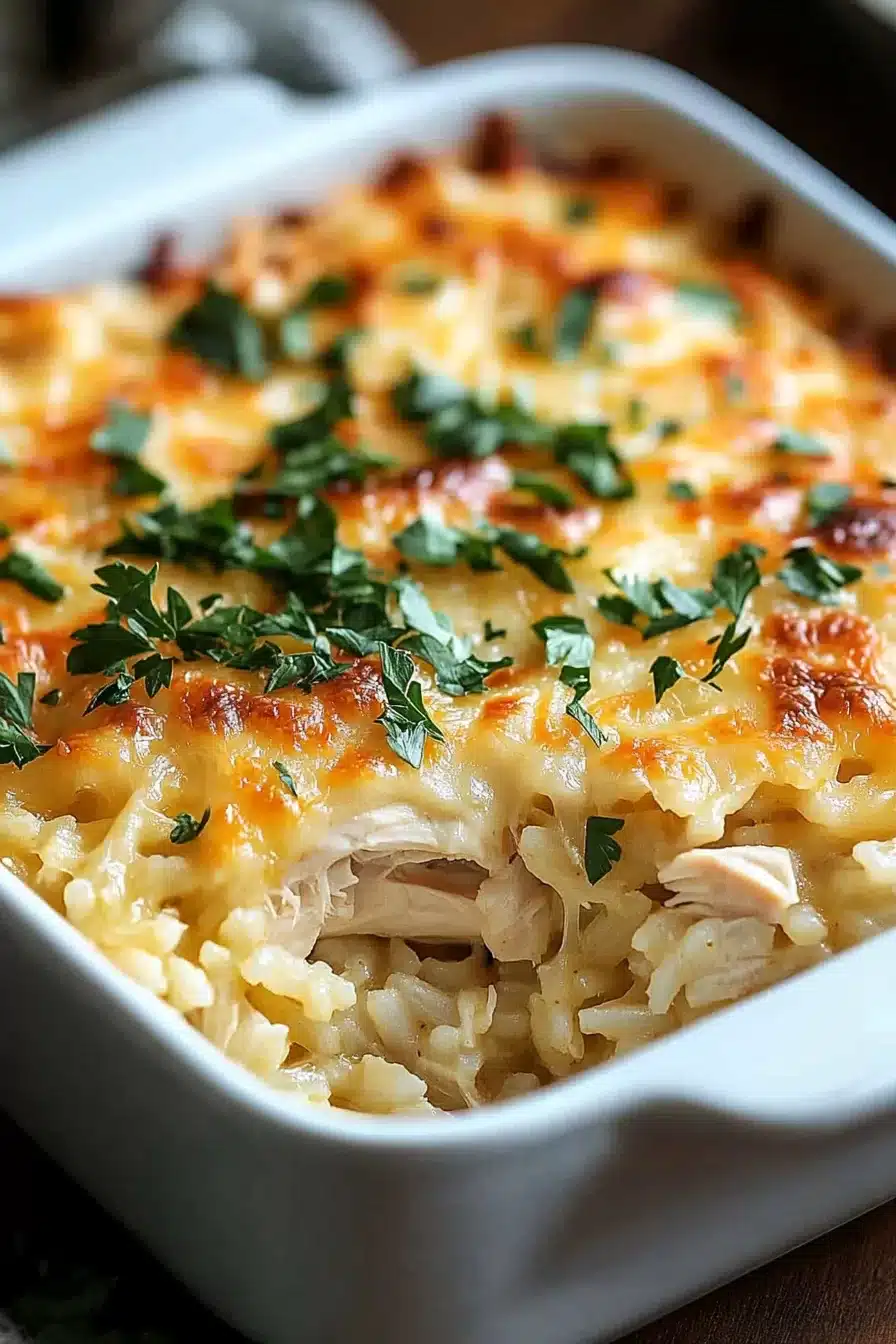
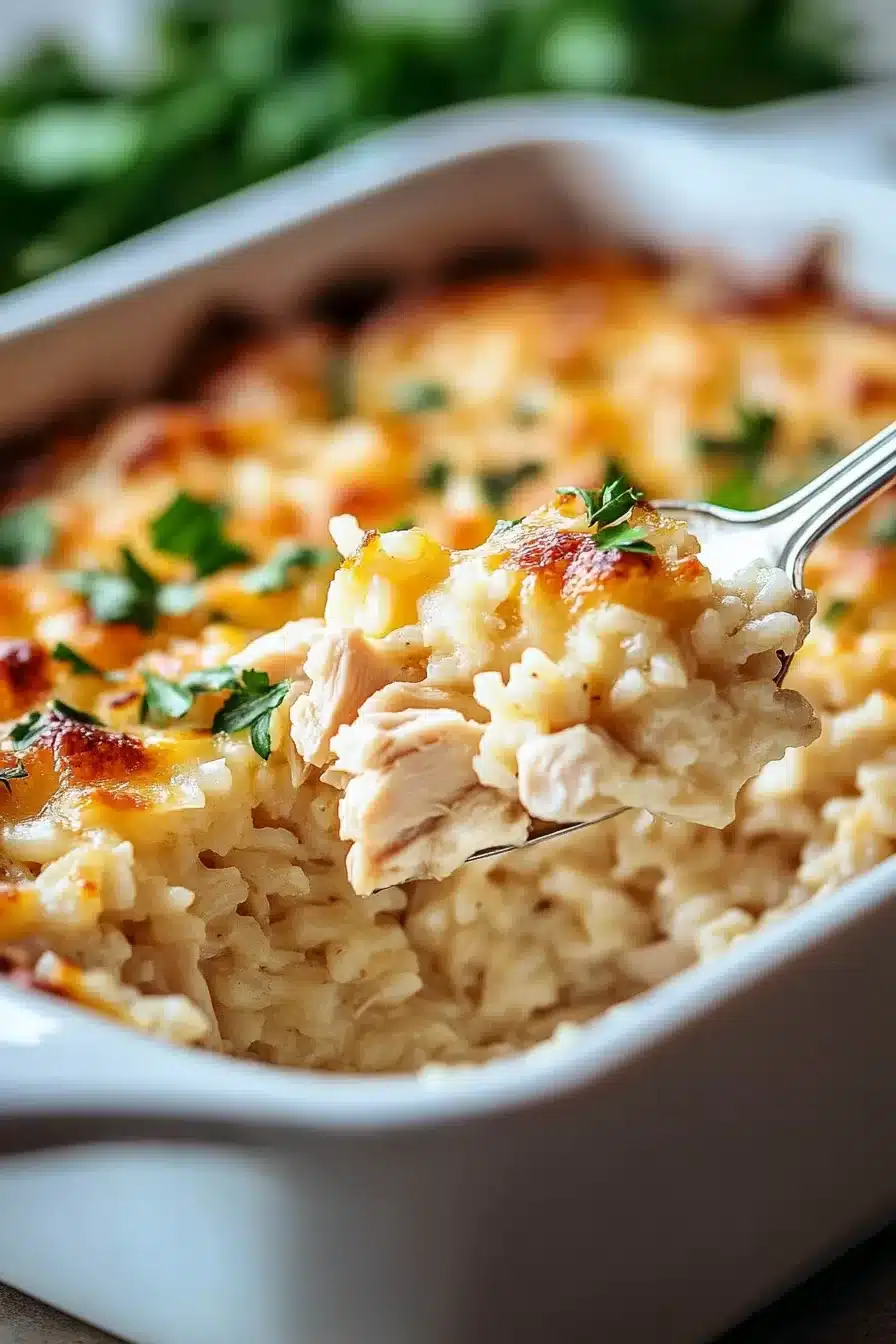
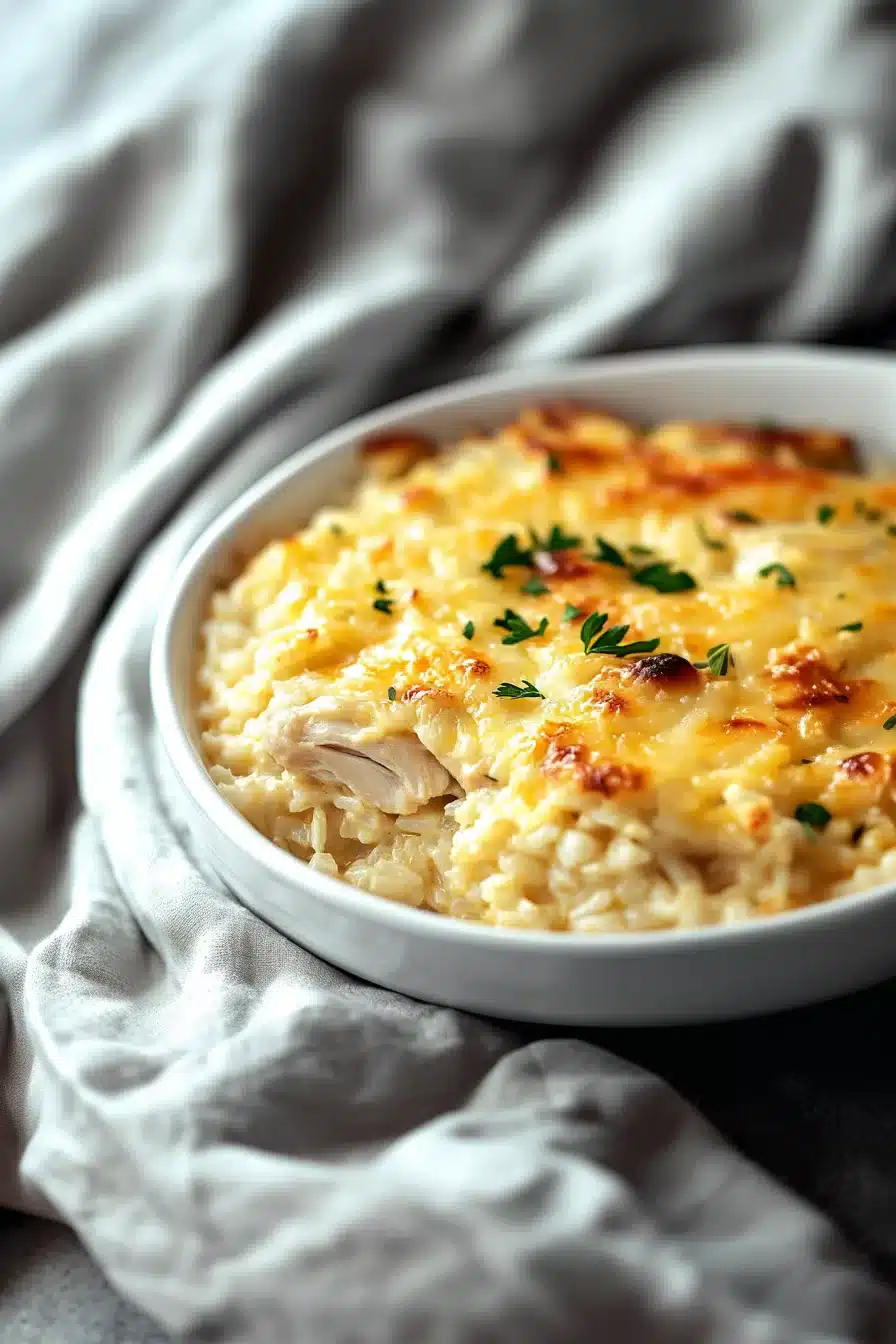
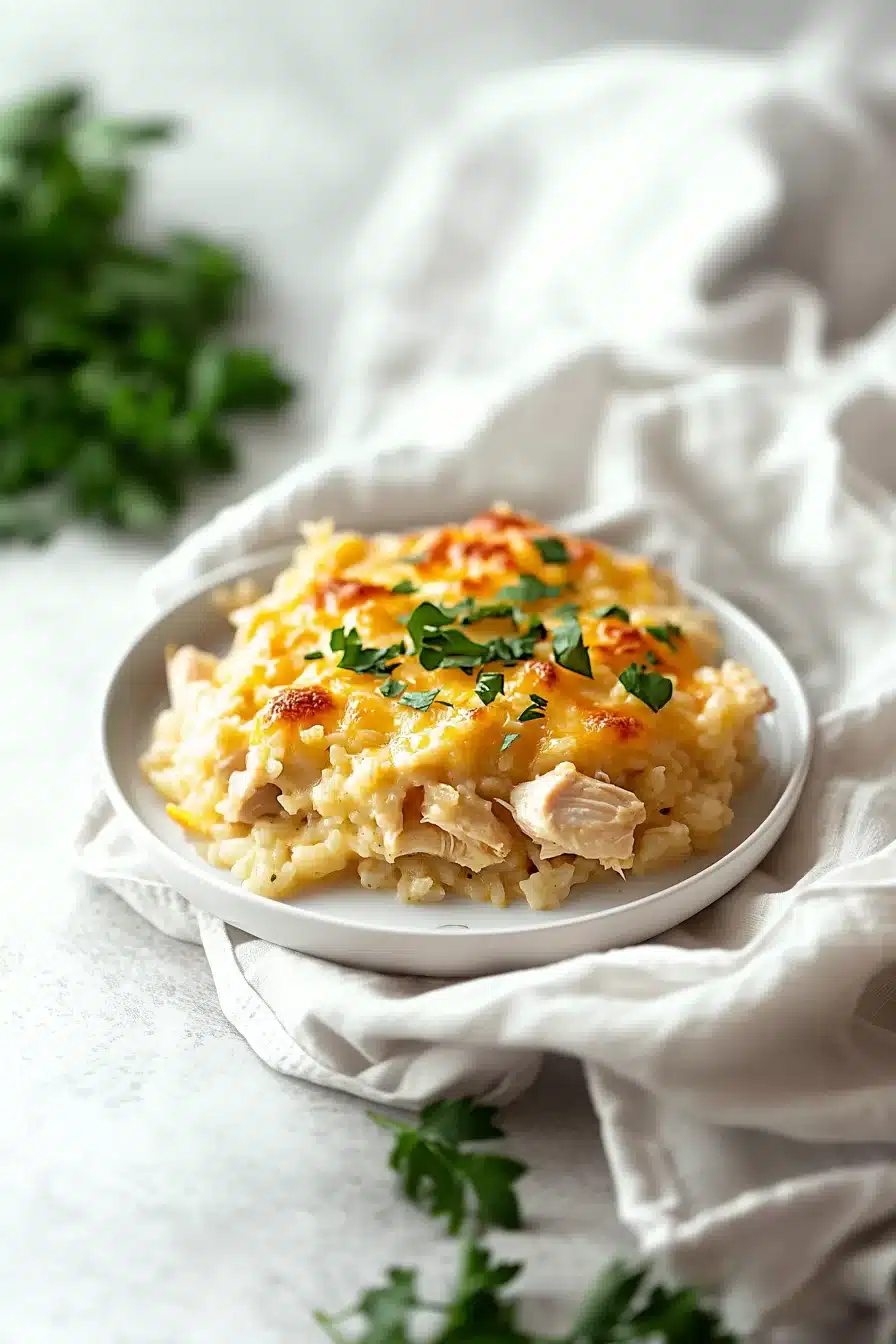
While you’re mixing things up, you might also like this cozy, cheesy chicken and rice casserole that’s perfect for cooler nights.
What to Serve with Olive Garden Lasagna Classico
This lasagna doesn’t exactly need backup vocals, but it shines even brighter with a good supporting cast. Simple is best.
-
A crisp green salad with tangy vinaigrette balances all that rich cheese and meat. Think arugula, shaved fennel, maybe a few cherry tomatoes. It’s a contrast your mouth will appreciate.
-
Garlic bread was basically invented for meals like this. You need something to swipe through stray puddles of sauce. Make it buttery and golden with a touch of crisp on the edges.
-
Roasted veggies like zucchini, eggplant, or Brussels sprouts can cozy alongside your lasagna without competing for attention. Just olive oil, salt, and a good roast.
-
Maybe a glass of red wine if you’re in the mood, or even sparkling water with lemon. Keep it simple, keep it Italian-ish.
If you’re looking for a fresh, lighter partner, this pan-seared cod with rainbow chard would be an elegant counterpoint the next night.
Frequently Asked Questions
Can I make Olive Garden Lasagna Classico ahead of time?
Absolutely! You can assemble the whole thing a day in advance, cover it well, and stash it in the fridge. When ready to bake, let it sit on the counter while the oven preheats so it doesn’t go in ice-cold. Add 10 extra minutes to the bake time to ensure it’s heated through. It’s a solid strategy if you’re meal-prepping or hosting.
What’s the best way to reheat leftover lasagna?
I like the oven method best: cover with foil and heat it at 300°F for 20–30 minutes. If you’re short on time, a microwave works too, but microwave in short bursts to avoid drying it out. Splash a bit of water or sauce on top and cover with a damp paper towel to keep the moisture in.
Can I freeze individual portions of this lasagna?
Yep, it freezes wonderfully. Slice it once it’s cooled, wrap each piece tightly in foil or plastic wrap, then toss them in a freezer-safe bag. When you’re ready to eat, reheat directly from frozen in a 350°F oven for about 35–45 minutes. Or microwave if you’re in lunch emergency mode. Great for solo dinners on-the-fly!
Do I have to use both beef and sausage?
Not really, but the combo is what gives it that savory, restaurant-style flavor. If you’re missing one or just prefer beef or sausage on its own, it’ll still be great. Just maybe season the single meat a bit more to balance things out, especially if skipping the sausage, which tends to be pretty flavorful on its own.

Olive Garden Lasagna Classico
Ingredients
Meat Sauce
- 2 tbsp (30 ml) olive oil
- 1 medium red onion diced
- 4 cloves garlic minced
- 1 pound (450 g) ground beef
- 1 pound (450 g) Italian sausage casings removed
- 1 28 oz can (796 g) crushed tomatoes
- 2 tbsp (30 ml) tomato paste
- 1 tsp (5 ml) dried oregano divided
- 1/2 cup (10 g) fresh basil chopped
- Salt and black pepper to taste
Ricotta Mixture
- 1 1/2 cups (340 g) ricotta cheese whole milk
- 1 egg lightly beaten
- 1/2 tsp (2.5 ml) dried oregano
- Salt and black pepper a pinch
Assembly
- 12 lasagna noodles classic, not oven-ready
- 2 cups (200 g) mozzarella cheese shredded
- 1 cup (90 g) Parmesan cheese finely grated, divided
- 2 tbsp (8 g) fresh parsley chopped, for garnish (optional)
Equipment
- 9x13 inch Baking Dish
- Large skillet
- Saucepan
- Mixing bowls
- Aluminum foil
Instructions
- Preheat and prep the dish: Set your oven to 350°F (175°C) and lightly grease a 9x13-inch baking dish.
- Sauté the aromatics: In a large skillet, heat the olive oil over medium. Add chopped onion and garlic; cook until fragrant and soft, about 3–5 minutes.
- Cook the meats: Add ground beef and sausage. Break up and cook until browned, 10–15 minutes. Drain excess fat if needed.
- Simmer the sauce: Stir in crushed tomatoes, tomato paste, ½ teaspoon oregano, and a generous pinch of salt and black pepper. Simmer gently for 20 minutes, adding basil in the last 5 minutes. Remove from heat.
- Cook the noodles: Meanwhile, cook lasagna noodles in a large pot of salted boiling water according to package directions until just al dente. Drain and lay flat on a towel.
- Mix the ricotta filling: In a bowl, combine ricotta, beaten egg, remaining ½ teaspoon oregano, and a pinch of salt and pepper. Mix until smooth.
- Layer the lasagna: Spread a bit of ricotta mixture on the bottom of the prepared dish. Layer noodles, more ricotta, meat sauce, mozzarella, and Parmesan. Repeat until all ingredients are used, finishing with sauce, mozzarella, and Parmesan on top.
- Bake: Cover with foil and bake for 20 minutes. Remove foil and bake for an additional 10 minutes, until bubbly and golden at edges.
- Let it rest: Remove lasagna from oven and let stand for at least 10 minutes. Sprinkle with fresh parsley before slicing and serving.