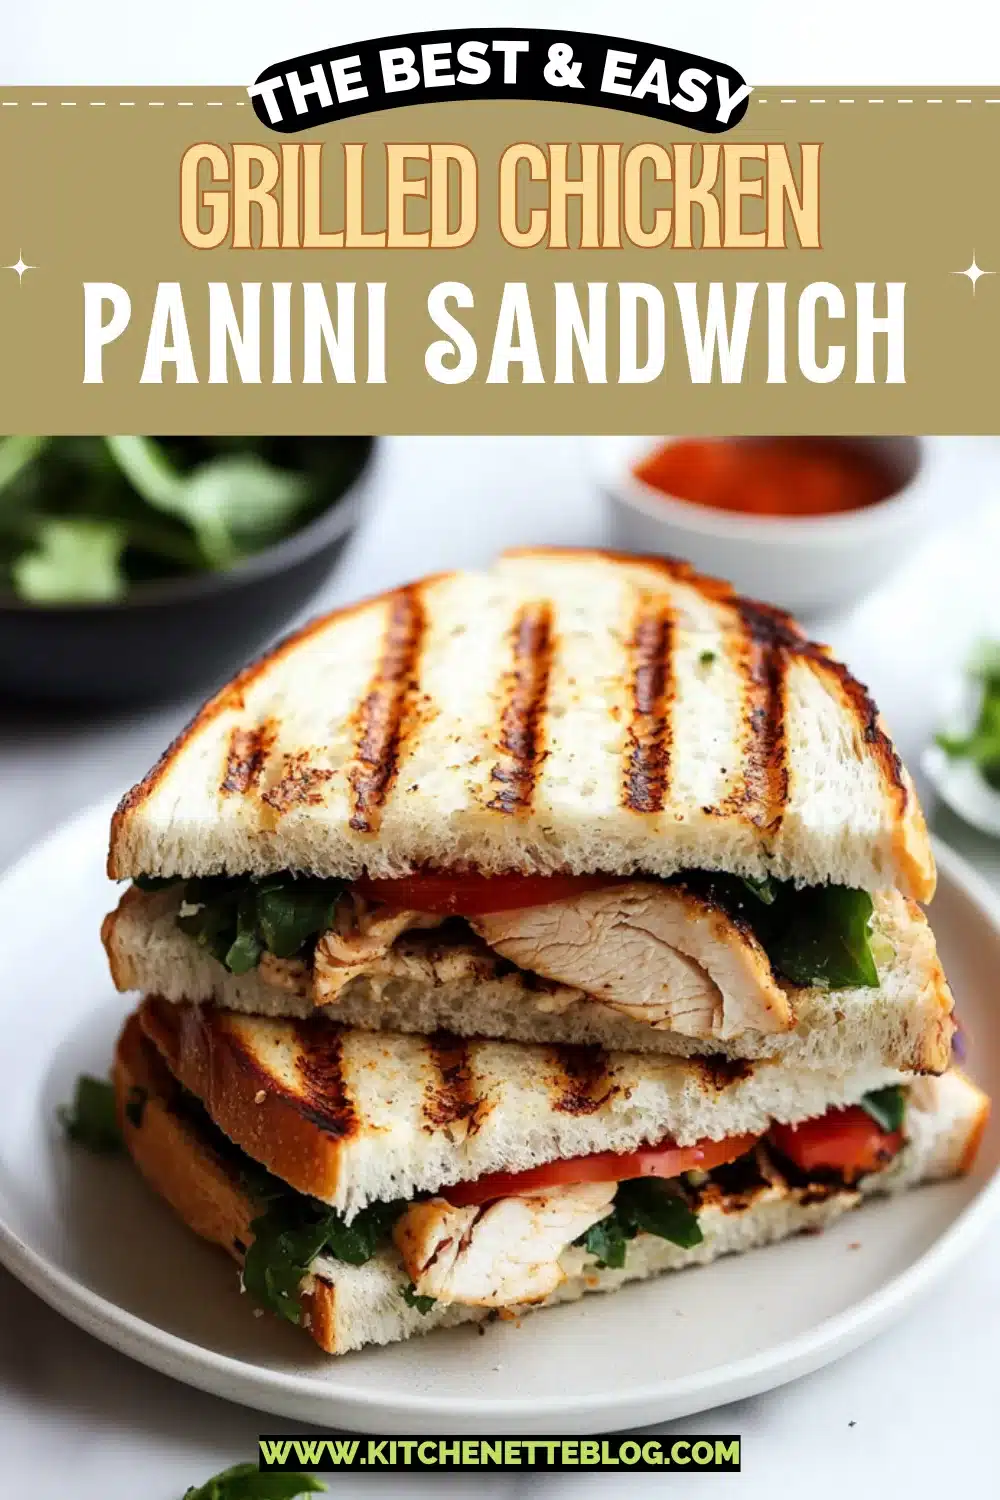
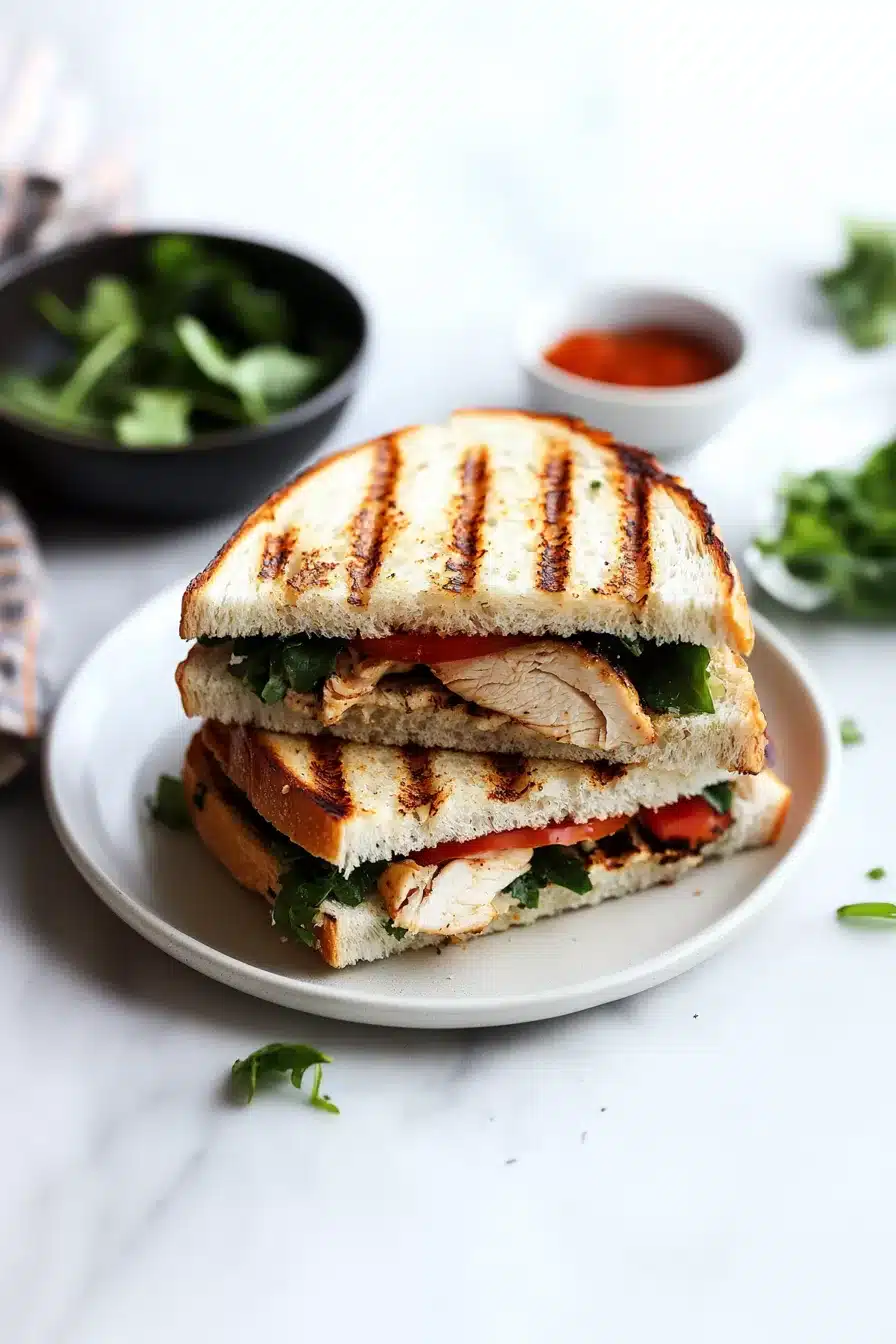
Buttery pesto, smoky grilled chicken, gooey cheese, and crusty Italian bread—this grilled chicken panini sandwich brings wafts of oregano and garlic to your kitchen. With juicy tomatoes, melty provolone, and just the right hint of spice, it’s basically a warm, savory hug panini-fied.
You get hearty grilled chicken, melty provolone (or mozzarella if you’re feeling rebellious), and that basil pesto doing its zesty, herby thing. All sandwiched between golden, toasty Italian bread that crunches when you bite in. Honestly? This panini couldn’t be bothered to be boring if it tried.
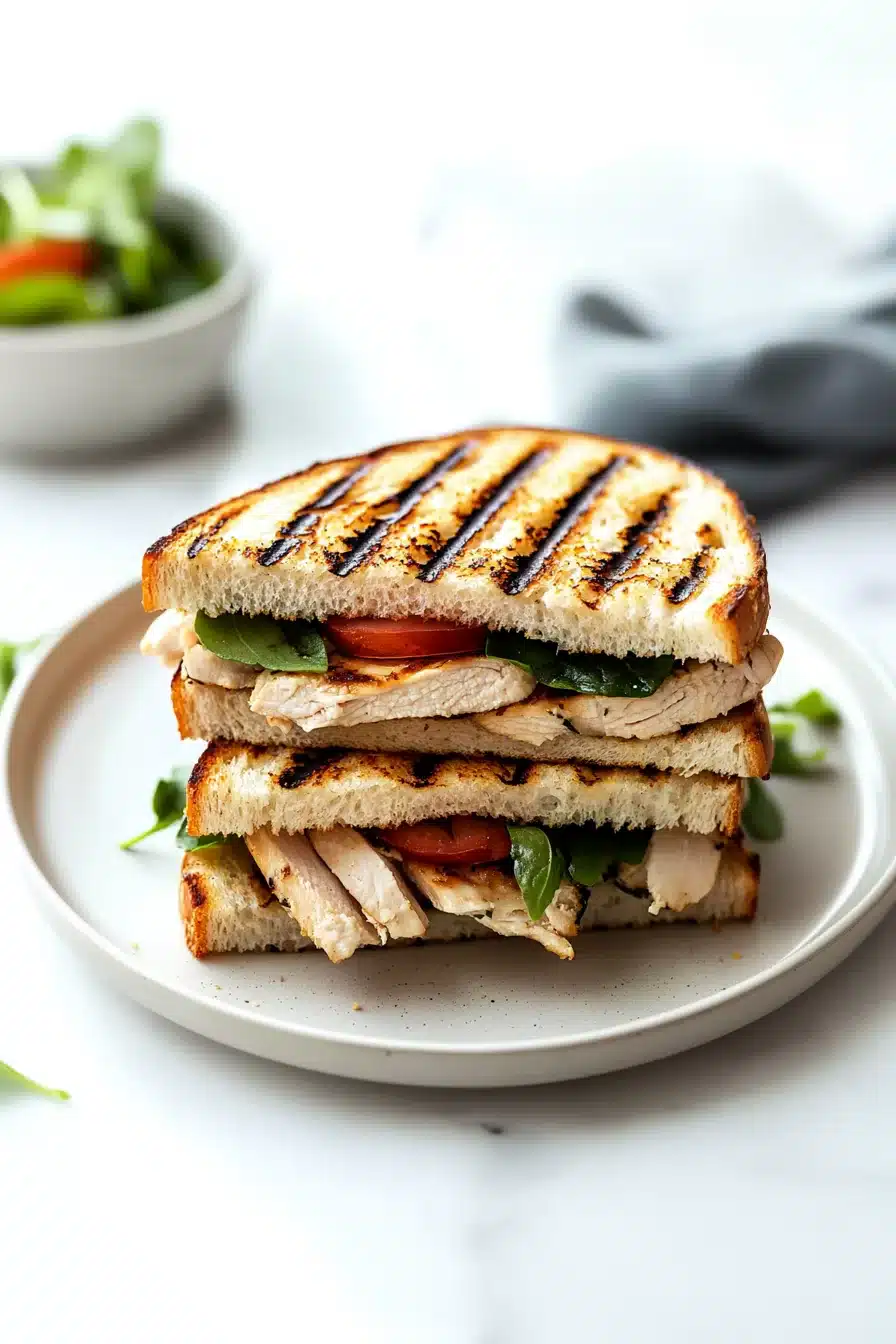
There’s just something comforting about a sandwich you have to press. It’s kind of like giving your lunch a warm hug while the cheese gets all gooey and cozy between the layers. This grilled chicken panini sandwich is definitely not your average Tuesday sandwich—it’s warm, herby, just a little spicy (if you want), and knows how to make you feel like you put effort into dinner… even if you didn’t, really. It’s perfect when you want something more than a salad but less fussy than, I don’t know, a roast. Bonus points: it turns leftover chicken into its final, glorious form.
Why You’ll Love this Grilled Chicken Panini Sandwich
Alright, this isn’t rocket science or a five-day ferment. It’s chicken, bread, and cheese—pressed and glorified. But it hits all the right notes.
- Ridiculously simple to make: You just squish, smear, melt, and grill. No need to break out fancy gadgets (unless you wanna).
- Perfect balance of textures: Crunchy crust, tender chicken, creamy cheese, juicy veg—your mouth gets a total party.
- Customizable as heck: Swap veggies, change the cheese, ditch the pesto… though I kinda beg you not to.
- Make-ahead friendly: Grill that chicken in advance and store it like the organized meal-prepper you aspire to be.
- Actually filling: This isn’t a dainty tea sandwich. It keeps you full, satisfied, and feeling like a sandwich genius.
- That smell, though: It’s like an Italian deli invited basil and garlic to dance in your kitchen.
Ingredient Notes
Nothing too fancy here, just some flavorful basics that come together in a panini miracle.
- Chicken breast cutlets: Slice ‘em thin so they cook fast and don’t dry out. You could also use leftover grilled chicken here and save a step.
- Olive oil & spices: This mix gives the chicken a garlicky, earthy punch. If you love a little heat, don’t skip those red pepper flakes.
- Basil pesto: The herby backbone of this thing. Store-bought is fine (I’m not judging), but if you’ve got fresh pesto hiding in the fridge, go for it.
- Provolone or mozzarella cheese: You want meltiness and mild flavor. Provolone’s a bit more bitey, mozzarella’s a softie.
- Tomatoes: Make sure they’re ripe but not mushy. You don’t want soggy bread, you want juicy slices that still hold their shape.
- Roasted red peppers: Jarred work beautifully. They add tang and a slick sweetness that balances all the savory stuff.
- Baby spinach: Adds freshness, some green, and a sense of health (we love balance).
- Italian loaf: Look for one that’s wide and sturdy enough for pressing. Ciabatta or focaccia could also work in a pinch.
How To Make This Grilled Chicken Panini Sandwich
Let’s build a sandwich that’s toasty, cheesy, a little messy, and 100% worth it. Here’s how we do it.
-
Season the chicken: Mix olive oil with salt, pepper, garlic powder, oregano, paprika, onion powder, and red pepper flakes (if using). Toss the chicken until it’s smiling in spice. Let it sit while the grill heats up, just to soak in that magic.
-
Grill the meat: Get your grill or a grill pan nice and hot over medium-high. Toss the chicken on and resist the urge to poke—let it sear for 5 minutes undisturbed. Flip, cook another 2–3 minutes, and check that it’s fully cooked through.
-
Take a breather: Move the chicken to a plate and throw a piece of foil over it, loosely. It rests, you take a sip of something cold (optional but encouraged).
-
Build your masterpiece: Cut the bread horizontally and give both insides a generous swipe of pesto. Start layering—cheese goes first (it melts better next to hot chicken), then chicken, tomatoes, peppers, spinach. Cap it with the top half of the loaf.
-
Give it a little style: Lightly spray the outside with olive oil. This helps it crisp up into that glorious, golden crust.
-
Press the panini: If you’ve got a press, this is your moment. Heat it up, then press and grill the sandwich for 3–5 minutes until everything’s melty and the outside’s gorgeously toasted.
-
No panini press? No problem: Use a regular skillet and weigh it down with something heavy (I use a clean frying pan and balance a big can of tomatoes on it). Flip after a few minutes and repeat until it’s crisp and gooey and calling your name.
-
Cut and serve: Use a serrated knife and go for that satisfying diagonal slice. Serve hot and revel in its crispy, cheesy glory.
Storage Options
Okay, so you made more than one or have leftovers—lucky you. Let’s keep that panini delicious.
Pop any fully assembled sandwiches into the fridge, wrapped in foil or tucked in an airtight container. They’ll keep fine for about 2 days, but I’d eat them sooner for the best texture. Once toasted, the bread can get a bit chewy after sitting too long.
If you’re freezing components, you’re smarter than most of us. Freeze the grilled chicken separately in a freezer-safe bag—preferably laid flat for easy thawing. It’ll last around 2–3 months and still taste fab. Skip freezing the assembled sandwich unless you don’t mind a softer reheat. That crispy bread magic? Not quite the same after freezer time.
To reheat, unwrap the sandwich, then warm it in a pan with a lid or toss it back in your press. Just give it a few minutes on each side until the cheese re-melts and the outer layer earns its toast back.
Variations and Substitutions
You’ve got the blueprint, but this grilled chicken panini sandwich can handle all kinds of moods and pantry surprises.
- Swap the protein: Use turkey or leftover Monterey-style baked chicken if you’re low on raw chicken. Even sliced rotisserie works if that’s your Wednesday vibe.
- Different cheese: Fontina, Havarti, or even sharp cheddar can step in if provolone’s playing hard to get.
- Bread alternatives: Paninis are not exclusive to Italian loaves. A crusty sourdough, focaccia, or ciabatta will all hold up beautifully.
- Add some crunch: Thin red onion slices or arugula can bring extra bite and balance the richness.
- Make it spicy: Want more fire? Add pickled jalapeños or a spread of spicy mustard under that pesto layer.
What to Serve with Grilled Chicken Panini Sandwich
You’ve got your grilled chicken panini sandwich, and now it needs some friends on the plate. Here are a few delicious sidekicks.
-
A bright side salad with a lemony vinaigrette cuts the richness and brings freshness. The greens balance out the gooey cheese, and you get to feel like you ate a vegetable (go you).
-
Crispy baked sweet potato fries are a perfect sweet-meets-savory pairing. Dip them in a little aioli or spicy mayo and you’ll understand why it works.
-
A small bowl of creamy tomato soup, for obvious grilled-cheese-adjacent reasons. The dunking potential is off the charts.
-
If you’re craving dessert, a panini makes a cozy partner for a gooey treat like these oatmeal carmelitas. That sweet return after the savory ride? Yes, please.
Frequently Asked Questions
Can I make this grilled chicken panini sandwich ahead of time?
You totally can—but I’d suggest prepping the components separately. Grill your chicken, slice your toppings, and store them in the fridge. Then assemble and grill the sandwich fresh when you’re ready to eat. That way, your bread stays crispy and the cheese gets melty at the moment it really counts.
Is there a way to make this sandwich without a panini press?
Yep! Use any heavy skillet or frying pan as your press. Just get your sandwich into a hot pan, put the skillet on top (carefully), and add a can or something weighty to press it down. Flip and do it again. Works like a charm—and honestly, it feels kind of MacGyver-y in the best way.
What’s the best bread to use for this panini?
Something sturdy with a good chew is key. Italian loaf is classic, but ciabatta or sourdough work great too. Just avoid super soft sandwich bread—it won’t survive the press and might turn sad and soggy. You want bread that holds up to heat and fillings.
Can I freeze the sandwich for later?
You can freeze the grilled chicken and assemble fresh later, which I highly recommend. Freezing the full sandwich will work in a pinch, but just know the bread might lose its crisp texture after thawing. If you do freeze the whole thing, wrap it tightly and reheat in a skillet or oven for best results.

Grilled Chicken Panini Sandwich
Ingredients
For the Chicken
- 2 small (250 g) chicken breast cutlets about 1/2 inch thick, or leftover grilled chicken
- 1 tbsp (15 ml) olive oil
- 1/2 tsp (2.5 g) salt
- 1/4 tsp (1 g) black pepper
- 1/2 tsp (1.5 g) garlic powder
- 1/2 tsp (1 g) dried oregano
- 1/2 tsp (1 g) smoked paprika
- 1/2 tsp (1 g) onion powder
- 1/4 tsp (0.5 g) crushed red pepper flakes optional
For the Panini
- 4 slices sturdy Italian bread ciabatta or focaccia also work
- 2 tbsp (30 ml) basil pesto store-bought or homemade
- 4 slices provolone cheese or mozzarella
- 1 medium (120 g) tomato ripe but not mushy, sliced
- 1/3 cup (50 g) roasted red peppers drained and sliced
- 1 handful (20 g) baby spinach
- olive oil spray for brushing bread
Equipment
- Grill pan or outdoor grill
- Panini press or heavy skillet
- Serrated Knife
Instructions
- Season the chicken: In a bowl, combine olive oil, salt, pepper, garlic powder, oregano, paprika, onion powder, and red pepper flakes (if using). Toss chicken cutlets in the mixture until well coated. Let sit while you heat the grill.
- Grill the chicken: Preheat a grill or grill pan over medium-high heat. Cook the chicken cutlets for about 5 minutes on the first side (without moving), then flip and cook another 2–3 minutes, or until cooked through and lightly charred. Remove to a plate, cover loosely with foil, and let rest 5 minutes. Slice if desired.
- Build the panini: Slice the bread horizontally, then spread a generous swipe of pesto on the cut sides. Layer provolone cheese, grilled chicken, tomato slices, roasted red peppers, and a handful of spinach. Top with the other slice of bread.
- Toast the bread: Lightly spray or brush the outside of each sandwich with olive oil.
- Press and grill: Preheat a panini press (or use a grill pan/skillet with a weight on top). Grill the sandwiches for 3–5 minutes, or until the bread is golden and crisp and the cheese is melted. If using a skillet, flip and press the sandwich again as needed.
- Slice and serve: Cut sandwiches in half on the diagonal using a serrated knife. Serve hot and enjoy!