
Classic pot roast is the Sunday dinner that asks almost nothing of you once the lid goes on. A chuck roast, a pot of vegetables, three hours in a low oven, and the beef comes out shredding under the side of a spoon. The gravy makes itself out of what is already in the pan.
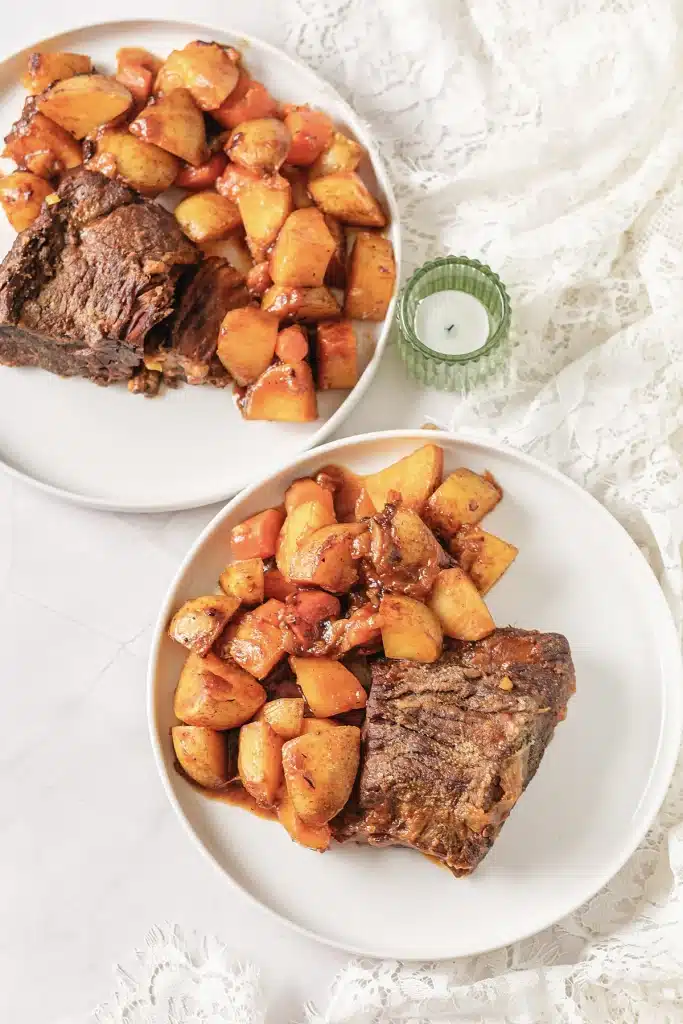
- One Dutch oven takes the classic pot roast from the first sear to the finished gravy, so there is one pan to wash
- Chuck roast is one of the cheapest cuts in the case and the only one that gets better with time
- The vegetables braise in the same liquid, so dinner and the side dish finish together
- Almost all of the cooking is unattended, which makes it a good recipe for a busy afternoon
- Leftovers reheat better than the first night, and the shredded beef freezes for three months
I spent a long time making this the hard way, searing in a skillet, braising in a separate dish, straining the liquid into a saucepan for the gravy. None of that is necessary. One heavy pot does the searing, the braising and the gravy, and the extra washing up was the only thing it ever bought me. What does matter is the browning, the amount of liquid and the patience to leave it alone, and those three things are what this classic pot roast recipe is built around.

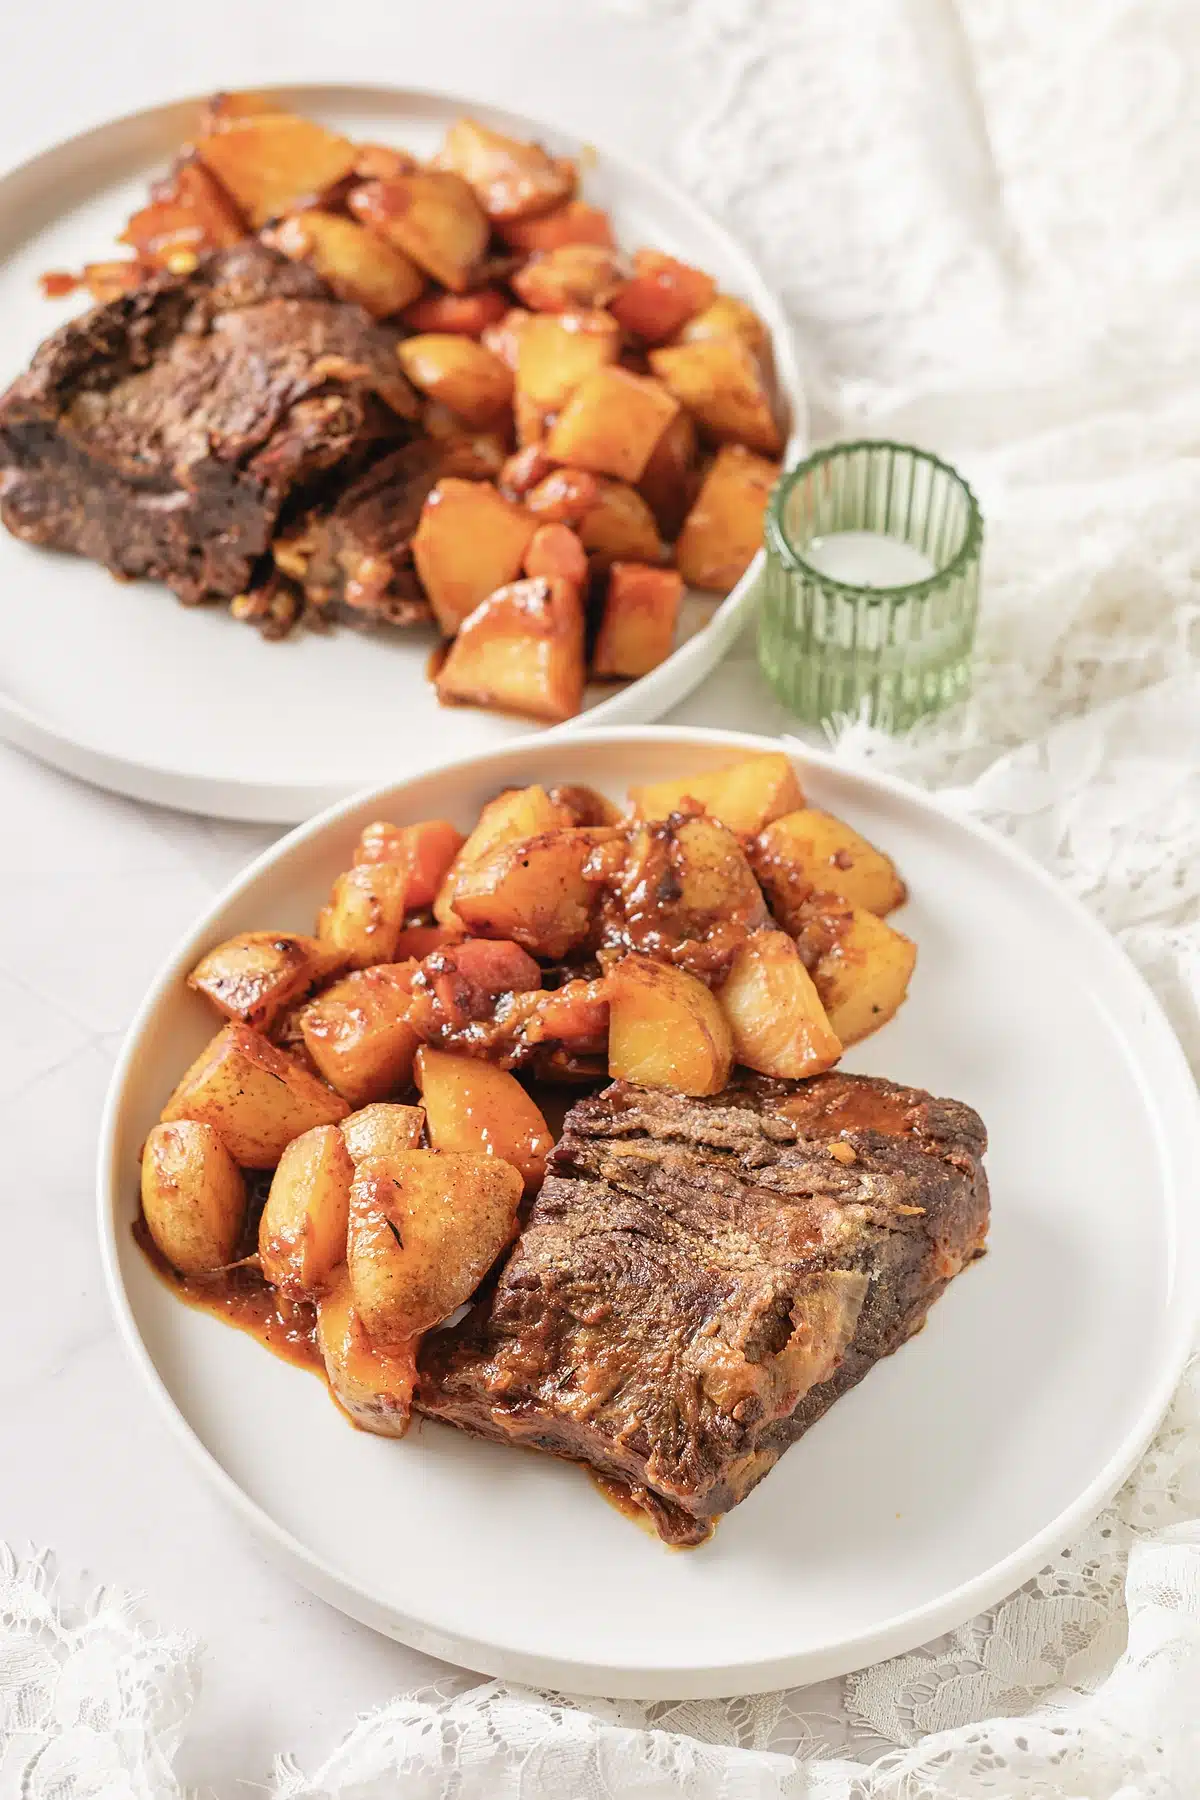
What Separates a Pot Roast from a Roast Beef Dinner
They sound like the same meal and they are cooked in opposite ways. A roast beef dinner uses a tender cut, a hot oven and dry heat, and it is served pink in the middle. A classic pot roast uses a tough, hard-working cut, a low oven and a few inches of liquid, and it is cooked far past the point where a steak would be ruined.
The reason is collagen. The shoulder does a lot of work during the animal’s life, so it is laced with connective tissue that is chewy at any temperature a steak would be served at. Hold that same meat at a gentle simmer for three hours and the collagen melts into gelatin, which is what gives braised beef its silky mouthfeel and gives the gravy its body without a drop of cream.
This is also why an expensive cut is a bad idea here. A tenderloin has almost no connective tissue, so a long braise only dries it out. The cheap cut is not a compromise in a classic pot roast, it is the correct choice.
Save this recipe
Enter your email and I’ll send this recipe straight to your inbox.
Ingredient Notes
Nine things go into a classic pot roast, and only two of them are doing anything you could call clever.
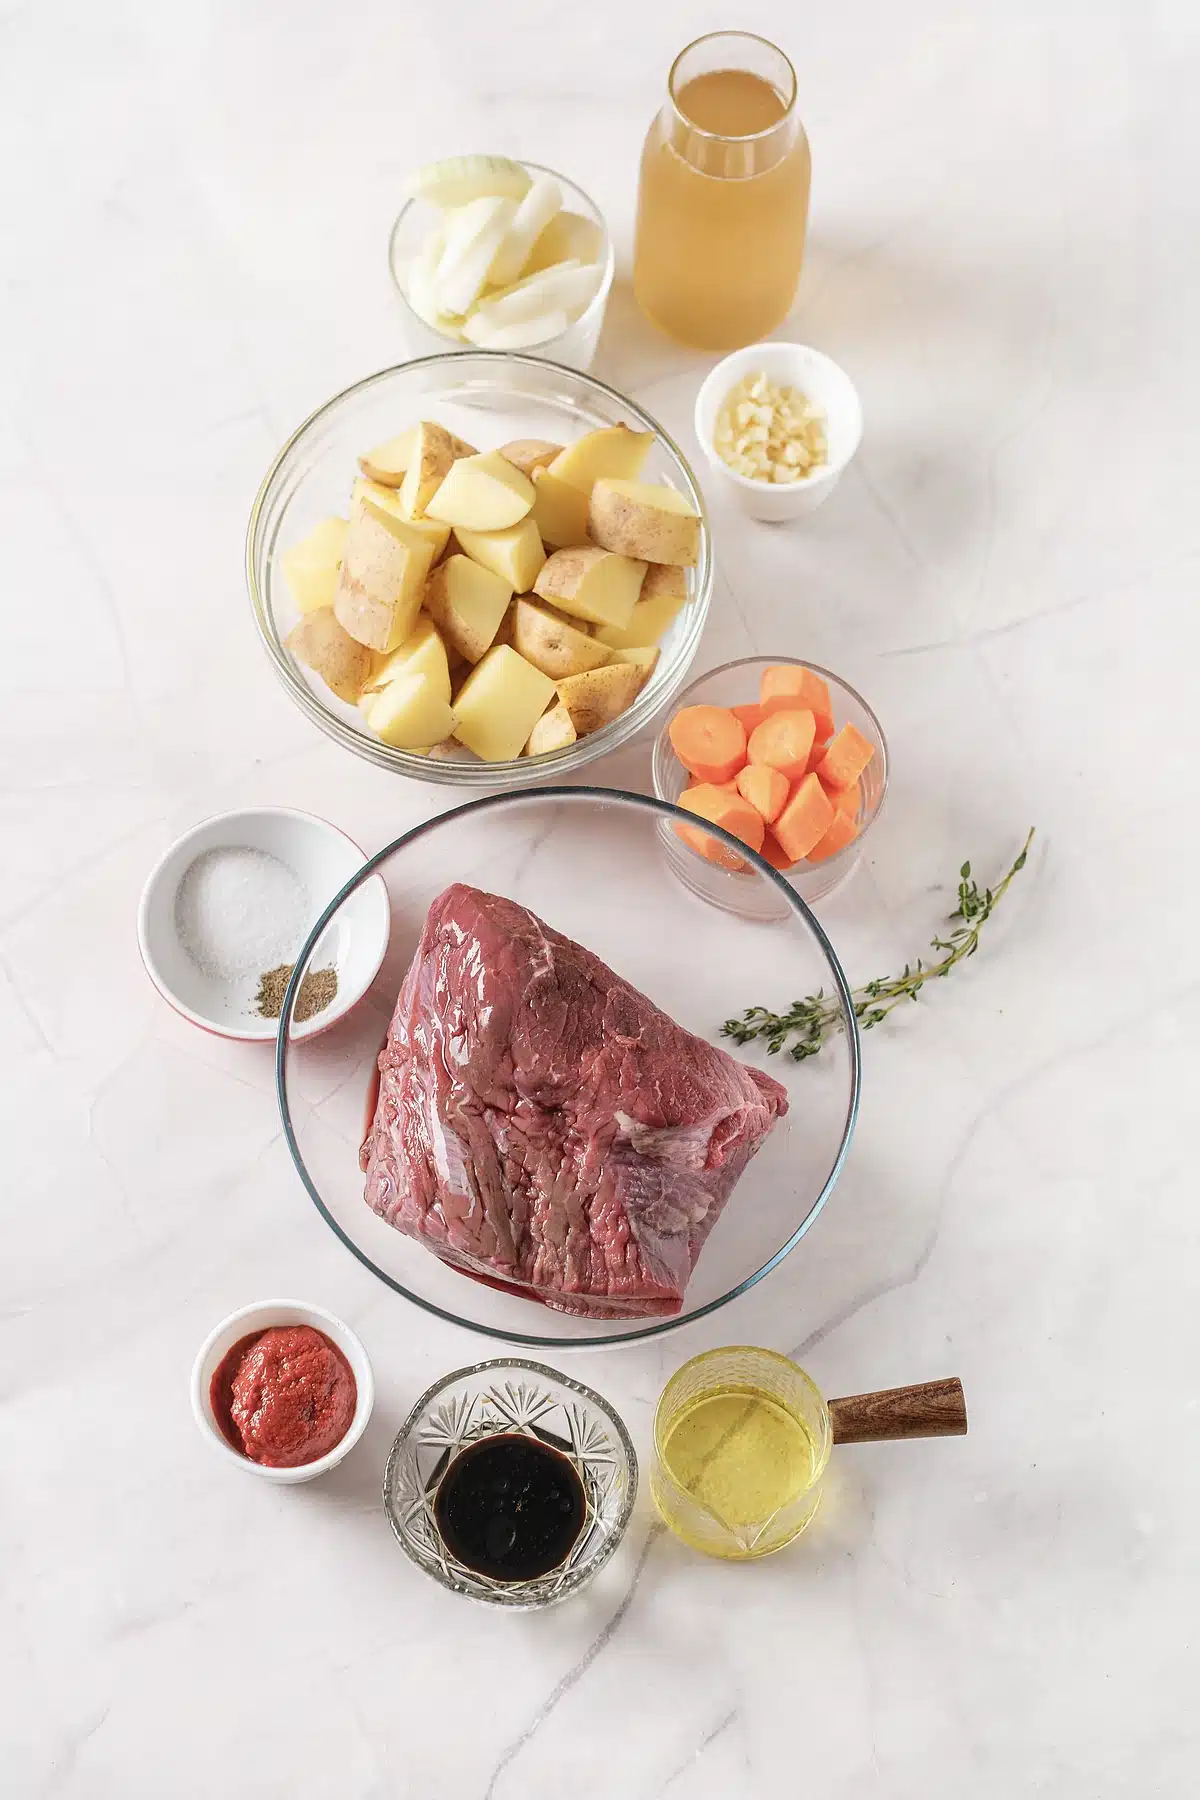
- Chuck roast. About four pounds, tied if your butcher will do it. Look for a piece with fat marbled through the muscle rather than a thick cap on the outside. Boneless is easier to slice; bone-in gives you a slightly richer sauce.
- Yellow onions. Two, cut into wedges rather than diced. Wedges hold their shape through three hours in the oven, and a dice disappears completely into the liquid.
- Carrots. Four large ones in chunky pieces. Anything smaller turns to mush. Baby carrots are the one shortcut that does not work here, because they are cut from larger carrots and lose their structure quickly.
- Yellow potatoes. A pound and a half of small waxy potatoes, halved if any are larger than a golf ball. Yukon Golds hold together where a floury baking potato falls apart and clouds the gravy.
- Tomato paste. Two tablespoons, cooked in the pan for a minute before any liquid goes in. That minute darkens it and takes away the raw tinned edge, and it is doing more for the finished color than anything else in the pot.
The Braising Liquid
- Dry red wine. One cup of something you would drink, a Cabernet or a plain dry blend. If you would rather skip it, use an extra cup of broth with a tablespoon of red wine vinegar stirred in at the end.
- Beef broth. Two cups, low sodium. The roast is already seasoned, the Worcestershire brings salt of its own, and the liquid reduces for three hours, so a salty broth ends up sharp.
- Worcestershire sauce. Two tablespoons. It is the quiet savory backbone here and you will not taste it as itself. Leave it out and the whole pot tastes flat in a way that is hard to place.
- Flour. Two tablespoons, whisked into a little hot broth before it meets the pot. Dumping dry flour into the liquid gives you lumps you cannot whisk out.
The Best Beef Cut for Braising
Chuck is the default cut for classic pot roast and it deserves to be. It comes from the shoulder, it is generously marbled, and it shreds into big soft pieces instead of drying into strings. If your store labels things by name rather than by cut, look for chuck roast, shoulder roast or blade roast, which are all the same neighborhood.
Brisket works and behaves differently. It is leaner, it slices rather than shreds, and it wants an extra half hour. Bottom round is the one to avoid. It is cheap for a reason, and it comes out of a long braise dry and stringy no matter how carefully you cook it.
Whatever you buy, pat it completely dry before it hits the oil. A wet surface steams instead of browning, and browning is where a large part of the flavor in this dish is made. Illinois Extension keeps a plain reference on safe internal temperatures for beef if you want to check your thermometer against something official.
How To Make Classic Pot Roast
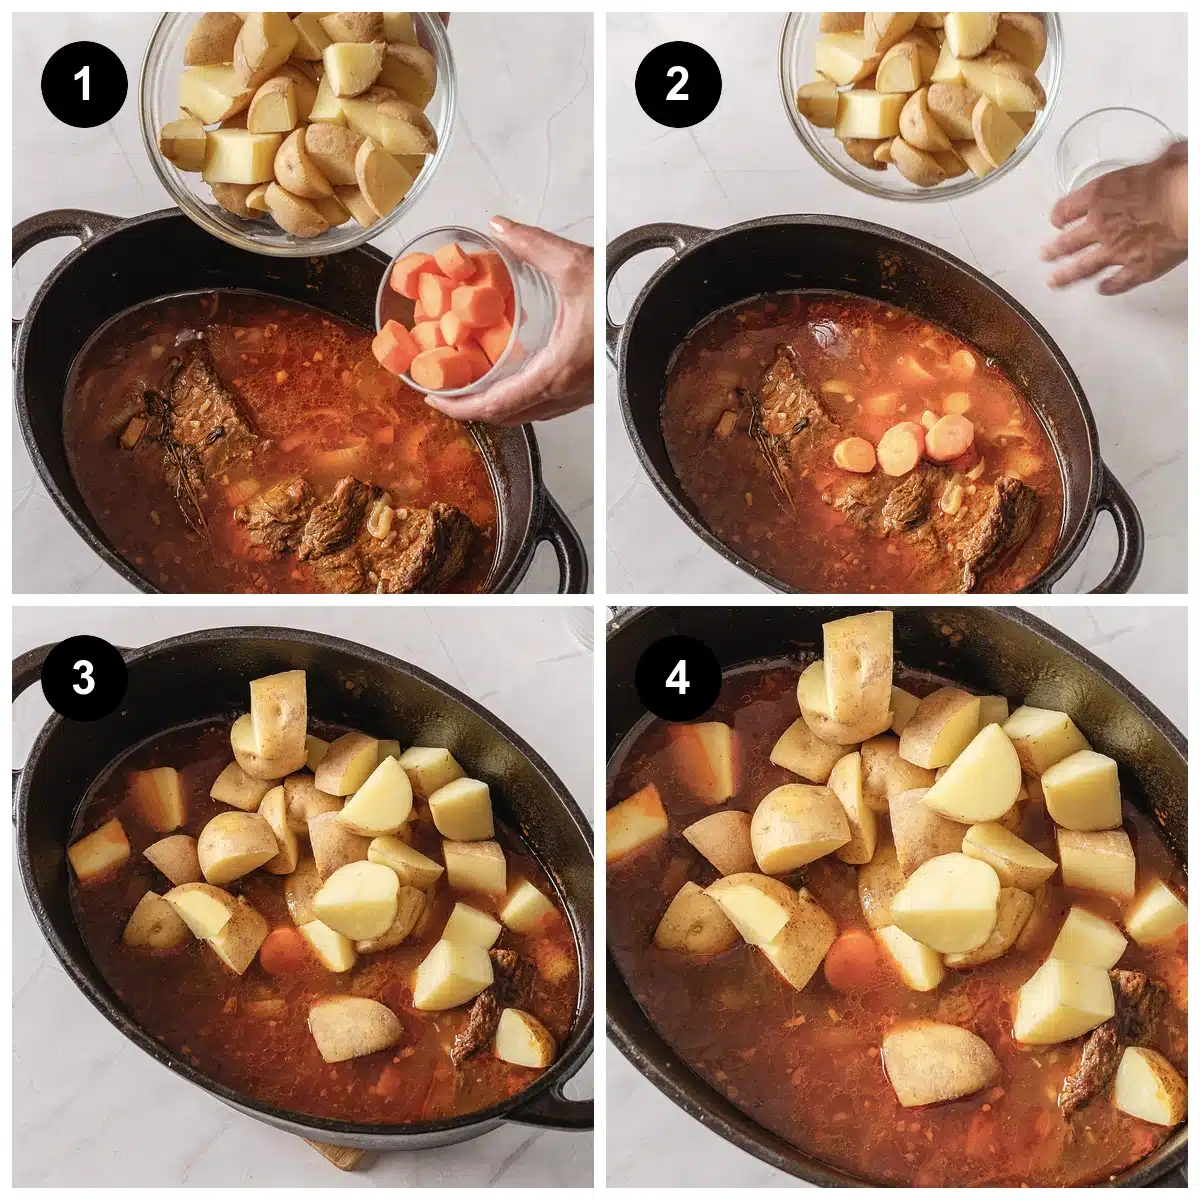
A classic pot roast comes together in five stages, and only the first two need your hands. First, season and sear. Heat the oven to 325 degrees. Pat the chuck dry, season it hard on every surface with kosher salt and black pepper, and brown it in olive oil over medium-high heat. Give it ten to fifteen minutes and do not move it around. You are looking for a deep crust on all sides, not a pale tan. Lift it out to a plate.
Next, build the base. Drop the onion wedges and carrots into the same fat and cook them for five minutes, scraping the browned bits off the bottom as they loosen. Add the smashed garlic and the tomato paste and stir for one more minute, until the paste turns from red to brick.
Then deglaze. Pour in the wine, scrape once more, and let it bubble for two minutes so the alcohol cooks off and the liquid reduces slightly. Add the broth, potatoes, bay leaves, thyme and Worcestershire sauce, then settle the roast back in with whatever juices collected on the plate.
Into the Oven
After that, braise. Bring the pot to a gentle simmer on the stovetop, put the lid on and move it to the oven for three to three and a half hours. Do not open it every twenty minutes. Each look drops the temperature and adds time, and there is nothing to see until the last hour anyway.
Finally, make the gravy. Lift the beef and vegetables onto a warm platter and skim the fat off the surface of the liquid. Whisk the flour into a ladleful of that hot liquid until it is completely smooth, stir it back into the pot, and simmer for a few minutes until it coats a spoon. Slice or shred the beef, spoon the gravy over everything and scatter parsley on top.
How To Tell When Classic Pot Roast Is Done
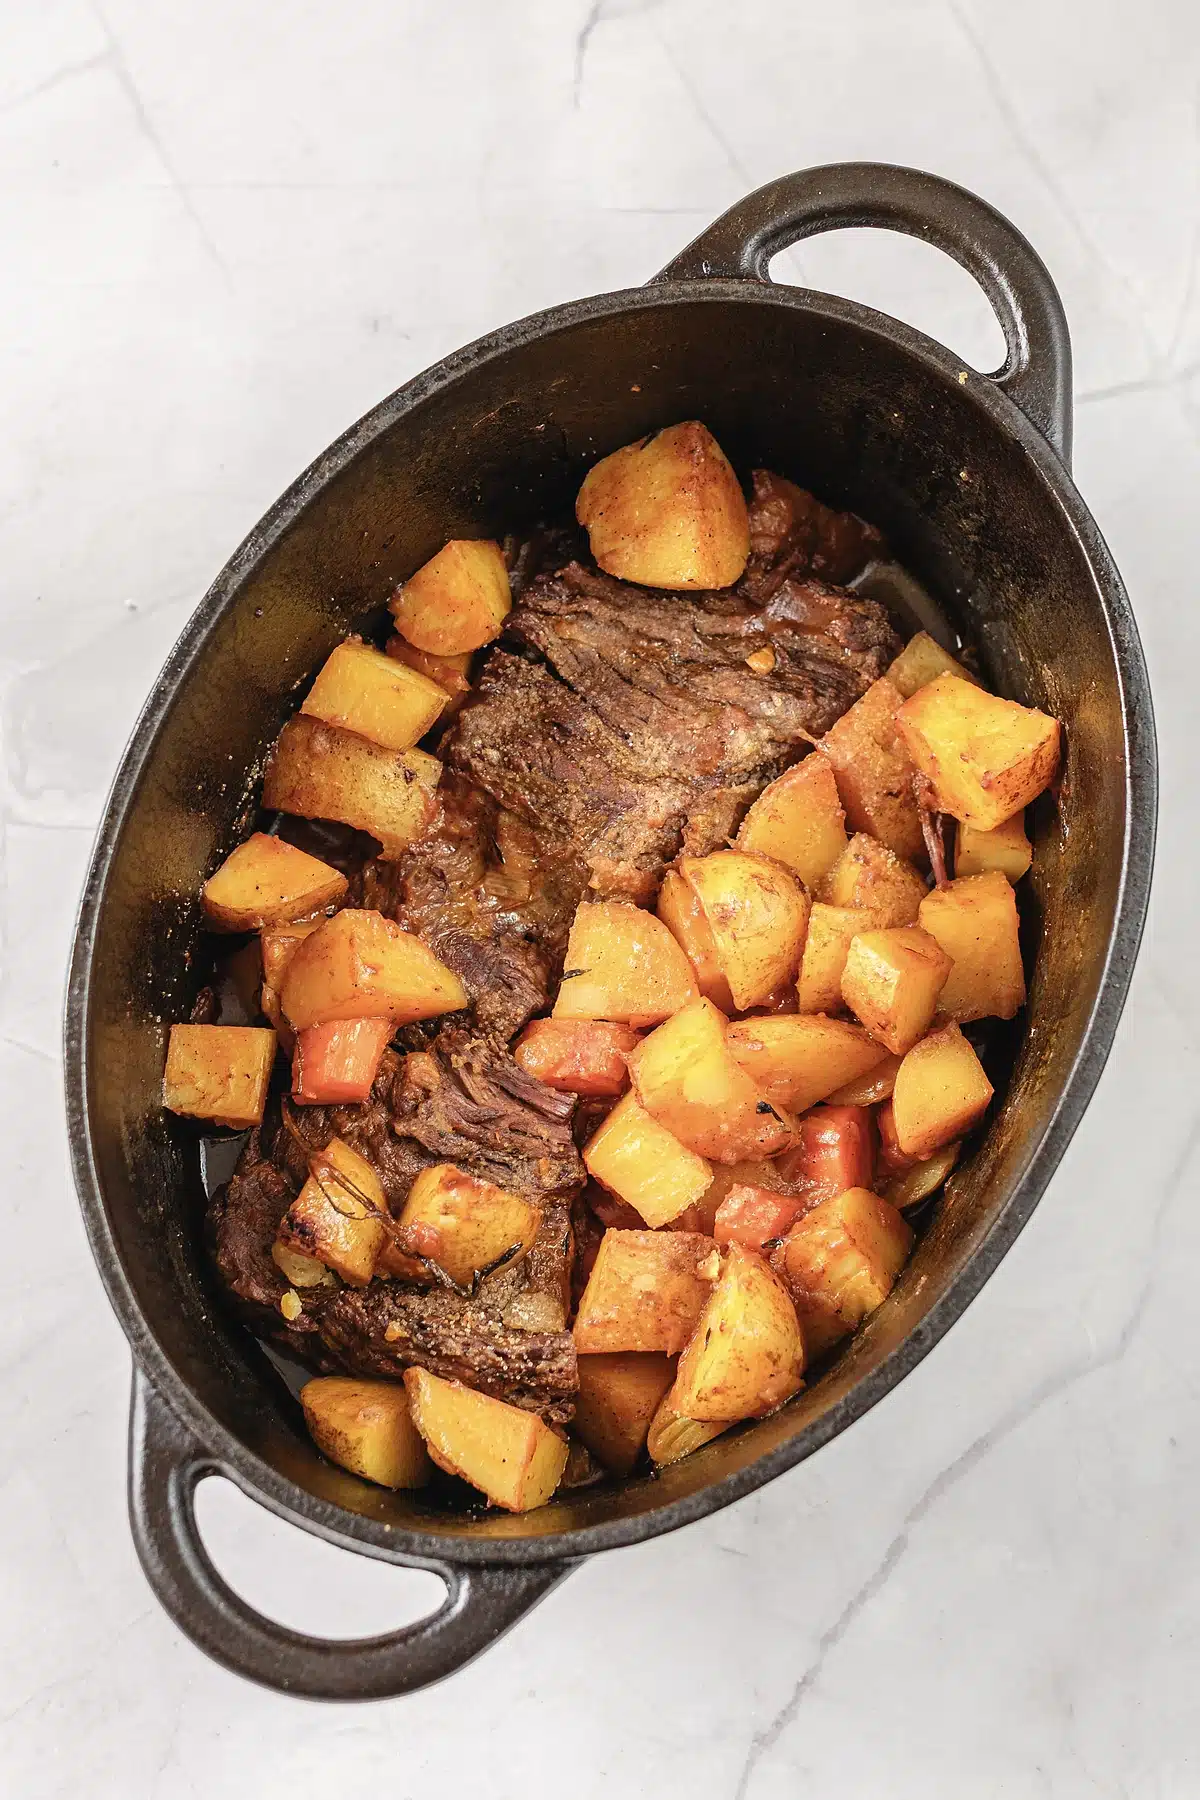
Forget the thermometer for this one. A steak is done at a temperature, and a braise is done at a texture. Slide a dinner fork into the thickest part and twist. If it turns without resistance and the meat falls away in shreds, it is ready. If the fork meets any springiness at all, the collagen has not finished breaking down and the answer is always another thirty minutes.
Undercooked classic pot roast is the most common problem people run into, and it does not read as undercooked. It reads as tough, which sends people looking for a better cut or a different recipe when the pot simply needed more time. A roast that has gone a little past the mark is still delicious. One that stopped short is not.
The vegetables tell you something too. The potatoes should give under a fork without falling apart, and the carrots should be sweet all the way through rather than firm at the center.
Make It Ahead
A classic pot roast is genuinely better on day two, so cooking it a day early is not a compromise. Braise it through completely, let it cool with the lid ajar, and refrigerate the beef and vegetables in the cooking liquid so nothing dries out.
The make-ahead payoff is the fat. Chilled overnight, it sets into a solid layer on top that lifts off in one piece, which is far cleaner than skimming it hot. Warm the whole pot on the stove over medium-low heat for about twenty-five minutes, then thicken the gravy at the end exactly as you would have on the first day.
Storing Classic Pot Roast
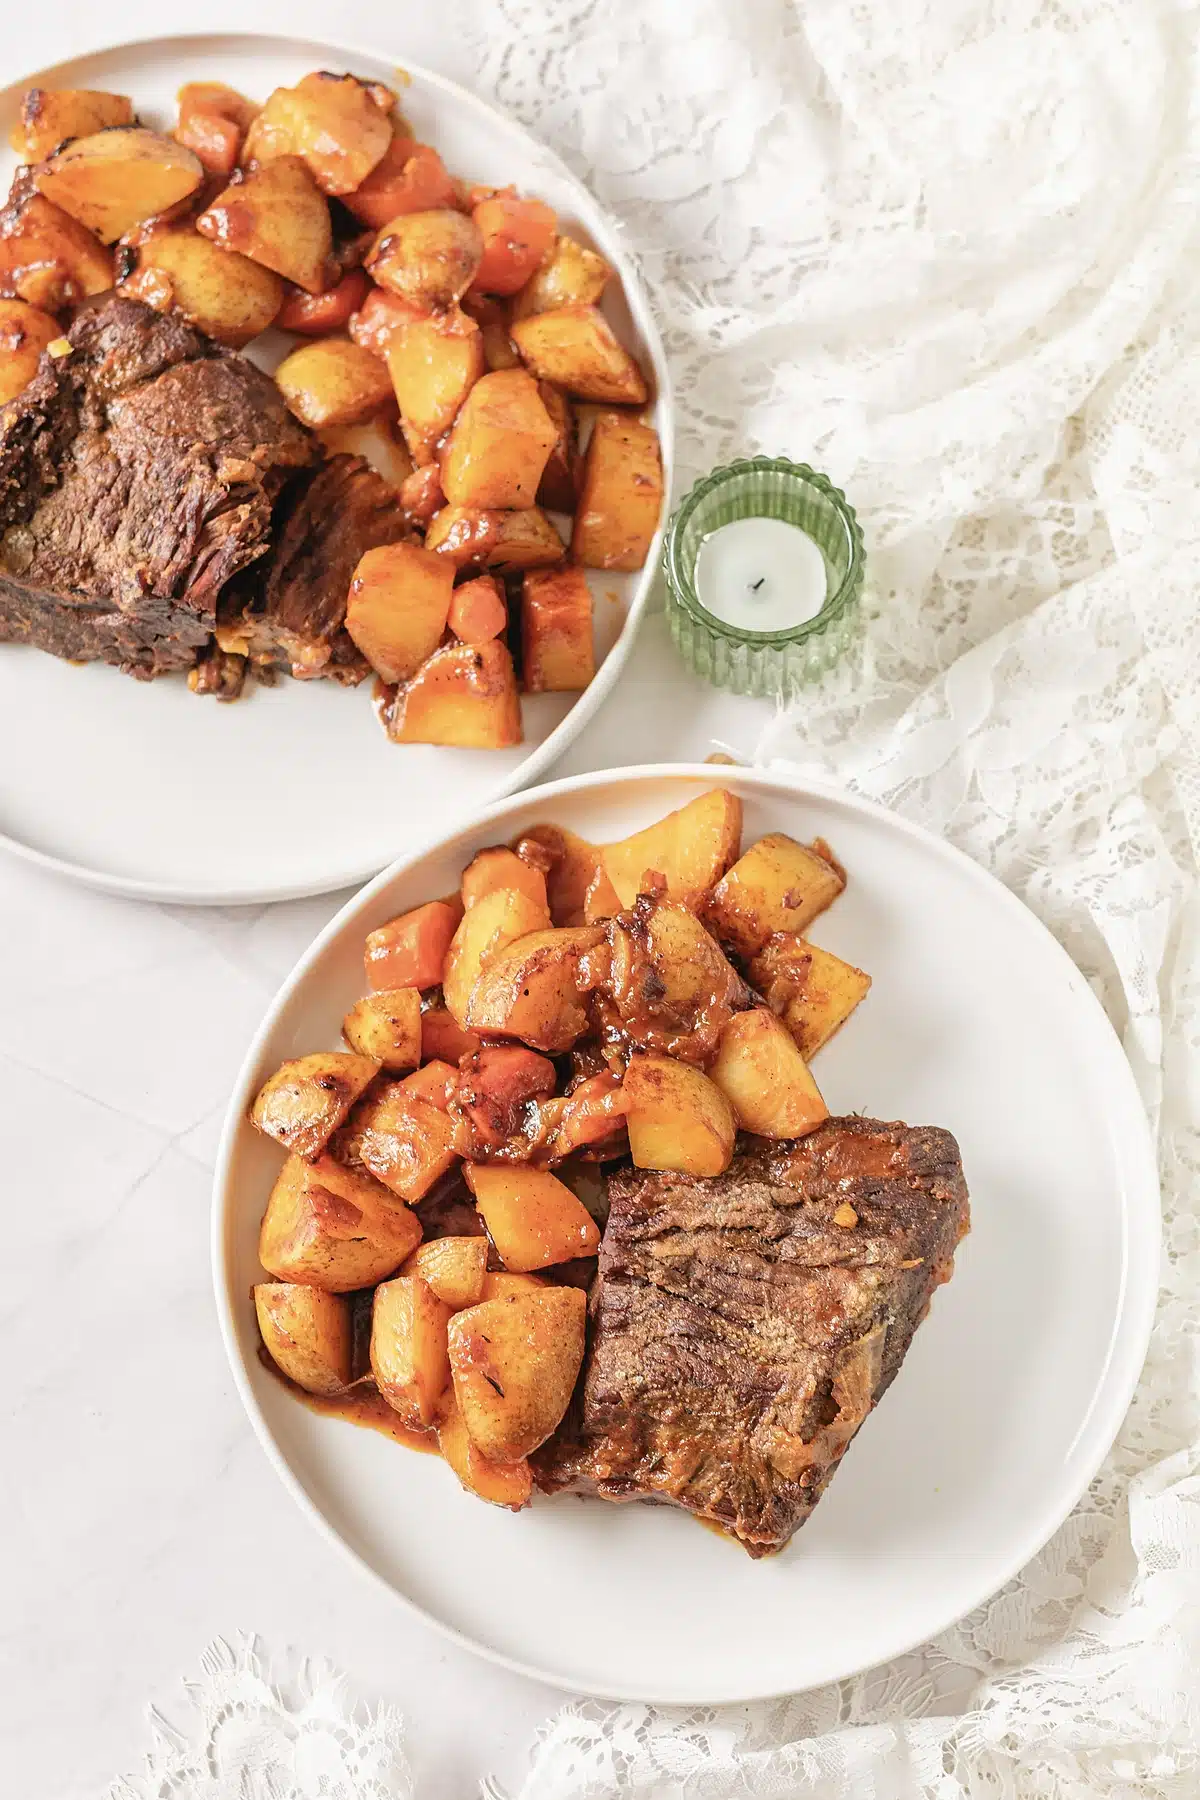
In the refrigerator, keep leftovers in an airtight container with enough gravy to cover the meat, and they will be good for four days. Beef stored dry goes tough and gray at the edges within a day, and the same beef stored under its own sauce comes back almost exactly as it went in.
For the freezer, shred the meat off the bone and freeze it flat in bags with plenty of gravy, for up to three months. Leave the potatoes out. They turn grainy and waterlogged after thawing, and they take ten minutes to cook fresh when you reheat. Thaw overnight in the refrigerator, then warm gently on the stove rather than in short bursts in the microwave.
Reheating a whole piece of classic pot roast works best at 300 degrees in a covered dish with a splash of broth, for about twenty-five minutes. The low oven keeps the outside from tightening while the middle catches up.
Variations and Substitutions
The frame of a classic pot roast holds up to almost any swap you want to make.
Slow cooker. Sear on the stove first, then everything on low for eight hours. You cannot skip the sear and get the same result, because a slow cooker never gets hot enough to brown anything.
Pressure cooker. Sear on the saute setting, then sixty minutes at high pressure with a natural release. It is quicker and the texture is very slightly looser, and it is a good weeknight answer.
No wine. An extra cup of beef broth plus a tablespoon of red wine vinegar or balsamic stirred in at the very end. The acid is what the wine was really providing.
Mushrooms. Half a pound of quartered cremini, browned after the roast comes out of the pan. They soak up the braising liquid and add a second layer of savoriness.
Root vegetable swap. Parsnips, turnips or celery root in place of half the carrots. Parsnips in particular go sweet and creamy over three hours and are worth trying at least once.
Herb changes. A few sprigs of fresh rosemary with the thyme, or a strip of orange peel dropped in for the last hour. Both are small changes that make the pot smell completely different.
What to Serve with Classic Pot Roast
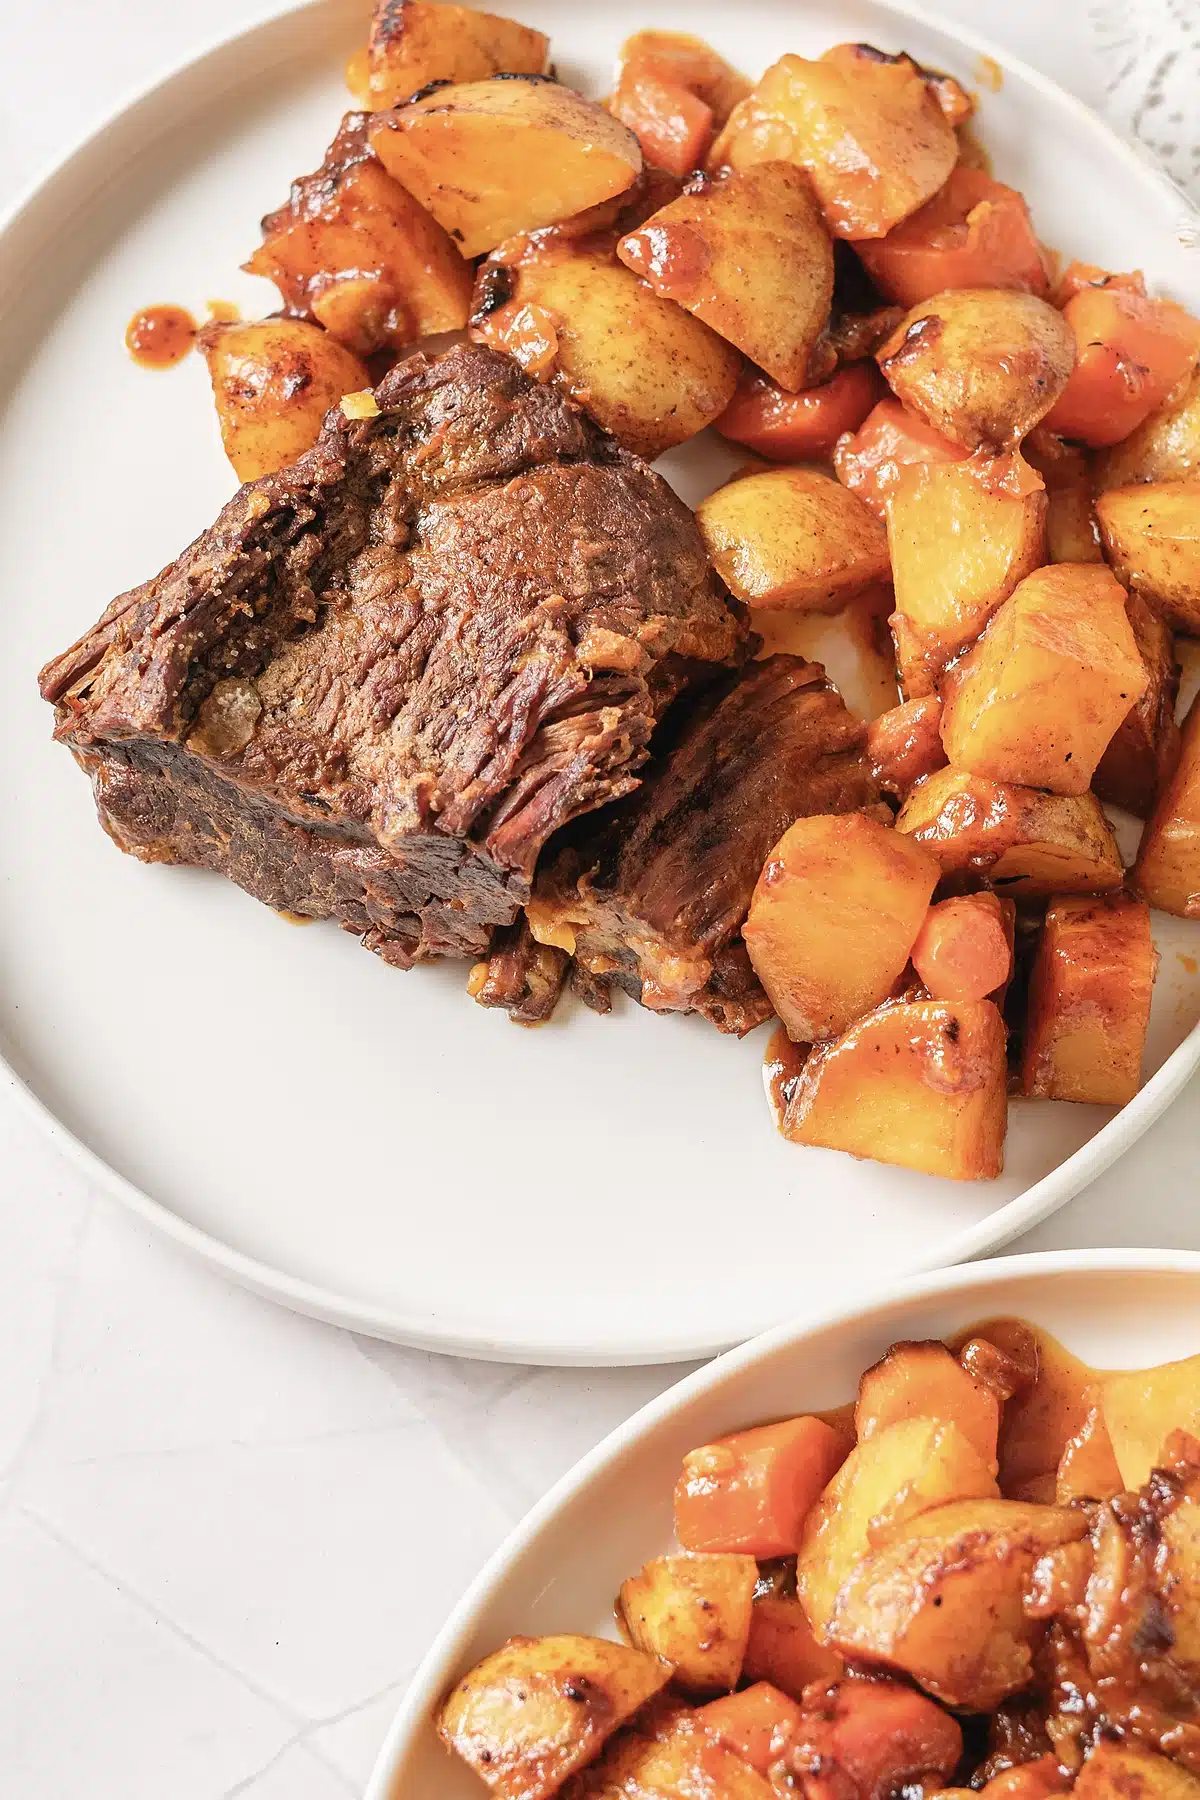
A classic pot roast arrives with its own side dishes, so the plate is nearly finished on its own. What it really wants is something to catch the gravy. Soft dinner rolls, buttered egg noodles or a bowl of truffle mashed potatoes all do that job, and mashed potatoes do it best.
For a green element, keep it sharp rather than rich. Roasted green beans with lemon, buttered peas, or a plain salad with a mustardy vinaigrette all cut through a heavy plate. Braised red cabbage is the more traditional partner if you want to lean into the Sunday dinner idea.
If you have gravy left over and no beef, it is worth knowing that the same technique underneath this recipe is what carries a good breakfast sausage gravy, and the two freeze equally well. For a lighter midweek version of the same comfort, beef stroganoff on the stovetop gets you there in under an hour.
Classic Pot Roast FAQ
Frequently Asked Questions
Why is my pot roast tough?
A classic pot roast almost always needs more time, not less. Tough braised beef is undercooked beef, because the collagen has not finished turning to gelatin yet. Put the lid back on, return it to the oven and check again in thirty minutes.
Do I have to sear the beef first?
You can skip it, and the result is noticeably flatter. Searing builds the browned flavors that the whole sauce is built on, and ten minutes of it changes the finished dish more than any other single step.
How much liquid should a classic pot roast have?
Enough to come about halfway up the meat, which is roughly three cups for a four-pound roast. Covering it completely turns the dish into a boiled beef stew and washes out the browning you just built.
Can I cook it at a higher temperature to save time?
A classic pot roast will take 350 degrees and save you perhaps twenty minutes, and much above that the outside tightens before the middle is tender. Low and slow is not a slogan here, it is the mechanism.
More Questions About Oven Braising
Good to Know
Should the lid be on or off?
On for the whole braise. The trapped steam keeps the top of the meat moist and holds the temperature steady. Take the lid off only at the end if you want to reduce the liquid faster.
My gravy is thin. What now?
Simmer it uncovered for ten minutes to reduce it, or whisk another tablespoon of flour into a ladle of hot liquid and stir it back in. A cornstarch slurry works too and gives a glossier finish.
Can I put the vegetables in at the start?
The carrots and onions go in early because they are holding up the flavor of the braising liquid. Potatoes can go in at the start or an hour before the end, and adding them later keeps them firmer.
Serve a classic pot roast on a cold evening with something to mop the plate, and there is very little that beats it. If this became your Sunday habit, a pot of lentil soup on the stovetop is the natural Monday follow-up while the oven takes the day off.
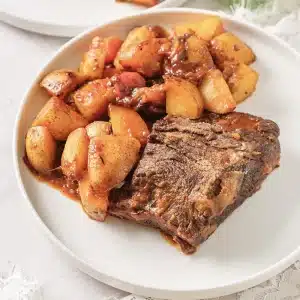
Oven-Braised Pot Roast
Save this recipe
Enter your email and I’ll send this recipe straight to your inbox.
Ingredients
For the Pot Roast
- 1 (1.8 kg) chuck roast about 4 lbs, tied if possible
- 2 tsp (10 g) kosher salt
- 1 tsp (2 g) black pepper freshly ground
- 2 tbsp (30 ml) olive oil
- 2 yellow onions cut into wedges
- 4 carrots peeled and cut into chunky pieces
- 1.5 lb (680 g) yellow potatoes small potatoes, halved if large
- 8 cloves (8) garlic peeled and smashed
- 2 tbsp (30 g) tomato paste
- 1 cup (240 ml) dry red wine such as Cabernet or any dry blend
- 2 cups (480 ml) low-sodium beef broth
- 2 bay leaves
- 1 tsp dried thyme or 3-4 sprigs fresh thyme
- 2 tbsp (30 ml) Worcestershire sauce
For the Gravy
- 2 tbsp (16 g) all-purpose flour
To Serve (optional)
- chopped fresh parsley for garnish
Equipment
- Dutch oven or oven-safe large pot with lid
- wooden spoon
- Chef’s knife
- Cutting board
Instructions
Sear the Beef
- Preheat the oven to 325°F (165°C). Pat the chuck roast dry with paper towels and season it all over with the kosher salt and black pepper.
- Heat the olive oil in a Dutch oven over medium-high heat. Add the roast and brown it deeply on every side, 10 to 15 minutes in total. Do not move it around while it colors. Transfer the roast to a plate.
Build the Braise
- Add the onion wedges and carrots to the pot. Saute for about 5 minutes, scraping up the browned bits from the bottom. Stir in the smashed garlic and the tomato paste and cook for 1 minute more, until the paste darkens and smells sweet.
- Pour in the red wine and scrape up anything still stuck to the pan. Simmer for about 2 minutes so the alcohol cooks off and the liquid reduces slightly.
- Add the beef broth, potatoes, bay leaves, thyme and Worcestershire sauce and stir to combine. Return the browned roast and any juices from the plate, nestling the meat down among the vegetables.

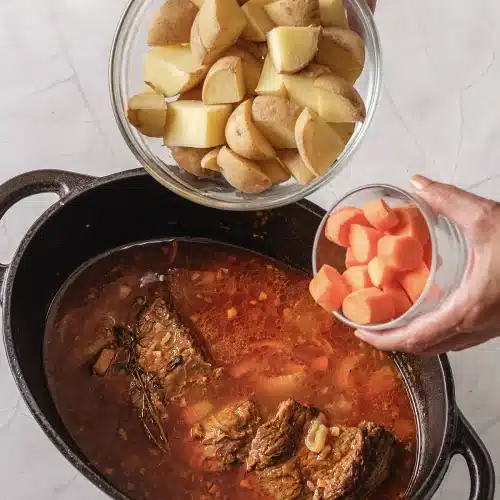
Braise Low and Slow
- Bring the pot to a gentle simmer on the stovetop. Cover it and transfer it to the oven. Braise for 3 to 3.5 hours, until a fork twists in the thickest part of the roast without resistance. Resist opening the lid before the last hour.
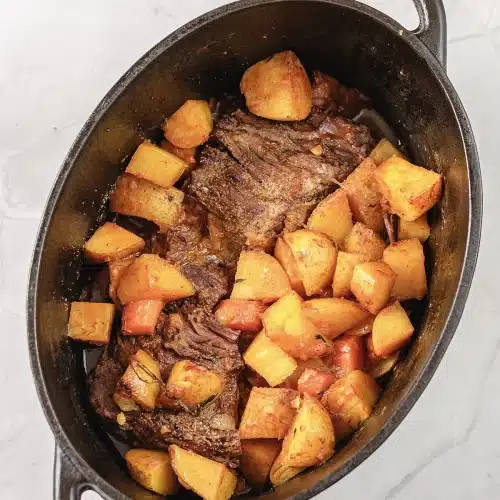
Make the Gravy and Serve
- Lift the roast and the vegetables onto a warm platter and skim the fat from the surface of the cooking liquid. Whisk the flour into a ladleful of the hot liquid until it is completely smooth, then stir it back into the pot and simmer for a few minutes until the gravy coats a spoon.
- Slice or shred the beef. Serve it with the vegetables and plenty of gravy, and scatter chopped fresh parsley over the top.