
Cherry cheesecake bars are what you make when you want cheesecake and have no intention of wrapping a springform pan in foil, filling a roasting tin with hot water, or watching a crack open across the top anyway. The whole thing goes into a nine-by-thirteen pan, bakes in forty minutes, chills, gets topped with cherry pie filling, and comes out of the pan in one piece on a parchment sling.
What you give up is the tall, dramatic wedge. What you get is twelve neat squares that travel to a potluck without incident, cut cleanly with a knife wiped between slices, and taste exactly like the cheesecake they came from. For a holiday table or a church supper, that trade is not much of a trade at all.
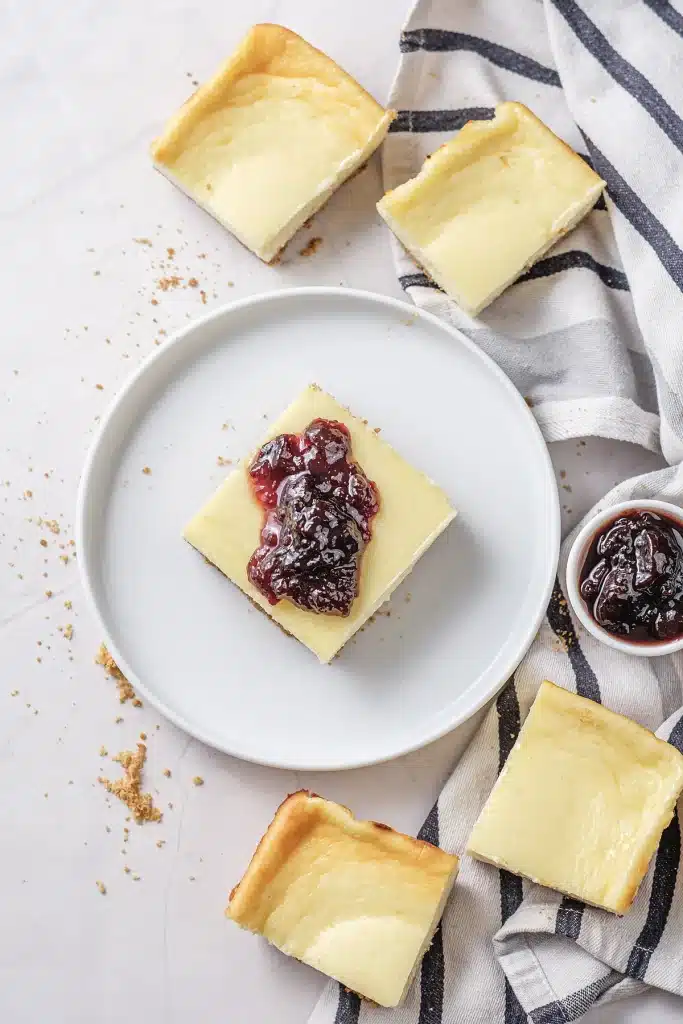
- No springform pan, no water bath and no cracked top to hide
- Twelve even squares from one pan, so portioning is done for you
- Better on day two, which makes them a genuine make-ahead dessert
- Five ingredients in the filling and three in the crust
- The topping goes on last, so the bars freeze cleanly without it

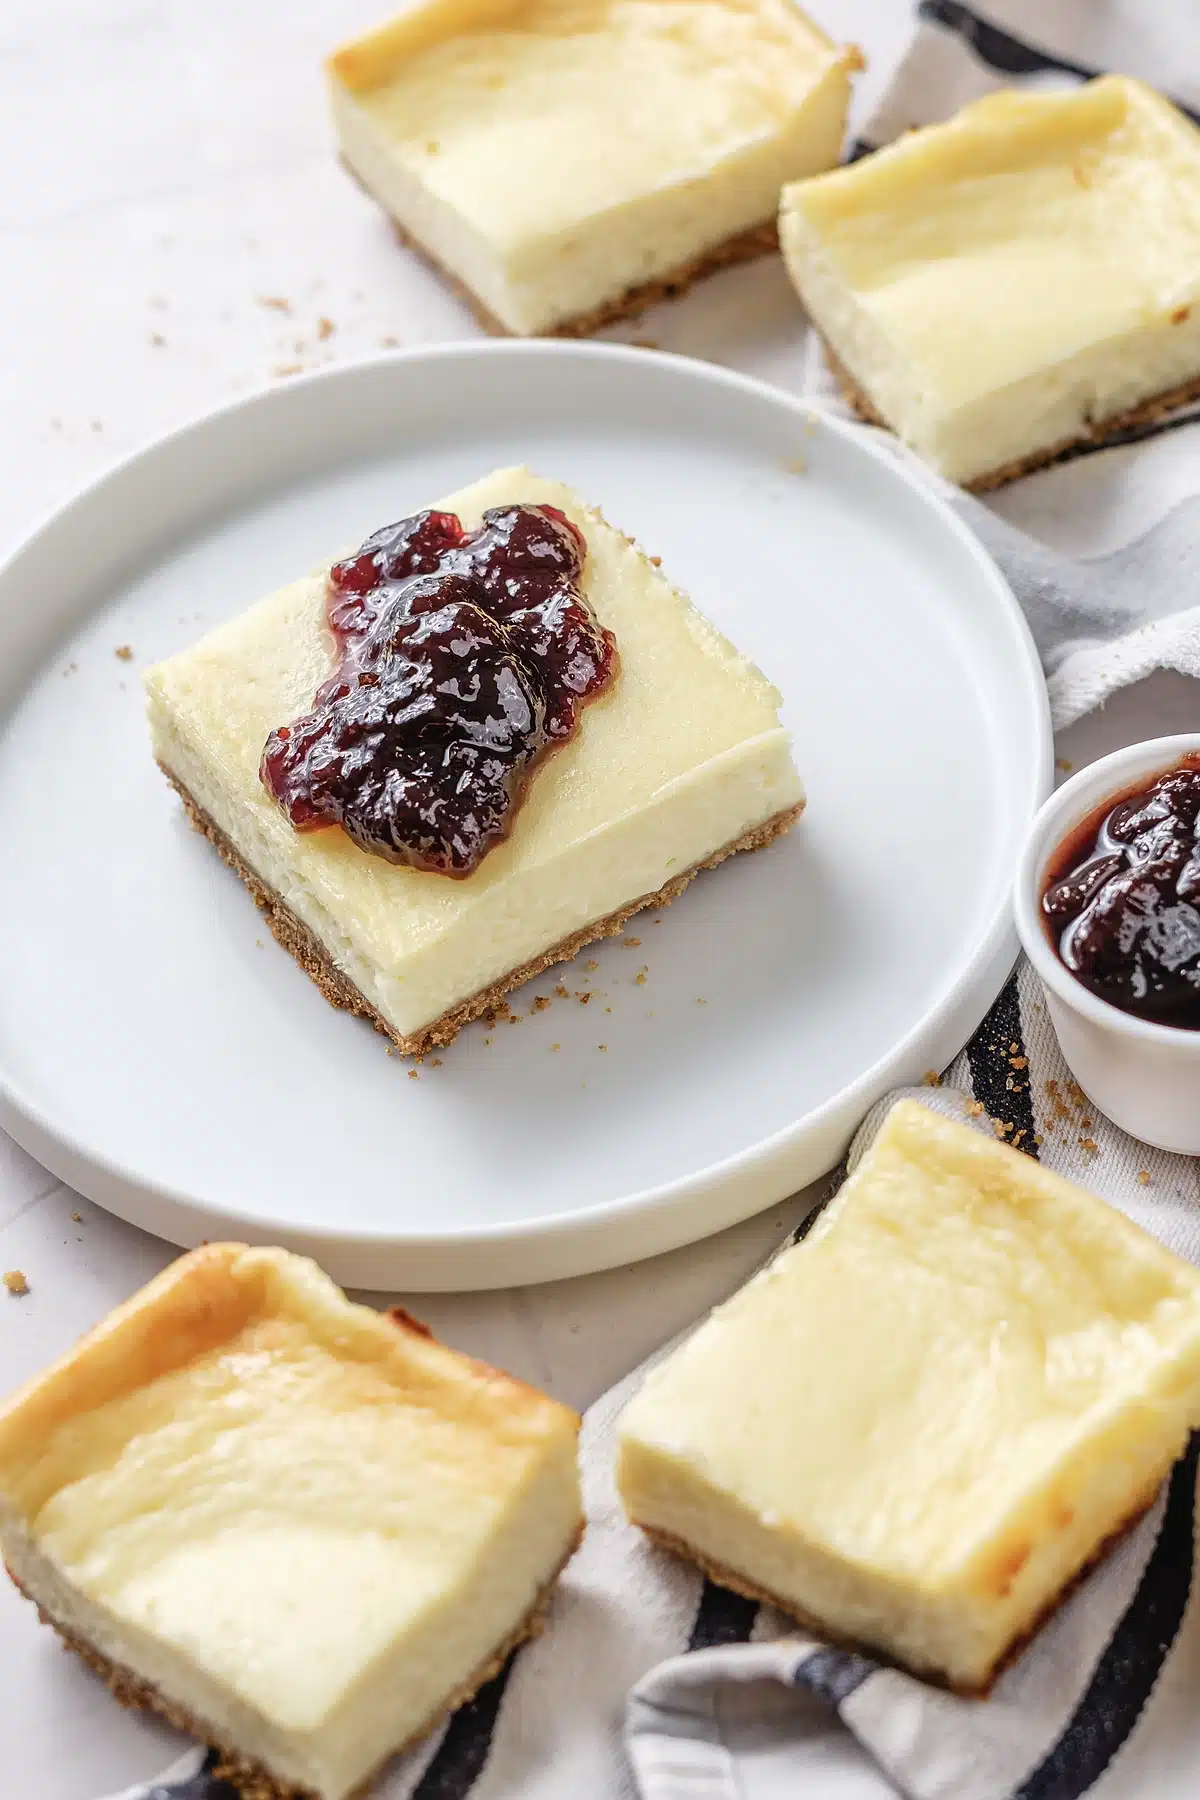
- What Makes These Cherry Cheesecake Bars Work
- Ingredient Notes
- Baked Cheesecake Bars vs No-Bake
- How To Make Cherry Cheesecake Bars
- How To Tell When the Cheesecake Layer Is Set
- Make It Ahead
- Storing Cherry Cheesecake Bars
- Variations and Substitutions
- What to Serve with Cherry Cheesecake Bars
- Cherry Cheesecake Bars FAQ
What Makes These Cherry Cheesecake Bars Work
A classic cheesecake is deep, which is the source of all its problems. The center takes so long to set that the edges overbake, and the resulting tension is what cracks the surface. That is why the water bath exists, and it is why so many people find cheesecake stressful.
Spread the same custard into a shallow layer in a large pan and the physics change completely. The whole slab reaches temperature at nearly the same moment, so nothing overcooks at the rim while the middle catches up. Cracks stop being a risk worth engineering around, and a cracked bar would be covered by cherries anyway.
The other structural difference is the crust. Pressed graham crumbs on the bottom of a rectangular pan give you a flat, even base rather than a fragile ring climbing the side of a springform, and a parchment sling lets you lift the entire slab out and cut it on a board. Cutting in the pan is what wrecks the first square.
None of this is a compromise version of something better. Cherry cheesecake bars were how this dessert reached church suppers and school fundraisers long before the tall New York style became the reference point, and the shallow layer is genuinely easier to eat standing up with a paper plate in one hand.
Save this recipe
Enter your email and I’ll send this recipe straight to your inbox.
Ingredient Notes
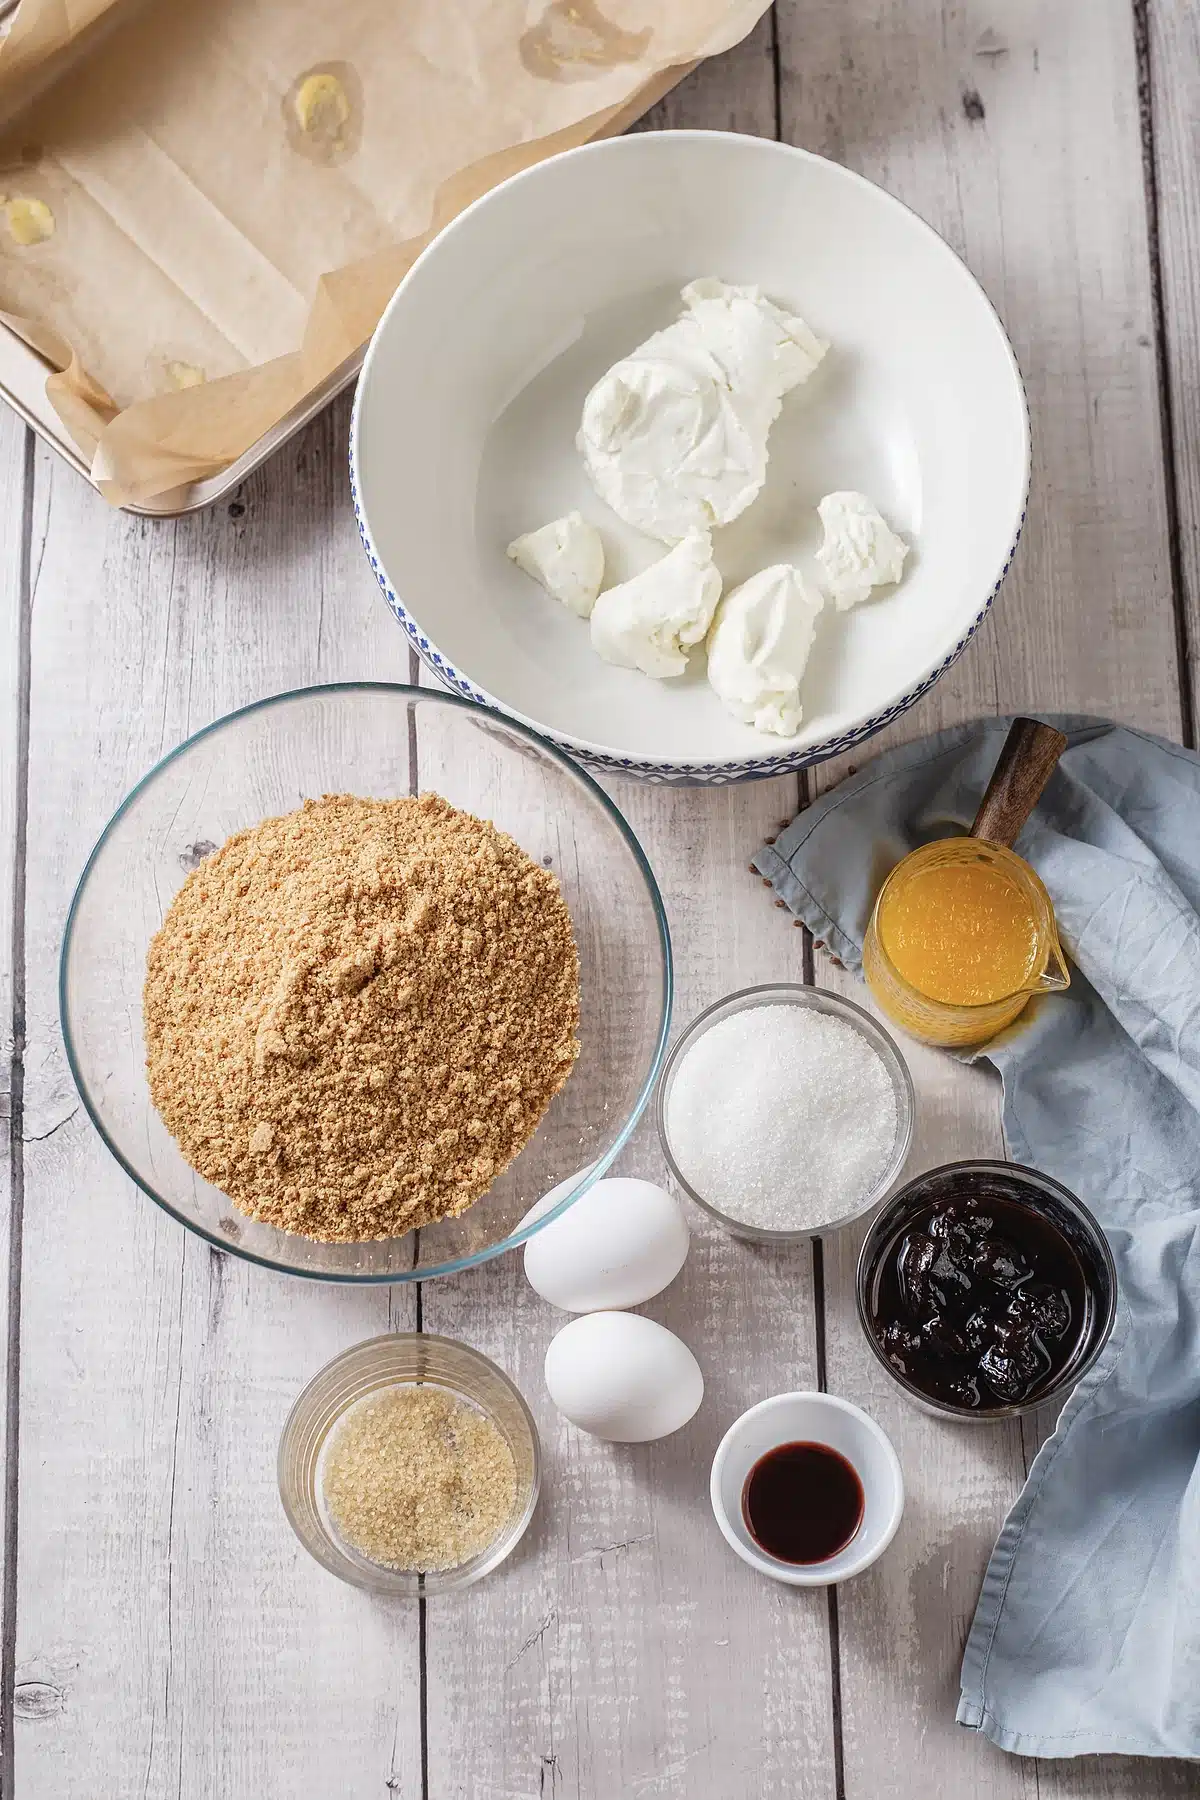
- Cream cheese. Sixteen ounces, which is two standard bricks, and it must be full-fat block style rather than the whipped tub. It also has to be properly at room temperature. Cold cream cheese leaves lumps that no amount of beating removes, and beating harder to chase them whips air into the batter, which is its own problem.
- Graham cracker crumbs. Two cups, about fourteen full sheets crushed. Buy them pre-crushed if you like; nobody can tell. Digestive biscuits work, and so do vanilla wafers, which give a softer, more buttery crust.
- Granulated sugar. A third of a cup in the crust and two thirds in the filling. The crust sugar is not optional, because it is what makes the pressed base hold together once it cools.
- Eggs. Two, at room temperature, added one at a time on low speed. Eggs are the only thing setting this custard, and every extra second of mixing after they go in beats in air that will puff up in the oven and sink on the counter.
- Vanilla extract and salt. Two teaspoons and a quarter teaspoon. Cheesecake without salt tastes flat and slightly cloying, and a quarter teaspoon is the difference between a dessert and a sugar delivery system.
- Cherry pie filling. One twenty-one-ounce can. This is the one place where canned genuinely beats homemade for the job, because it is thick enough to sit on top without bleeding into the cheesecake layer.
Nothing else is required. Everything further down this page is optional, which is unusual for a dessert that looks as considered as cherry cheesecake bars do on a plate.
Baked Cheesecake Bars vs No-Bake
Search for this dessert and half the results will be a no-bake version, which is a different thing wearing the same name. A no-bake bar sets with whipped cream or gelatin, so it is light, mousse-like and best eaten very cold, and it softens quickly at room temperature.
The baked cherry cheesecake bars here set with eggs. They are denser, tangier and closer to what most people picture when they hear the word cheesecake, and they hold their shape on a plate at a summer barbecue instead of slumping. If you want the airy one, make the no-bake; if you want cheesecake, bake it.
There is a middle road worth knowing about. Bake the bars as written, chill them fully, and then pipe a border of sweetened whipped cream around the cherries before serving. You get the density of a baked cheesecake and the lightness of the no-bake style in the same bite.
How To Make Cherry Cheesecake Bars
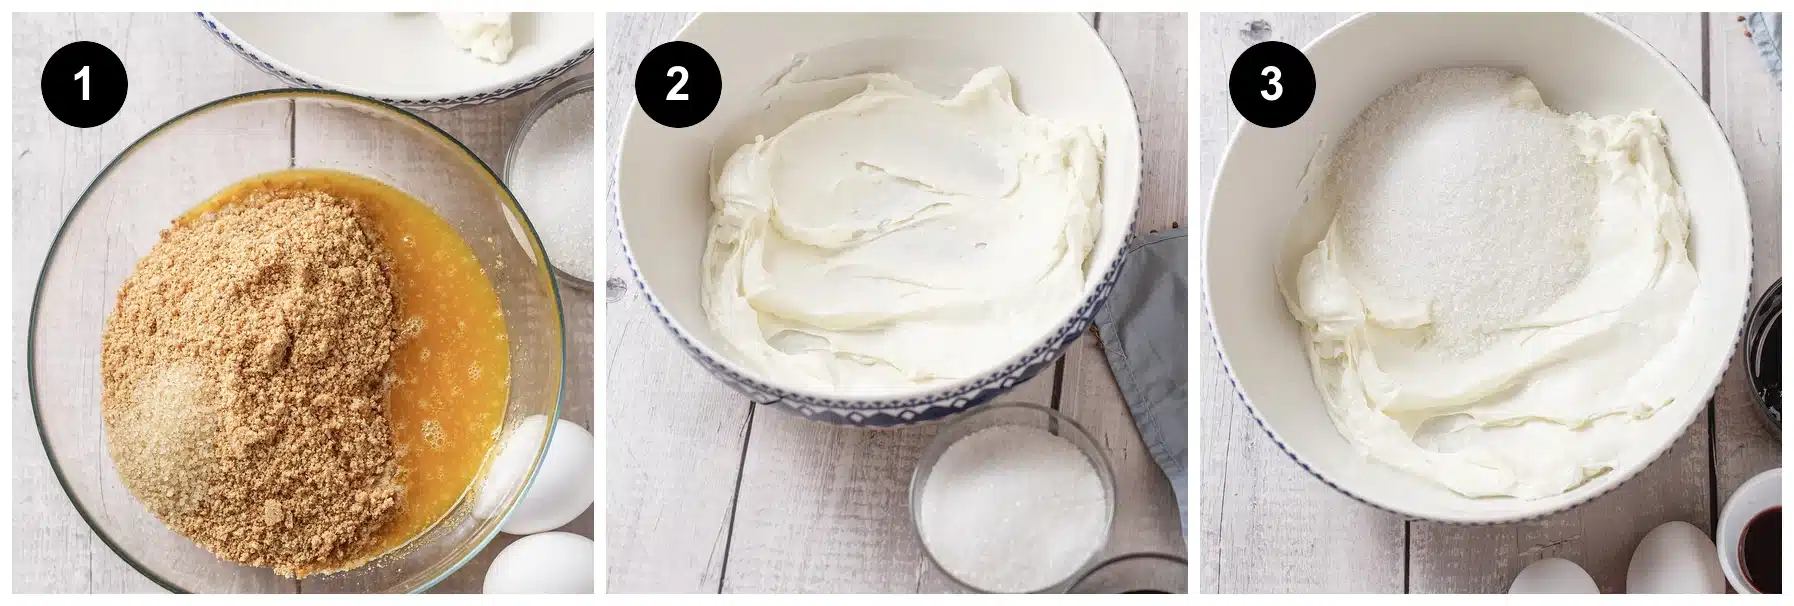
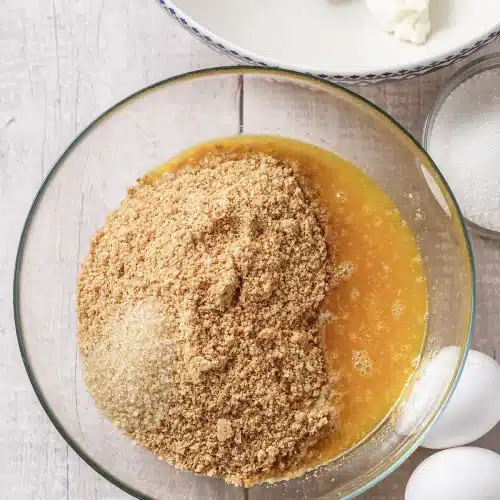
First, build the crust. Heat the oven to 325 degrees and line the pan with parchment, leaving a generous overhang on the two long sides. Stir the crumbs, sugar and melted butter together until the mixture looks like damp sand, press it firmly and evenly across the bottom, and bake it for ten minutes.
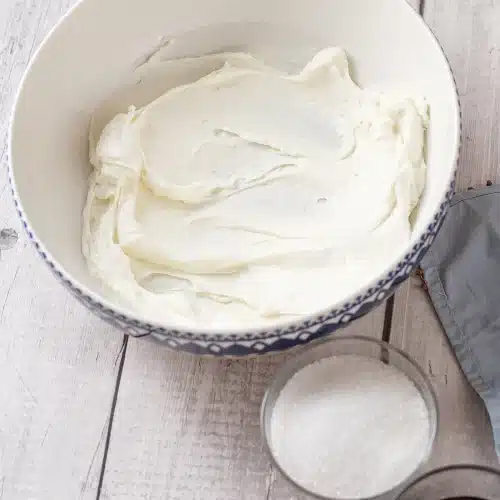
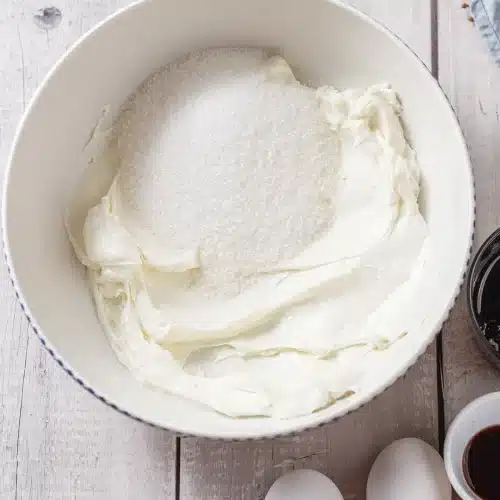
Next, beat the cream cheese on its own until it is completely smooth, scraping the bowl at least twice. Getting it smooth before anything else joins it is the single most important minute in this recipe. Add the sugar and beat for another two minutes, until the mixture is creamy and pale.
Then add the eggs one at a time on low speed, mixing only until each disappears, and finish with the vanilla and salt. The batter should look glossy and pourable rather than fluffy, which is what tells you no extra air went in.
Bake, Chill and Top
After that, pour the filling over the cooled crust, spread it level and tap the pan on the counter to release any bubbles. Bake for thirty-five to forty minutes, until the edges are set and the middle still wobbles slightly when you nudge the pan. Cool completely at room temperature, then refrigerate for at least four hours.
Finally, spread the cherry pie filling over the chilled surface, right to the edges. Lift the slab out using the parchment, cut it into twelve squares with a long knife wiped clean between cuts, and serve cold.
Start to finish that is about an hour of activity, and the rest is the refrigerator working on its own. Cherry cheesecake bars reward patience at exactly one point, and it is the chill.
How To Tell When the Cheesecake Layer Is Set
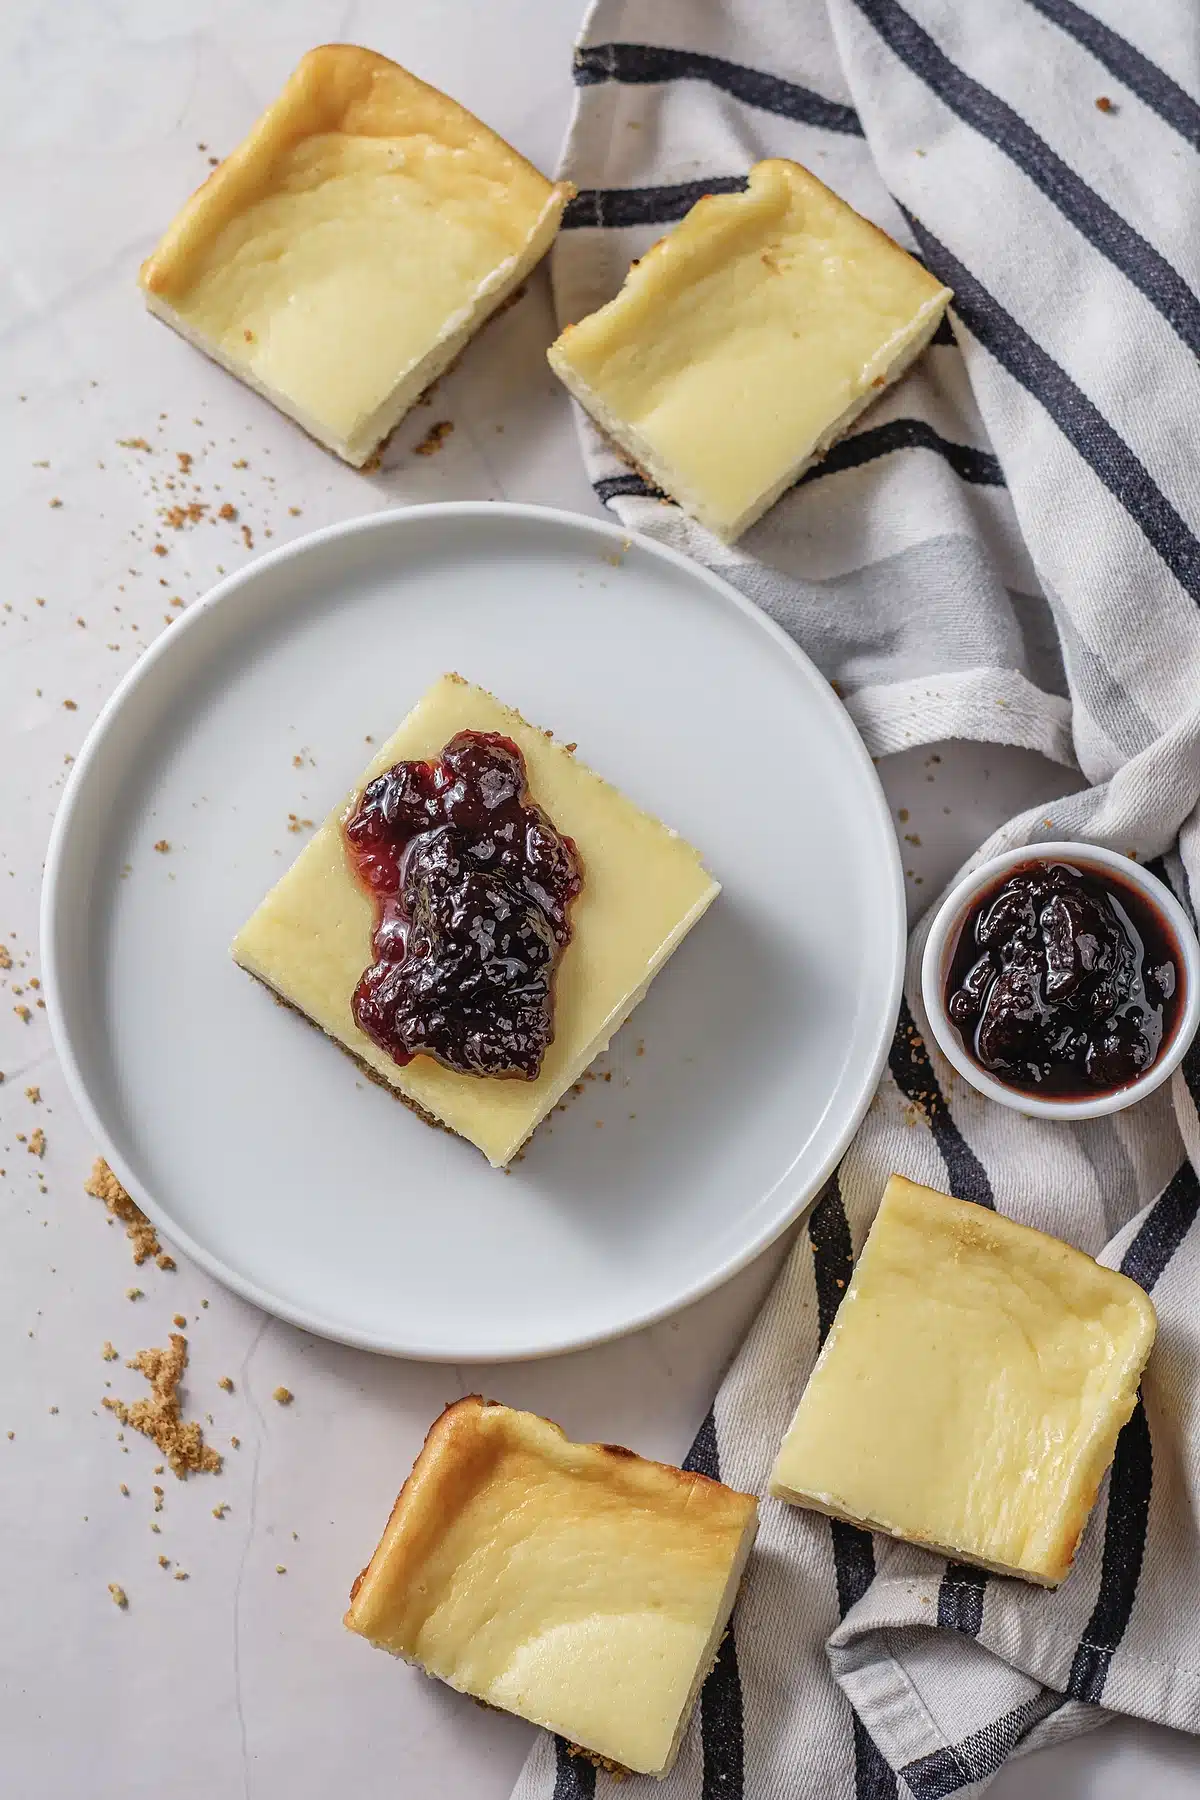
Nudge the pan and watch the middle. The outer two inches should be firm and matte, and a circle in the center about the size of your palm should still move as one soft mass, the way set gelatin does rather than the way liquid does. That residual wobble finishes cooking on the counter.
Baking until the center is completely still is the most common mistake, and it produces a dry, grainy bar with a cracked top. An instant-read thermometer in the middle should show about 150 degrees, which is a more reliable signal than any amount of squinting.
Color is not a useful guide here. Cherry cheesecake bars should stay pale, and a filling that has gone golden across the surface has been in the oven for at least five minutes longer than it wanted.
Make It Ahead
Cherry cheesecake bars are a make-ahead dessert by design, and they are better for it. Bake the slab a full day early, cool it, cover it and refrigerate it undisturbed, then top and cut it within an hour of serving. Two days ahead is fine as well.
Baking early is not merely convenient. The graham crust needs several hours in the cold to firm up against the filling, and a slab cut after four hours will still shed crumbs in a way that the same slab cut the next morning will not.
You can also press the crust into the lined pan and refrigerate it the night before you bake, which splits the work into two short sessions instead of one long one. That same trick makes easy cherry pie bars manageable on a busy morning.
Storing Cherry Cheesecake Bars
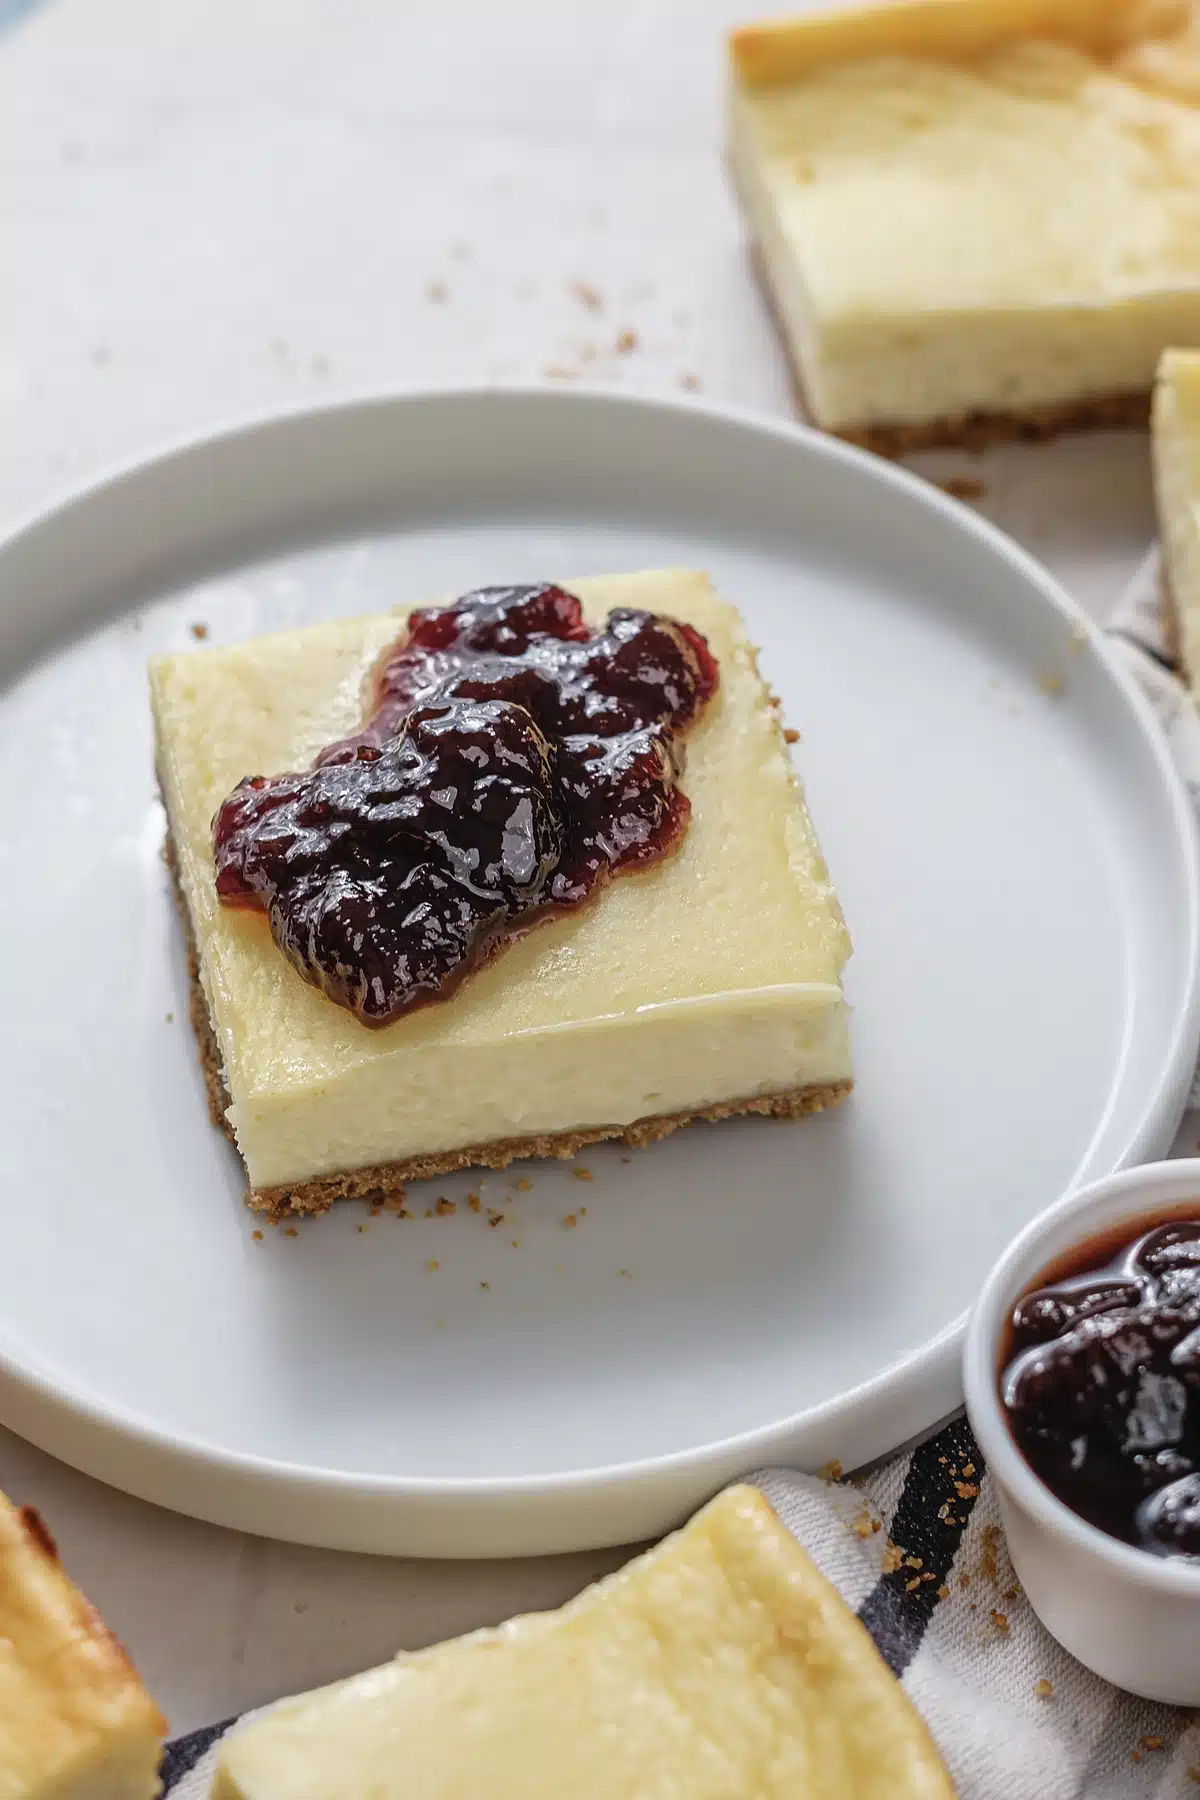
Covered in the refrigerator they keep for five days, and the crust stays crisp for about three of them before the moisture from the filling starts to soften it. Store them in a single layer if you can, because stacking presses the cherries into the square underneath.
Freezing works well as long as you freeze cherry cheesecake bars plain. Cut the untopped slab into squares, freeze them on a tray until solid, then wrap them individually and bag them for up to two months. Thaw in the refrigerator overnight and spoon the cherry filling on after they thaw, never before.
Do not leave them on a counter for more than about two hours. This is an egg and dairy custard and it belongs cold, which is also the reason the texture is best straight from the refrigerator rather than at room temperature.
Variations and Substitutions
A different fruit. Blueberry, strawberry and apple pie fillings all swap in one for one. Cherry is the classic because the tartness cuts the richness, and blueberry is the closest match on that count.
Fresh cherries. Simmer two cups of pitted sweet cherries with a third of a cup of sugar and a tablespoon of cornstarch slaked in water until it thickens, then cool it completely. Illinois Extension notes that the Illinois cherry season runs from May into July, which is the window when this is worth the effort.
A chocolate crust. Chocolate graham crumbs or crushed sandwich cookies, same quantities. Black forest in bar form, and it is very good.
Citrus zest. A teaspoon of lemon or orange zest beaten into the filling brightens the whole pan without anyone identifying what you did.
Gingersnap crust. Crushed gingersnaps in place of graham crumbs, with two extra tablespoons of butter because they are drier. This is the version to make in December.
A smaller batch. Halve everything into an eight-inch square pan and start checking at twenty-eight minutes. You get nine smaller squares, which suits a household rather than a crowd.
What to Serve with Cherry Cheesecake Bars
Coffee, and preferably something dark enough to stand up to the sweetness. Cherry cheesecake bars are rich, and a bitter counterweight is what keeps the second square appealing.
On a dessert table they want company with a different texture, since a row of chilled creamy squares is monotonous. Something crisp alongside works, and something in a different family entirely works better still, such as a rustic sweet cherry galette that leans on the same fruit in a completely different form. An easy cannoli pie covers the no-bake end of the table.
A small bowl of fresh berries on the side is the simplest fix of all. The acidity does the same job the coffee does, and it makes a plate of cherry cheesecake bars look considered rather than heavy.
Cherry Cheesecake Bars FAQ
Frequently Asked Questions
Why did my cherry cheesecake bars crack?
Overbaking, or too much air beaten into the batter. Pull the pan while the center still wobbles, and mix on low once the eggs go in. A crack is cosmetic here in any case, since the cherry layer covers it entirely.
Can I use a different size pan?
An eight-inch or nine-inch square pan works with half the recipe. Going the other way, do not spread this quantity into a sheet pan; the layer becomes too thin to set properly and bakes into something closer to a cookie.
How long do they really need to chill?
Four hours is the minimum for clean cuts and overnight is noticeably better. A slab that has only had two hours will smear on the knife no matter how carefully you cut.
Do I have to bake the crust first?
Yes. Ten minutes of blind baking sets the butter and keeps the crumbs from turning to paste under a wet filling. Skipping it is the usual reason a crust ends up soggy.
More Questions About Cheesecake Bars
Good to Know
Can I use low-fat cream cheese?
You can, and the result is softer and slightly watery. Full-fat block cream cheese is what gives the bars their structure, so the reduced-fat version needs an extra hour of chilling before it cuts well.
What is the best way to cut clean squares?
A long thin knife, dipped in hot water and wiped dry between every single cut. Cut the whole slab into three strips first, then across, so you are always cutting into something square rather than working around what you already removed.
Can I make cherry cheesecake bars gluten-free?
Yes. Gluten-free graham-style crackers swap in at the same weight, and nothing else in the recipe contains wheat. Check the cherry filling label, since a few brands thicken with wheat starch.
If the pressed-crust, one-pan approach behind these cherry cheesecake bars appeals to you, the same method drives chocolate cheesecake bars, which trade the fruit for cocoa and behave identically in the oven.
Easy Cherry Cheesecake Bars
Save this recipe
Enter your email and I’ll send this recipe straight to your inbox.
Ingredients
Graham Crust
- 2 cups graham cracker crumbs about 14 full sheets, crushed
- 1/3 cup granulated sugar
- 1/2 cup unsalted butter melted
Cheesecake Layer
- 16 oz cream cheese 2 bricks, full-fat block style, at room temperature
- 2/3 cup granulated sugar
- 2 large eggs at room temperature
- 2 tsp vanilla extract
- 1/4 tsp salt
Cherry Topping
- 21 oz cherry pie filling 1 can, added after the bars have chilled
Equipment
- 9x13-inch Baking Pan
- Parchment paper
- Mixing bowls
- Electric mixer
- Spatula
Instructions
Make the Crust
- Heat the oven to 325°F (163°C). Line a 9x13-inch pan with parchment paper, leaving a generous overhang on the two long sides so you can lift the slab out later.
- Stir the graham cracker crumbs, 1/3 cup sugar and the melted butter together until the mixture looks like damp sand.

- Press it firmly and evenly across the bottom of the pan. Bake for 10 minutes, then set it aside to cool.
Beat the Filling
- Beat the softened cream cheese on medium speed until it is completely smooth, scraping the bowl at least twice. Getting rid of the lumps now is the only chance you have.
- Add the 2/3 cup sugar and beat for about 2 minutes more, until the mixture is creamy and pale.
- Add the eggs one at a time on low speed, mixing only until each one disappears. Do not overmix.
- Mix in the vanilla extract and salt on low, just until combined. The batter should look glossy and pourable rather than fluffy.
Bake and Chill
- Pour the filling over the cooled crust, spread it level with a spatula and tap the pan gently on the counter to release any bubbles.
- Bake for 35 to 40 minutes, until the edges are set and matte and the center still wobbles slightly as one soft mass.
- Cool completely at room temperature, then refrigerate for at least 4 hours or overnight.
Top and Slice
- Spread the cherry pie filling gently over the chilled surface, right to the edges.
- Lift the slab out with the parchment overhang, cut it into 12 squares with a long knife wiped clean between cuts, and serve cold.
Notes
* Storage: covered in the refrigerator for up to 5 days, in a single layer so the topping is not pressed into the square below.
* Freezing: freeze the untopped squares on a tray until solid, wrap them individually and keep for up to 2 months. Thaw overnight in the refrigerator and add the cherry filling after thawing. * Doneness: the outer edges should be firm and matte while a palm-sized circle in the center still wobbles as one soft mass, or about 150°F on an instant-read thermometer.
* Substitutions: gingersnaps or vanilla wafers work in place of the graham crumbs, and blueberry or strawberry pie filling swaps in for the cherry.
* Nutrition values are an estimate.