


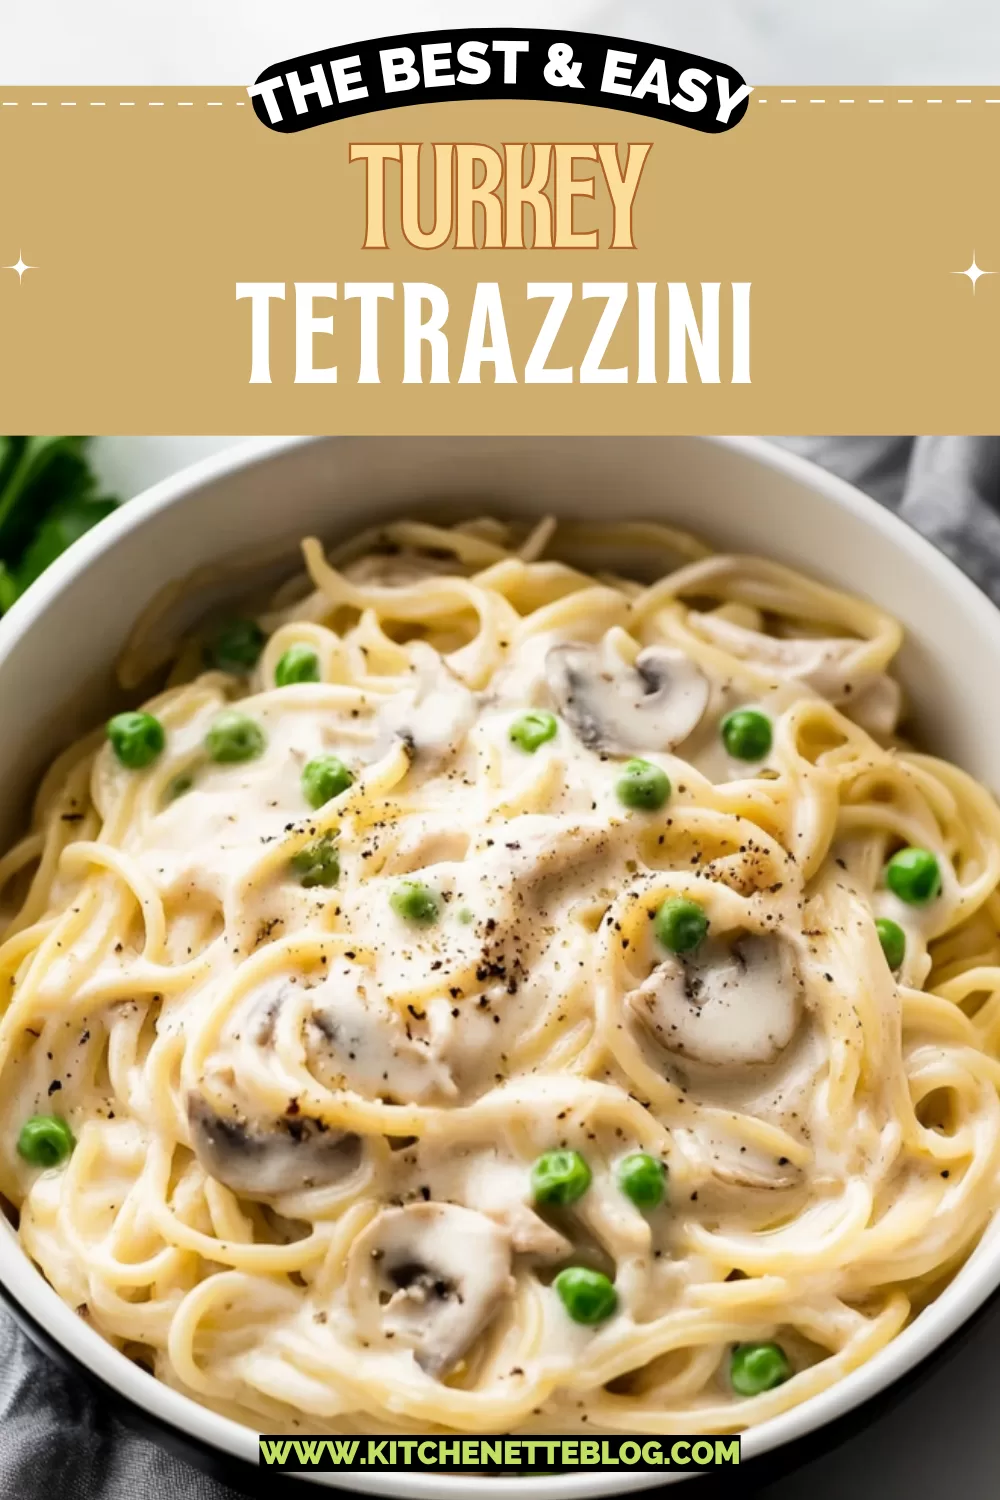
Juicy chunks of turkey, savory mushrooms, and cozy creaminess come together in this easy turkey tetrazzini, featuring spaghetti, sour cream, and onion.
If you can boil water and stir things in a big skillet, then friend, you’re halfway there. Turkey tetrazzini is comfort food in the best way—the kind that makes the whole kitchen smell like your childhood got a creamy upgrade. There’s buttery sautéed onions, garlic whispering from the pan, a hint of nuttiness from Parmesan (if you use it), and the joy of reuniting leftover turkey with pasta. Seems weird at first, I know… but then you stir it all together, and suddenly it’s not weird, it’s brilliant. It’s Sunday dinner energy on a Tuesday night.
Why You’ll Love this Turkey Tetrazzini
If you’ve got leftover turkey (hello Thanksgiving or just feeling ambitious with your dinner plans), this is a creamy kind of magic that makes the fridge scavenger hunt completely worth it.
- Ridiculously simple to make: You cook pasta, sauté some things, mix them together, and bake. That’s the whole outline.
- Ultimate cozy texture: Creamy, just a little gooey (thank you cheese), with enough bite from the noodles to keep you coming back.
- Leftovers become royalty: Sad fridge turkey? Nope. It gets the glow-up it deserves in this bubbly baked glory.
- Budget-friendly like whoa: A few pantry staples carry this thing. Think cans, broth, and noodles you already have.
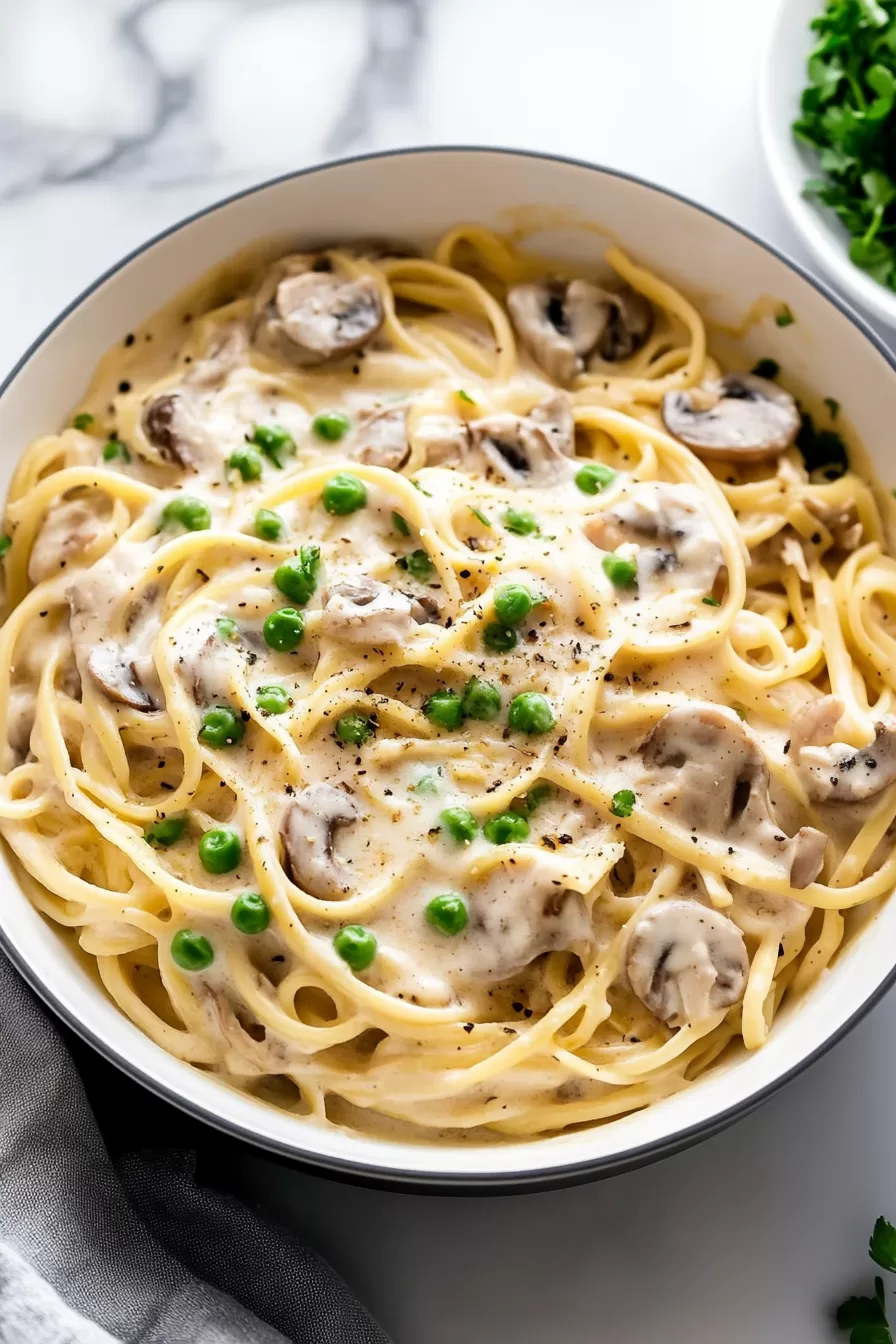
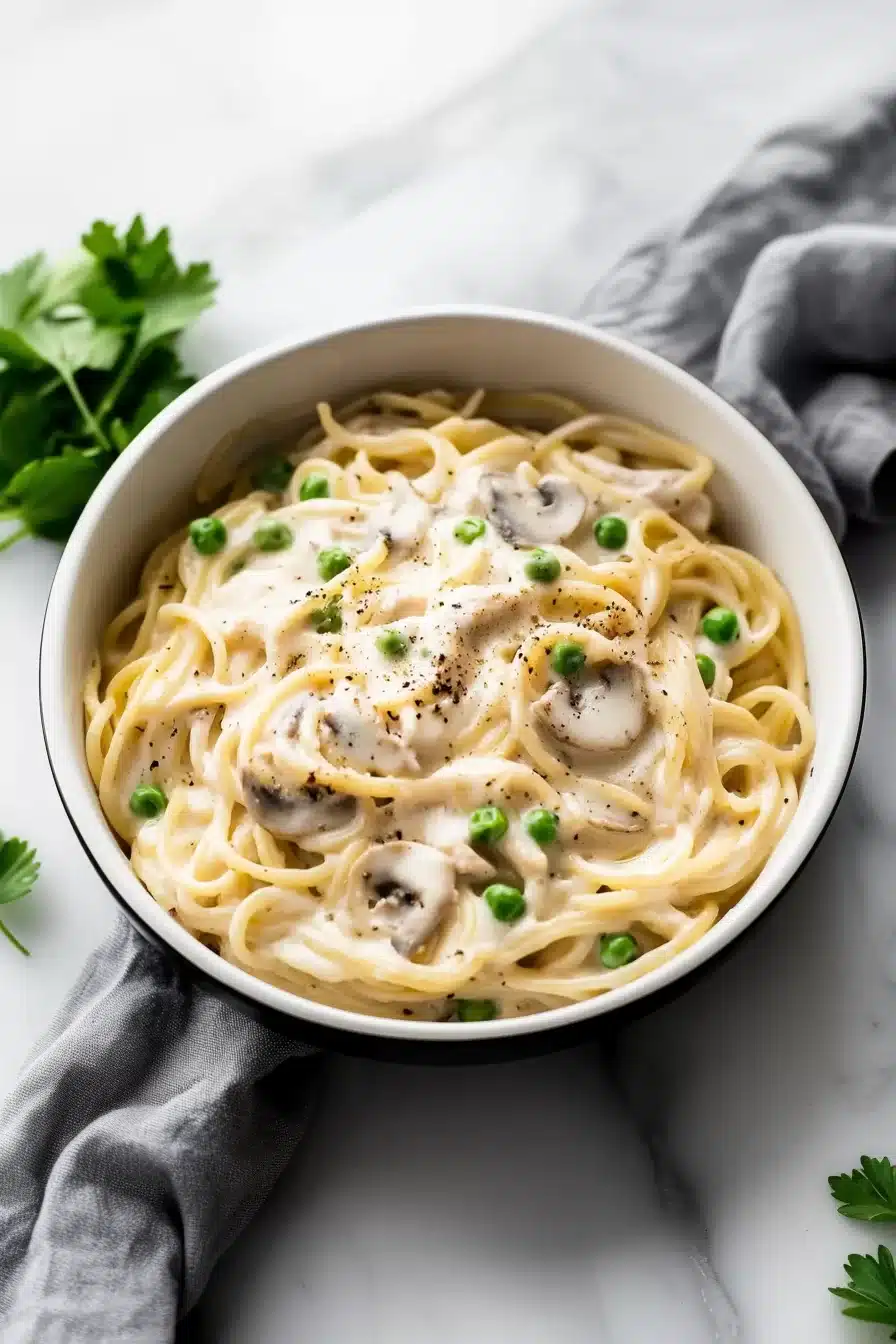
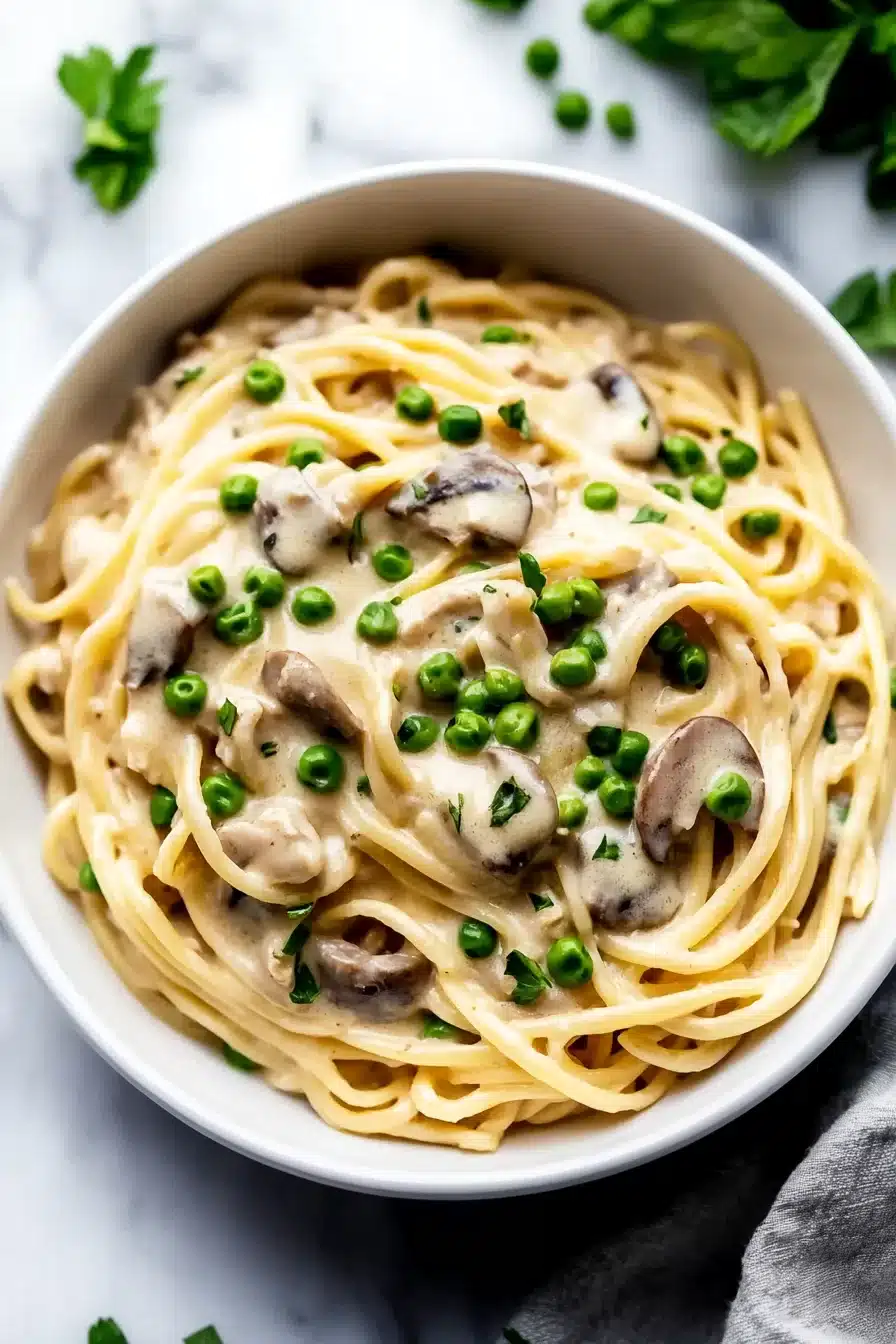
- Customizable without fuss: Add peas, don’t add peas. Throw cheese on top, or keep it classic. Totally your call.
- One dish, full meal: No juggling four pans. It all slides into one dish, with all the food groups if you let it.
Ingredient Notes
This whole thing hinges on common ingredients, but the real win? Knowing how to coax good flavor out of humble stuff.
- Spaghetti: Long noodles soak up the creamy sauce best, but you can sub in linguine or fettuccine if needed. Cook it just shy of done so it doesn’t go soggy later.
- Butter and olive oil: Butter gives flavor, olive oil keeps it from burning. A low-key duo, but important.
- Yellow onion: Adds sweetness and savory depth. Cook it until it softens but doesn’t brown.
- Mushrooms: This is flavor city. Sauté them long enough to lose their liquid, or they’ll water down your sauce. Trust me on this one.
- Garlic: Just a bit boosts the whole dish. Add it late so it doesn’t burn.
- Cooked turkey: Use what you’ve got—white, dark, shredded, or chopped. Roasted turkey breast works beautifully.
- Cream of mushroom soup: Shortcut alert. It thickens and flavors the sauce in one go.
- Sour cream: Adds welcome tang and creaminess to balance the richness. Greek yogurt could pinch-hit here.
- Chicken broth: Loosens the sauce so it can coat the noodles without clumping.
- Peas (optional): Add color, sweetness, and an excuse to say “vegetables were involved.”
- Mozzarella and Parmesan (optional): For cheese fans, that melty, browned top is next level. Skip if you’re going for ultra simple.
- Salt and pepper: Don’t skimp, especially after all the creamy sauce is stirred in. Taste and adjust before baking.
How To Make This Turkey Tetrazzini
This is kitchen comfort without micromanaging. Just a little stirring, a little layering, and a whole lot of cozy waiting in the oven.
-
Preheat the oven and grease your dish: Set the oven to 350°F and grease a 9×13-inch pan. It’s the Goldilocks size—not too big, not too small.
-
Cook the spaghetti: Boil the noodles until they’re about two minutes under “al dente.” You want them still firm—they’ll soften more in the oven. Drain them and set them aside while you multitask.
-
Sauté the onion: Melt butter and olive oil in a big skillet. Add the chopped onion and cook until it softens and smells sweet, about 5 minutes. It’s your savory base.
-
Add the mushrooms: Toss them in and keep stirring every couple of minutes. They’ll release moisture first—then shrink down and brown. Be patient, give it 6 to 8 minutes.
-
Toss in garlic: Stir in the minced garlic and cook just a minute or two. You want the aroma, not burnt bits.
-
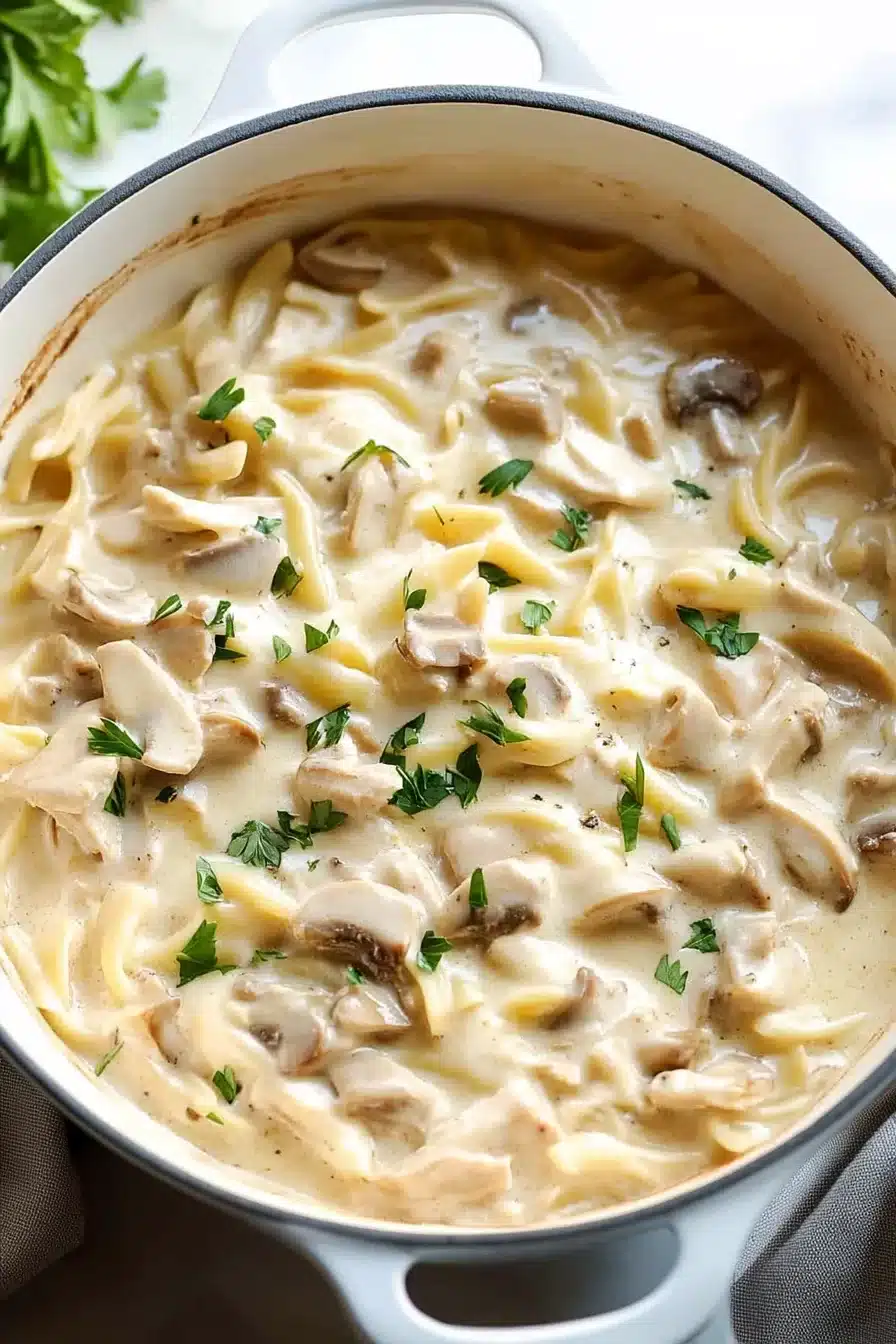
Make the sauce: Add in the turkey, cream of mushroom soup, sour cream, and chicken broth. Stir well, season with salt and pepper, and sneak a taste. Then toss in peas if using.
-
Combine with noodles: Pour your cooked pasta into the pan or into the greased baking dish. Either way, mix it until every noodle is coated in that savory sauce.
-
Top and bake: Sprinkle on mozzarella and Parmesan if you like. Bake uncovered for 25 to 30 minutes, until it’s bubbling and golden. Then let it sit for 5 minutes before diving in.
Storage Options
Let’s be honest, the leftovers here are secretly better than the first round. Give it five minutes in your oven or microwave, and it’s back like it never left.
Store any cooled leftovers in an airtight container in the fridge. They’ll keep happily for up to 4 days. I like scooping out single portions, so reheating is easy for future lunch cravings.
Now, freezer-friendly? Yep! This is the kind of casserole that actually loves the freezer. Either freeze it before baking (skip the cheese topping until later), or freeze fully baked portions once they’ve cooled. If you’re prepping ahead, cover the unbaked dish with foil and freeze the whole thing. It’ll keep for about 2 months.
To reheat from frozen, let it thaw in the fridge overnight. Then bake at 350°F for 30–40 minutes, adding your cheese for the last 10. Or if you’re me and utterly impatient, microwave a single serving with a damp paper towel draped on top so it doesn’t dry out.
Variations and Substitutions
You don’t have to follow the script word for word. This is a flexible kind of recipe—the cool teacher, not the hallway monitor.
-
Leftover chicken instead of turkey: If you’ve got rotisserie chicken hanging around, swap it in—same amount, same directions.
-
Use egg noodles or penne: Traditionalists might gasp, but honestly? It works great. Just keep the pasta slightly undercooked.
-
Make it veggie-heavy: Load it up with sautéed spinach, bell peppers, or zucchini. Just cook off their moisture first, so the sauce doesn’t get watery.
-
Kick up the spice: Stir in a pinch of red pepper flakes or diced green chiles for a mild kick. Add hot sauce when serving for the spice lovers at your table.
-
Switch the soup base: Don’t love mushrooms? Use cream of chicken soup instead. It’ll still be rich and tasty.
-
Skip the dairy (mostly): Try a dairy-free sour cream alternative and skip the cheese topper. It won’t be as gooey, but the flavor still holds up.

What to Serve with Turkey Tetrazzini
Because this is so creamy and rich, you’ll want to balance it with something bright, crunchy, or fresh. No need to complicate—just a little textural contrast.
-
Crisp green salad: A lemony vinaigrette cuts through all the creaminess beautifully. Throw in something crunchy like cucumbers or radish so your mouth gets a break from the noodles.
-
Garlic bread or simple toast: I know, I know—double carbs. But a warm slice of garlic bread really plays well with this casserole. Plus, it scoops up the sauce like a champ.
-
Steamed or roasted broccoli: Barely dressed broccoli with a hit of lemon is easy, fast, and surprisingly excellent here. Roast it if you want some char.
-
Pickled vegetables on the side: A little pickled something (red onions, cucumbers) can really freshen things up. Bonus points if you already have a jar sitting in your fridge.
-
Light dessert after: Since this dish leans rich, I’d finish with something like fresh fruit… or these peanut butter and banana ice cream sandwiches on a summer night. Just sayin’.
Frequently Asked Questions
Can I make turkey tetrazzini ahead of time?
Totally! This is one of those dreamy make-ahead meals. Assemble the whole thing (no need to bake yet), cover it tightly with foil, and pop it in the fridge for up to 2 days. When you’re ready, take it out, let it come to room temp a bit, and then bake away as usual. Add a few minutes if it’s still chilly in the middle.
What if I don’t have cream of mushroom soup?
No worries—you’ve got options. Swap in cream of chicken or cream of celery if you have those instead. Or stir together a quick homemade white sauce (think butter, flour, broth, and milk) if you’d rather skip the canned versions. It’ll be slightly less “classic,” but still darn tasty.
Can I freeze turkey tetrazzini after baking?
Yes, and it actually freezes beautifully. Once it’s cooled completely, portion it out if you want grab-and-go lunches, or freeze the whole thing if you’re planning a future dinner. Just make sure to wrap it up tightly. When you’re ready to reheat, thaw it overnight, then warm it in the oven or microwave. Add a splash of broth or milk if it’s looking dry.
Is there a difference between baked and stovetop versions?
Glad you asked! The baked version (like this one) gives you that golden top and slightly set texture, while some stovetop versions are much looser—more like a creamy skillet pasta. Both are comforting, but baking gives it more structure and that cozy casserole vibe.

Turkey Tetrazzini
Ingredients
For the Tetrazzini
- 12 oz (340 g) spaghetti or linguine or fettuccine
- 2 tbsp (28 g) unsalted butter
- 1 tbsp (15 ml) olive oil
- 1 medium (1) yellow onion finely chopped
- 8 oz (225 g) mushrooms sliced, any variety
- 3 cloves (3) garlic minced
- 3 cups (400 g) cooked turkey shredded or chopped
- 1 can cream of mushroom soup about 10.5 oz / 300 g
- 1 cup (240 g) sour cream or Greek yogurt
- 3/4 cup (180 ml) chicken broth preferably low-sodium
- 1 cup (120 g) frozen peas optional
- 1 cup (113 g) shredded mozzarella cheese optional, for topping
- 1/3 cup (30 g) grated Parmesan cheese optional, for topping
- salt and pepper to taste
Equipment
- Large skillet
- Large saucepan
- 9x13 inch Baking Dish
- Mixing spoon
- Colander
Instructions
- Preheat your oven to 350°F (175°C) and grease a 9x13-inch baking dish.
- Bring a large pot of salted water to a boil. Cook the spaghetti until about 2 minutes under al dente (it should still have some bite). Drain and set aside.
- Heat the butter and olive oil in a large skillet over medium heat. Add the onion and cook for about 5 minutes, until softened and fragrant.
- Add the sliced mushrooms. Sauté, stirring occasionally, until they release their liquid and begin to brown, about 6–8 minutes.
- Stir in the minced garlic and cook for 1–2 minutes, just until fragrant.
- Add the cooked turkey, cream of mushroom soup, sour cream, and chicken broth to the skillet. Stir to combine, taste, and season with salt and pepper. Add peas if using.
- Combine the cooked pasta with the sauce, either in the skillet or directly in the prepared baking dish. Stir until all the noodles are coated.
- Sprinkle the top with mozzarella and Parmesan cheese, if desired.
- Bake uncovered for 25–30 minutes, until bubbly and lightly golden on top. Let rest for 5 minutes before serving.