
There is a reason nobody makes candy on a weeknight, and it is not difficulty. Homemade peanut butter cups are four straightforward stages with a lot of waiting stacked between them, and the waiting is what makes them feel like a project. Get the caramel made a day early and the rest takes about forty minutes of actual work.
- Fifty candies from one batch, which covers a party or a month of small treats
- The caramel is cooked to a number, so it stays put instead of running everywhere
- No tempering, no candy-making experience and no special equipment beyond a thermometer
- The filling is stiff enough to pipe, so every cup is filled the same
- Both the caramel and the filling can be made days ahead
- They freeze properly and are very good eaten straight from the freezer
The version of homemade peanut butter cups here has a layer of bourbon caramel sitting on top of the filling, which is the whole point and also the thing the original recipe never told you how to make. It called for three quarters of a cup of thick caramel and left you to source it. That gap is closed below, with a temperature, because a caramel a few degrees too loose runs out of the candy the moment you bite it.

Before anything goes in a pan, it helps to know what homemade peanut butter cups actually are and where the earlier version of this recipe went wrong.
- What Goes Into a Peanut Butter Cup, and What Reese's Actually Uses
- Ingredient Notes
- The Bourbon Caramel, and Why It Needs a Thermometer
- How To Make Homemade Peanut Butter Cups
- How To Tell When Homemade Peanut Butter Cups Are Set
- Make It Ahead
- Storing Homemade Peanut Butter Cups
- Variations and Substitutions
- What to Serve with Homemade Peanut Butter Cups
- Homemade Peanut Butter Cups FAQ
What Goes Into a Peanut Butter Cup, and What Reese’s Actually Uses
The filling in a commercial cup is not the peanut butter in your cupboard, which is the first thing to understand about homemade peanut butter cups. It is peanuts, sugar, dextrose and salt, ground much drier than a spreadable butter, which is why the inside of a Reese’s is faintly sandy rather than smooth and why it holds a clean edge when you bite it.
Homemade peanut butter cups reproduce that with confectioners sugar. The sugar absorbs oil, stiffens the peanut butter into something you can pipe, and gives the finished filling that same slightly grainy set. Butter goes in to keep it from being dusty and salt goes in because peanut candy without salt tastes flat.
The ratio is what matters. Two cups of confectioners sugar to one and three quarter cups of peanut butter, as originally written, makes a filling that is very sweet on its own and considerably too sweet under a caramel layer. Cutting the sugar to one and a half cups and adding half a teaspoon of salt keeps the same texture and lets the peanuts come through.
Everything else is chocolate, and there is a lot of it: a pound and a quarter across fifty cups, painted on in two layers.
Save this recipe
Enter your email and I’ll send this recipe straight to your inbox.
Ingredient Notes
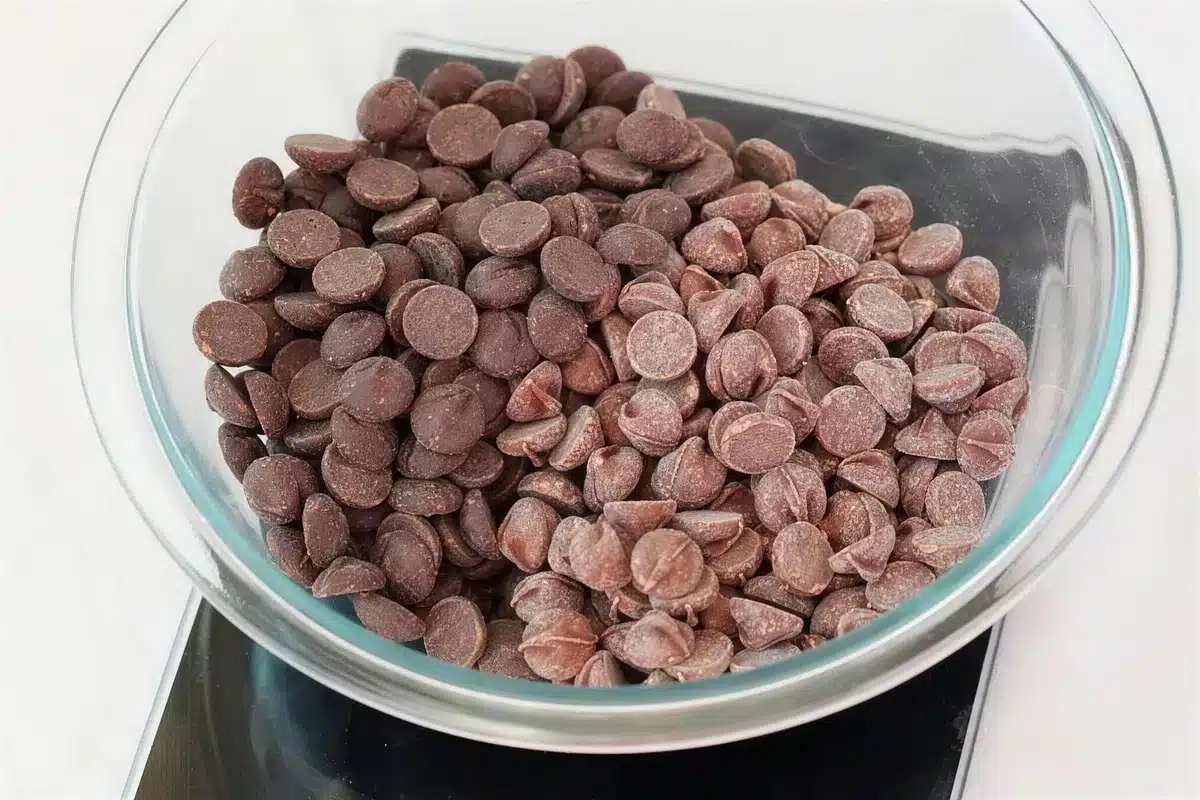
Homemade peanut butter cups need eight things and six of them are pantry staples. Exact amounts are in the recipe card below.
- Peanut butter: one and three quarter cups of a smooth one. Natural, stir-the-oil-in styles work but need stirring back together properly first; the National Peanut Board notes that an opened jar keeps about three months in the pantry and simply wants a stir when the oil separates. Poured off rather than stirred in, that oil takes the filling with it.
- Chocolate: a pound and a quarter, bittersweet, semisweet, milk or a mix. Chips are fine here because there is no tempering to ruin, but chopped bars or wafers melt more evenly.
- Espresso powder: half a teaspoon stirred into the melted chocolate. It does not taste of coffee at that dose. It makes the chocolate read darker.
- Bourbon: a quarter cup total, split between the caramel and the filling. Something you would drink; the alcohol mostly stays, so a harsh one stays harsh.
- Heavy cream: half a cup, for the caramel. Warm it before it goes in or the sugar seizes.
- Candy cups: fifty mini ones. Foil peels away cleanly, paper tears and takes chocolate with it.
- A word on allergies: peanuts are one of the nine major food allergens named in US law, as the FDA sets out. Say so plainly if these are going on a shared plate, because a small dark candy gives nobody a clue what is inside it.
- Salt: kosher, in both the caramel and the filling. The original recipe had none anywhere, which is the single biggest reason a homemade version tastes cloying next to a store-bought one.
The Bourbon Caramel, and Why It Needs a Thermometer
This is the part that separates clean homemade peanut butter cups from sticky ones. A caramel sauce and a caramel filling are the same ingredients cooked to different temperatures, and the difference is about fifteen degrees.
Cook the sugar to amber, add warm cream and butter, and stop there and you have a pouring sauce that will run out of a peanut butter cup within seconds of the first bite. Keep it on the heat until it reaches 245F and it sets to something thick and chewy that stays where you put it. That is the firm ball stage, and there is no way to judge it by eye because the color barely changes across those fifteen degrees.
The bourbon goes in off the heat. Added while the pan is still boiling it evaporates and the caramel goes back to tasting of nothing but sugar. Off the heat it stays sharp against the cream.
Then it has to cool. A hot caramel spooned onto a chilled peanut butter filling will melt straight through it, so give the pan at least thirty minutes at room temperature. It thickens noticeably as it drops, and if it goes too stiff to spoon, ten seconds in a warm water bath brings it back.
Made ahead, it keeps two weeks in the refrigerator, and it is a good thing to have on hand anyway.
How To Make Homemade Peanut Butter Cups
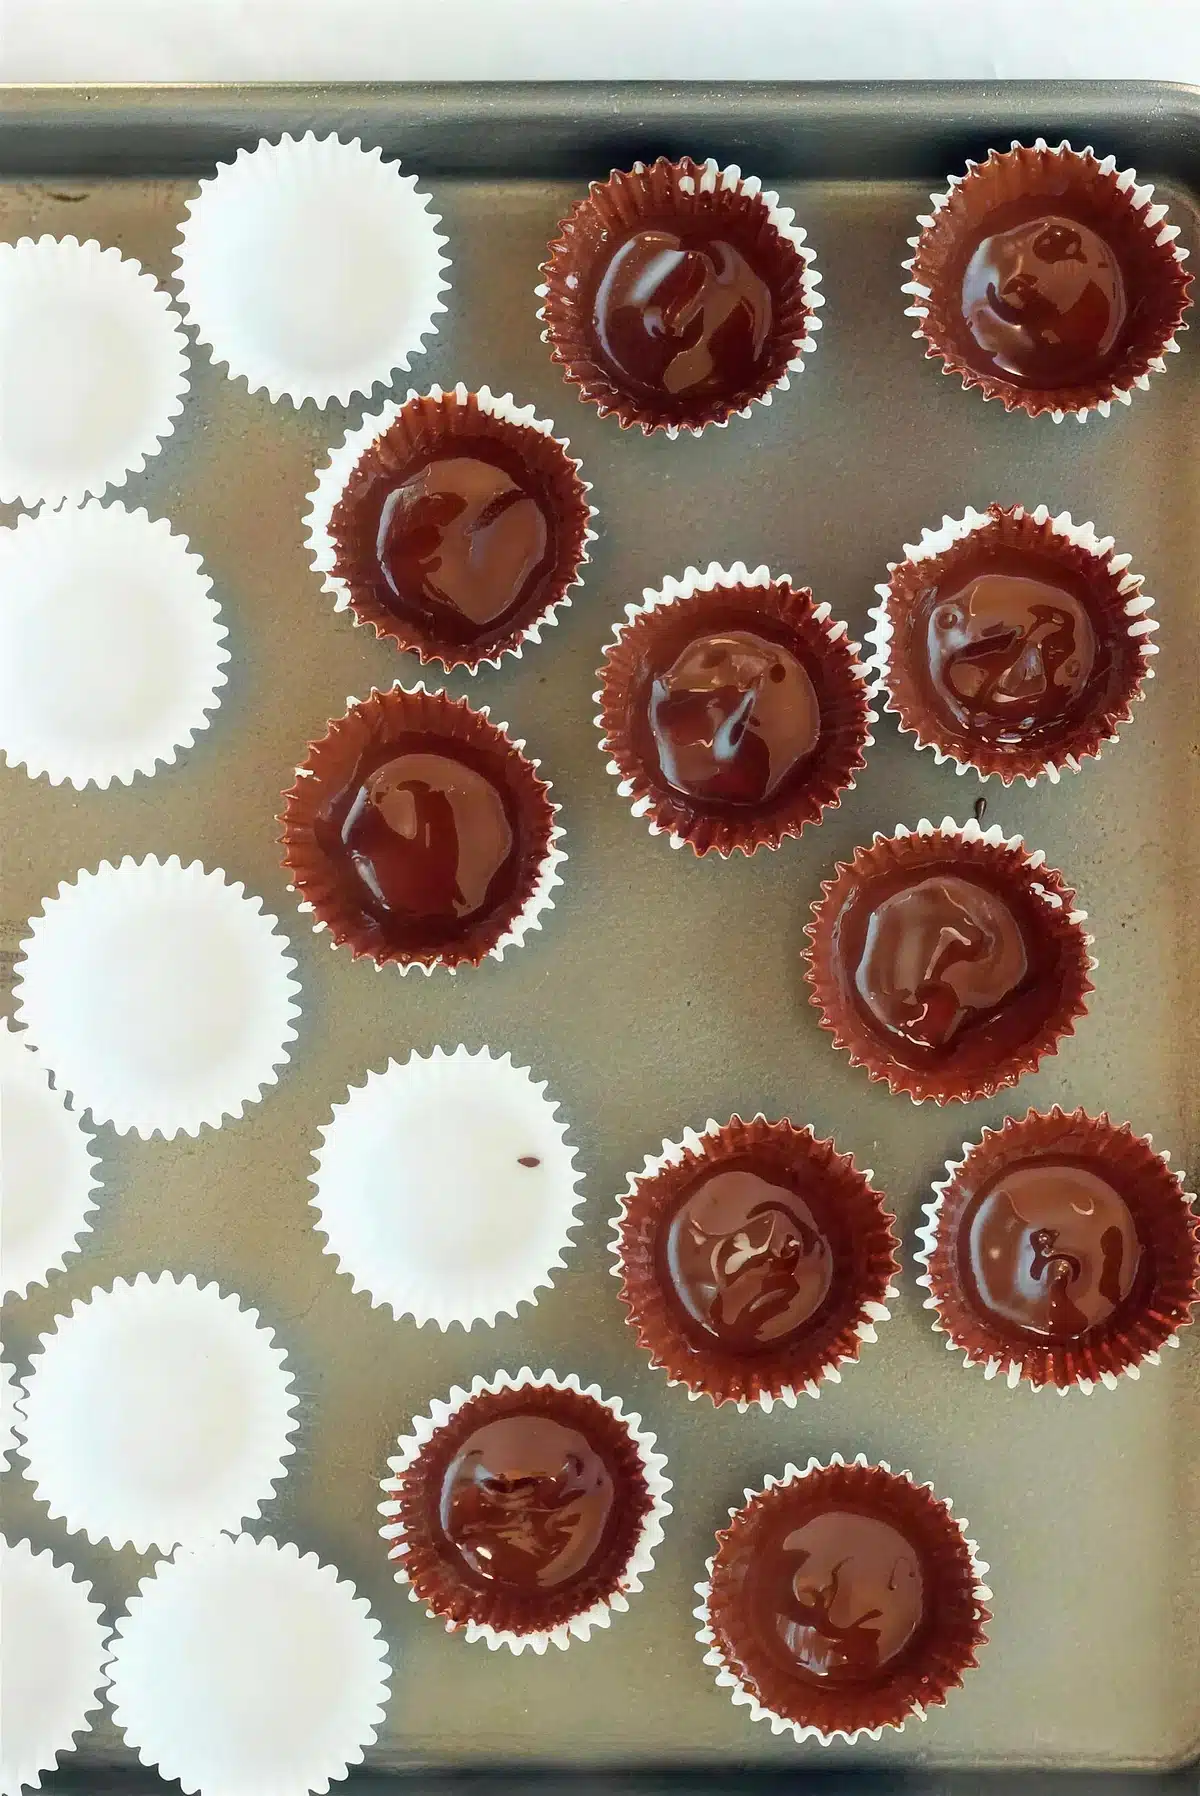
Four stages, and only the first one needs your full attention. Homemade peanut butter cups are an assembly job after that.
- First, make the caramel. Boil sugar and water to a medium amber, add warm cream and butter off the heat, then cook to 245F and stir in the bourbon and salt away from the burner. Cool 30 minutes.
- Next, beat the peanut butter, confectioners sugar and butter smooth, add the remaining bourbon, vanilla and salt, and load it into a piping bag or a zip-top bag with about half an inch snipped off a corner.
- Then melt the chocolate over barely simmering water with the espresso powder, paint it up the base and sides of every candy cup, and freeze the tray 10 minutes.
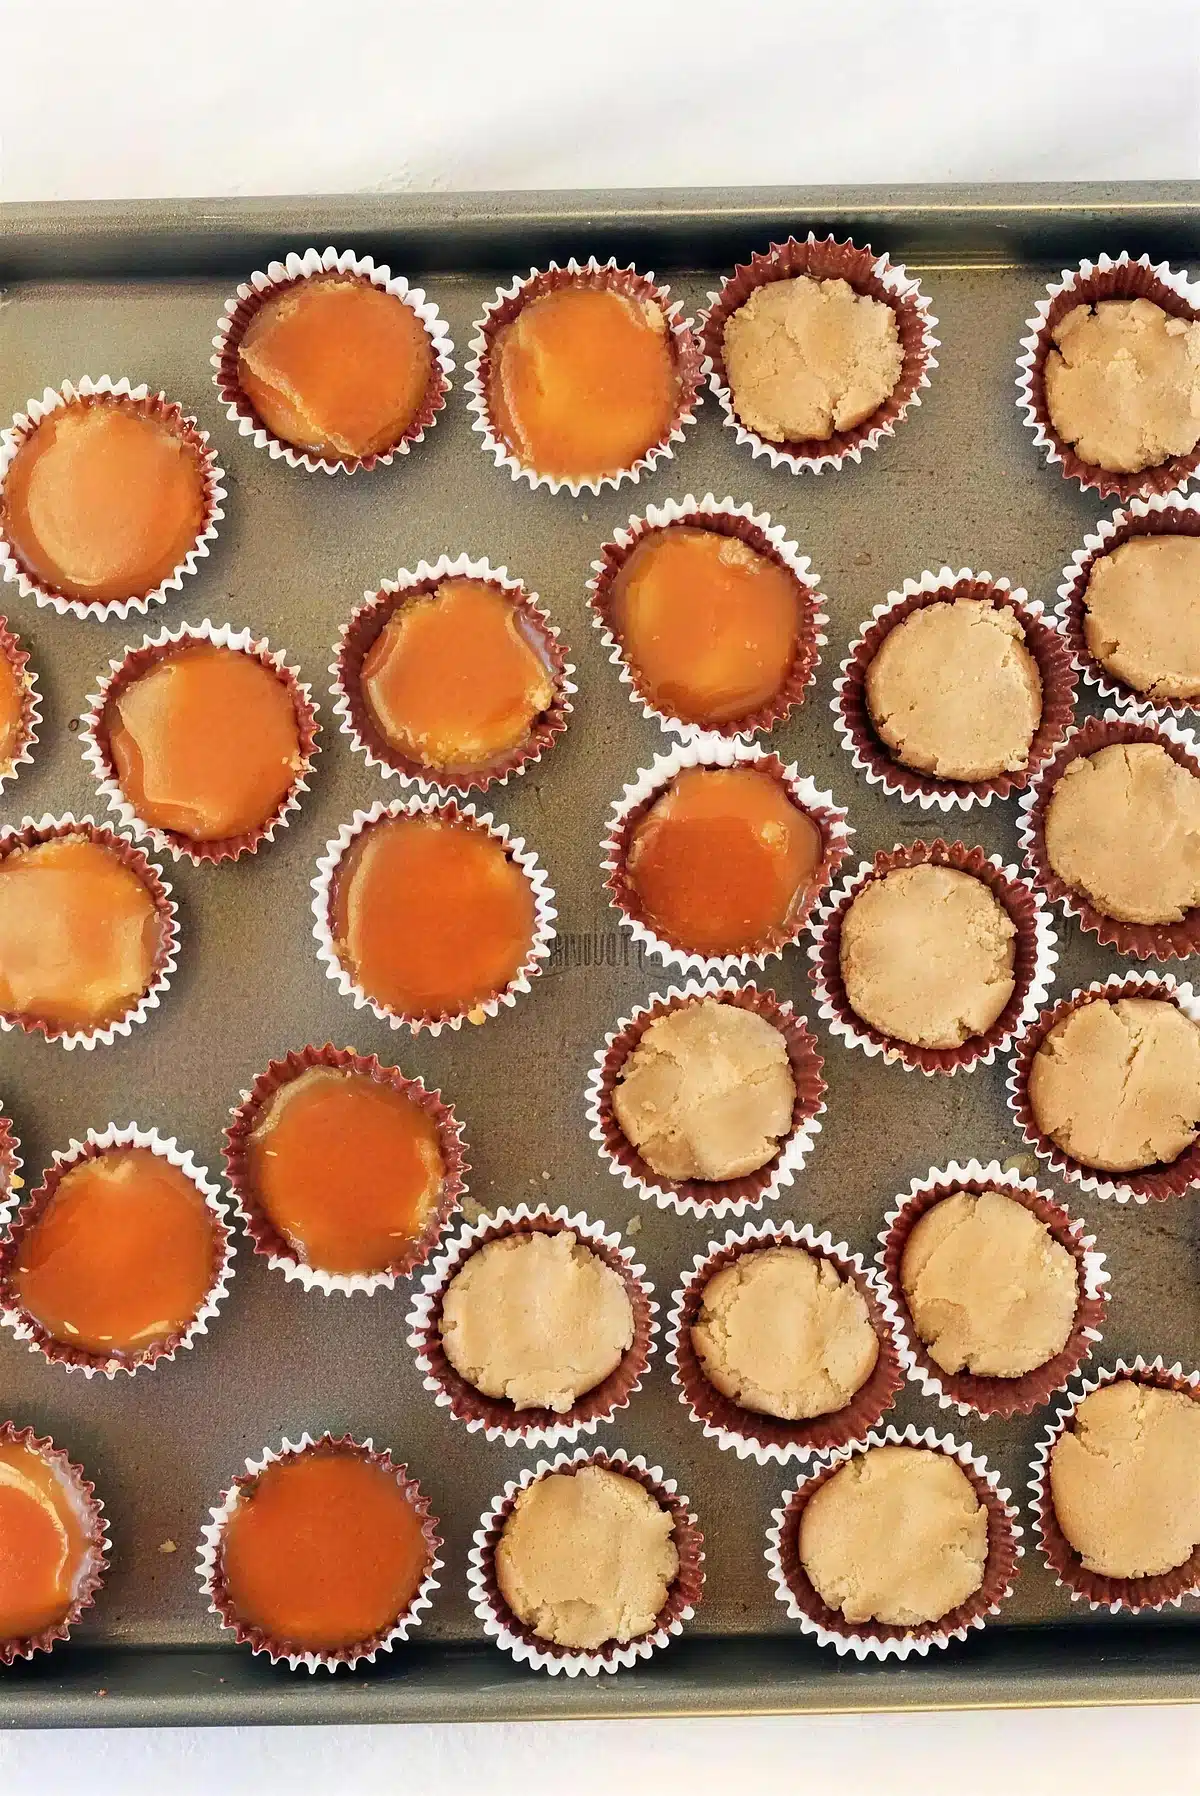
- After that, pipe the filling three quarters of the way up each chilled shell and spoon about half a teaspoon of cooled caramel onto each one.
- Finally, cover each with a thin layer of chocolate, tap the tray to level it, add sprinkles if you want them and freeze 15 minutes until set.
How To Tell When Homemade Peanut Butter Cups Are Set
Setting is not the same as being finished, and homemade peanut butter cups get three different checks along the way.
The shells, after ten minutes in the freezer, should be matte and completely firm to a fingernail. If they are still tacky the chocolate went on too thick or the tray was warm, and another five minutes fixes it.
The caramel is right when a spoonful mounded on a cold plate holds its shape rather than spreading into a puddle. That is the fastest test there is, and it is worth doing before any of it touches a candy.
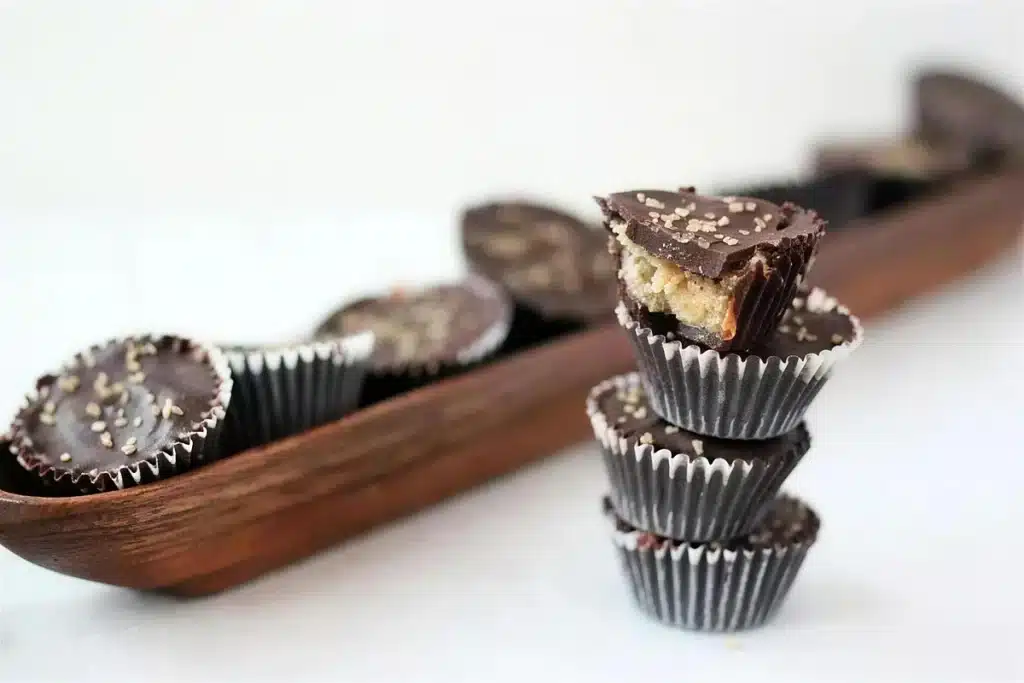
The finished cups should lift out of their liners in one piece with no give in the top. Cut one in half; you want three distinct bands, chocolate, pale filling and a darker line of caramel between them, exactly like the photograph on this post. If the caramel has bled into the filling, it went on too warm.
One thing that will not happen is a satisfying snap. Chocolate melted in a bowl and set in a freezer is untempered, so it stays slightly soft and will bloom gray if left out. That is a storage question rather than a fault.
Make It Ahead
Homemade peanut butter cups genuinely want to be spread over two or three days, and nothing suffers for it.
The caramel keeps two weeks refrigerated in a sealed jar. Bring it back to room temperature before you use it, since straight from the refrigerator it is unspoonable.
The filling keeps five days refrigerated, pressed against plastic wrap so it does not crust. It stiffens when cold, so let it sit out for twenty minutes before you try to pipe it or you will split the bag.
The finished candies are at their best within a week and perfectly good for a month, so making them well before a party is the sensible move rather than a compromise.
What does not work is melting the chocolate ahead. It sets in the bowl and re-melting it a second time makes it thick and dull, so do that stage on the day.
Storing Homemade Peanut Butter Cups
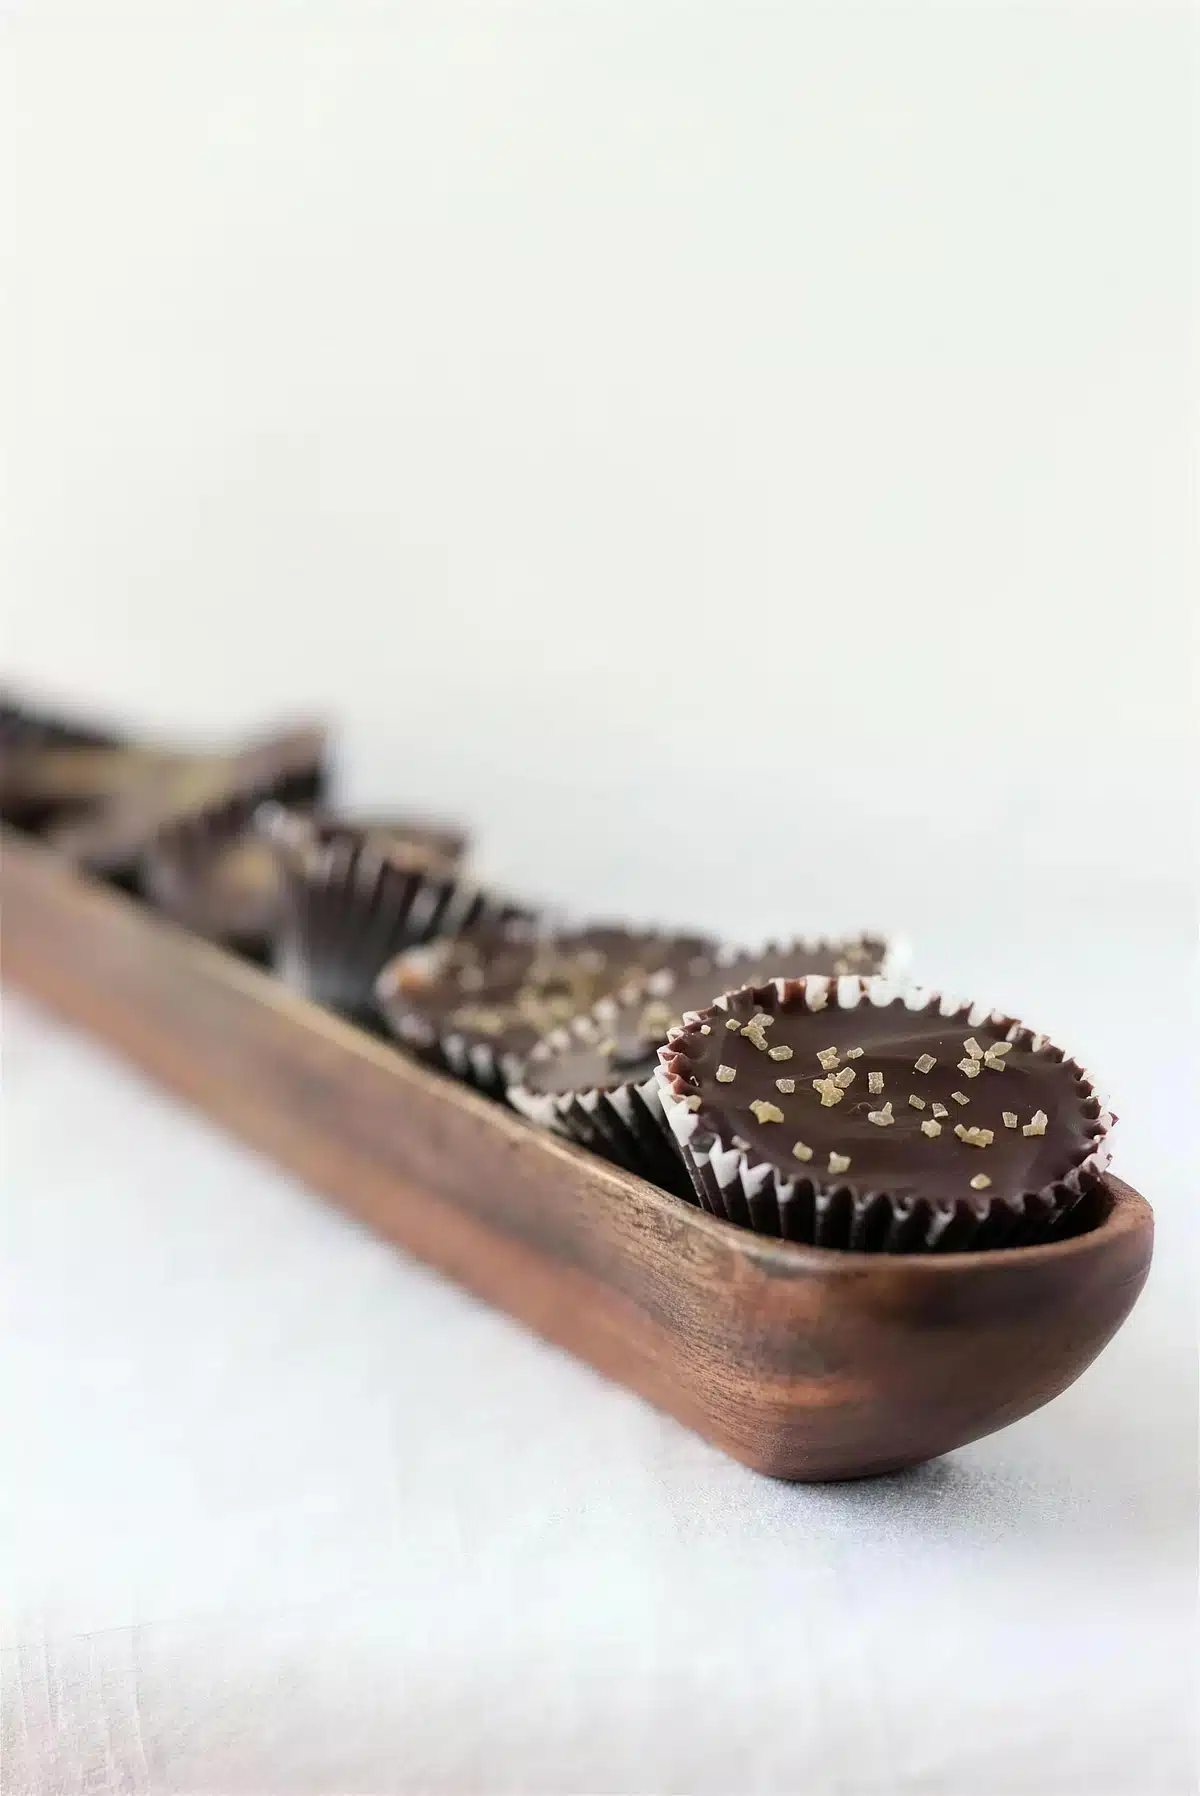
Refrigerated: two to three weeks in a tightly sealed container. This is the default rather than a fallback, because the chocolate is untempered and will soften and streak in a warm kitchen.
Frozen: three months, layered between parchment. Homemade peanut butter cups are excellent frozen and need only about five minutes on the counter before they are pleasant to bite.
At room temperature: a day or two at most, and only if the room is genuinely cool. Above about 70F the surface goes dull and streaky within hours. Nothing is wrong with them, but they stop looking like the photographs.
Separate the layers. Stacked directly on each other in a warm car or a crowded refrigerator they weld together, and prising them apart takes the tops off.
Variations and Substitutions
- No bourbon: use two tablespoons of milk in the filling and skip it in the caramel, adding an extra quarter teaspoon of salt to compensate for the lost sharpness.
- Salted caramel: a flake of Maldon on top of each cup before the final chocolate layer, which also tells you which ones are which if you make two kinds.
- Crunchy: fold two tablespoons of finely chopped roasted peanuts into the filling. Any more and the piping bag blocks.
- Full size: use standard muffin liners, quadruple the filling per cup, and expect about fourteen instead of fifty.
- Different nut butter: almond or cashew butter both work with the same sugar ratio. Sunflower seed butter does too, and turns faintly green over a few days, which is harmless and alarming.
- Skip the caramel: you have plain homemade peanut butter cups, and they are still worth making. Add an extra tablespoon of butter to the filling to make up the softness.
What to Serve with Homemade Peanut Butter Cups
Homemade peanut butter cups are rich and small, so what goes with them is mostly a drink and a plain second thing.
- Black coffee, which is the only pairing that really cuts through the filling.
- The rest of the bourbon, neat, which is the honest answer.
- On a plate of small sweets with something chewy, like my cacao nib caramels, which use the same thermometer skill.
- After a heavy dinner, when a slice of anything would be too much and two of these are exactly right.
If you want the same flavors as a dessert rather than a candy, my peanut butter cream pie is the full-size version, and my peanut butter s’mores are the campfire one.
Here is what readers ask most often.
Homemade Peanut Butter Cups FAQ
Frequently Asked Questions
What do I need to make peanut butter cups?
Less than you would think. Homemade peanut butter cups start from chocolate, peanut butter, confectioners sugar, butter, salt and a set of mini candy liners cover the basic version. For this one add heavy cream, sugar and bourbon for the caramel. The only equipment that matters is a candy thermometer, and the only thing that genuinely helps is a piping bag, though a zip-top bag with a corner cut off does the same job.
Why did my chocolate turn gray and streaky?
That is bloom, and it means cocoa butter has migrated to the surface. Chocolate melted in a bowl is untempered, so its crystal structure is unstable and any swing in temperature brings the fat out. It is entirely safe to eat and only a cosmetic problem. Keeping homemade peanut butter cups refrigerated or frozen avoids it altogether, which is why that is the storage instruction rather than a suggestion.
Can I use chocolate chips instead of bars?
Yes, and homemade peanut butter cups are the ideal use for them. Chips contain stabilizers that help them hold their shape in cookies and make them slightly thicker when melted, which is a nuisance for tempered work and irrelevant here. Thin them with a teaspoon of neutral oil if they are too stiff to paint. Wafers or chopped bars melt more smoothly and are worth using if you have them.
More Questions About the Caramel and the Filling
Good to Know
My caramel is runny inside the cups. What went wrong?
It was undercooked, which is the most common failure in homemade peanut butter cups with a filled center. Caramel is entirely a matter of final temperature, and a sauce and a filling differ by about fifteen degrees. Take it to 245F on a thermometer, not to a color, because the shade barely shifts between a pourable sauce and a firm chewy filling. The other cause is spooning it on while it is still warm, which melts a channel into the peanut butter layer.
Can I use store-bought caramel sauce?
Only the very thick kind sold for dipping, and even then it will be softer than what this recipe produces. A jarred ice cream topping is far too loose and will run out of the candy. If you want to skip the cooking, the better shortcut is soft caramel candies melted with a tablespoon of cream, which lands close to the right consistency.
Why is my filling too soft to pipe?
Almost always the peanut butter. A natural one with the oil freshly stirred in carries more liquid fat than a no-stir brand, and the confectioners sugar can only absorb so much. Add sugar two tablespoons at a time until it holds a shape on the spoon, or chill the filling for twenty minutes, which stiffens it enough to work with.
More Questions About Assembly and Yield
Good to Know
How do I get an even layer on top?
Homemade peanut butter cups look best capped by spoon rather than by piping bag, so spoon the chocolate on, then rap the tray firmly on the counter two or three times. The chocolate levels itself the way a cake batter does. If it is setting too fast to level, the bowl has cooled; put it back over the warm water for a minute rather than adding more chocolate on top of a set layer.
Does this really make fifty?
Fifty mini cups, yes, using standard one-inch foil liners and filling them three quarters full. If yours are larger you will get nearer forty, and the caramel is the thing that runs out first, so make it a little generously. Homemade peanut butter cups scale down cleanly by half if fifty is more than you need.
Can I make these dairy free?
Mostly. Use dairy-free chocolate and a plant-based butter in the filling, both of which behave the same. The caramel is the problem, since the cream is doing structural work; full-fat coconut cream is the closest substitute and gives a slightly softer set, so take it to 248F instead of 245F.
Made this way, homemade peanut butter cups are less a candy-making exercise than a schedule: caramel one day, everything else the next. The original of this recipe was adapted from a Martha Stewart peanut butter cup, and what has changed since is the salt, the sugar ratio and a caramel that is now actually a recipe rather than a shopping instruction. For something in the same register that needs no thermometer at all, there is my pumpkin cheesecake with bourbon.
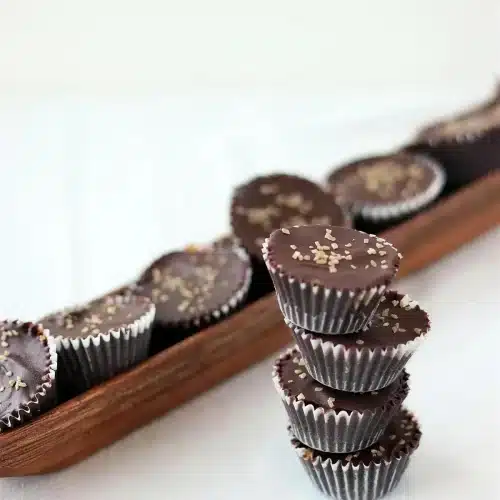
Homemade Peanut Butter Cups with Bourbon Caramel
Save this recipe
Enter your email and I’ll send this recipe straight to your inbox.
Ingredients
The Bourbon Caramel
- 3/4 cup granulated sugar
- 2 tablespoons water
- 1/2 cup heavy cream warmed
- 3 tablespoons unsalted butter cut up
- 2 tablespoons bourbon added off the heat
- 1/4 teaspoon kosher salt
The Peanut Butter Filling
- 1 3/4 cups smooth peanut butter well stirred if it is a natural one
- 1 1/2 cups confectioners sugar sifted
- 3 tablespoons unsalted butter softened
- 2 tablespoons bourbon
- 1/2 teaspoon vanilla extract
- 1/2 teaspoon kosher salt
The Chocolate Shell
- 1 1/4 pounds chocolate bittersweet, semisweet, milk or a mix, chopped
- 1/2 teaspoon espresso powder
- 50 mini foil candy cups foil peels off more cleanly than paper
- gold sprinkles optional
Instructions
Make the Bourbon Caramel
- Warm the cream and butter together in a small pan until steaming, then keep them beside the stove.
- Stir the sugar and water in a heavy saucepan over medium heat until the sugar dissolves, then stop stirring and boil to a medium amber, 6 to 8 minutes. Slide the pan off the heat and pour in the warm cream and butter, standing back, because it will boil up hard.
- Return the pan to medium heat and cook to 245F on a candy thermometer, about 3 to 4 minutes, then take it off and stir in the bourbon and salt. Leave it to cool to room temperature, about 30 minutes; it thickens considerably as it drops.
Make the Filling
- Beat the peanut butter, confectioners sugar and softened butter on medium-low with the paddle attachment until smooth and stiff.
- Add the bourbon, vanilla and salt and mix until combined, then scrape the filling into a piping bag, or a zip-top bag with about half an inch snipped off one corner.
Line the Shells
- Melt the chocolate in a bowl set over barely simmering water, stir in the espresso powder, then turn off the burner and leave the bowl over the water so it stays fluid while you work.
- Paint the base and up the sides of each candy cup with a small spoon or a pastry brush, set them on a rimmed sheet pan and freeze until firm, about 10 minutes. Go a second time over any shell you can see light through.
Fill, Cap and Set
- Pipe the peanut butter filling into each chilled shell, three quarters of the way up.
- Spoon about half a teaspoon of the cooled caramel onto each one, then cover with a thin layer of the melted chocolate and rap the tray on the counter two or three times so the tops level themselves. Scatter with sprinkles now if you are using them.
- Freeze until set, about 15 minutes, then store the candies refrigerated or frozen in a sealed container.