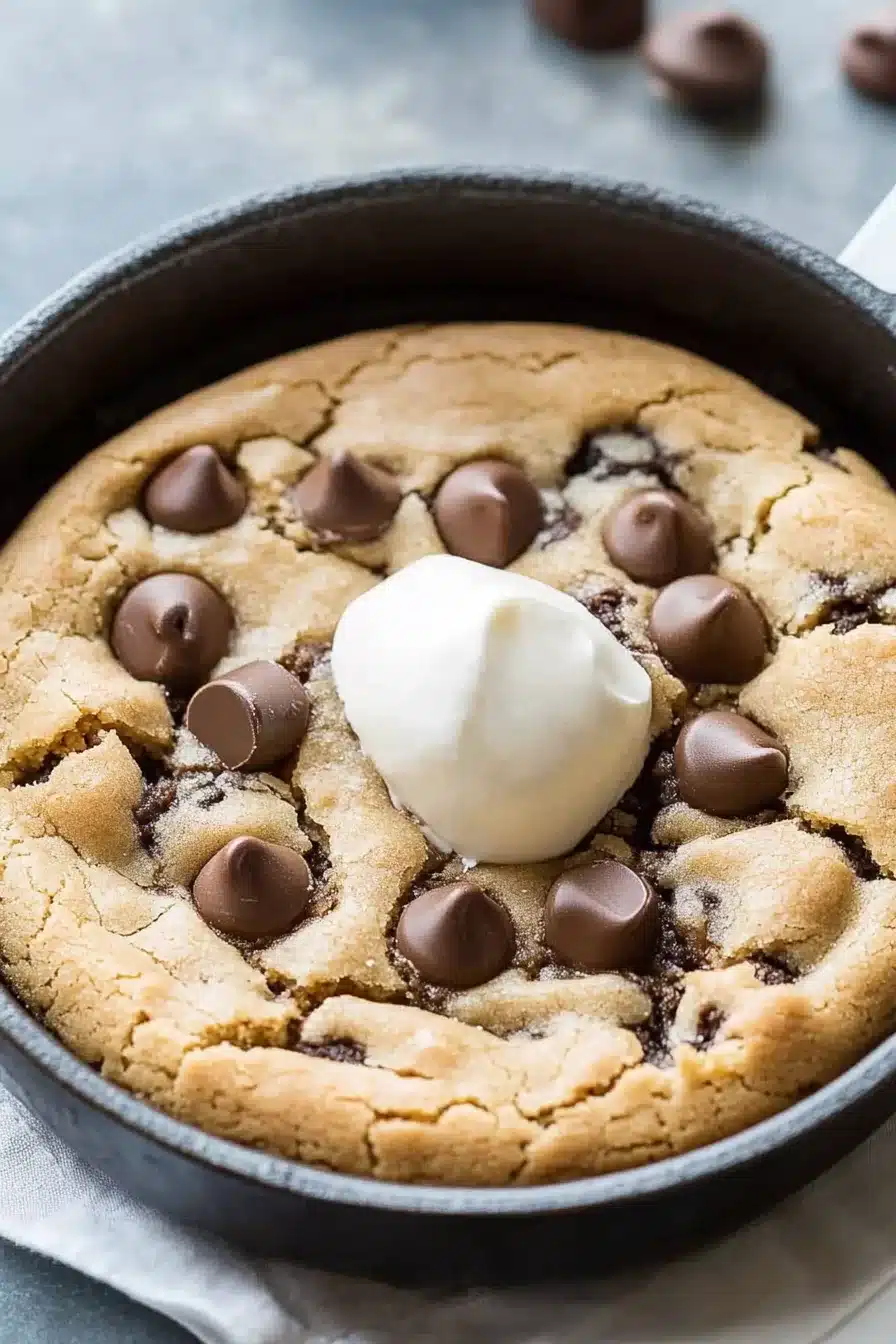
Warm, gooey, and loaded with melty chocolate chips, this pizookie recipe has brown sugar, butter, vanilla, and plenty of magic. Topped with ice cream!
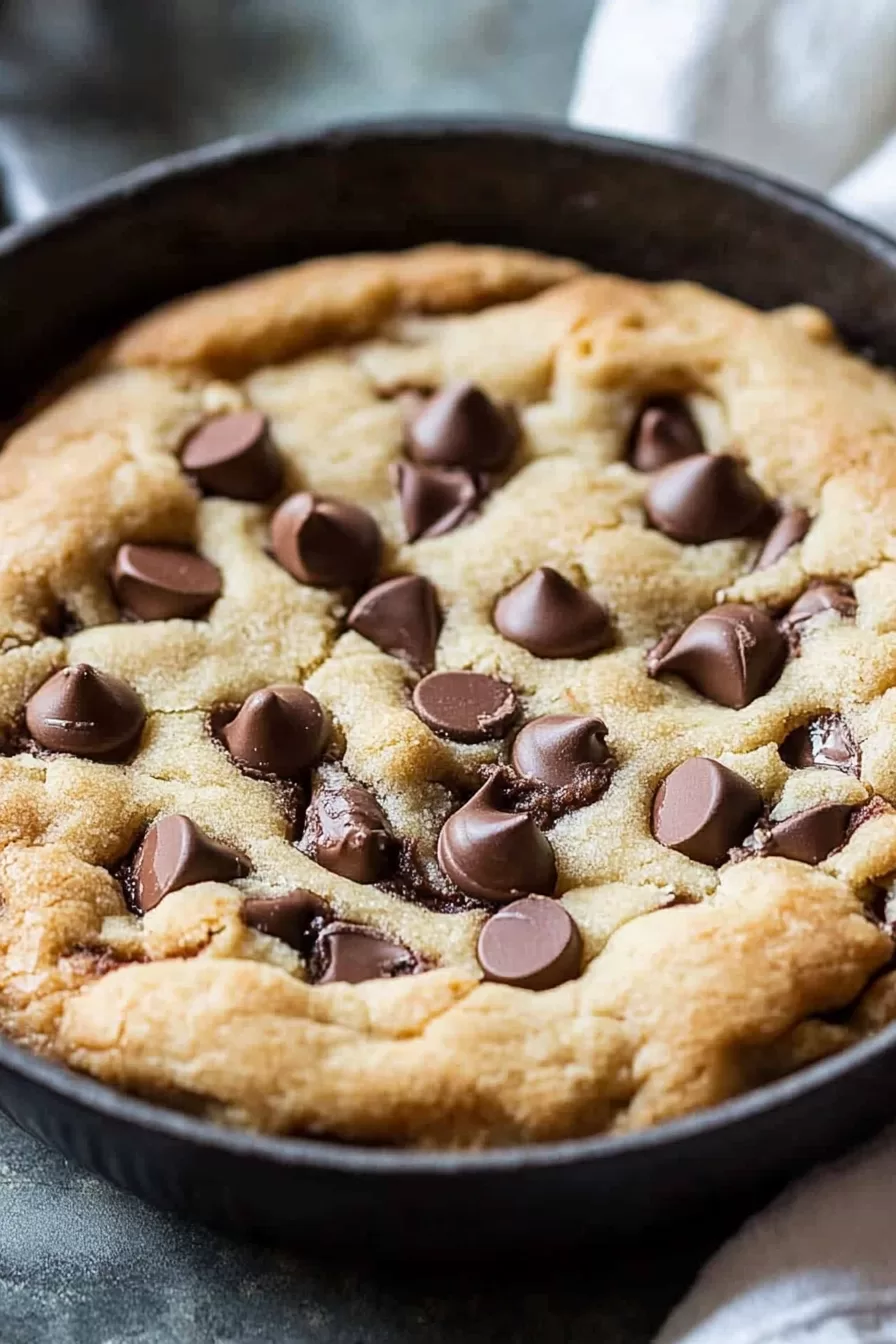
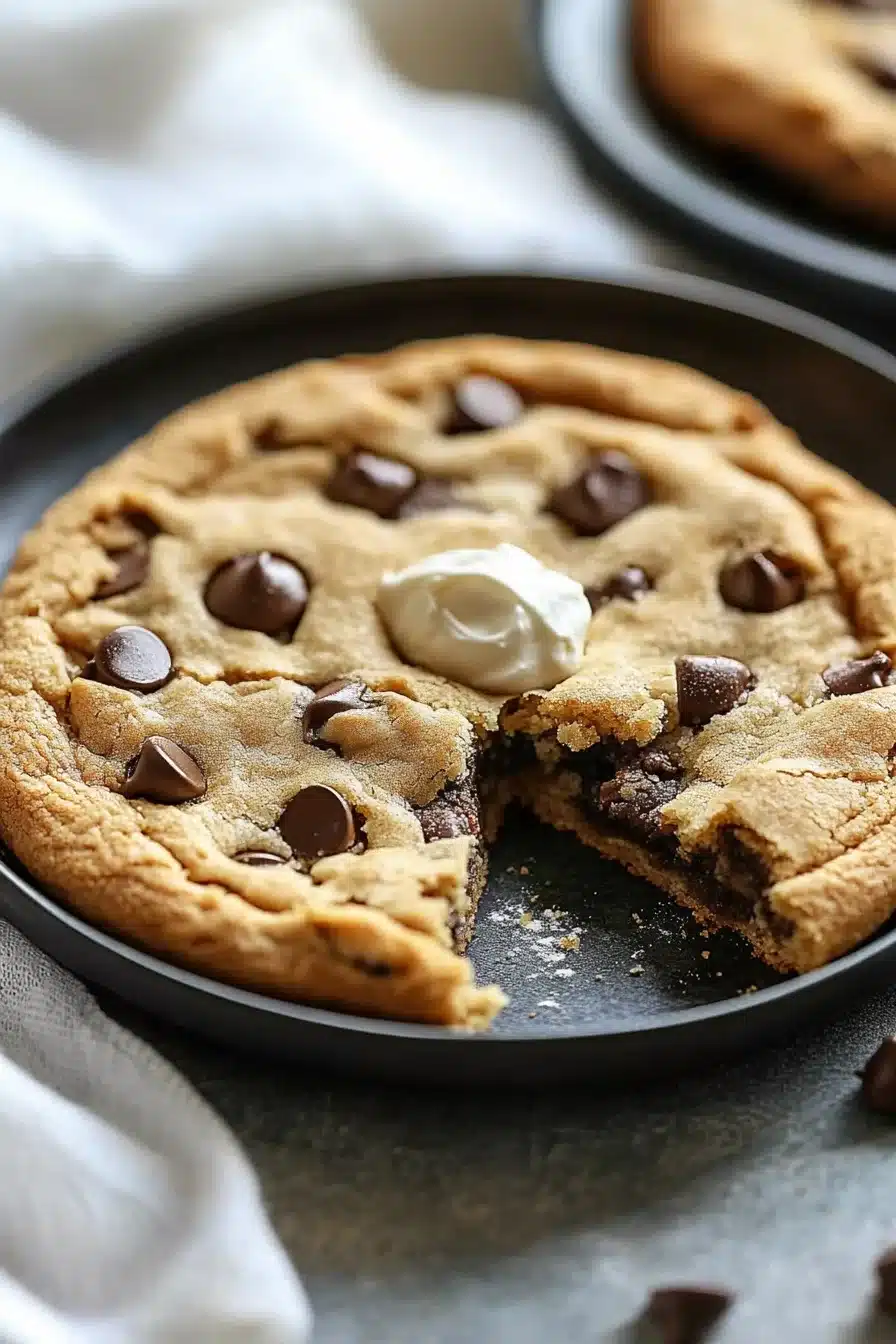
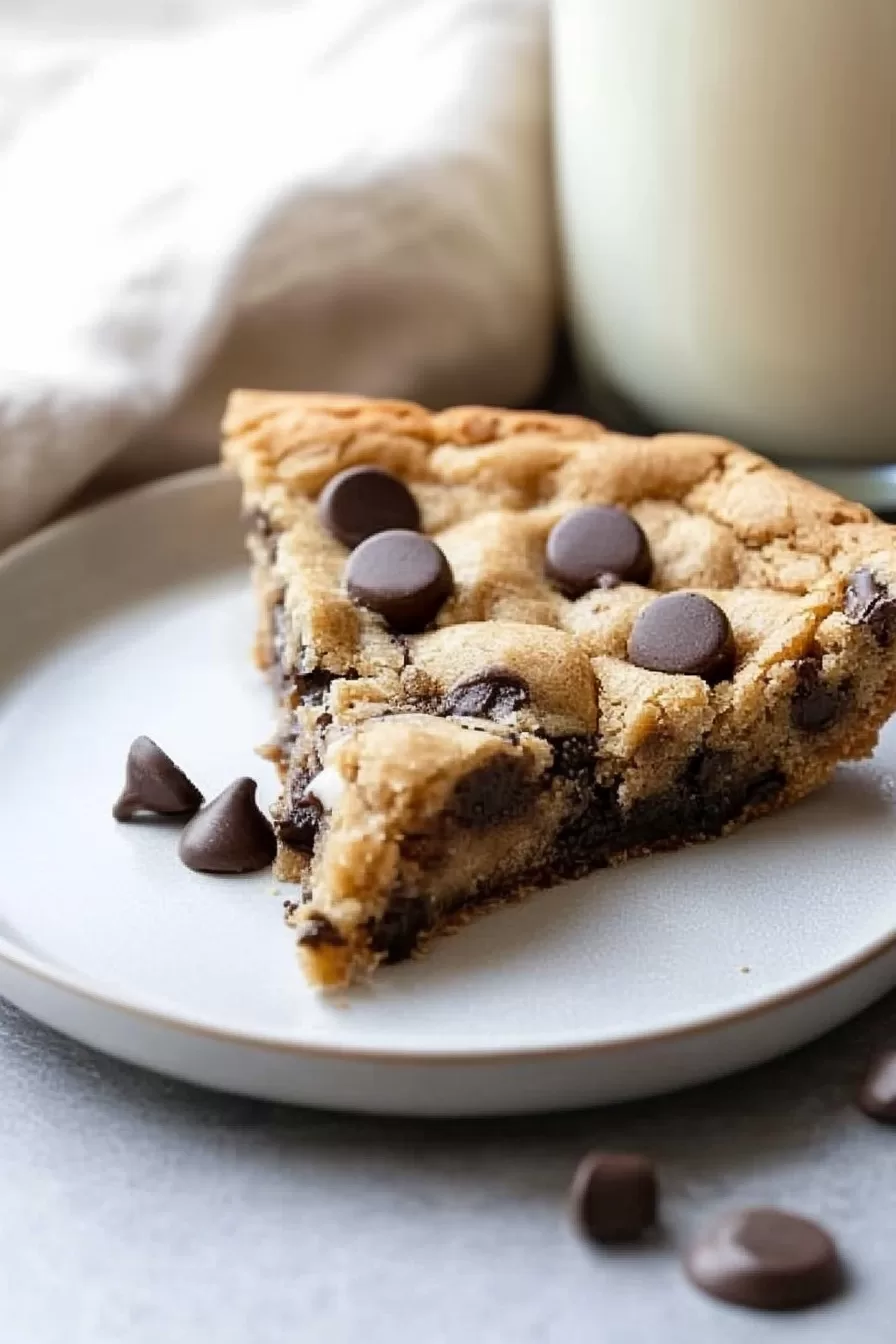
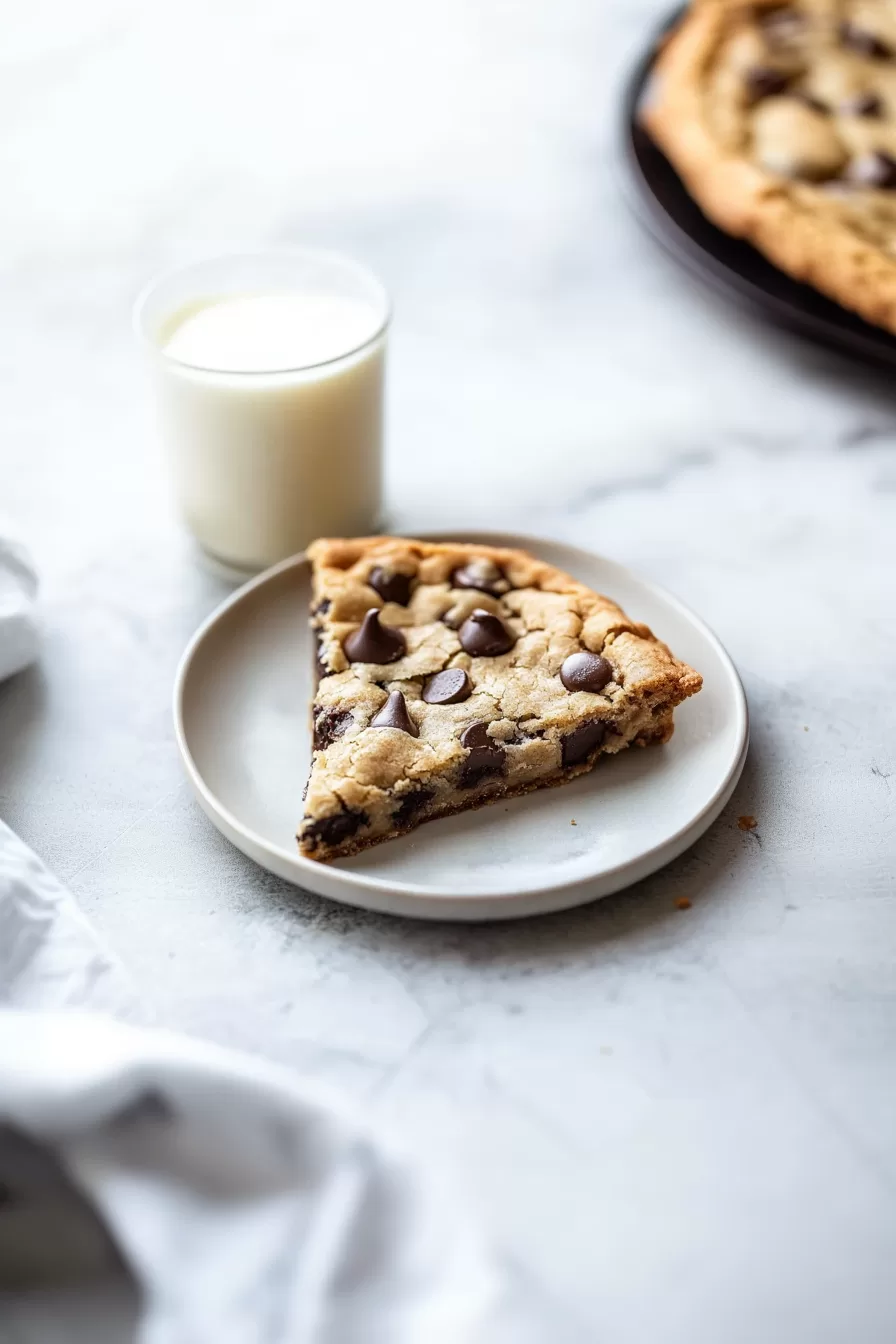
Imagine this: a giant chocolate chip cookie, still warm from the oven, with crisp golden edges and a center that’s just barely set—and I mean in the best oozy, spoon-hits-the-goo kind of way. That’s a pizookie. It’s not trying to be clever or trendy. It’s just a thick cookie baked in a skillet, served hot with a scoop (or, let’s be real, three scoops) of vanilla ice cream. You dig in straight from the pan. No rules.
I make it when I want dessert without needing to chill dough or assemble anything cute. It’s fast, rustic, and smells like a bakery exploded in the oven. And if you love chocolate chip cookies in any form, this one’s basically the deluxe version. No sharing required (but… you should, probably).

Why You’ll Love this Pizookie
Big cookie energy coming in hot. This one’s for the days when you don’t feel like portioning dough but still want to smell buttery-sweet heaven wafting from your kitchen.
- Ridiculously simple to make: You just mix, press into a skillet, and bake. No rolling, scooping, or chilling nonsense.
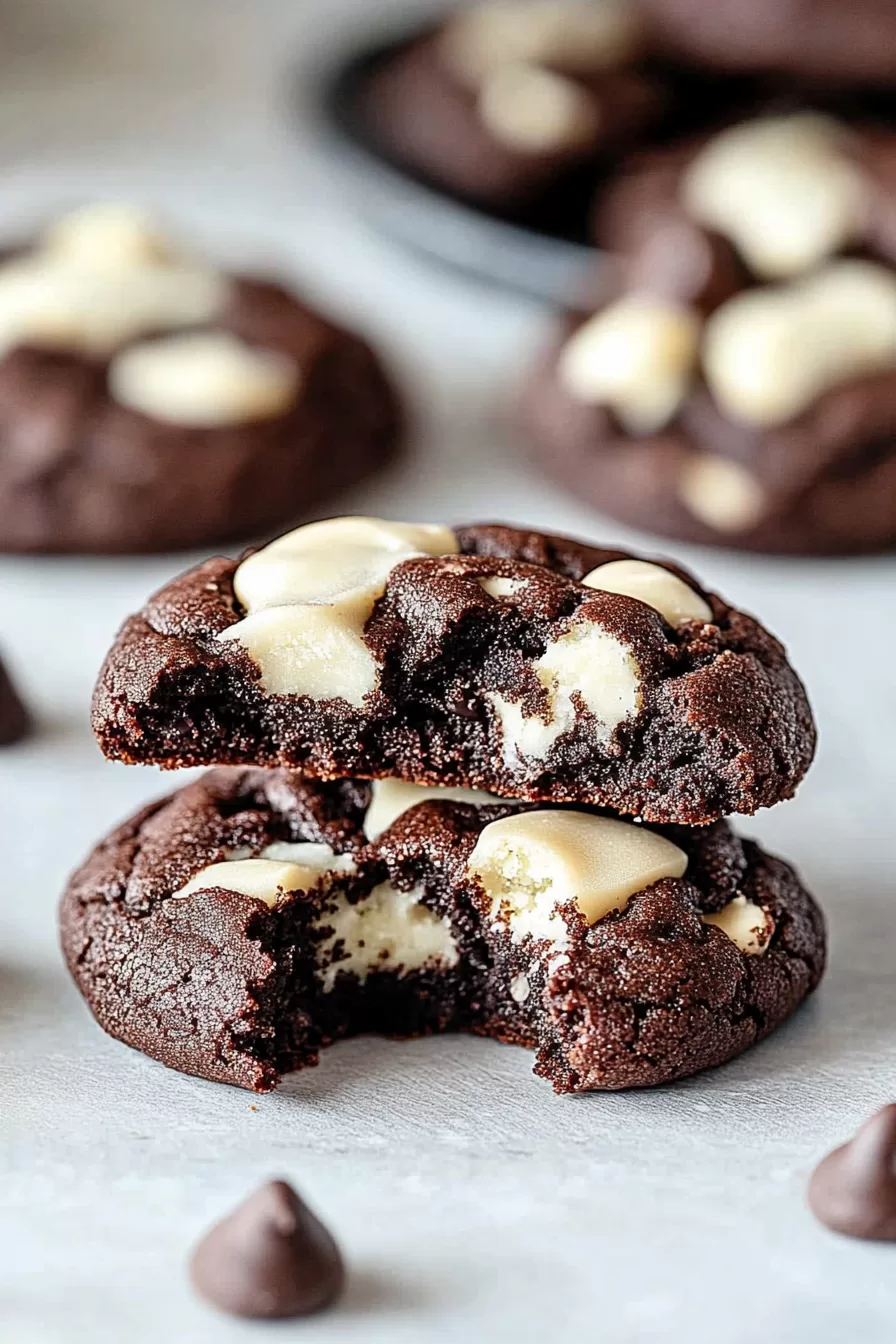
- That gooey center is unreal: The edges get golden and crisp, but the middle stays soft and molten.
- Great excuse to eat dessert right out of the pan: One spoon (or six), one skillet, zero judgment.
- Customizable to the max: Use whatever chips or mix-ins your heart desires.
- A total showstopper without even trying: Bring it to the table and watch eyes widen, jaws drop, spoons dive in.
- Leftovers are dreamy (if you somehow have them): Reheated or even cold from the fridge, still deeply craveable.
Ingredient Notes
Just a few pantry heroes coming together to pull off cookie magic in under an hour.
- Unsalted butter: Melted! This gives the pizookie chew and richness. Cool it a bit so you don’t end up with scrambled eggs later.
- Brown sugar: Adds moisture and a deep almost-caramel flavor that makes every bite feel warm and cozy.
- Granulated sugar: Balances the brown sugar; gives those crispier edges we all want.
- Eggs + 1 yolk: The extra yolk gives it that luscious, gooey center. Don’t skip it unless you like regret.
- Vanilla extract: Go for the good stuff here (real vanilla, not “vanillin”)—it makes a difference.
- All-purpose flour: The base. Nothing fancy. Just measure it properly (spooned and leveled).
- Cornstarch: Secret weapon alert! This keeps the texture soft and light, even in a giant cookie.
- Baking soda: For lift and spread. Make sure it’s fresh so the edges puff properly.
- Salt: Absolutely essential to keep this from tasting flat. It sharpens the chocolate and balances the sweet.
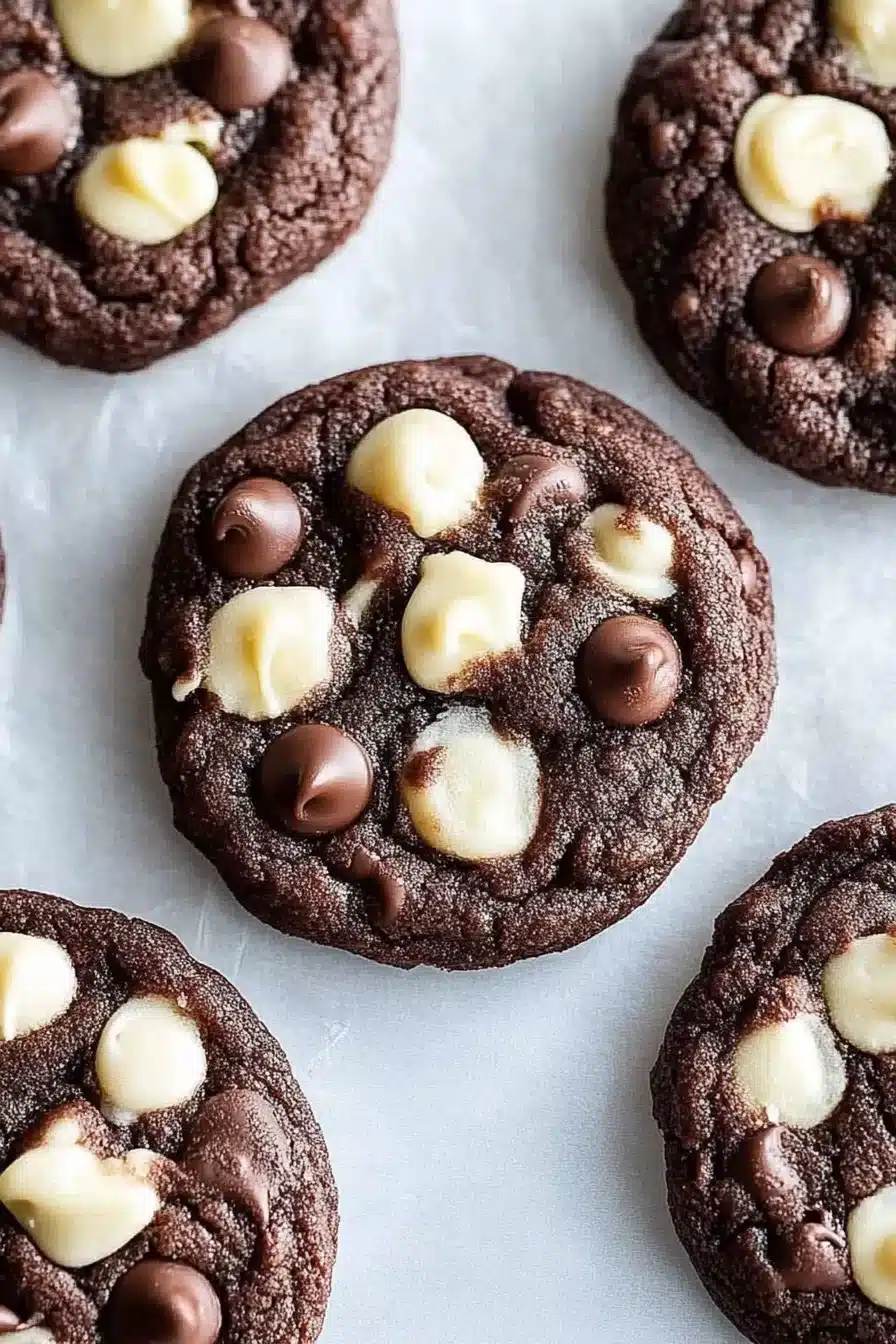
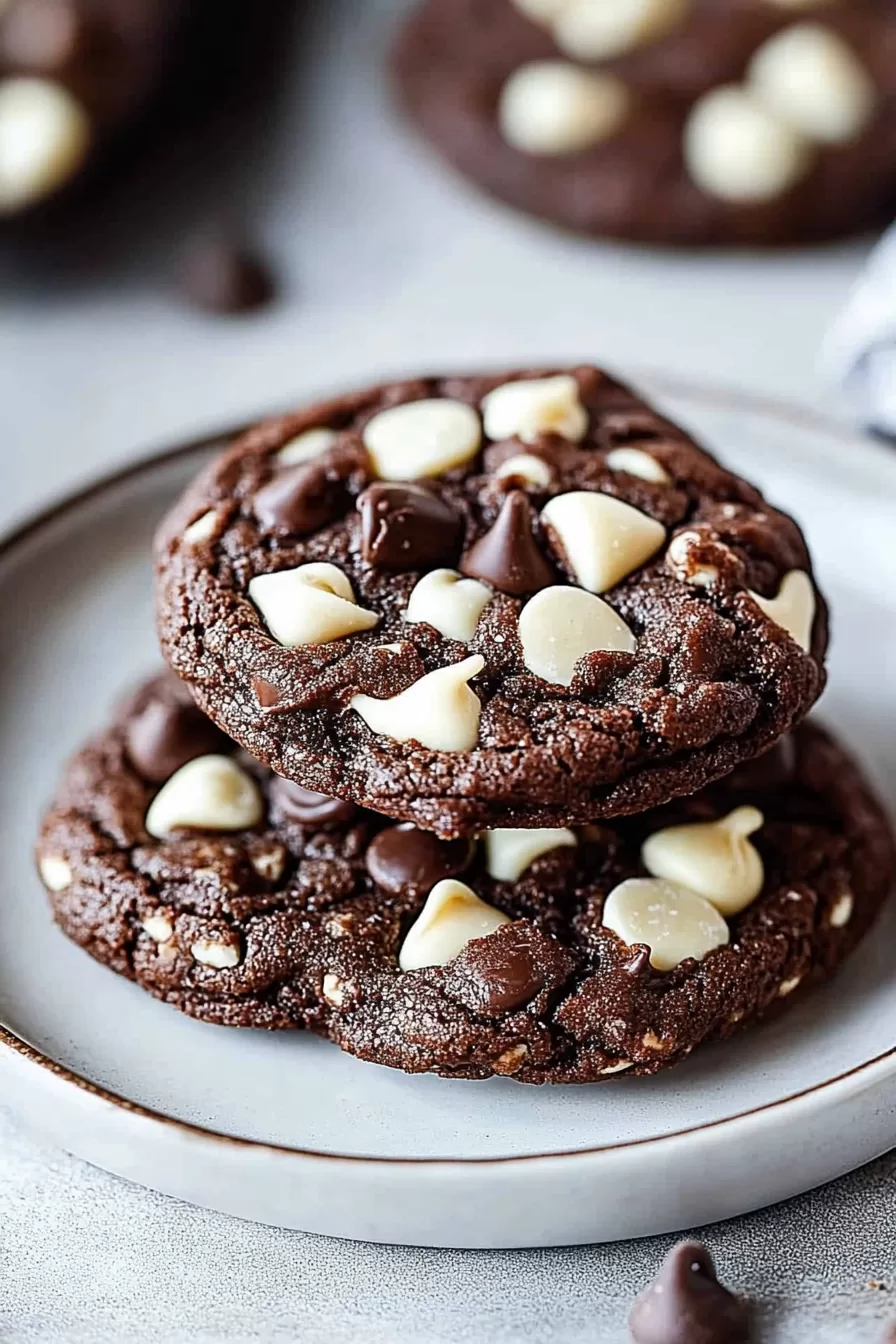
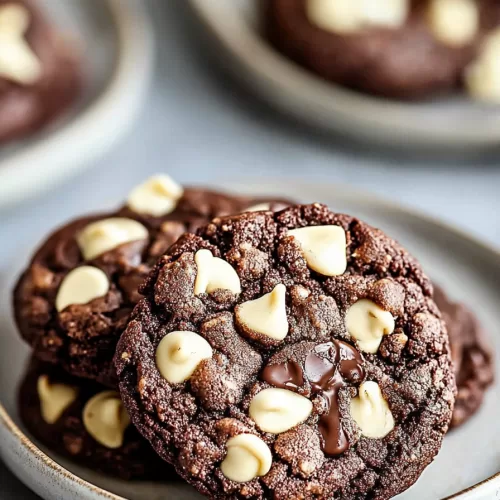
- Semi-sweet chocolate chips: The classic. Use chunks if you want melty pockets. Save a handful to put on top after baking.
How To Make This Pizookie
Let’s get you from dough to skillet glory, no stress, no drama. No fancy gear either—just a mixing bowl and a cast iron pan.
- Preheat and prep your skillet: Start by heating your oven to 350°F and greasing a 12-inch cast iron skillet. Don’t skip this or you’ll be scraping cookie cement out of your pan later.
- Melt butter and mix with sugars: In a big bowl, whisk that melted (and slightly cooled!) butter with both sugars. You’re aiming for a smooth, satiny base that smells like warm toffee.
- Add eggs and vanilla: Beat in the eggs one at a time, then slide in that last yolk and vanilla. Stir until it’s glossy and cohesive. If it smells like cookie dough now, you’re on the right track.
- Fold in dry ingredients: Add flour, cornstarch, baking soda, and salt. Stir gently—don’t overmix. When it’s about halfway combined, toss in 1 1/4 cups of chocolate chips and finish mixing.
- Press into the skillet: Scoop all that glorious dough into your skillet and press it in evenly. It’s thick, so use your fingers or the back of a spatula. It doesn’t have to be perfect.
- Bake until golden at the edges: Let it go for 20 to 25 minutes. The edges should be set and slightly browned, but the center? Still a little gooey. Trust the goo.
- Top with more chocolate and cool slightly: As soon as it comes out, scatter the rest of the chocolate chips on top. Let it cool for 5 to 10 minutes unless you like burning the roof of your mouth (we’ve all been there).
- Scoop on the ice cream and dig in: Don’t be shy—this dish is all about excess and joy.
Storage Options
Okay, so maybe your self-control kicked in and you didn’t eat the whole thing in one sitting (or you made a double batch—no judgment). Here’s how to deal with the leftovers.
First, let it cool completely before covering. If you’re keeping it out overnight (like on the counter), press some plastic wrap or foil over the skillet. It’ll be okay for about a day at room temp, but honestly, it’s at its best warm.
Want to stretch it longer? Toss leftover wedges (or chunks… or spoonfuls) into an airtight container and store them in the fridge for up to 4 days. They’re pretty dreamy cold, actually—think dense, chewy cookie bar.
And yes, you can freeze it! Either slice it up and individually wrap pieces, or just wrap the whole thing tightly in a few layers of foil and slide it into a freezer bag. It’ll keep for about 2 months. To reheat, pop frozen pieces in the microwave for 15–30 seconds or the whole skillet in a 300°F oven until warm.
Variations and Substitutions
There’s more than one way to pizookie. This is the basic roadmap, but feel free to take exit ramps and scenic detours.
- Different chips or chunks: White chocolate, dark chocolate, even peanut butter chips—go full chaos mode with combinations.
- Add nuts for crunch: Walnuts, pecans, or macadamias all add texture (and make it feel a little more “grown-up”… kind of).
- Swap the skillet for ramekins: Make individual mini pizookies in ramekins or small pans. Great if you don’t like sharing.
- Try a new flour: Use a cup-for-cup gluten-free blend if needed. Something like almond flour won’t work here, though.
- Mix in other goodies: Chopped candy bars, crushed cookies, or even a swirl of Nutella can take this over the top.
- Serve it with a twist: Instead of ice cream, try a dollop of whipped mascarpone or a drizzle of salted caramel.
What to Serve with Pizookie
Honestly, this pizookie can hold down dessert all on its own, but a little supporting cast never hurts. Here’s what I’d throw in the mix.
- Vanilla ice cream (but consider a twist): Sure, classic vanilla is the go-to. But try swapping in a scoop of salted caramel or malted milk ice cream for contrast—your mouth will thank you.
- Strong coffee or espresso: The deep bitterness of coffee cuts through all that sweetness and makes each bite sing. Plus, dessert and coffee together? Peak cozy.
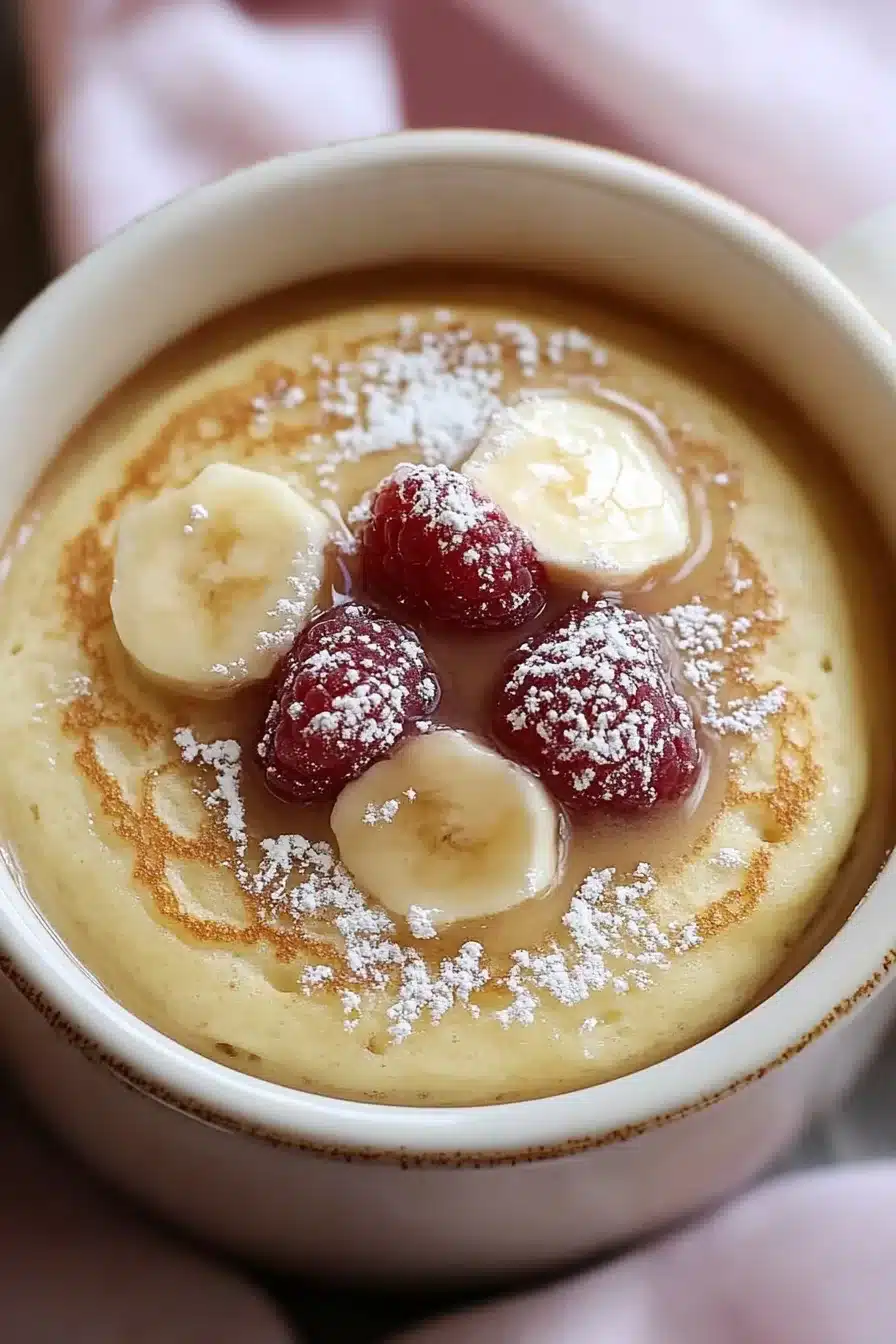
- Fresh berries on the side: Just a few scattered raspberries or browned banana slices add freshness and a tiny whisper of health (but don’t overdo it… this is mainly about the cookie).
- A savory dinner beforehand: If you’re doing this up for a dinner party, something simple like this pan-seared cod balances the sweetness afterward like a pro.
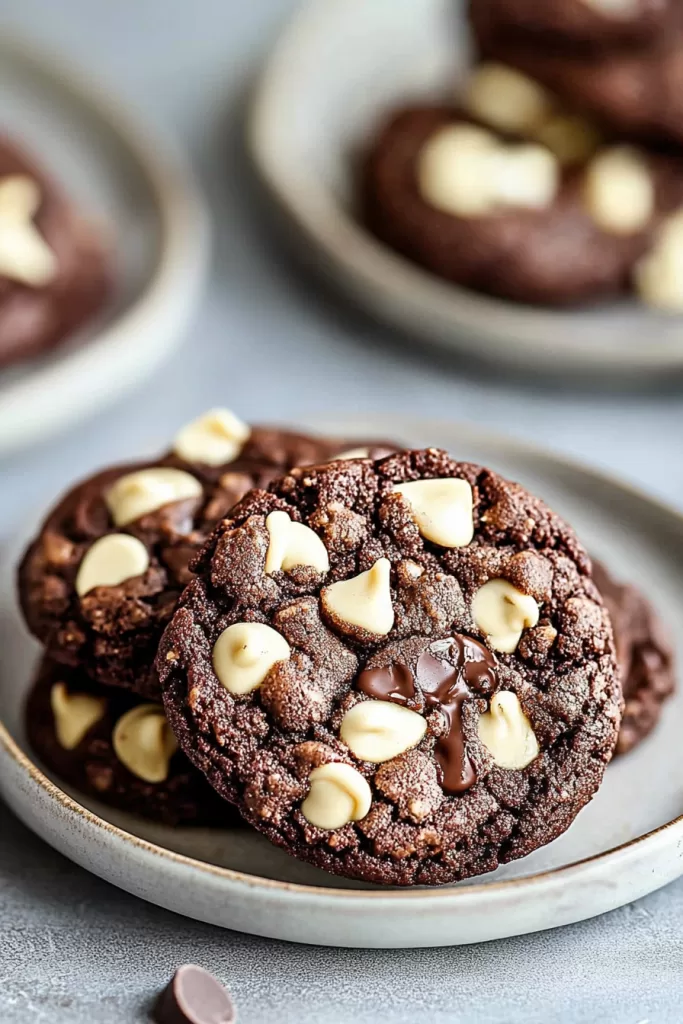
Oh, and if you’re into skillet-style comfort desserts, you might want to peek at these chewy inside out chocolate chip cookies next. Different vibe, same cozy delicious energy.
Frequently Asked Questions
Can I use a different size skillet?
Yes, but keep in mind the thickness of your dough will change. If you’re using a smaller skillet, the pizookie will be thicker and need more time in the oven (watch the center). A larger skillet? It’ll be thinner and bake faster, so start checking around 18 minutes. You can also use a cake pan or deep-dish pie plate in a pinch.
Can I make this ahead of time?
You totally can. Make the dough, press it into the pan, cover it well, and refrigerate for up to 24 hours before baking. Take it out of the fridge while the oven preheats and maybe tack on an extra few minutes of bake time. Just don’t pre-bake it and reheat—it loses that gooey magic.
Is this safe to eat if the center is slightly raw?
Great question. It’s meant to be just a little gooey, but not raw. The eggs and flour still get cooked—just softly set. If you’re especially cautious, you can use pasteurized eggs or heat-treat your flour beforehand (a quick bake at 350°F for a few minutes on a sheet tray does the trick).
Can I double the recipe?
You can, but you’ll need a much bigger pan or multiple skillets. Otherwise, the center won’t bake evenly and the edges will be cardboard (sad times). Stick to a 12-inch skillet per batch or divide the dough into mini pans. Bonus: more crispy edges!

Gooey Chocolate Chip Skillet Pizookie
Ingredients
- 1 cup (227 g) unsalted butter melted and slightly cooled
- 1 cup (200 g) packed brown sugar
- 1/2 cup (100 g) granulated sugar
- 2 large eggs
- 1 large egg yolk
- 2 tsp (10 ml) vanilla extract
- 2 1/4 cups (280 g) all-purpose flour spooned & leveled
- 2 tbsp (16 g) cornstarch
- 1 tsp (5 g) baking soda
- 1/2 tsp (3 g) salt
- 1 1/2 cups (260 g) semi-sweet chocolate chips or chunks divided; 1 1/4 cups in dough + 1/4 cup for topping
- vanilla ice cream for serving
Equipment
- 12-inch Cast Iron Skillet
- Mixing bowl
- Whisk or Spoon
Instructions
- Preheat oven to 350°F (175°C). Grease a 12-inch cast iron skillet with butter or nonstick spray.
- In a large bowl, whisk together melted (and slightly cooled) butter, brown sugar, and granulated sugar until smooth and combined.
- Whisk in eggs one at a time, then add the extra yolk and vanilla extract and mix until glossy.
- Gently stir in flour, cornstarch, baking soda, and salt. Do not overmix. When the batter is about halfway combined, fold in 1 1/4 cups of chocolate chips.
- Spread (or press) the dough evenly into the prepared skillet with a spatula or your fingers.
- Bake for 20–25 minutes, until edges are golden and set, but the center is still a little gooey.
- Immediately scatter the remaining chocolate chips (about 1/4 cup) over the top. Let cool for 5–10 minutes before topping with ice cream and serving warm, straight from the skillet.