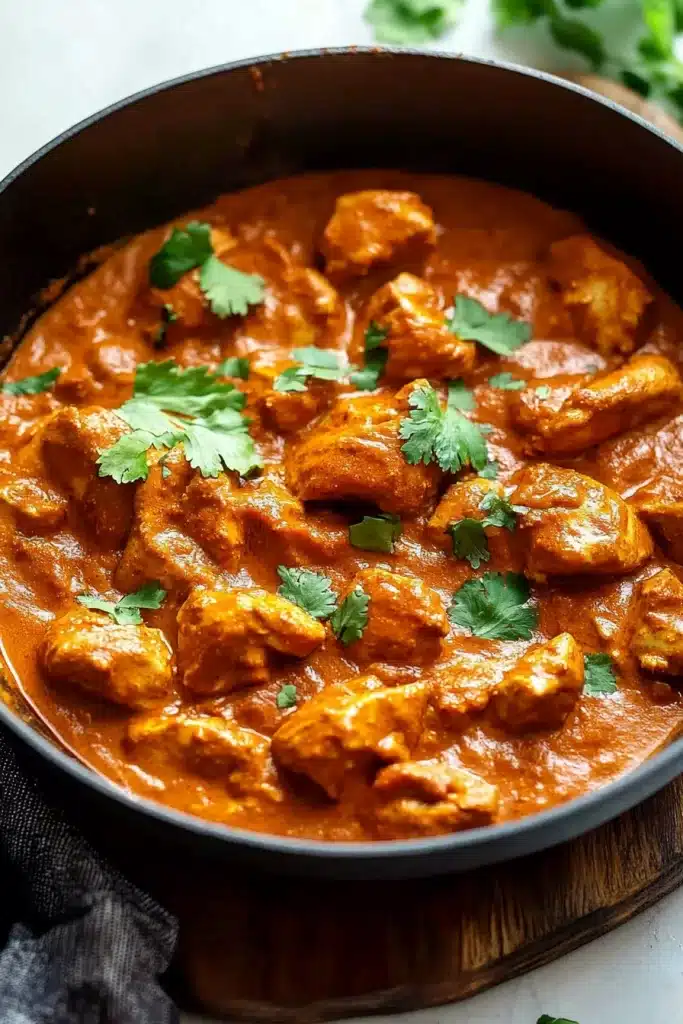

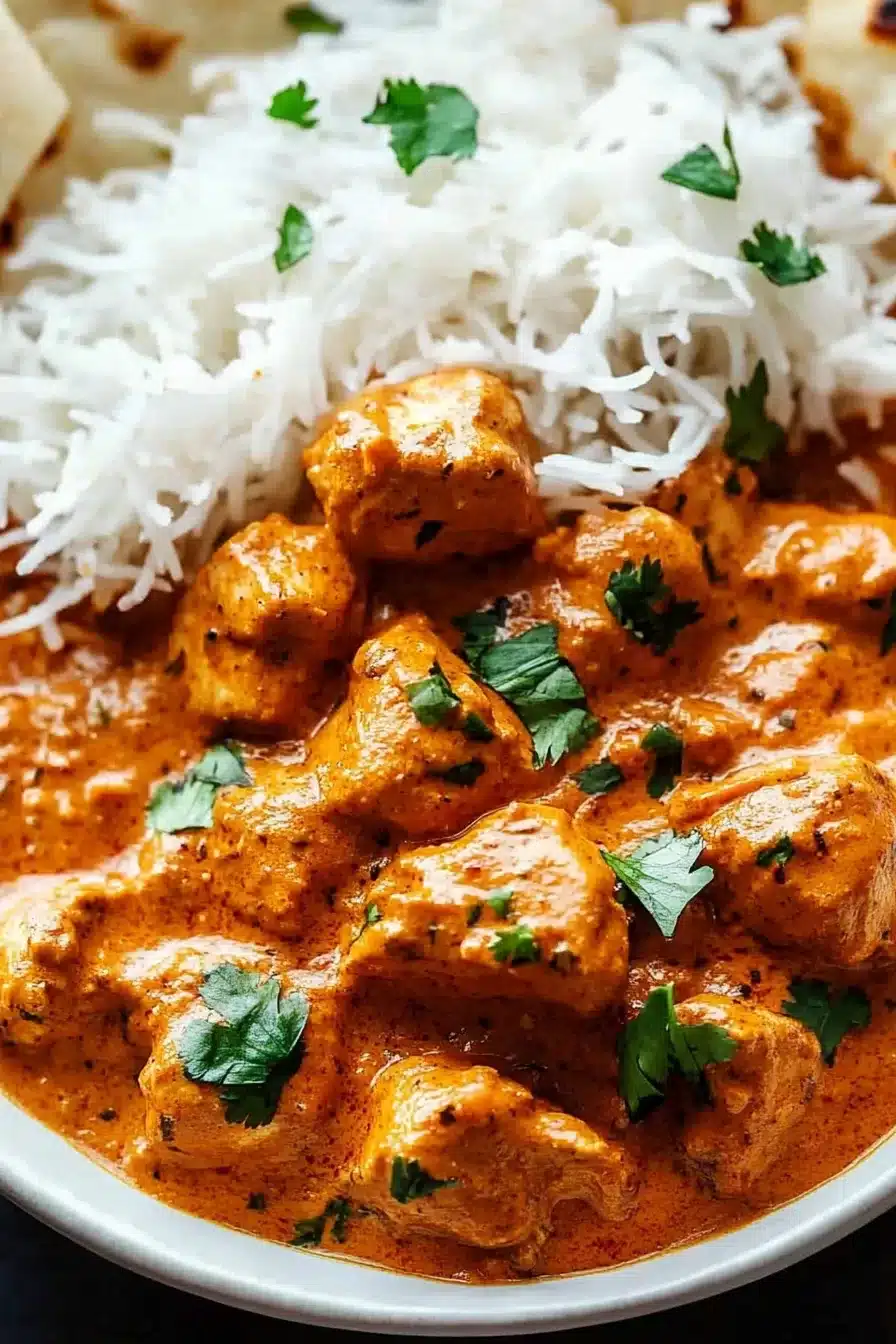
Juicy chicken thighs soaked in tangy yogurt, coated in warm spices, and simmered in a creamy tomato sauce—this cozy chicken tikka masala is all about big flavor and comfort. With yogurt, lemon, garlic, ginger, and just enough cream to make things luxurious, it smells amazing from the first sizzle to the final stir.
Whether you’re diving in face-first with a spoon (zero judgment) or plating it neatly over rice for dinner guests, this dish hits that perfect spot between bold and balanced. The chicken is tender without falling apart, the masala is silky but not too rich, and the whole thing just feels like… you know, food that hugs you back.

Why You’ll Love this Chicken Tikka Masala
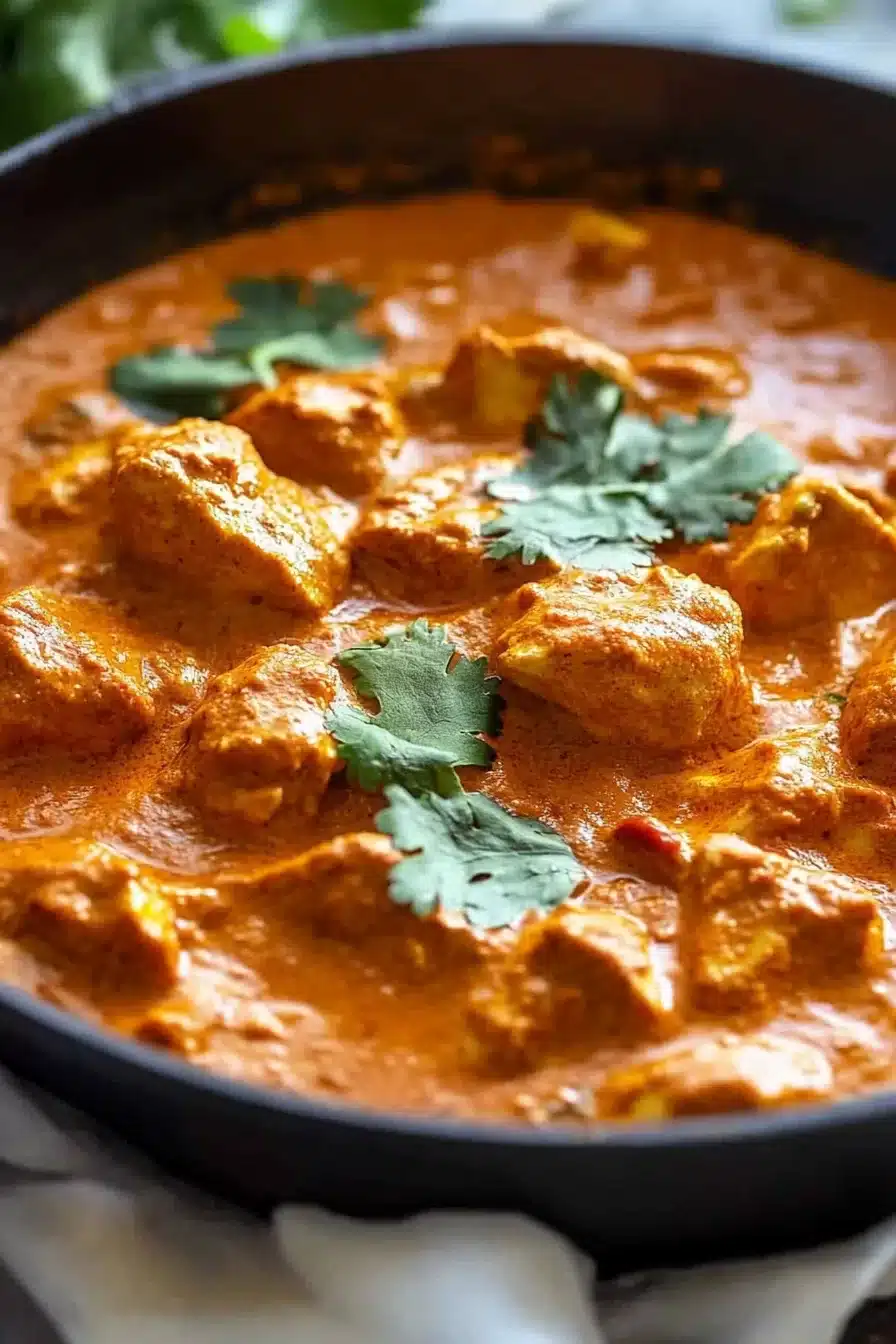
There’s just something soothing about standing over a skillet while creamy orange sauce bubbles away and your kitchen starts smelling like your favorite hole-in-the-wall curry joint. No fanfare, just a very tasty dinner waiting to happen.
- Perfectly marinated chicken: Yogurt and spices tenderize chicken thighs until they basically melt in your mouth.
- Deep, aromatic flavor: Garam masala, cumin, ginger, and garlic layer up until your house smells like actual magic.
- Ridiculously doable recipe: No tandoor, no problem. A regular skillet gets you that smoky char.
- Great for leftovers: It’s almost better the next day (if it survives that long).
- Flexible richness: Add more cream for that restaurant-level decadence or keep it a little lighter. Totally up to you.
Ingredient Notes
Let’s talk ingredients—each one actually earns its spot here (no fluff, no filler). This version keeps things pantry-friendly while still staying true to the spirit of a great chicken tikka masala.
- Plain Greek yogurt: This is your marinade magic. It tenderizes the chicken and holds onto the spices like a happy little flavor sponge.
- Lemon juice: Brightens things up and helps the yogurt do its tenderizing job.
- Fresh ginger and garlic: Yes, fresh is worth it here. They bring punchy warmth you won’t get from powders.
- Kashmiri chili powder or hot paprika: Flavorful with a touch of heat and a beautiful deep color. Use hot paprika if that’s what you’ve got—it’s still excellent.
- Ground cumin, garam masala, turmeric, cayenne: The spice dream team. They balance earthiness, heat, and a hint of sweetness.
- Boneless, skinless chicken thighs: These are juicier and more forgiving than breasts. Plus, they actually taste like something.
- Olive oil and ghee: The combo gives you richness and a little toasty depth.
- Onion: A bit of slow cooking turns it sweet and saucy. Don’t rush this part.
- Crushed tomatoes or Passata: Smooth, thick, and just acidic enough to lift the masala.
- Granulated sugar: Just a nudge to balance those tomatoes.
- Heavy cream: The silky finish. If it’s fridge-cold, it can split, so give it a chance to knock the chill off.
- Chicken stock (optional): Adjusts the sauce texture if things get too thick.
- Fresh cilantro: Sprinkle with wild abandon for extra freshness and contrast.
How To Make This Chicken Tikka Masala
You’re never too far from a good curry when you’ve got a cast iron skillet and some ambition. This chicken tikka masala might sound fancy, but once the marinade is done, it’s really just a skillet situation and a few fragrant stirs.
-
Marinate the chicken: Mix yogurt, lemon juice, oil, ginger, garlic, and spices in a bowl. It should smell sharp and spicy—in a good way. Toss the chicken in and mix until it’s evenly coated. Cover it up and let it chill in the fridge at least 3 hours or (even better) overnight.
-
Sear the chicken: Heat a little oil in a skillet. Pull the chicken out of the marinade (letting the excess drip off) and cook in batches. Don’t crowd the pan. You want a nice char on both sides; it doesn’t need to be cooked through yet. Set that golden, slightly smoky chicken aside.
-
Reset the pan: Scrape up any crusty bits with a wooden spoon. Wipe the skillet clean so nothing burns—we’re not making “extra flavor” today.
-
Make the masala base: Add the ghee and remaining oil. Toss in the onion and cook until it goes soft and golden, maybe 7 minutes. Once it smells sweet and mellow, add the garlic, ginger, and all your lovely ground spices. Keep stirring (a little arm workout here)—you want them fragrant, not scorched.
-
Simmer the sauce: Pour in the crushed tomatoes and sprinkle in the sugar. Cover and let it all mingle on low heat for 10 minutes or so. Stir occasionally to make sure nothing’s sticking.
-
Bring it all together: Add your seared chicken and pour in the cream. Stir. Simmer just until that chicken’s cooked through and the sauce is creamy and rich, usually 5 minutes. If it looks too thick, stir in a bit of chicken stock.
-
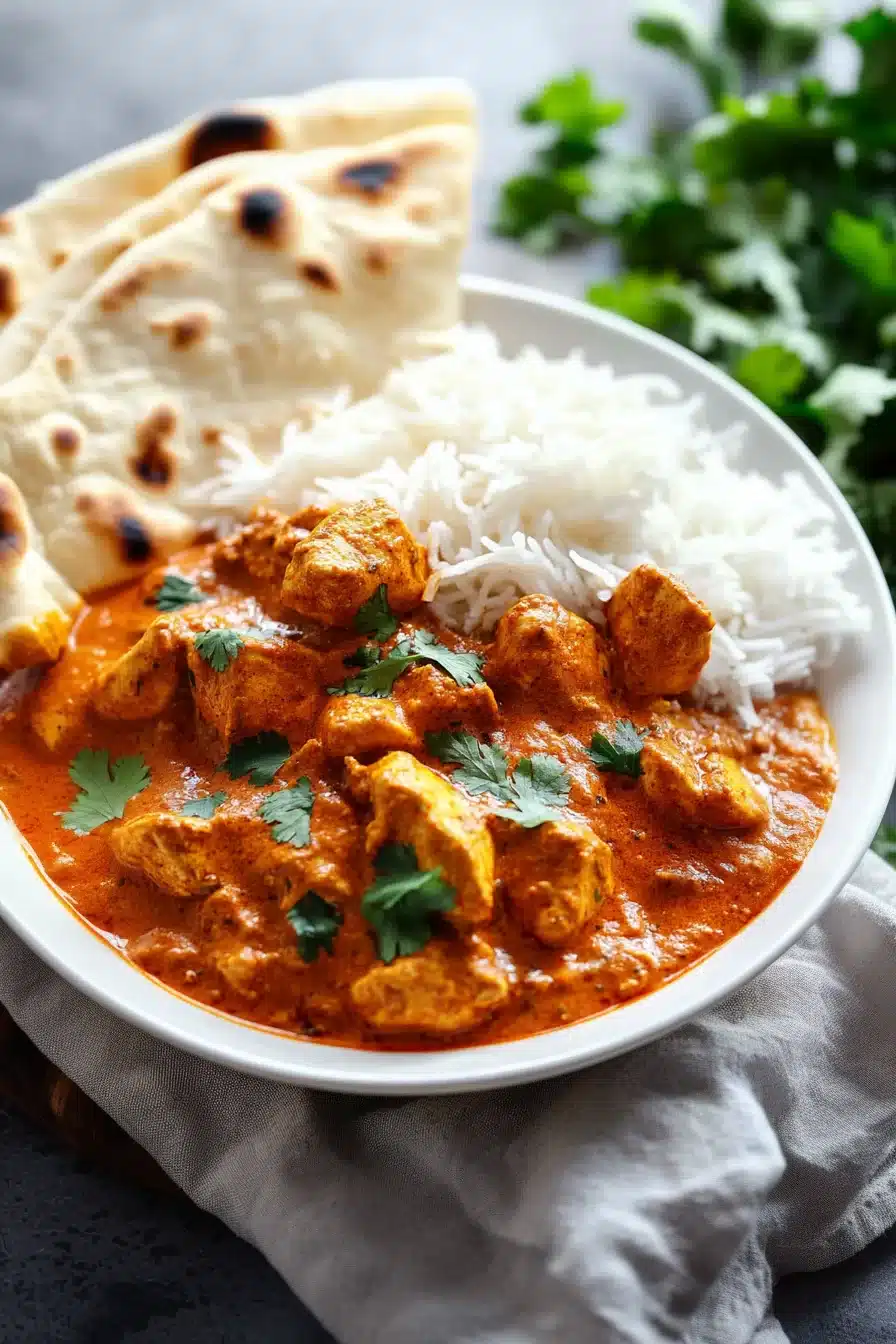
Garnish & serve: Taste, salt, and scatter with cilantro. Serve hot with rice or naan or just stand at the stove with a spoon (no shame).

Storage Options
So here’s the good news: chicken tikka masala makes prime leftovers. Like, “maybe I like it even more the day after” kind of leftovers.
Let it cool fully, then spoon it into an airtight container. In the fridge, it’ll keep well for 3 to 4 days. The flavors even deepen a bit, so your future self will thank you.
Now, can you freeze it? Absolutely. Just let it cool down first, then transfer into freezer-safe bags or containers. It holds up beautifully for up to 3 months. When you’re ready to eat, defrost it overnight in the fridge or do the lazy-person’s method and gently reheat straight from frozen on the stove over low heat with a splash of extra stock or water. The sauce might separate slightly at first because of the cream, but just stir with love—it comes right back together.
Microwave works too, but stir often and keep it low or you’ll end up with magma spots and chilled middles.
Variations and Substitutions
Once you’ve made it once, you’ll see how easy it is to bend this recipe to your whims—or your pantry.
- Chicken breast instead of thighs: Totally fine if that’s what you’ve got. Just don’t overcook it or it’ll go dry on you.
- Coconut milk instead of cream: Great if you want it dairy-free. It changes the flavor a bit, sure, but not in a bad way. Tropical vibes, anyone?
- Paneer for a veggie version: Just skip the chicken and sear cubes of paneer instead. Toss them in at the end so they don’t disappear into the sauce.
- Pea pop-in: Stir in a handful of thawed green peas during the final simmer if you want a bit of sweetness and color.
- Use pre-ground garam masala—or make your own: If you’re curious about customizing spice blends, it’s totally doable. Or use good store-bought stuff and call it a day.
What to Serve with Chicken Tikka Masala
The sauce begs for a sidekick. Something warm, soft, and ready to do a little scoop-and-mop action.
-
Steamed basmati rice: Fluffy, fragrant, and soaks up the masala like magic. A little sprinkle of chopped cilantro over top and you’re golden.
-
Naan (store-bought or homemade): Tear it. Dip it. Repeat. If you have time, warm it directly over the stovetop flame for those nice little char bubbles.
-
Cucumber raita or plain yogurt: A cooling dip offsets the richness. Bonus: it doubles as a sauce if you’re going full mix-n-match on the plate.
-
Roasted cauliflower or potatoes: A side of dry-roasted veggies adds a little roasted crunch. Check out this cod and chard combo if you’re looking for other veggie-forward ideas.
-
A citrusy side salad: Something fresh can really brighten the whole meal. Think arugula, lemon vinaigrette, maybe a few pomegranate seeds because you’re feeling fancy.

Frequently Asked Questions
Can I make chicken tikka masala ahead of time?
Totally, and low-key, it might be even tastier the next day. Make it a day in advance, stash it in the fridge, and just reheat slowly on the stove with a splash of water or stock to loosen it back up. It also works great for meal prep if you’re into that sort of practical wizardry.
Is it very spicy?
That depends on your chili powder and how heavy-handed you go. Kashmiri chili has heat, but it’s more gentle than something like cayenne. You can always scale back the cayenne, or skip it entirely if you’re spice-sensitive. Taste and tweak as you go—it’s your tikka now.
Can I use store-bought garam masala?
Absolutely. It’s a great shortcut and can still have loads of flavor. Just look for one with warm, balanced ingredients like cinnamon, cloves, cardamom, and cumin. If it smells like something you want to roll in, you’re on the right track.
What’s the best way to reheat leftovers?
The stovetop is your best friend here. Put the curry in a small pan over low heat, add a bit of water or stock, and stir often until it’s warmed through. Microwave works too, just do it in short bursts and stir in between so it heats evenly without turning into lava in one spot and ice in another.
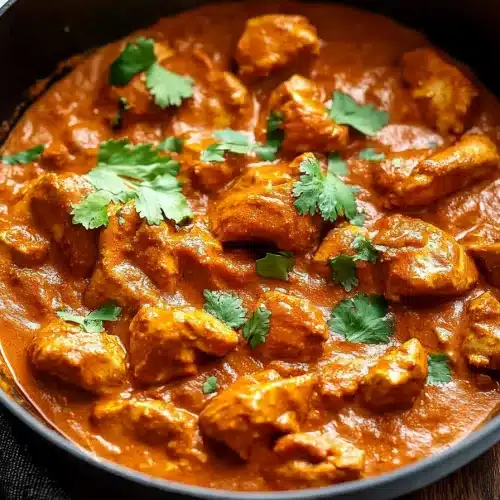
Chicken Tikka Masala
Ingredients
Chicken Marinade
- 1 cup (250 g) plain Greek yogurt
- 2 tbsp (30 ml) lemon juice fresh
- 1 tbsp (15 ml) olive oil
- 1 tbsp (12 g) fresh ginger grated
- 3 cloves garlic minced
- 1 tsp (3 g) Kashmiri chili powder or hot paprika
- 1 tsp (3 g) ground cumin
- 2 tsp (6 g) garam masala
- 1/2 tsp (1.5 g) turmeric powder
- 1/4 tsp (0.5 g) cayenne pepper or to taste
- 1 1/2 lbs (680 g) boneless, skinless chicken thighs cut into bite-sized pieces
Masala Sauce
- 1 tbsp (15 ml) olive oil
- 1 tbsp (15 g) ghee
- 1 onion finely chopped
- 3 cloves garlic minced
- 1 tbsp (12 g) fresh ginger grated
- 2 tsp (6 g) garam masala
- 2 tsp (6 g) ground cumin
- 1 tsp (3 g) Kashmiri chili powder or hot paprika
- 1/2 tsp (1.5 g) turmeric powder
- 1/2 tsp (1 g) cayenne pepper or to taste
- 1 can (400 g) crushed tomatoes or passata 14 oz
- 1 tsp (4 g) granulated sugar
- 1/2 cup (120 ml) heavy cream
- 1/3 cup (80 ml) chicken stock optional, as needed to thin sauce
- salt to taste
- fresh cilantro for garnish
Equipment
- Large Skillet or Cast Iron Pan
- Mixing bowl
- wooden spoon
Instructions
- Marinate the chicken: In a large bowl, combine yogurt, lemon juice, 1 tbsp olive oil, grated ginger, minced garlic, chili powder, cumin, garam masala, turmeric, and cayenne. Add chicken and toss well to coat. Cover and refrigerate at least 3 hours, ideally overnight.
- Sear the chicken: Heat a large skillet over medium-high. Add a little olive oil. Remove chicken from marinade, letting excess drip off. Sear in batches until browned on both sides (it won’t be cooked through yet). Set aside.
- Reset the pan: Scrape up any bits stuck to the bottom and wipe the skillet clean to avoid burning.
- Make the masala sauce: Return pan to medium heat. Add remaining olive oil and ghee. Sauté the chopped onion until golden and soft, about 7 minutes. Add garlic, ginger, garam masala, cumin, chili powder, turmeric, and cayenne; stir 1–2 minutes until fragrant.
- Simmer the sauce: Add the crushed tomatoes (or passata) and granulated sugar. Cover and simmer on low heat for 10 minutes, stirring occasionally.
- Finish the curry: Return seared chicken and any juices to the pan. Stir in heavy cream and simmer gently just until chicken is cooked through and sauce is creamy and rich, about 5 minutes. Add chicken stock if sauce thickens too much.
- Season & serve: Taste and salt as needed. Garnish generously with fresh cilantro. Serve hot with rice or naan.